

Introduction: Build an Arduino LED Matrix With Concentrating Lenses


This Instructable shows how to drive an inexpensive LED matrix from the Arduino. I will also show you how to use a 3D printer and inexpensive parts to build a miniature array of lenses to concentrate the light from the LEDs and help them appear much brighter than they actually are. In the dark, it can project interesting patterns clear across the room!
The LEDs used in this project are a 4x4 matrix of addressable WS2812 LEDs. These are inexpensive and are easily driven by an Arduino. The lenses are 8mm diameter round flatback glass cabochons, which are very inexpensive and much cheaper than actual lenses.
Step 1: Gather the Materials

For the LED matrix:
- A four-by-four matrix of individually addressible WS2812 LEDs (about $5 from eBay)
- Some break away headers
- Four male-to-female jumper cables
- Soldering iron and solder
- Helping hands
For assembling the micro-lens array:
- Sixteen 8mm diameter flat-back glass cabochons (about $2 from eBay for 20)
- A 3D printer
Step 2: Solder Pins to the LED Module

Use side cutters to break off a four-pin length of headers and solder them to the LED module, as shown in the picture.
Step 3: Hook Up the Arduino
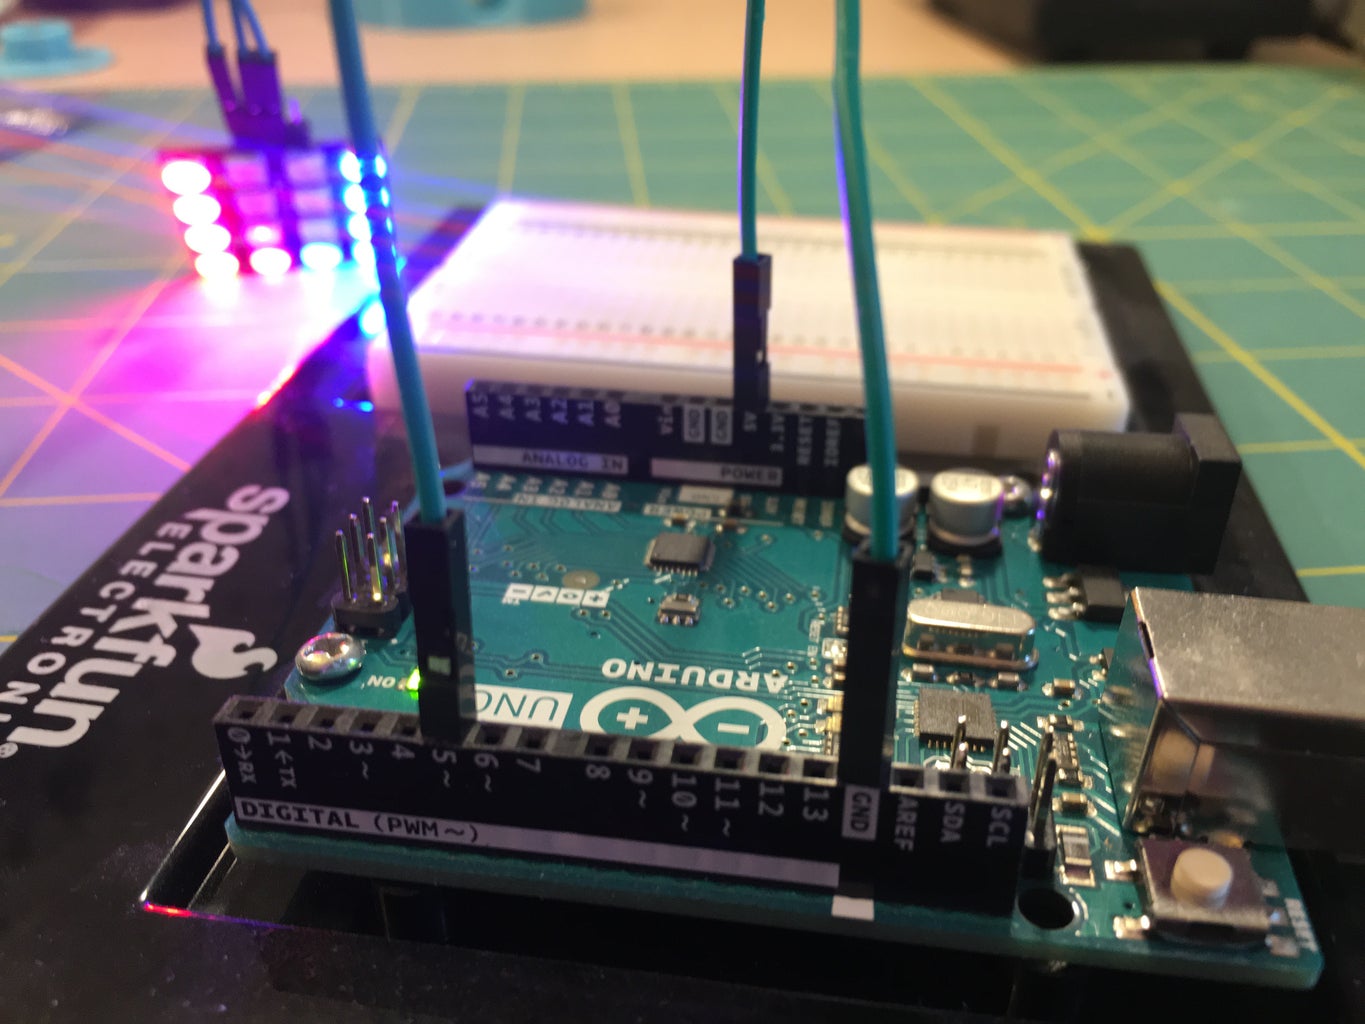

Run three jumper cables from the Arduino to the LED module, as follows:
- 5V to 5V
- GND to GND
- ~5 to IN
Note: Do not attempt to drive more than a 4x4 LED matrix from your Arduino. If you want to drive more, you will need a separate power supply.
Step 4: Install the FastLED Library
Open the Arduino IDE and go into "Sketch" -> "Include Library" -> "Manage Libraries...". Install the "FastLED" library by Daniel Garcia.
Now, from the "File" menu, select "Examples" -> "FastLED" -> "ColorPalette" and upload the sketch to your Arduino. The LEDs will now light up and begin flashing colors in different patterns!
In the next step, I will show you how to build a micro-lens array to concentrate and project the light from the LEDs.
Step 5: Assemble the Lens Array

Use a 3D printer to print out the two components that make up the lens holders:
- LensArray.stl
- LensShell.stl
Snap the lenses into position and then fit the two plastic parts together.

Step 6: Determine the Focal Length of the Lens Matrix

You can use a desk lamp to determine the focal point of the miniature lenses. Move the lens array up and down until they form a sharp image of the lamp on the table. This is about the distance you want the lens array to be from the LED matrix.
Step 7: Experiment With the LED Matrix and the Lens Array!
You should now be able to experiment with the lens array and the LED matrix. Try out different distances and see how far you can project the light patterns in a dark room!
You can use a set of helping hands to do this, or you can devise a more clever way to hold the project together. Have fun!

Participated in the
Pocket-Sized Contest

Participated in the
Microcontroller Contest


