

Introduction: Cheap Computing: Arduino With TTL Serial


Much of the cost of the full scale arduinos like the UNO is the cost of the USB interface ( note, True when this was written, but this is no longer true, usb is cheap now. You may still want to go TTL serial for other reasons. ). Get rid of that and you can either build your own arduino from scratch or get a board like the Really Bare Bones Board ( http://moderndevice.com/product/rbbb-kit/ ) for cheap. But since your computer does not have the right interface, which is sometimes called TTL Serial, you need an adapter. No problem, get a USB to Serial TTL also for cheap ( mine was http://www.amazon.com/CP2102-Module-Download-Seri... ). ( If you do have a computer with a RS232 Level serial output then all you need is a RS232 to TTL adapter these are also available, see: http://moderndevice.com/product/p4-rs232-to-ttl-se... ) You can reused the adapter on project after project. The final issue is how do you connect the adapter to the Arduino? That is what this instructable is really about.
When you use this technique you should buy the least expensive arduino or clone that will support your project. When you look at the instructable projects you can see than many use only a few pins, do not do much with the peripherals, and do not take advantage of the full speed potential of the boards. So invest in a cheap board that only has the stuff you need. I still like to have one full UNO type board as a reference, but most projects end up using smaller cheaper boards.
Step 1: A Picture Is Worth 1K Words

The problems with the connection is that both components have male connectors, pins. With some adapters and Arduinos the connections should not be made straight across, or some pins should be skipped. This adapter deals with both issues because the female sockets are connected with wire. All this should be clear from the pictures here.
Step 2: The Build


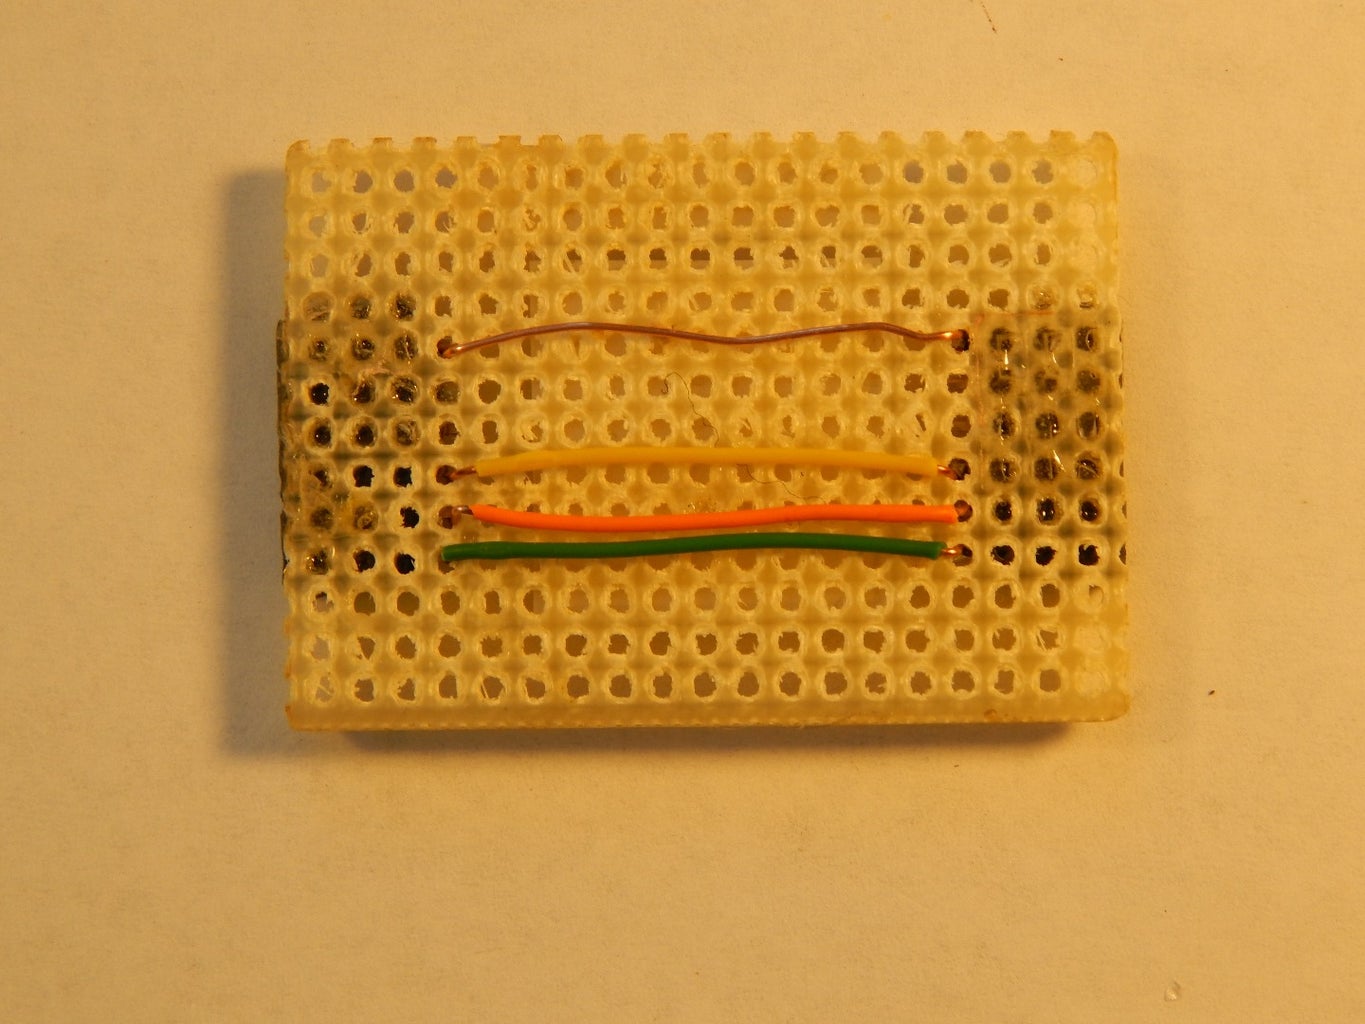

The pictures show the process. Start with some board ( holes on .1 inch grid ) and female headers. Cut the headers to length if necessary and epoxy to the board. When the epoxy is dry wire it up ( in my case the wires went straight across but I skipped the VCC, my arduino is powered thorough a power socket ). Labels are nice, you can make nice ones, really small lettering if desired with a spreadsheet program.
Step 3: Links to Related Info.


