

Introduction: Cheesecloth Herb Roasted Turkey


Over the years, we've tinkered with a lot of different roast turkey recipes: Brined, deep fried, smoked, foil covered, uncovered and constantly basting. But we've always come back to, and have ultimately settled on, this cheesecloth roasting method used by one of our grandparents
This year, on Thanksgiving, everyone agreed we totally nailed the basting ingredients, timing and temperature with the resulting holiday bird beautifully roasted, moist and flavorful, and present for you here, our customized Heritage roasting recipe for the ages!
Step 1: Ingredients


You'll need:
- Cheesecloth - usually found in the cleaning section of the grocery store for some reason, except during the holidays when you can sometimes find it on the endcap displays or in the baking section.
- Unsalted butter - 1 lb (at least! Allow for up to 1 1/2 lbs)
- Old Bay Seasoning
- Pepper
- Fresh or dried
- Rosemary
- Basil
- Sage
- Counter cleaner - to avoid cross contamination from the raw turkey. And wash your hands a lot, too.
- Cooking thermometer - not shown, but you'll need one
Be sure to cover your work area, too, since you'll be working with raw turkey and lots of butter!
Step 2: Preheat Oven to 375

Just like it says - You'll be reducing the heat in Step 9, but start at 375. You'll be roasting your turkey for about 15-20 min. per pound, for reference.
Step 3: Prepare Herb Butter Baste


Melt one stick of unsalted butter in a microwave safe dish, or over the stove.
For this recipe, we used approximately:
1 tablespoon Old Bay Seasoning
1 tablespoon chopped fresh basil
1 teaspoon Rosemary
1 teaspoon Sage
1/2 teaspoon freshly ground pepper
Stir until well blended and then place on top of stove to keep melted.
Make up new batches as needed, throughout the roasting time.
Step 4: Prepare the Turkey
We used to wash our turkey until we started noticing recommendations to the contrary. If you're an old school cook and have always washed your poultry before cooking, you might find this article interesting: A Brief History of Chicken Washing . We're convinced. There's no need to wash your turkey (or your chickens).
So remove the packaging, fish out the neck and giblets, and either keep for gravy or dispose of properly.
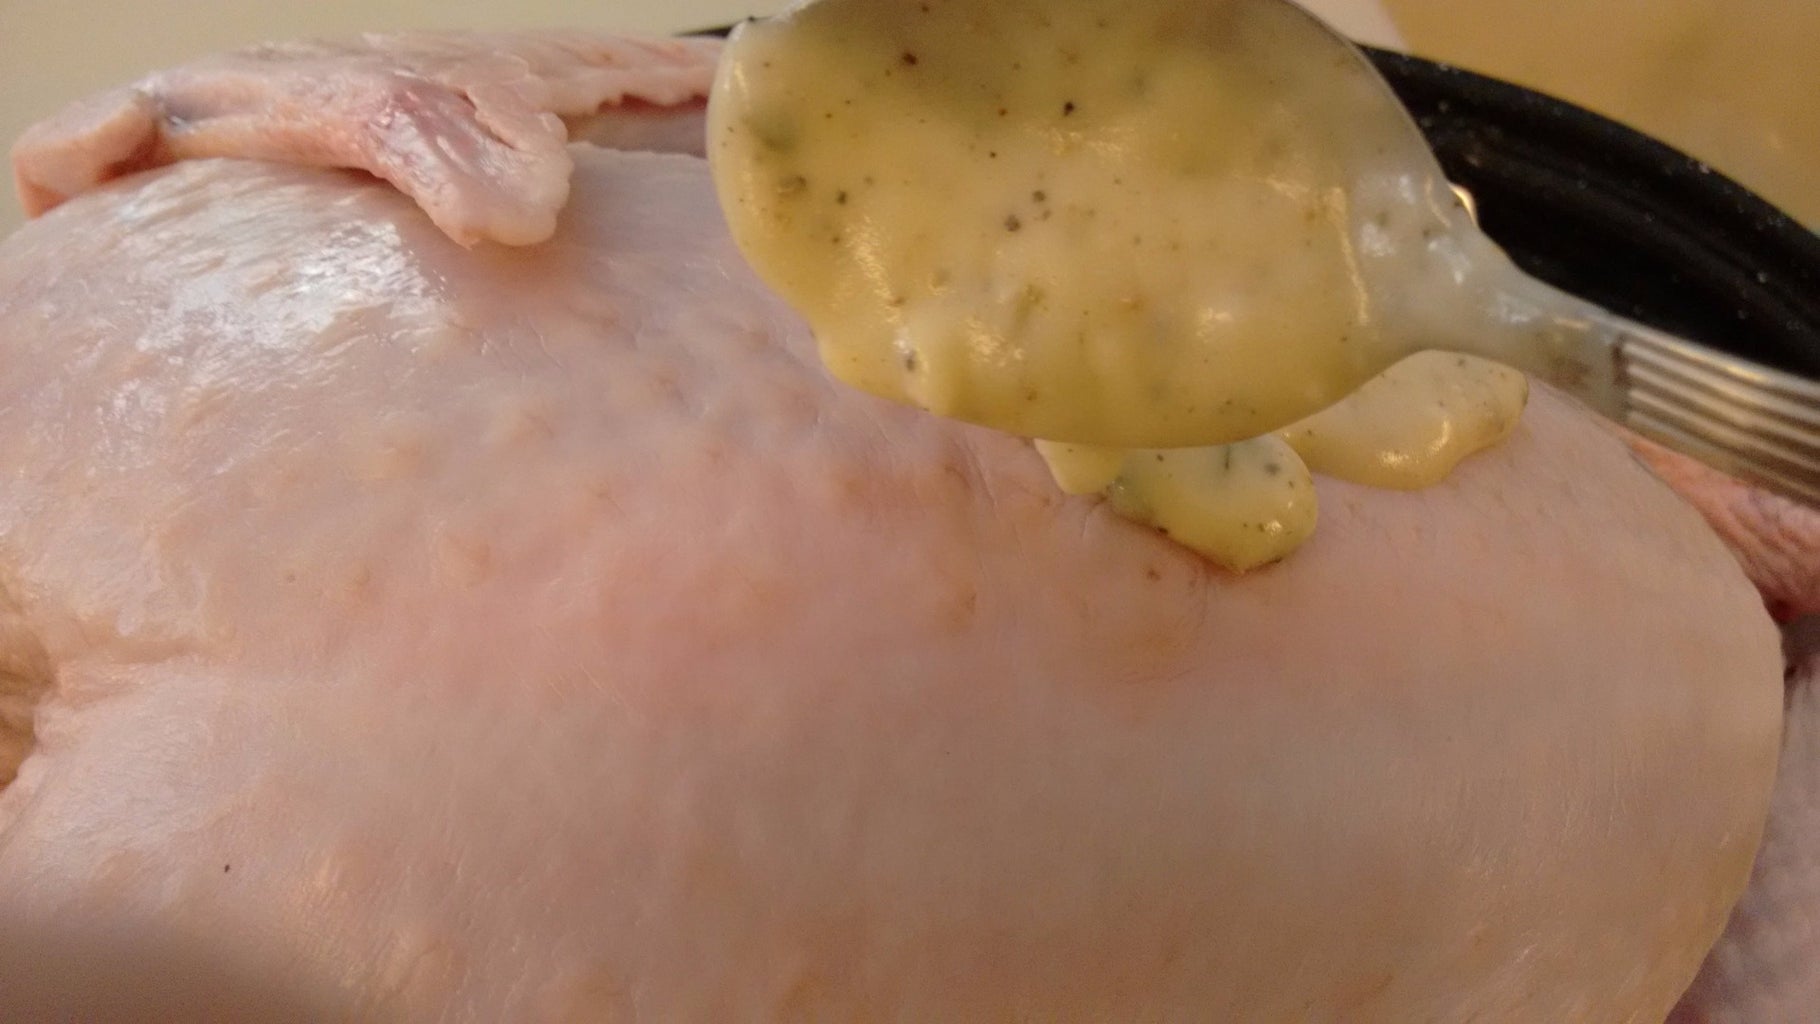
Then put your turkey on a rack in a roasting pan and apply a generous layer of your herb butter all over the turkey, and rub in well.
Step 5: Prepare Herb Sachet


We don't cook stuffing in our turkeys, but instead use an herb sachet. For this one, we bundled fresh sprigs of basil, some rosemary and sage inside a cheesecloth pouch that we tuck inside the turkey cavity. Whether it actually does anything is probably up for debate, but it's fun to do and presumably infuses the turkey with some nice aromatic flavoring, from the inside out.
Step 6: Insert Sachet & Seal Cavity


Tuck your sachet into your turkey and then close off the cavity - we just use some foil, and that plus the cheese cloth will help keep everything moist.
Step 7: Soak Cheese Cloth in Butter


Cut off the appropriate length of cheese cloth (keeping in mind that it's usually folded lengthwise in thirds, so it will open up nicely to cover your turkey). Then take that length of cheese cloth and put the whole thing in your prepared basting butter sauce, and stir it around until it's fully soaked.
Step 8: Cover Turkey With Cheesecloth
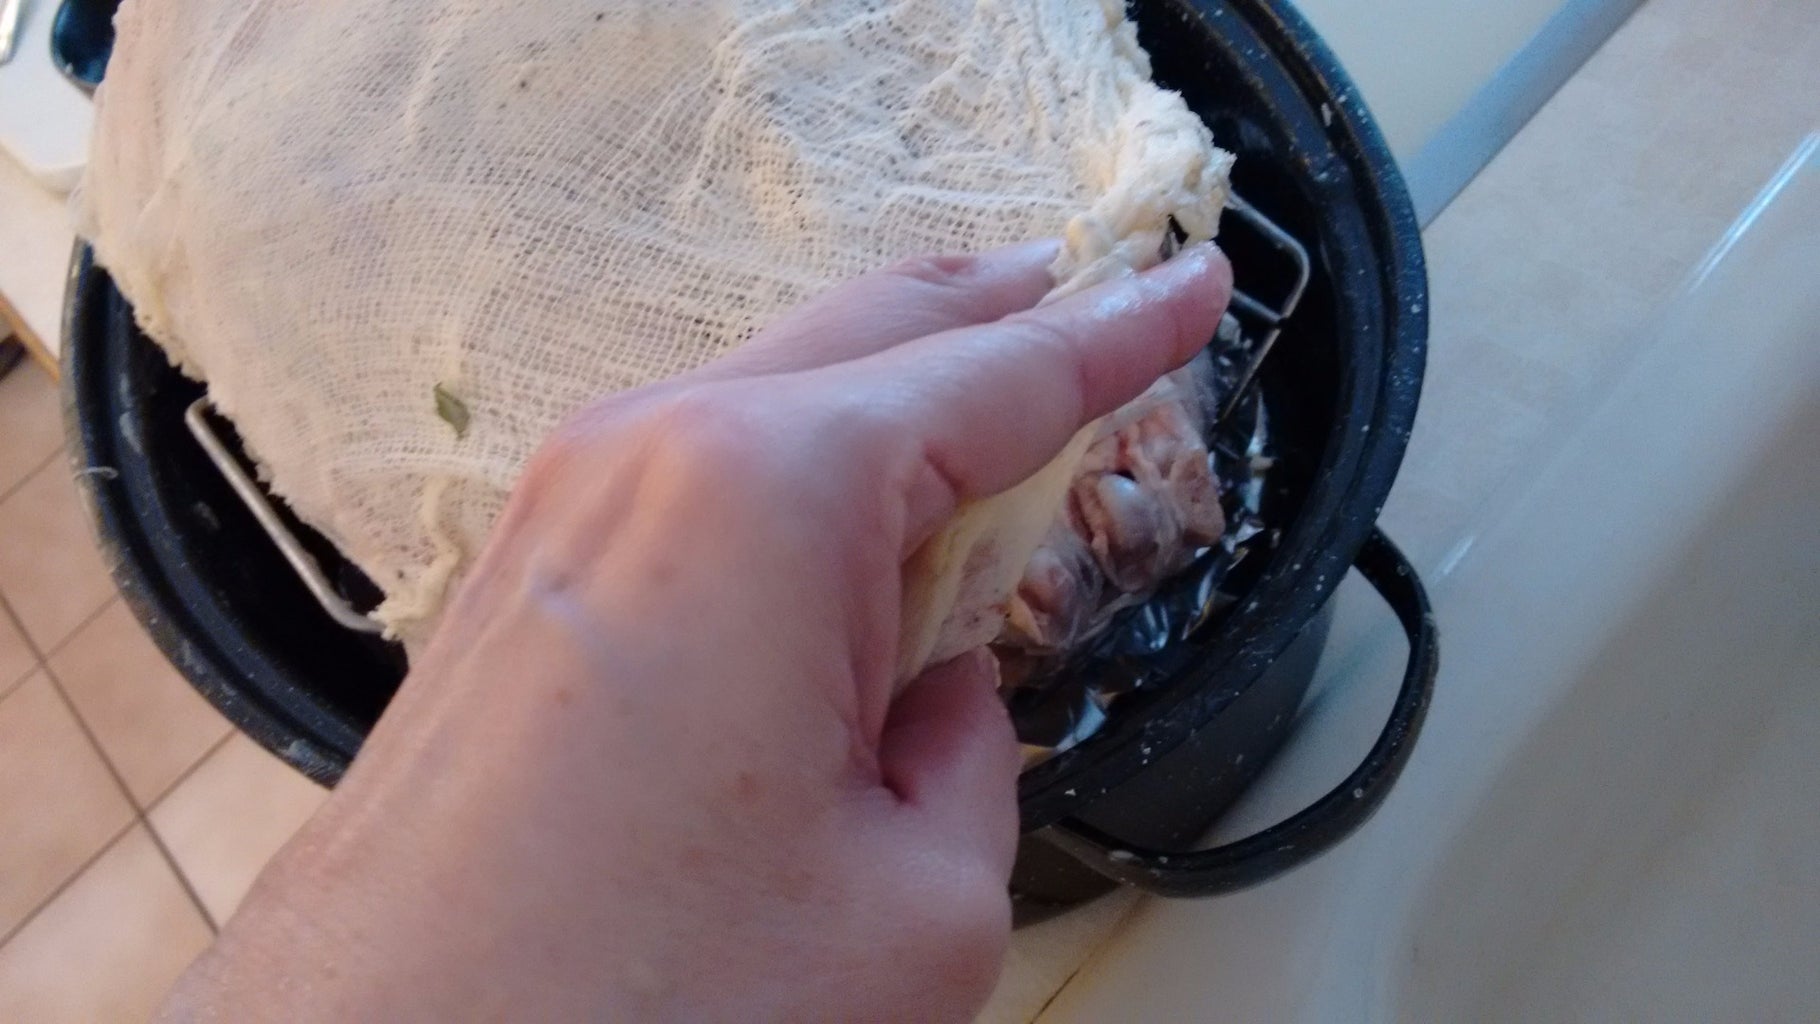


Carefully remove your cheesecloth from basting sauce and open it fully. I just do this over the turkey, which is sitting in the roasting pan, set on a covered work area. The best way I've found to cover the turkey with the butter soaked cheesecloth is as if I was doing a papier-mâché craft.
I lay a single layer carefully all around the turkey, tucking in as I go, and then fold the other side of the cheesecloth back over the first layer, and tuck that. You should wind up with a sort of snug looking mummy wrapped turkey.
Pop that in the oven...
Step 9: Reduce Heat to 350

Close the door and then reduce the oven temperature to 350 degrees and allow the turkey to roast, undisturbed, for at least 30 minutes. Don't peek! Just leave it alone!
Step 10: Baste Every 30-45 Minutes


After about 30-40 minutes, begin basting your turkey, both under and over the cheesecloth.
Basting times are a balance best achieved with practice and your individual bird. There are two things to consider here:
- Every time you open the oven door, you lose heat and lengthen cooking time
- Every time you baste, you add yummy moisture and flavor
So you have to find that happy place between cooking time and basting time. We've found about 40 min. is usually a pretty good happy medium. Technically, the butter coasted bird covered with a butter soaked cheesecloth wrap makes it so you don't have to baste much, if at all. But the reality is, everyone loves checking on the bird and fussing over it. And basting with the herb butter really does make it moist and delicious. And fortunately, since the turkey is covered with butter soaked cheesecloth, the intermittent fussing doesn't dry it out the way basting a turkey without the cheesecloth can.
So find your happy place, and when you baste, spoon or brush the herb butter both under and over the cheesecloth, tucking it back around the bird carefully, as well as possible.
Step 11: Keep Basting!


After about an hour, your cheesecloth will begin to brown along with your turkey. It's fine - leave it in place until about 30 minutes before your turkey is done.
Step 12: Remove Cheesecloth for Last 30 Minutes

When your turkey looks like this - pretty evenly and beautifully browned - remove the cheesecloth and allow it to cook uncovered for about another 20-30 minutes.
When the internal temperature of your turkey, in the thickest areas, reads about 160 -162, remove the turkey from oven, and cover loosely with foil.
Step 13: Serve & Enjoy!


The turkey will continue to cook on its own, in its little foil tent, so go ahead and pull the rest of your dishes together (in our case, this included some awesome Gluten Free Corn Muffins, courtesy of the Gourmet Grandpa!) Check the temperature one more time - it should be up to 165 in the thickest areas - then carve, serve and enjoy!
We've found that pulling the turkey out just before it hits that magic 165 degrees and letting it finish cooking a bit more on its own makes it just juicily perfect!
Thanks, Grandparents, and all the family members and friends who have endured all our trial and error turkeys for the last 30 years!
THIS is our new Heritage recipe so save it, use it and enjoy it for generations to come - or at least until someone comes up with a better twist on this old favorite!
Cheers!
Third Prize in the
Heirloom Recipes Contest


