

Introduction: Chisel Shelf


I made this chisel shelf because the workshop is begging to be a mess
Also the chisels were getting chipped because i was storing them in an improper way
Step 1: Tools and Stock

I used pine boards two and a half cm thick and fifteen cm wide
Tools ,Table saw ,Cordless Drill ,Sander Electric planer
Some sanding paper and wood screws
Step 2: Preparing the Boards


I cut the boards to the desired length on the table saw,then using the electric planer made the boards flat.
Using an orbital sander I smoothed the surface of the wood.
Step 3: Shaping the Sides

I cut a curve in the sides for aesthetic reasons.
Step 4: Assembly


The top and bottom are connected to the sides using a little wood glue and wood screws.
Make sure to check with a square and see if the boards meet at the correct angle.
Then the back board is added .
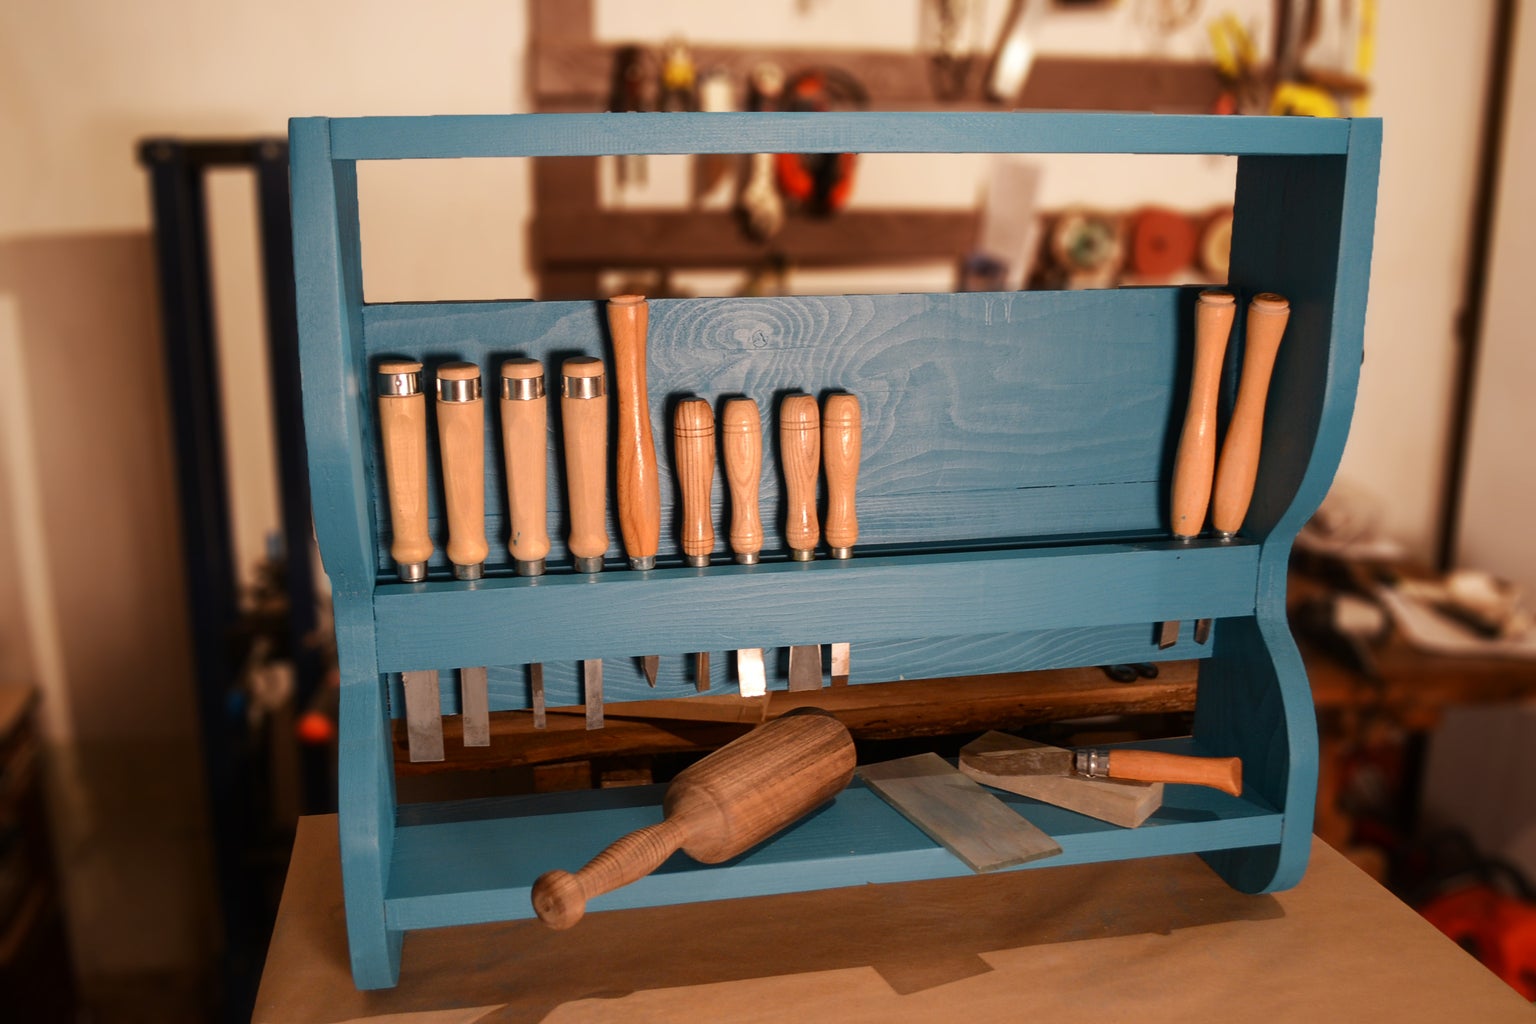
A narrower piece of wood is glued in front of the back board leaving a space of two centimeters between them ,this is the groove where the chisels will be placed.
Step 5: Patching Screw Holes


I used a two part wood filler to cover the holes left by the screws
I then sanded the excess .
Step 6: Paint ,Sand,Paint


I painted the shelf with a water based paint.
The wood grain became quite rough so i had to sand the surface and paint a second coat on the entire piece
Step 7: Organise
Hope this instructable helps you to get those chisels in order.
Have fun in the workshop.

Participated in the
Shelving Contest 2016

Participated in the
Build a Tool Contest 2017


