

Introduction: Computer Case Engraving

An old-School approach to customizing a computer paintjob. I originally posted this on PCAPEX but I decided to post it here cuz it was my first mod.
First of all, my first mod I plan on using my old alienware and beefing up its appearance alittle by etching an alien in the side of it..
Things you will need:
1) Paint(if you want your engraving surace to be a different color)
I chose Mirage paint from Duplicolor (chameleon)
2) An engraver, I chose a dremel cuz there is no substitute.
3) Masking tape
4) Chalk (I used a very soft art chalk)
Step 1: The Plan

I decided to draw my plan on a piece of paper pror to actually drawing it on the surface..
Step 2: Masking
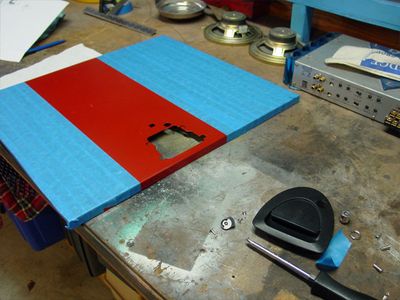


Mask the areas that are not going to be painted.
Step 3: Painting

I painted the thing with Duplicolor Mirage paint, found at your local auto parts store. The only thing i did different here was when painting the black base coat, I was alittle farther back then usual to create a nice texture. I actually wanted black as my color but i had some Mirage paint left over so i ended up with that... Kind of a green and black appearance... cant really tell in the pic
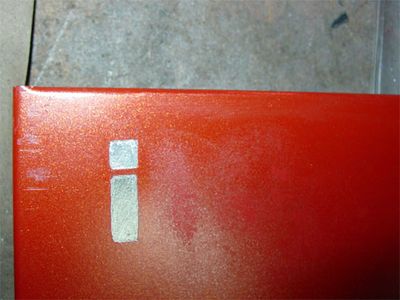
FYI: Its about 5 layers of paint and lots of sanding..
I ran out of the base color black for the mirage paint so... the paint I used for the later layers was a cheap 99 cent paint that you should never use because no matter how much i sanded i never got a flat surface.... but this little error actually ended up being ok... cuz it gave a nice textured surface... :)
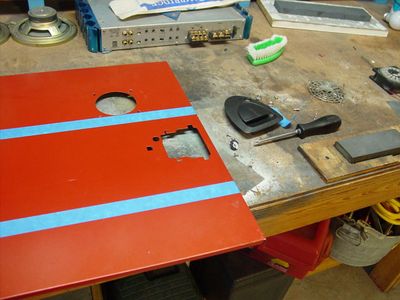
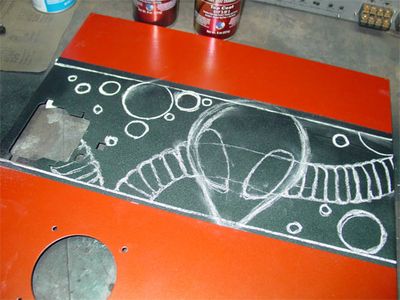
Step 4: Chalking

After a few days and peeling off the tape on the delicate cheap paint job that alienware provided... I began on the middle section...
I used prisma chalk (a soft art chalk) to mark all the designs on the flat paint before i started to etch...
At first I used a dry erase marker but the marker wouldn't erase. The only way to remove it was to use a small amount of thinner which smeared the red paint. DONT USE DRY ERASE****
Step 5: Etching

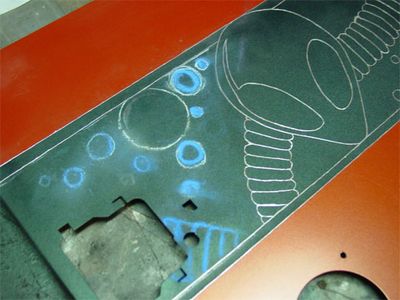


Engrave the outline you made in chalk. To make it easier, I used blue chalk to draw over what i still needed to engrave, because white chalk was confusing. I also washed the area with windex and a towel that I already etched.
Step 6: Chalking Again


Fill in the rest of the image details with chalk as before.
Step 7: Engraving and Finishing Up..


Engrave the remaining detailed areas and clear coat the whole thing.
(I went over the bigger areas with some sandpaper about 220 grit to soften up the engraving lines)


