

Introduction: Console Gaming Shelf


For all of us gamers we understand that organization and display can be a bit of a handful at times. Achieving the ultimate display/collection is an ongoing battle.
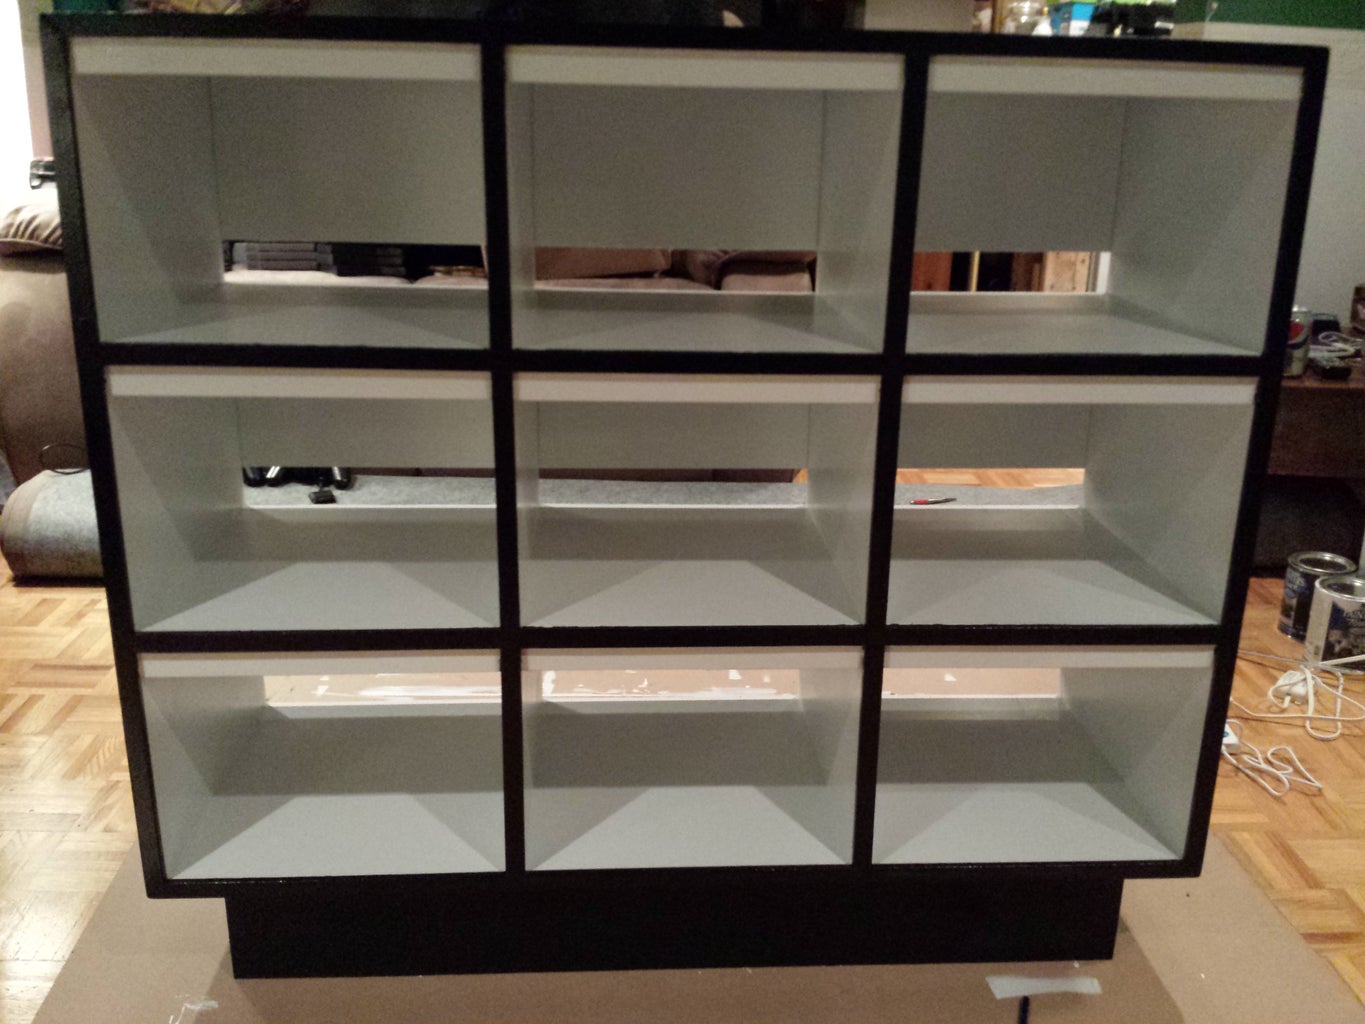
My goal was to create a console gaming shelf that displays my favourite and most used consoles, with LED lights!
To begin, you must draw up a plan with measurements based on the room you have and the size of your consoles, my largest console measures 11 3/4", so you might want to go 16 inches wide on every shelf (although a 12" wide shelf makes measurements a lot easier)
I wanted my shelves 9" high by 12" wide (to make sure my Gamecube had tray opening clearance).
I took a trip to Home Depot and purchased the following:
1. 1 complete sheet of 5/8" MDF - You can go 3/4" for rigidity and ease of measurements but this will make the unit heavy, will definitely require 2 people to move it around
2. 1 sheet of masonite/backerboard - I chose a white glossy finish so the LED lights really shine
3. 3 - 8' lengths of Lattice style pine trim (11/16th's)
4. 1 bottle of carpenters glue - Construction grade is always a good option!
5. 1 pack of sandpaper - I bought 200 grit but an additional 80 grit for your sander might help if you cut your wood a 16th too long
6. 1 box of black drywall screws - Great for MDF and only if you choose not to use biscuit joints, biscuits are understandably cumbersome and time consuming to install but will ensure a nice clean job without having to countersink the drywall screws and use wood filler
7. 1 box of finishing nails - just like you wood get from Ikea to nail the backerboard on
8. 1 paint roller with rolling brushes (buy a few as you will be priming then painting, more if you use multiple colours on your project)
9. 1 can of Kilz primer, 1 can of high gloss white paint and 1 can of high gloss black paint
10. 1 paint brush with some nice edging brushes to get into tight corners (foam brushes are also good)
11. 1 tube of woodfiller - Again, construction grade with 3x the bonding and quick dry time will always help
12. 1 brain with patience and a few days to make cuts, piece together, paint and finish
13. I didn't include my valence cuts as I found them around the house. Feel free to buy a few feet of painted 3/4" trim from home depot
I made these cuts with my 5/8" MDF
2 cuts at 38.5" by 14" deep (Top piece and Bottom piece)
4 cuts at 28.5" by 14" deep (4 vertical pieces you see in the picture)
6 cuts at 12" by 14" deep (these will be the shelves)
The pine lattice I used for trimming off the front of my unit with mitred cuts (will require a mitre saw to cut 45 degree angles for the corners)
I can't remember the purchase measurements of the backerboard but if you cut it in 3 equal lengths, you will get that inch gap you see in the pictures to run wires and provide more than adequate ventilation for your consoles. The backerboard, amazingly, was the exact length of my final measurements for this console shelf.
Step 1: Cutting Your Biscuit Joints

I would like this instructable to be as detailed as possible. Unfortunately I did not write down the measurements for the biscuit joints.
Best thing to remember is 5/8th's + 5/8th's equals 1.25" - This is why I cut my 4 vertical pieces at 28.25" if you subtract 1.25 from that, you get 27" which if divided by 3 equals 9" (my desired cube heights for all shelfs
You will require a biscuit jointer machine at this point, one that can make face cuts directly on flat wood (see picture of rough cuts that I made above).
The reason I posted the rough cuts picture is I don't have actual images of the cuts I made in the shelf and to remind you, it's always best to make 100 test cuts if it means the final cuts you make are going to be absolutely perfect.
Do your best to make the cuts exactly centered in 5/8" measurement.
Step 2: Staggered Your Biscuit Cuts


IMPORTANT: Stagger the cuts you make with your biscuit jointer. You will have 2 shelves connecting to one vertical piece which is only 5/8" wide. You do not want to accidentally cut through the whole vertical piece when making the biscuit cuts.
It would be best to make 2 cuts for each section a shelf will be adhering too, make the cuts 2 inches in from the edge and another one 4 inches from that, flip the wood over and make the same measurements, but opposite (inverted) the cuts you just made, this way they won't meet up.
Make the same cuts on the edge of the shelves, just make sure you know which shelf will be adhering to which cuts you made on the vertical pieces.
Again, I didn't take all the pictures I wanted too (I was strapped for work time outdoors as the Canadian weather was approaching). The pictures above are after I made the cuts, filled the biscuit joints with glue and biscuits, then clamped together for 2 hours)
Step 3: Finish Gluing and Apply Mitred Trim


It's really up to you, the steps you take to clamp and glue the pieces together. You will have to move, rotate, lay down, the unit to get the clamps to do the job they're supposed too.
I used screws on the outside corners and outside shelves, I wish I hadn't as I didn't countersink them and the screw heads stuck out. I have since removed them and filled with wood filler (then sanded down)
The image above shows the front edges mitred, finish nailed (with an electric nailer), I tapped the nails in further and wood filled those holes, sanded any rough edges and places where wood filler was used.
It's important to remember that with MDF, it absorbs paint. Make sure the edges where you cut the wood and is visible, are sanded like the dickens to a smooth finish. This will save you primer!
Note: You will see penciled lines on the outside of the unit, this is where I drew lines to know where my biscuits joints would go, this will make your life much easier
Step 4: Make a Stand!

It's always good to have a stand for your unit. I made a rectangle out of scrap pieces of MDF from my project.
Any rectangle is fine (glue and clamp one together) but don't make it so small the unit will tip side to side or back and forth. But not so large that you kick it with your toes and can't stick any LED's underneath
Step 5: Gluing the Valences


See step 7 - I glued these in too early. It makes it hard to paint them white and paint the mitred trim black.
As you can see, I cut these an inch high by 12" wide - These help hide the LED lights and gives it an awesome "tuxedo" style
Step 6: Prime It!

This is highly important with MDF! If you don't, your paint will just get absorbed into the wood, could make it swell and ruin your whole project.
Primer dries quickly in warm temperatures and will seal the wood. Allowing you to paint easily, without worry.
Some say you should prime, let dry, do a quick sanding, then blow off the dust, re-prime, let dry, then do a quick re-sand (then blow the dust off). This will help the paint adhere to the primer.
I did not do this as I felt, I don't sand the walls in my house between primer and paint, why would I with this (it does help, please see an instructable on painting/priming if you're unsure).
Be sure to do this outside, or in a garage/room with very adequate ventilation!
Step 7: Paint!


Again, well ventilated area is required
I painted the insides/shelves with the white first. It would probably best to paint the valence inserts separately as it will be difficult to cut in with the paint brush after they're installed.
Let the first coat dry then proceed with the second coat.
Since I screwed up and installed the valences early, I painted these white at the same time.
Allow sufficient drying time as you will need to use painters tape to mask off the valences and the insides of the shelves to avoid painting them black. If you don't allow sufficient dry time, the painters tape will peel of your paint.
While the white dried, I painted the outside black and the stand/underside (laying it down to achieve a good painting angle)
You will see i've already masked off the valences and insides of the shelves - I will include this picture in the next step
Step 8: Mask Off and Paint the Front Black


As you can see, the masking is complete.
I tried using newspaper in one of the shelves but decided it wasn't necessary (as long as you're careful!)
You can roll the paint on the trim and use the edging brush to get into the tiny crevices.
Now, you can peel off the masking tape as a second coat probably isn't require in the tiny crevices.
Once the front has dried, apply a second coat but be careful not to paint surfaces that you don't want black
Step 9: Installing the Backerboard and LED's


Have a friend hold up the backerboard where you will be installing it and mark with a pencil, where you will drill holes to run the LED wire through.
Drilling and cutting backerboard (masonite) is difficult as the finish will almost certainly chip away. You can run tape across the cutting edge to avoid this (harder to do where you will drill)
I had my friend hold the board down while I drilled, I drilled through the finished/glossy side first. Drilling from behind will make the chipping much worse.
Now the holes are drilled - It's time to use those finishing nails and nail the board in! Use as many or as little nails as you would like.
Once that's in, open up your Ikea Dioder RGB LED light packaging and start installing them.
Placement of the LED's is entirely up to you. I tucked them behind the valences and stuck them to the bottom of the shelves. This lets you run the wire down the side and out the holes I cut in the upper left corners.
This will create a mess of wires behind your unit (with all the console wires, it gets messy). Do your best to use twist ties of velcro strap to tidy up the wires as best you can.
Unfortunately the Ikea lights only allow 4 LED strips per module, leaving you with 3 control modules (as I needed 9 strips, I bought 3 packs of 4 totaling 12 strips). You have the option to buy custom strips, transformers and modules from an LED supplier but I didn't want to get into that.
When my wires came out of the back, I taped them to the back of the backerboard to keep the wires tight in the shelves.
Step 10: Install Your Consoles and Enjoy Your Creation


As i've said, running the wires will be a job in itself but well worth it. I put any console that required wired controlles on the left of the unit so I could lay down and play my games.
That decision is entirely up to you and your needs.
I hope you enjoyed this instructable and that it was as detailed as possible. I'm not a carpenter and really just winged a lot of this. If you have any questions please ask and I will respond as quickly as possible. I would also like to see any of your finished projects (if you take pictures of the steps I didn't take, please provide and I will add to the instructable)
Happy Gaming everyone,
Michael

Participated in the
Tech Contest

Participated in the
Fix & Repair Contest


