

Introduction: Control Arduino Wirelessly With MATLAB


Been seeing few DIYs on how to establish a communication between MATLAB application and Arduino that is hardwired to PC. However, I haven't encountered anything that control Arduino via MATLAB wirelessly using the ENC28J60 compatible Ethernet shield. In this ible', I'm going to show the simplest way to control Arduino using MATLAB wirelessly.
WHAT YOU NEED?
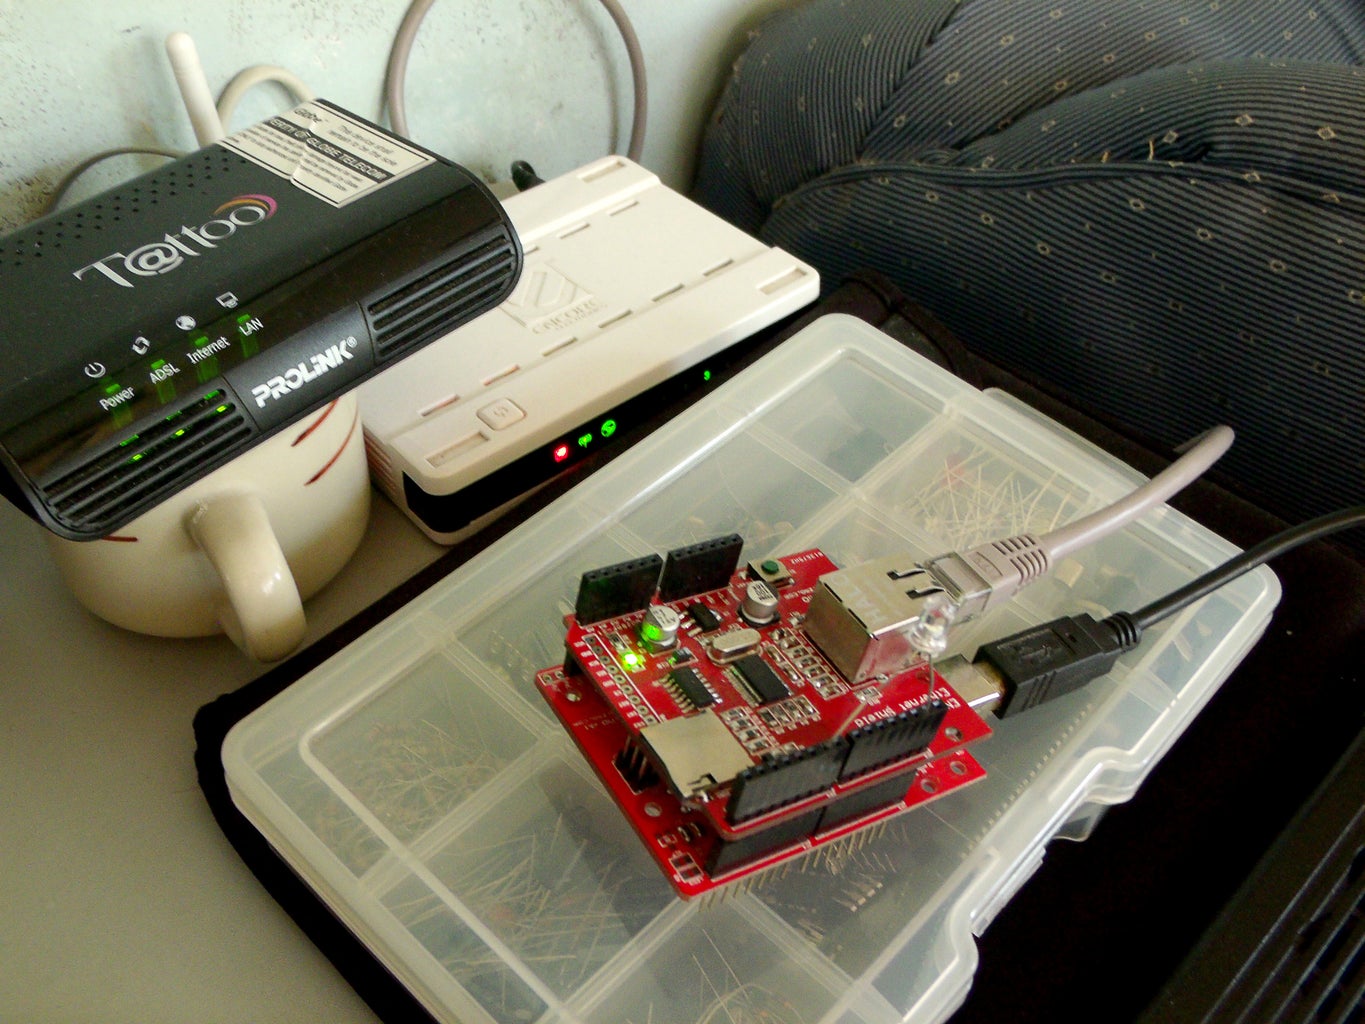
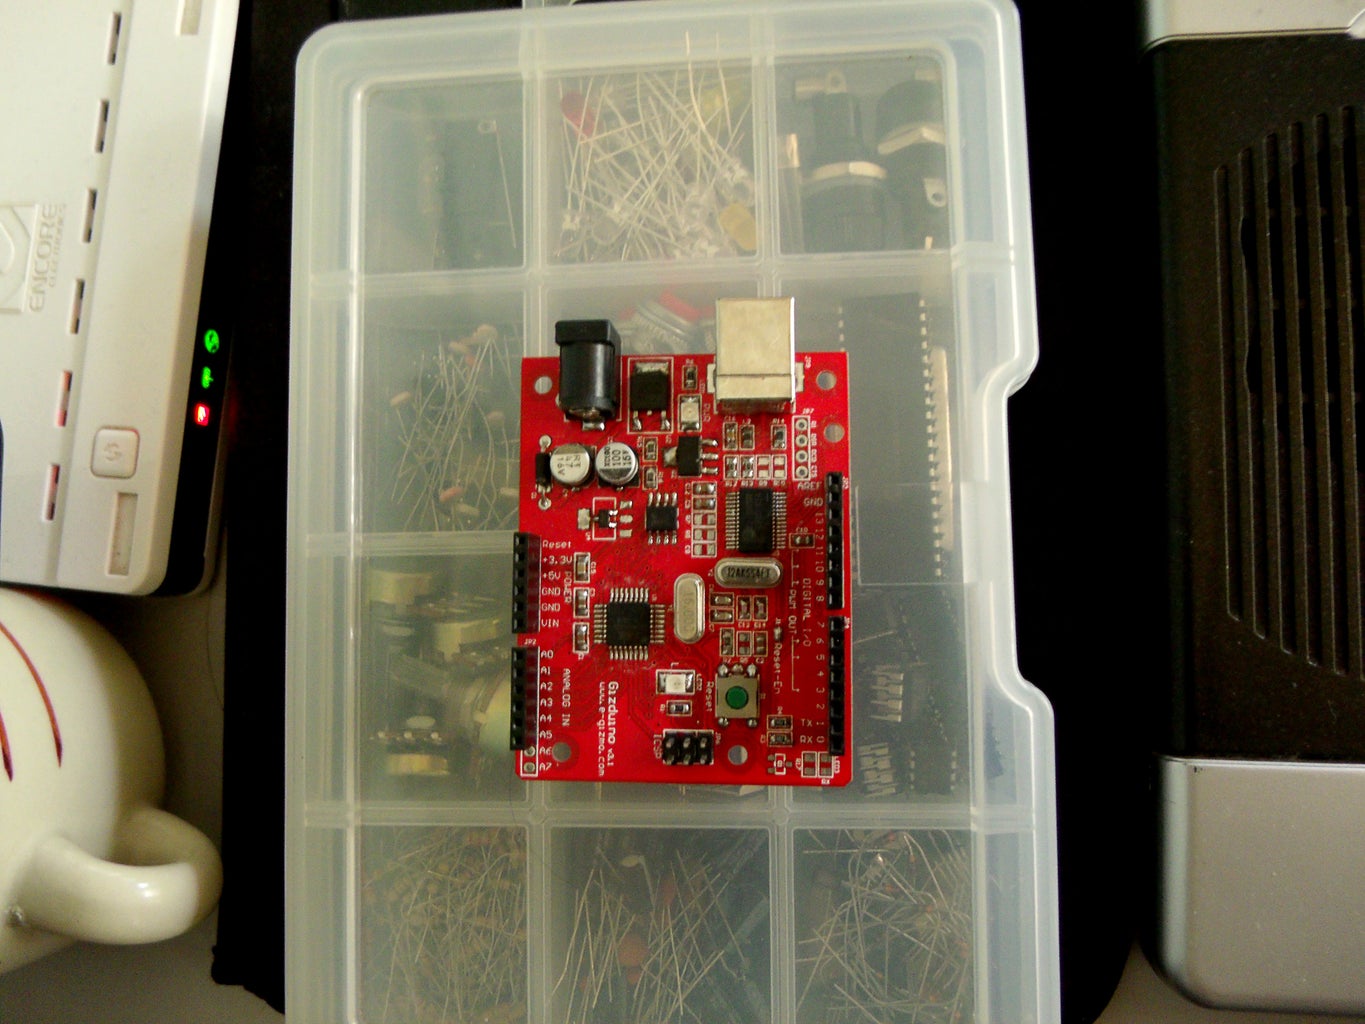
1) Arduino - You need a controller. I used Arduino since it is supported by MATLAB. For this project however I used, Gizduino, a locally made Arduino-based controller.
2) Ethernet Shield - You need a compatible Ethernet shield for your board. I used the ENC28J60 for my board.
3) Wi-Fi Router - To connect your Arduino which would be the means to communicate to your PC wirelessly.
4) LED - Any components to indicate communication between devices. For this project I used LED.
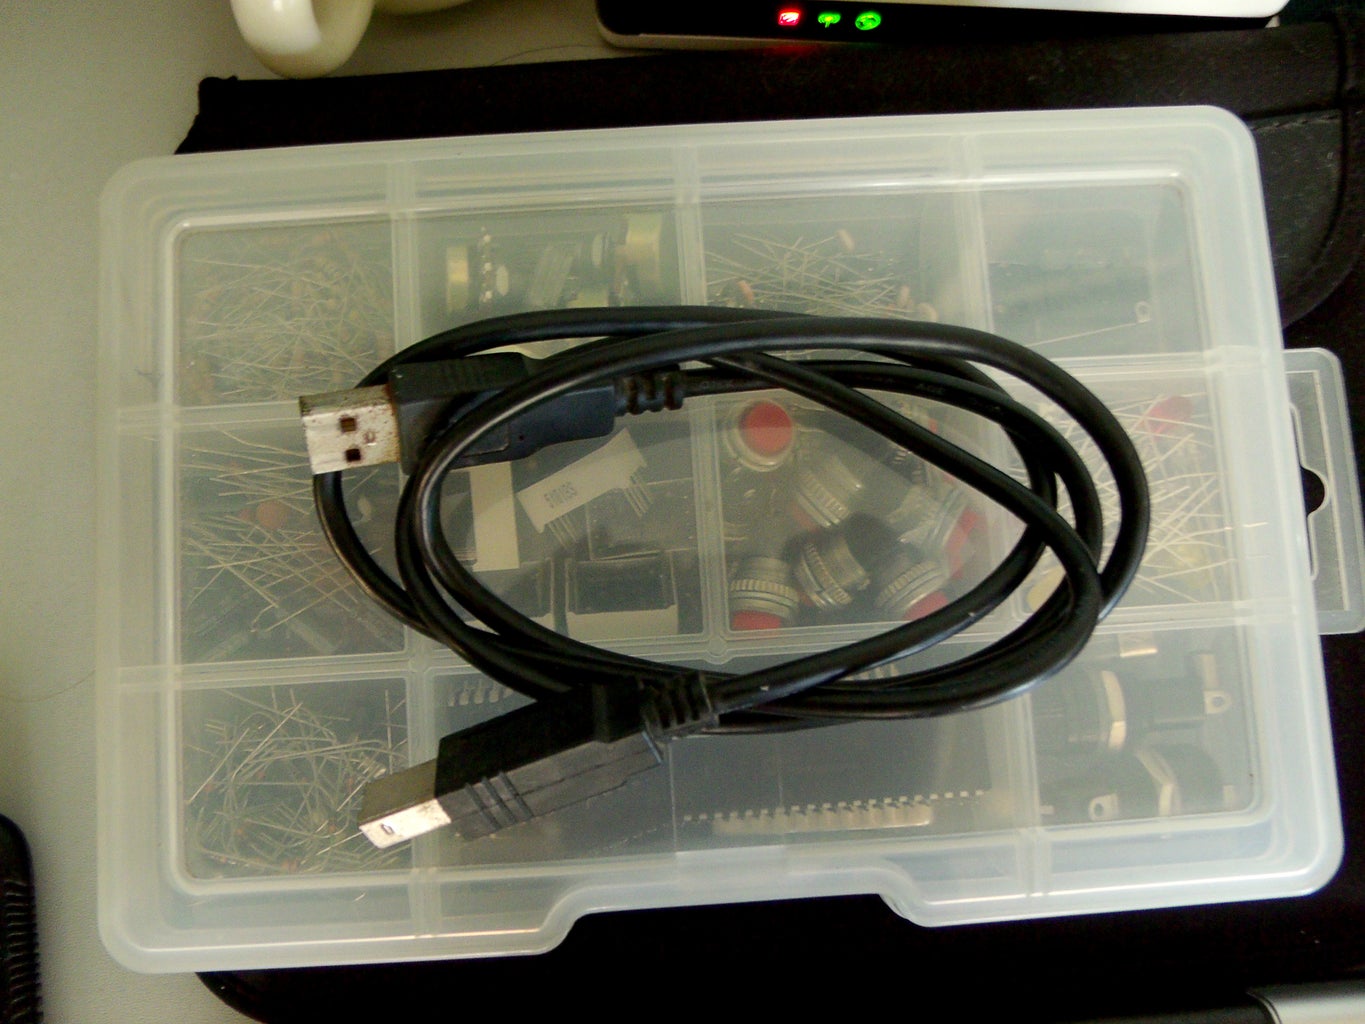
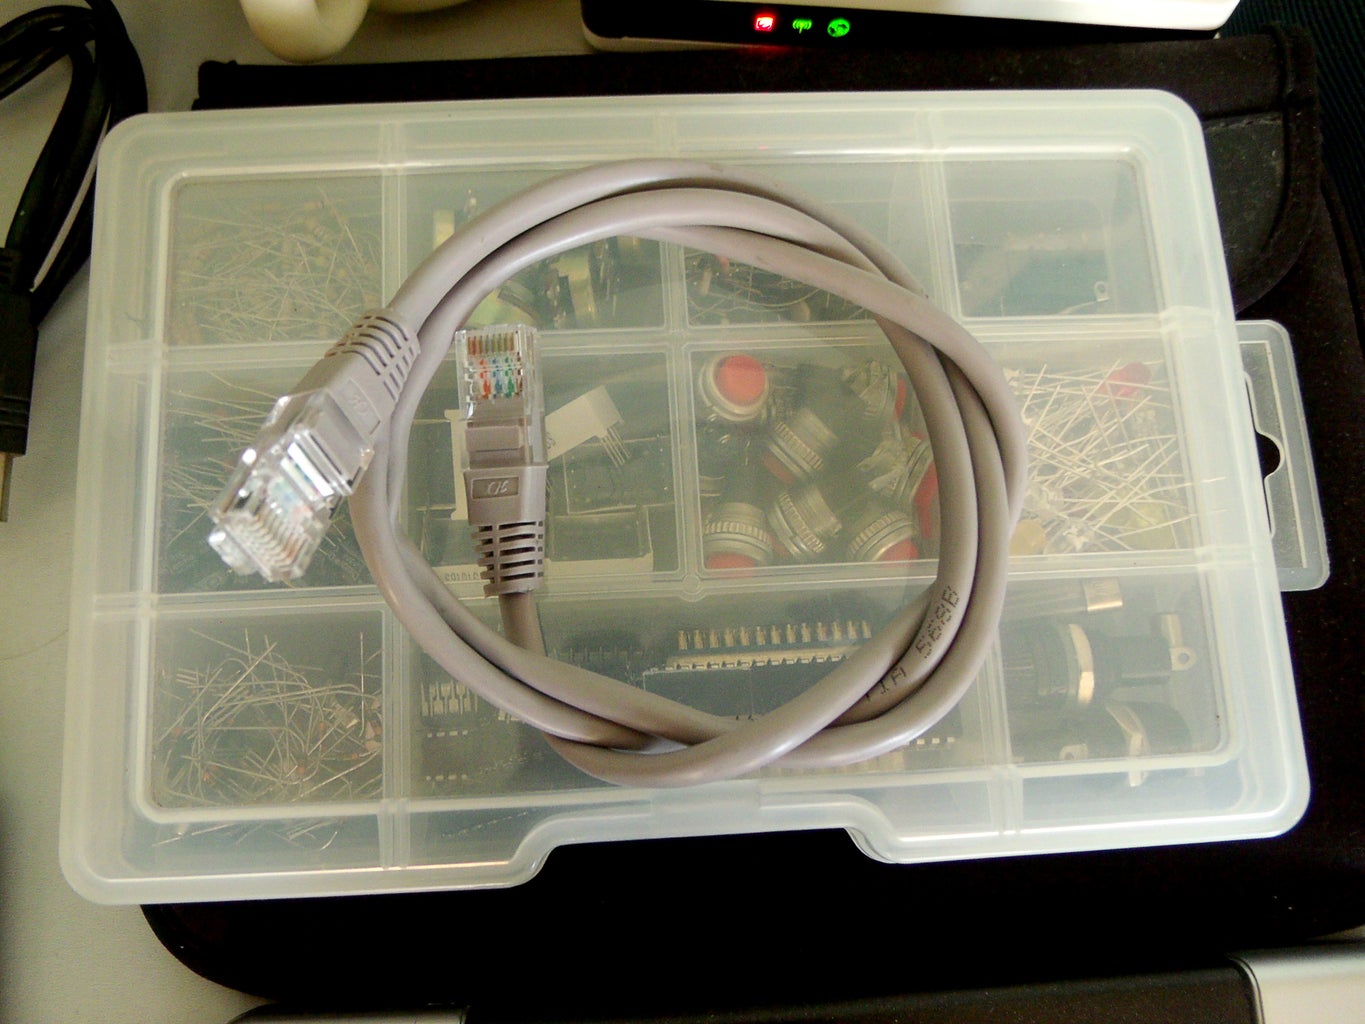
5) Printer Cable - To connect Arduino to your PC.
6) UTP Cable - To connect your Ethernet shield to the router.
Step 1: Connect Ethernet Shield to Arduino
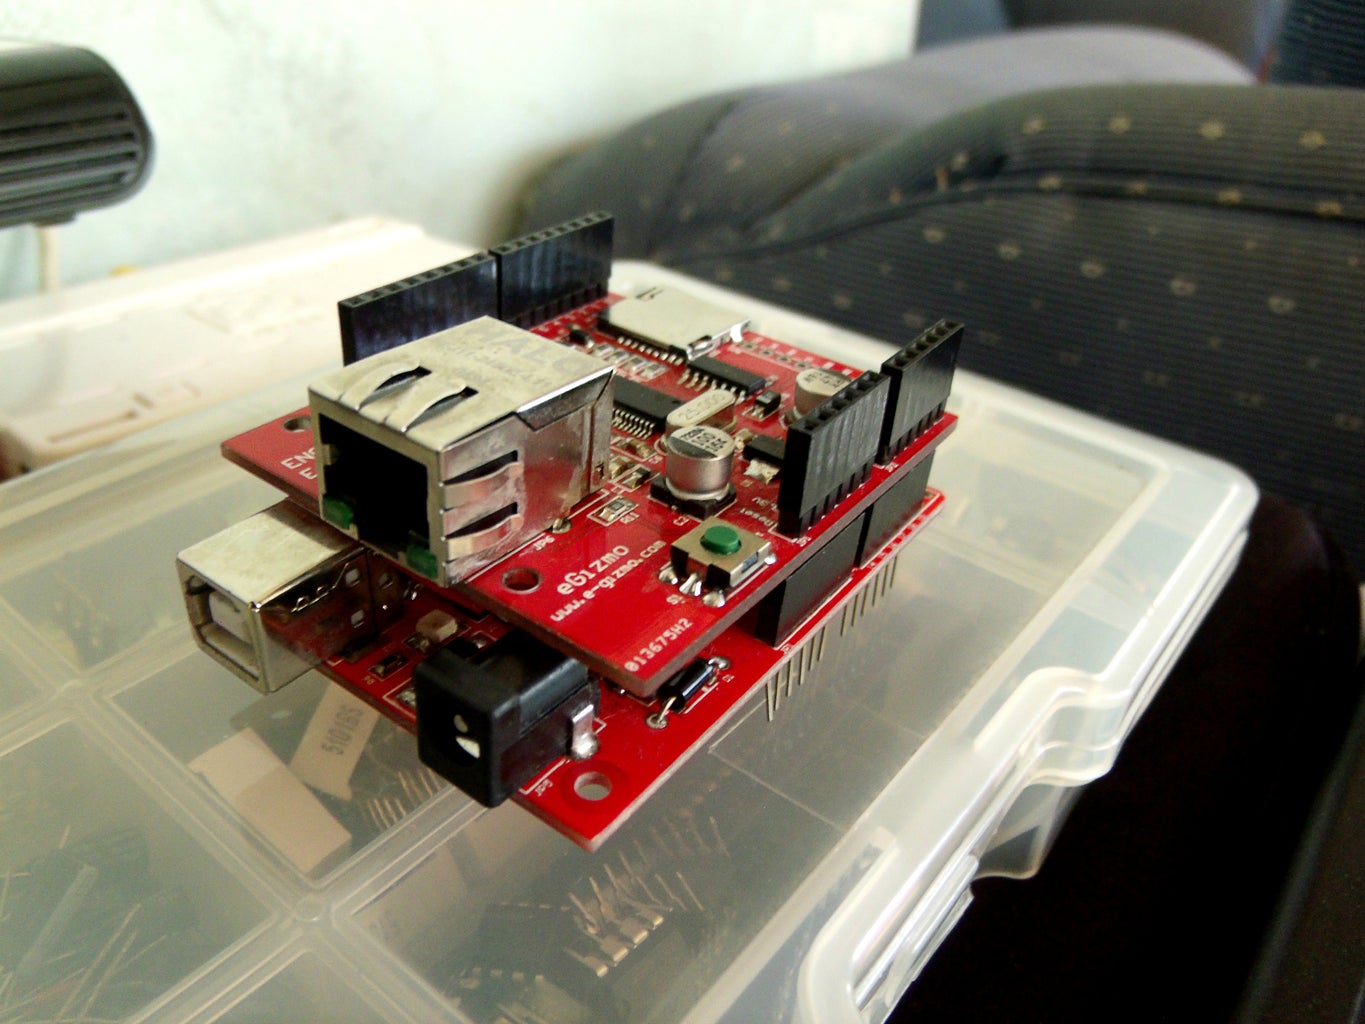
Carefully connect your Ethernet shield to your Arduino. Avoid bending the pins.
Step 2: Connect LED
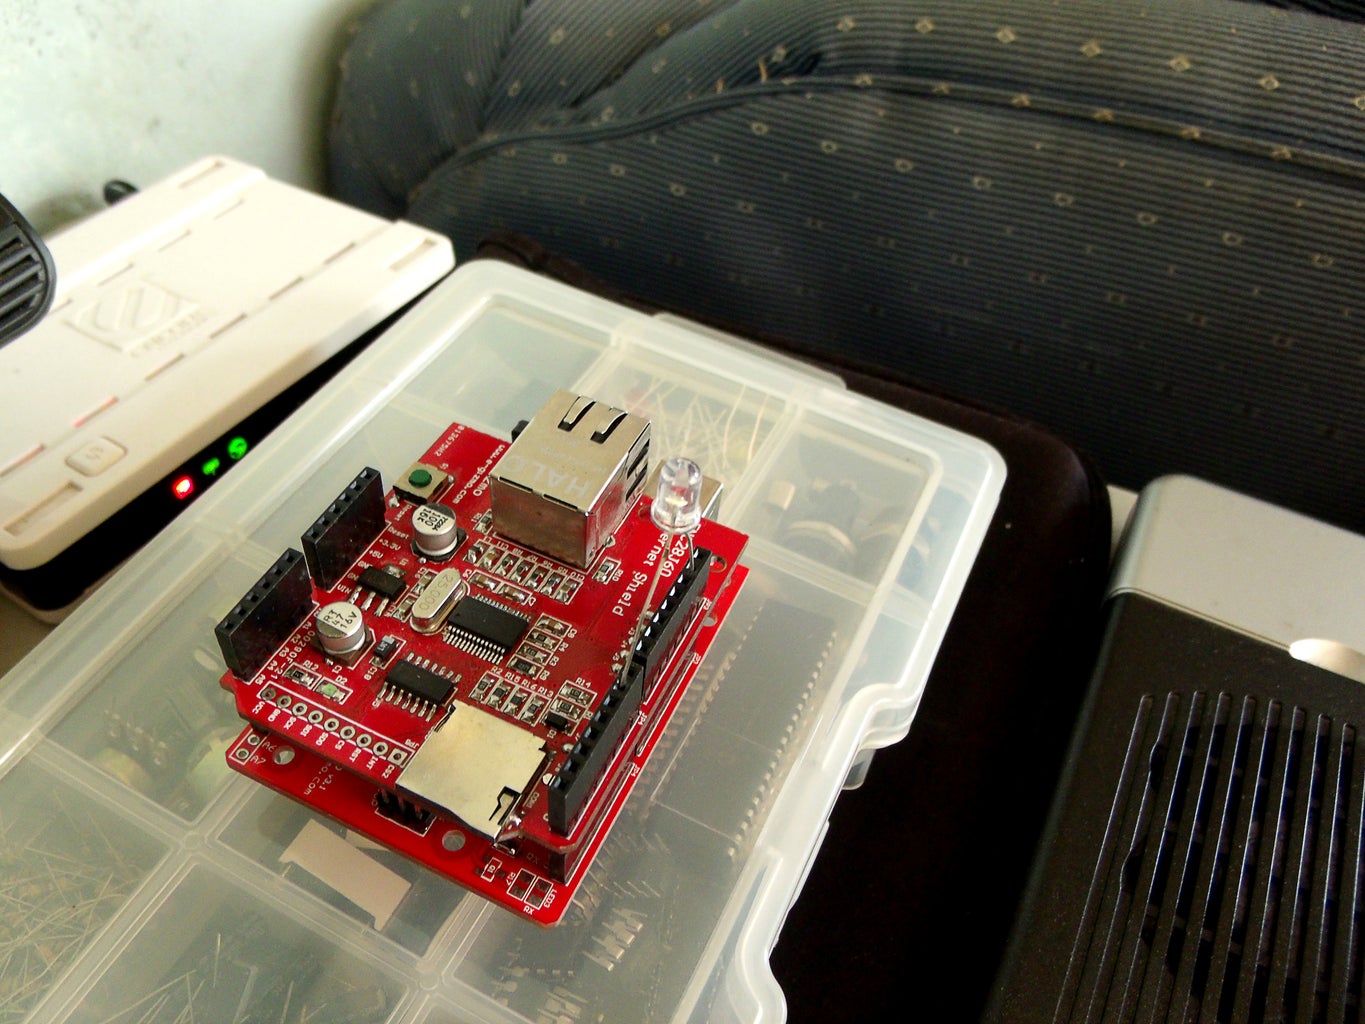
Connect any components that could indicate communication between devices. In this 'ible I used an LED. Will try to turn LED on and off wirelessly using MATLAB. I've connected my LED's anode (long pin) to Digital I/O pin 6 of the Ethernet shield attached to the Arduino and LED's cathode (short pin) to Ethernet's GND.
Step 3: Connect Arduino to PC
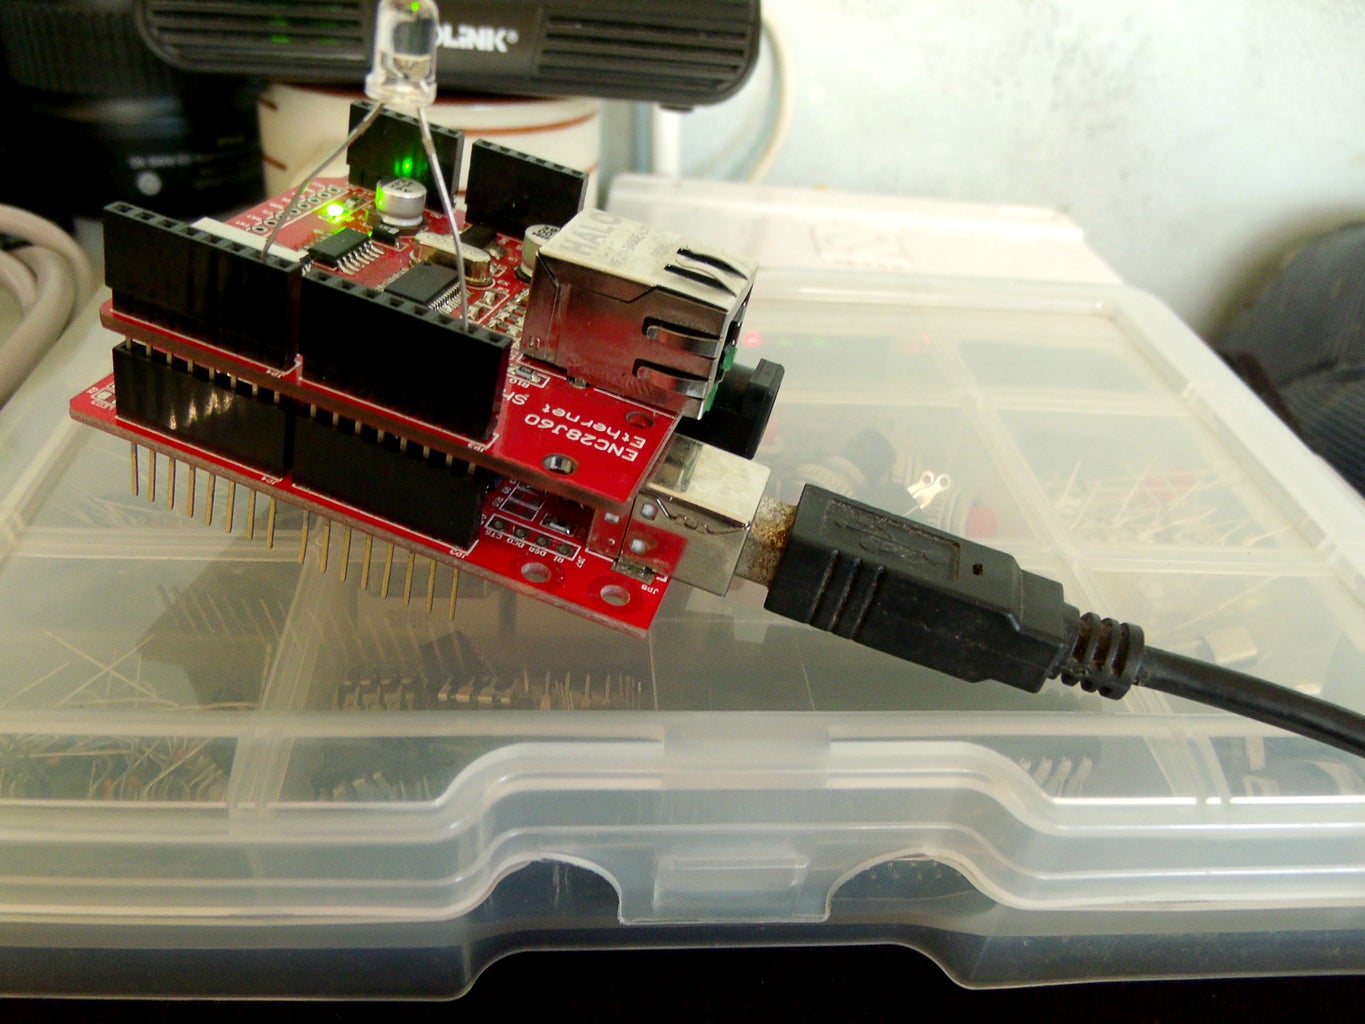
Plug-in the printer cable to your Arduino and connect to PC.
Step 4: Connect Ethernet Shield to Router
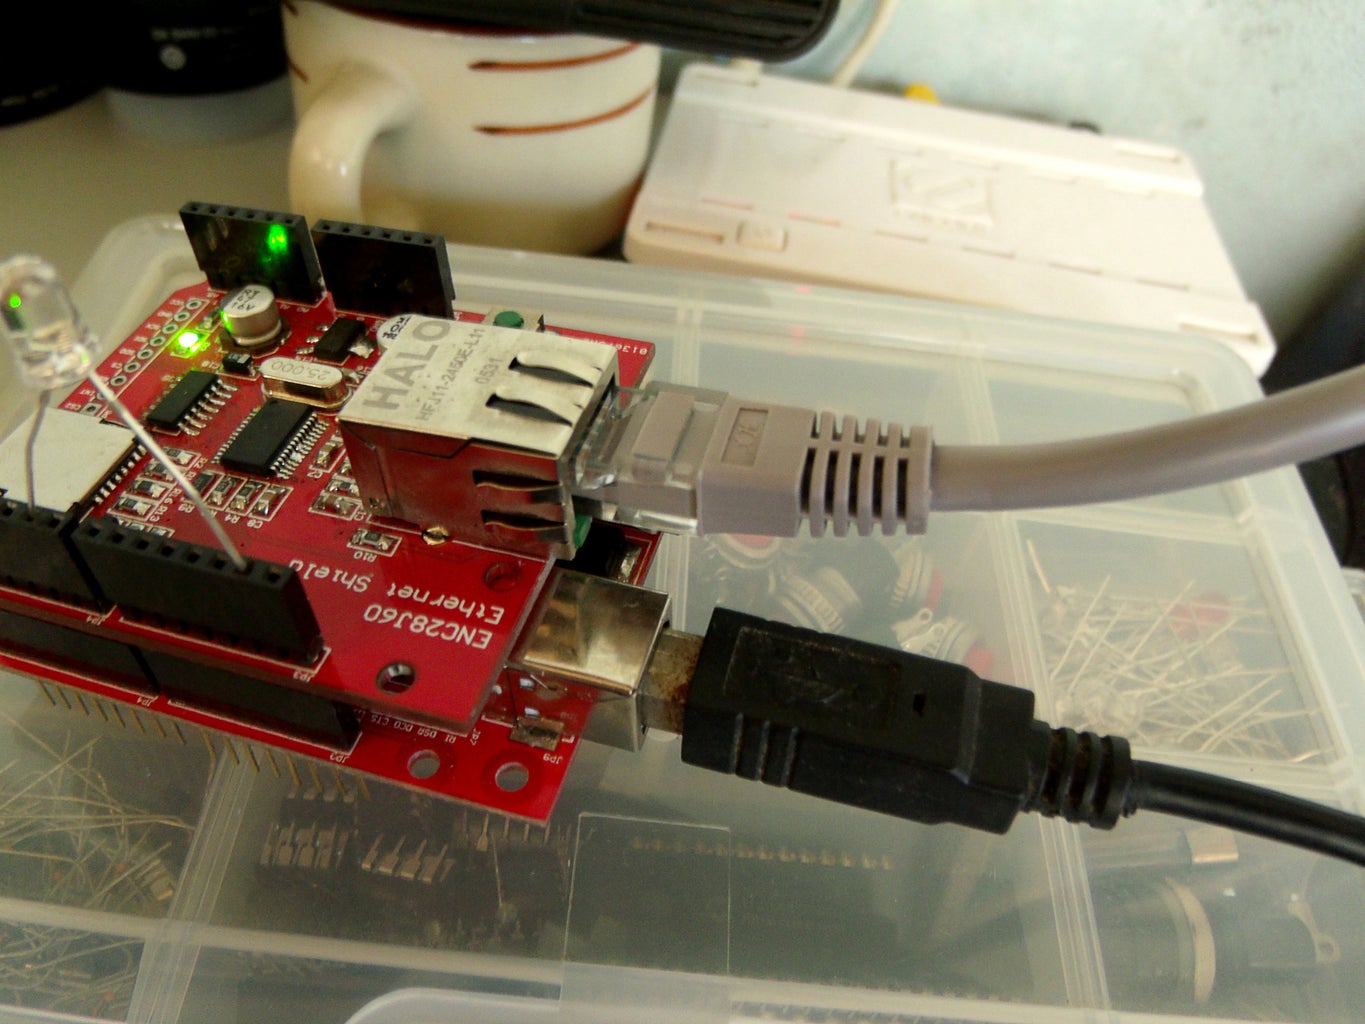

Plug-in UTP to your Ethernet shield and any of the LAN ports of your router.
Step 5: Open Arduino IDE


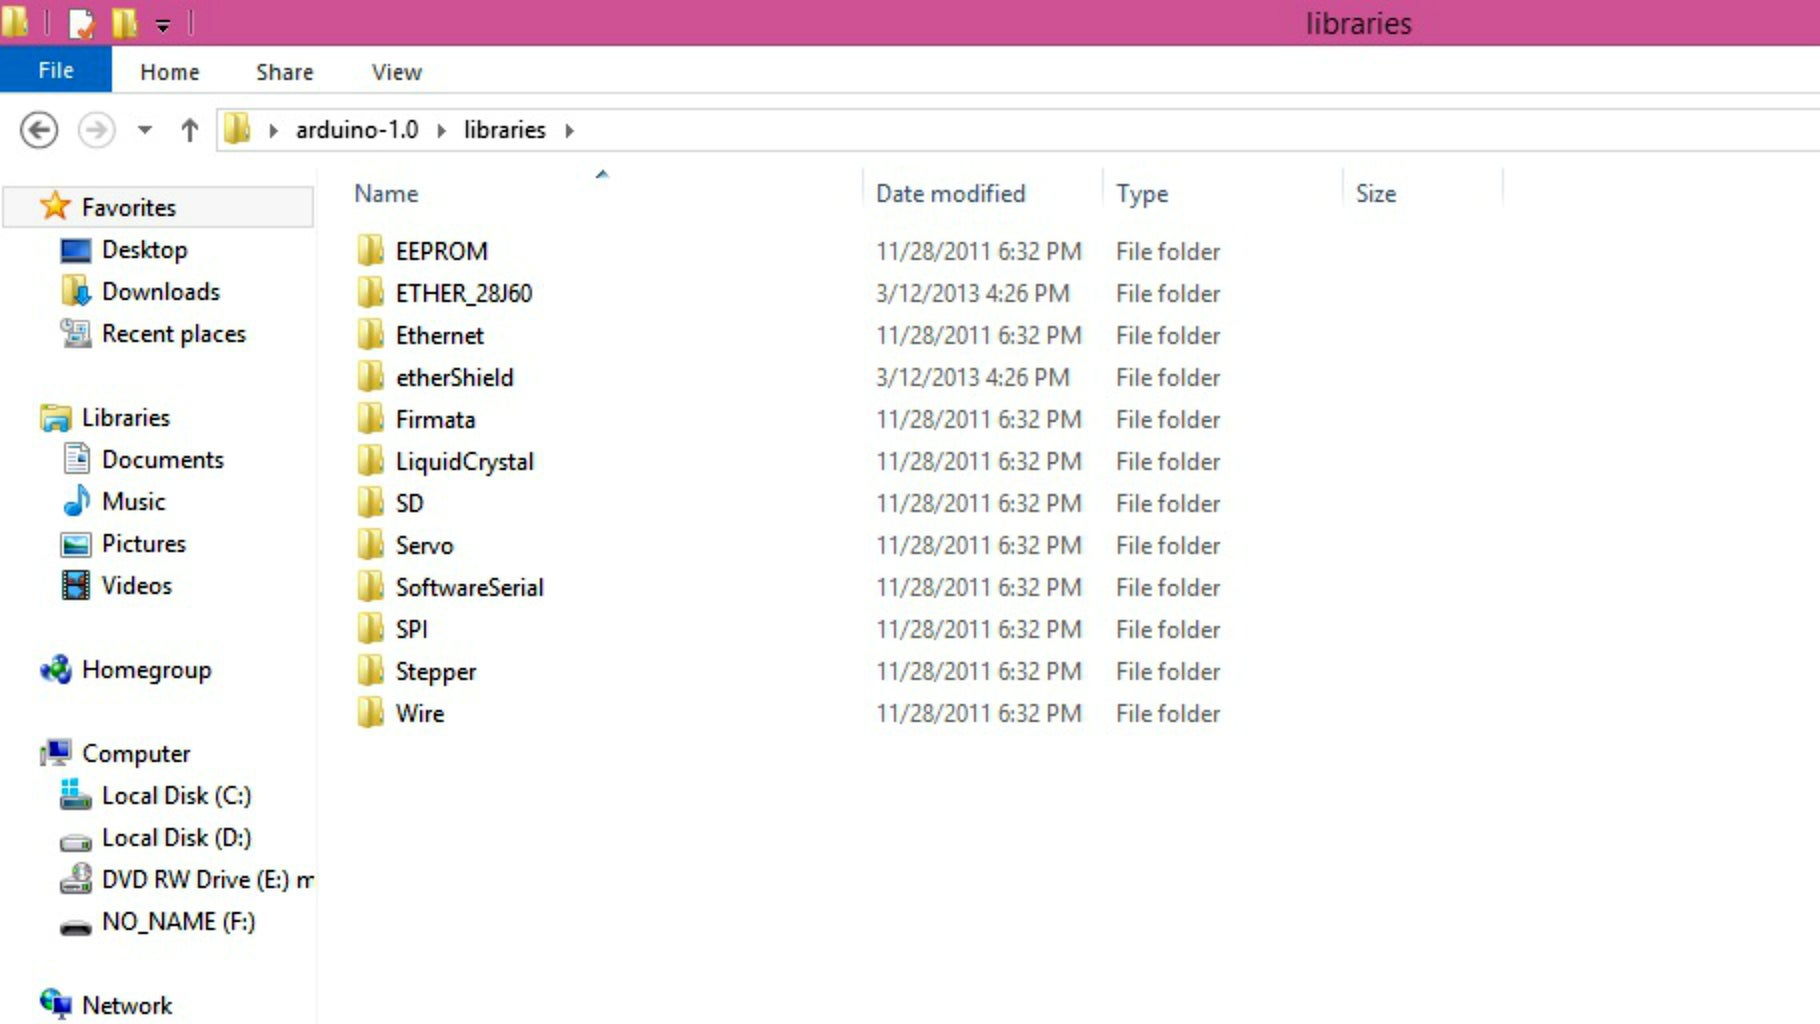
I used Arduino 1.0 because of the Ethernet shield library compatibility. After opening Arduino 1.0, download the library and copy paste the content to the library folder of your Arduino 1.0.

Step 6: Upload Code to Arduino
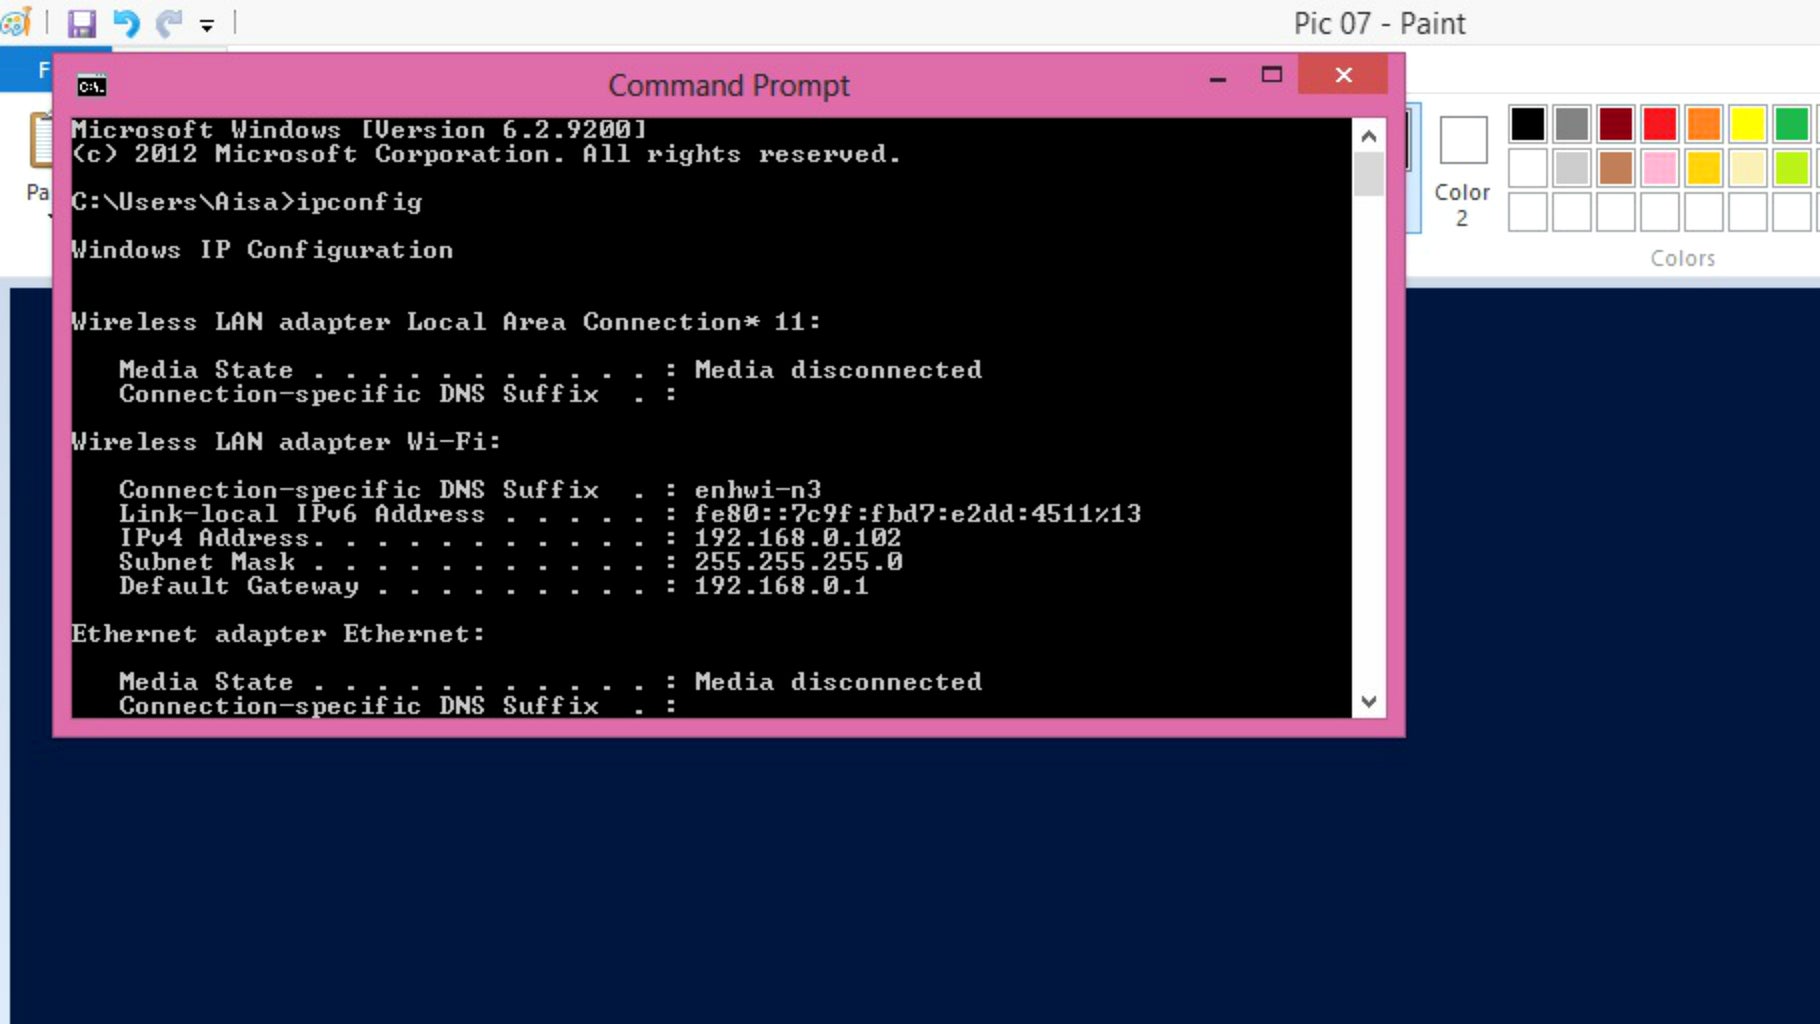

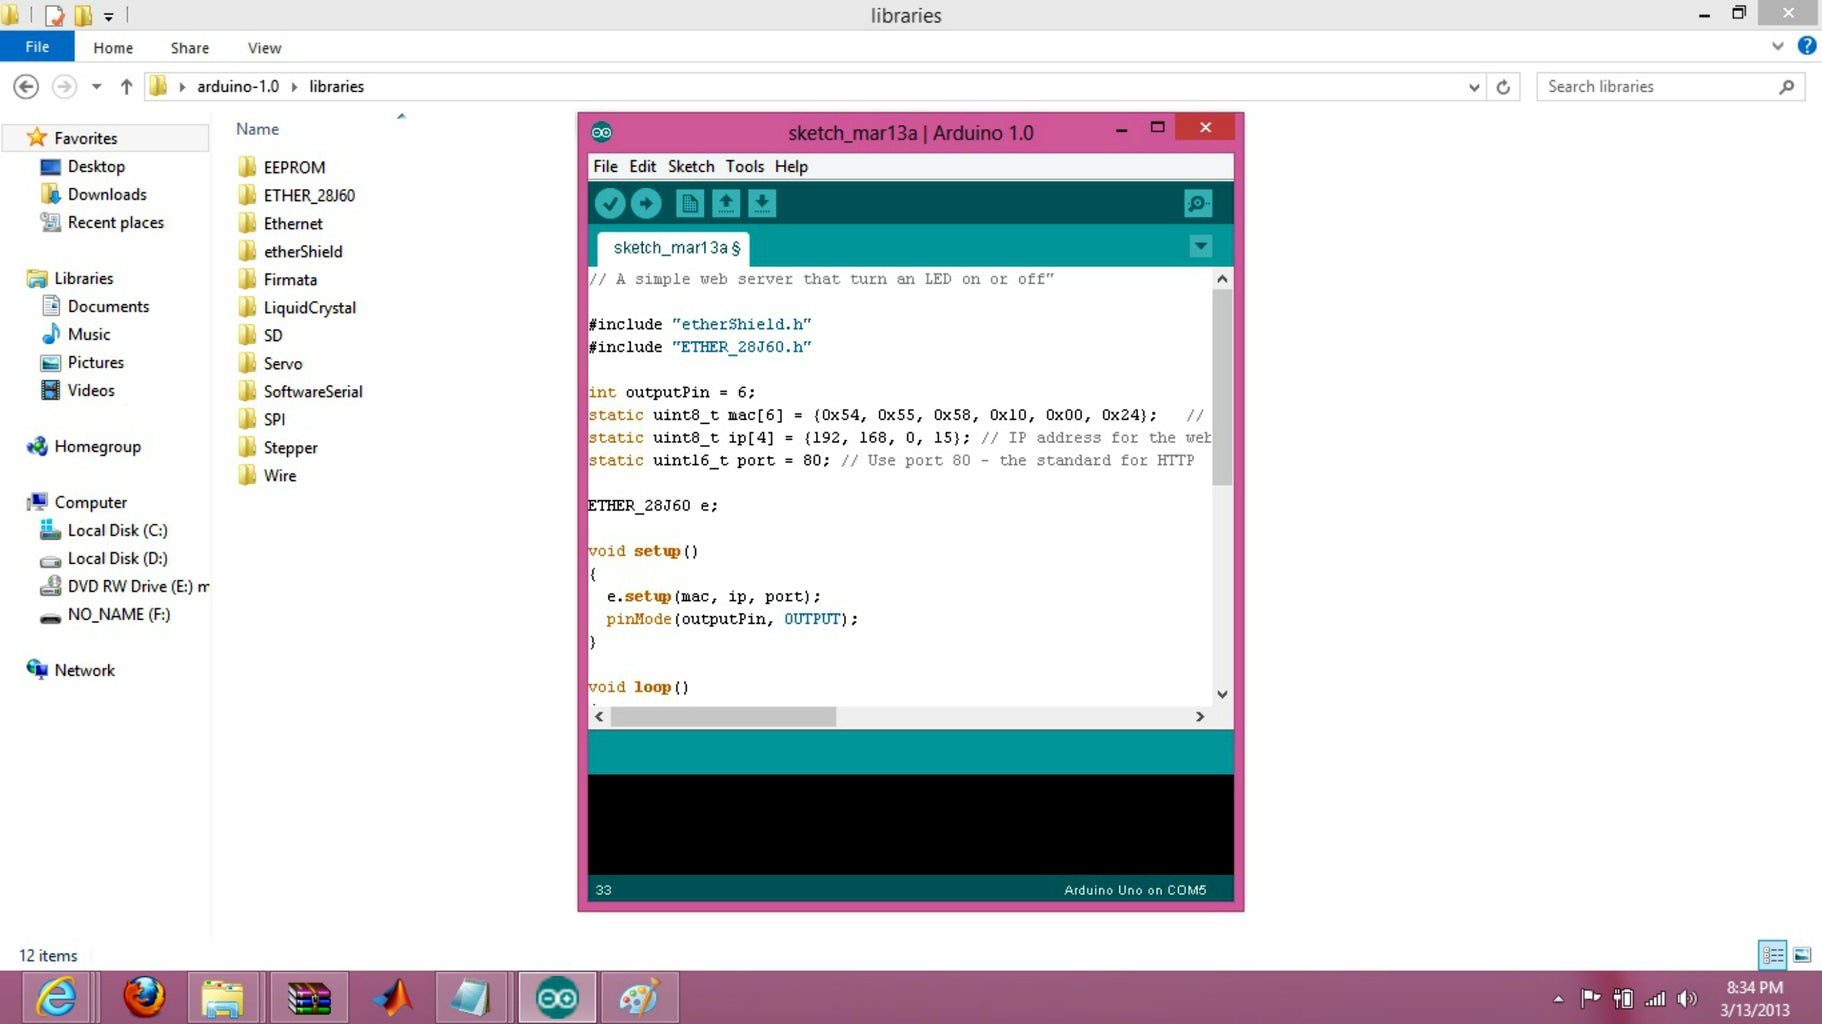
Before uploading the codes to your Arduino, make sure of that you have indicated a web server address that is with in the DHCP server range. To learn the DHCP server range of your router, you may access your router by opening a browser and typing the default gateway address, 192.168.0.1. Most of the router uses this default gateway address, however, some router may use different address. To learn the address of your router you may access the command prompt, if you are a Windows user, type in ipconfig and hit on enter. Look for the default gateway address if you are connected to your router.
Step 7: Test Web Server

After uploading the code to Arduino, you may test if you can access the web server you assigned. Open a browser and type in your web server address. I used 192.168.0.15 as my address. You may click on and off and check if the LED connected to your Ethernet shield attached to the Arduino is responding. Once you have established a communication to the Ethernet shield and web server you may proceed to integrating it to MATLAB.
Step 8: Open MATLAB


Upon establishing a connection to your Arduino, Ethernet Shield and Web Sever you may open your MATLAB and begin with the integration.
ON A SIDE NOTE:
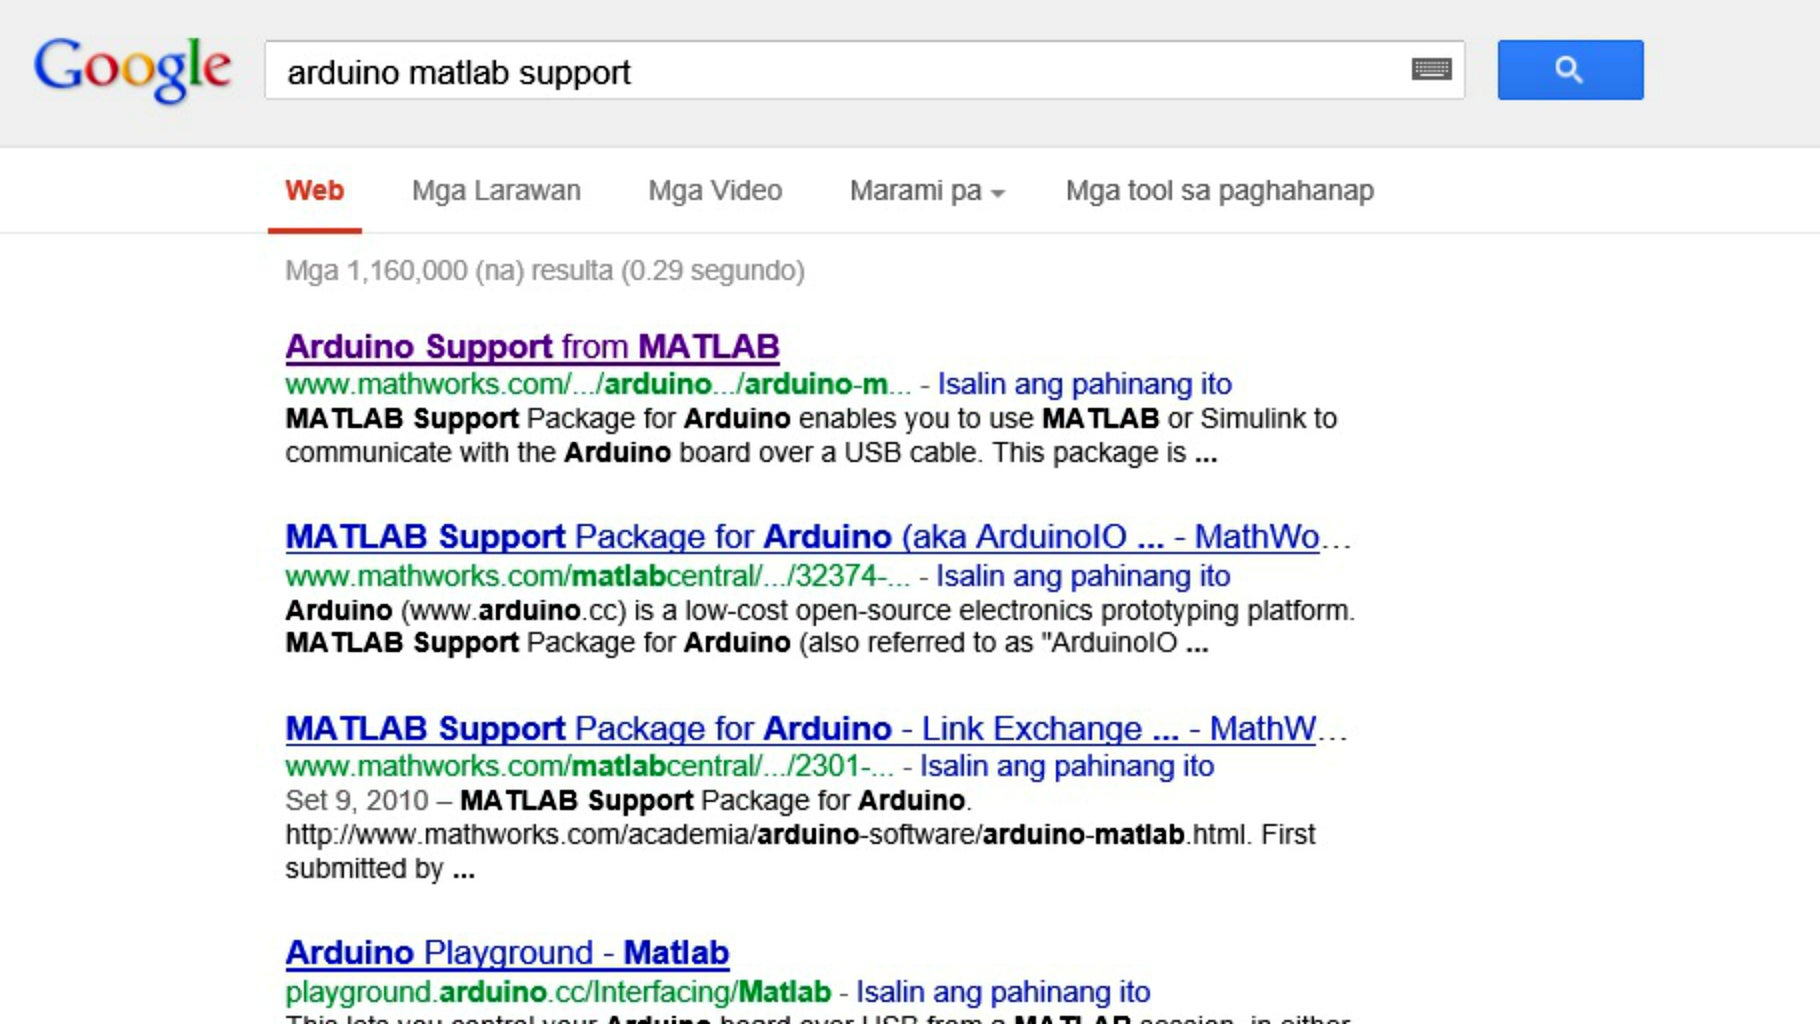
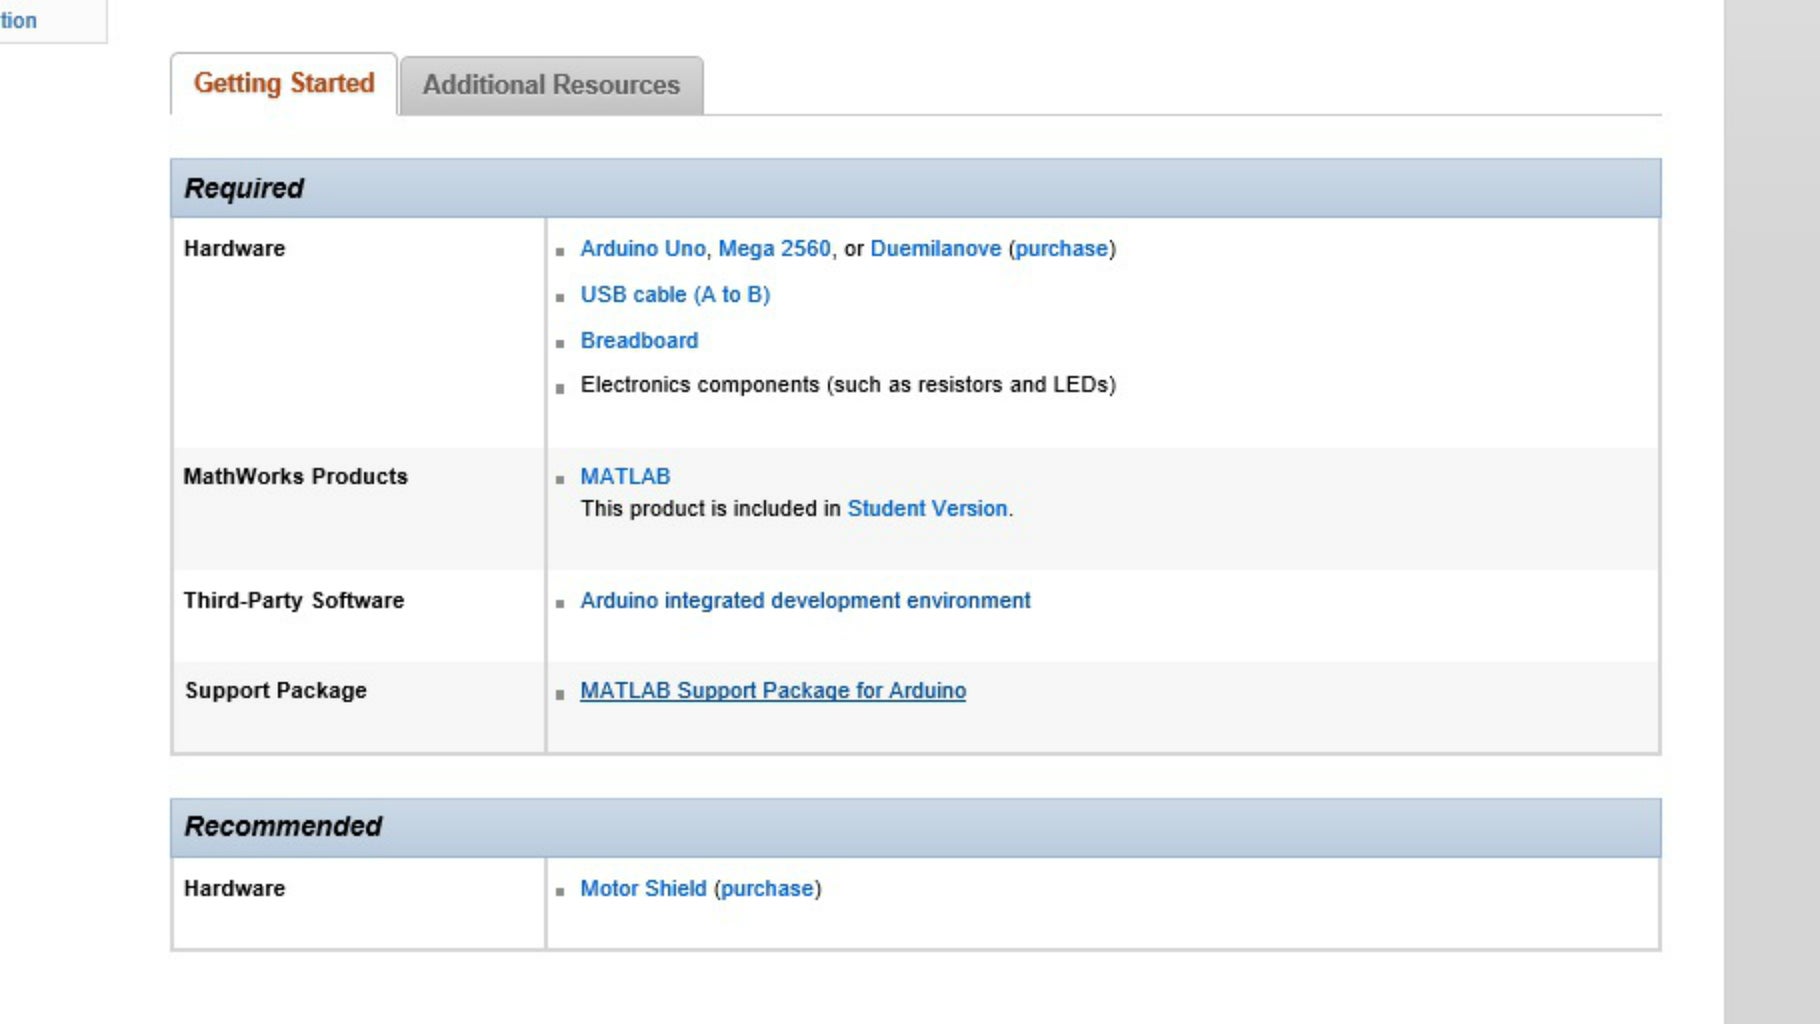
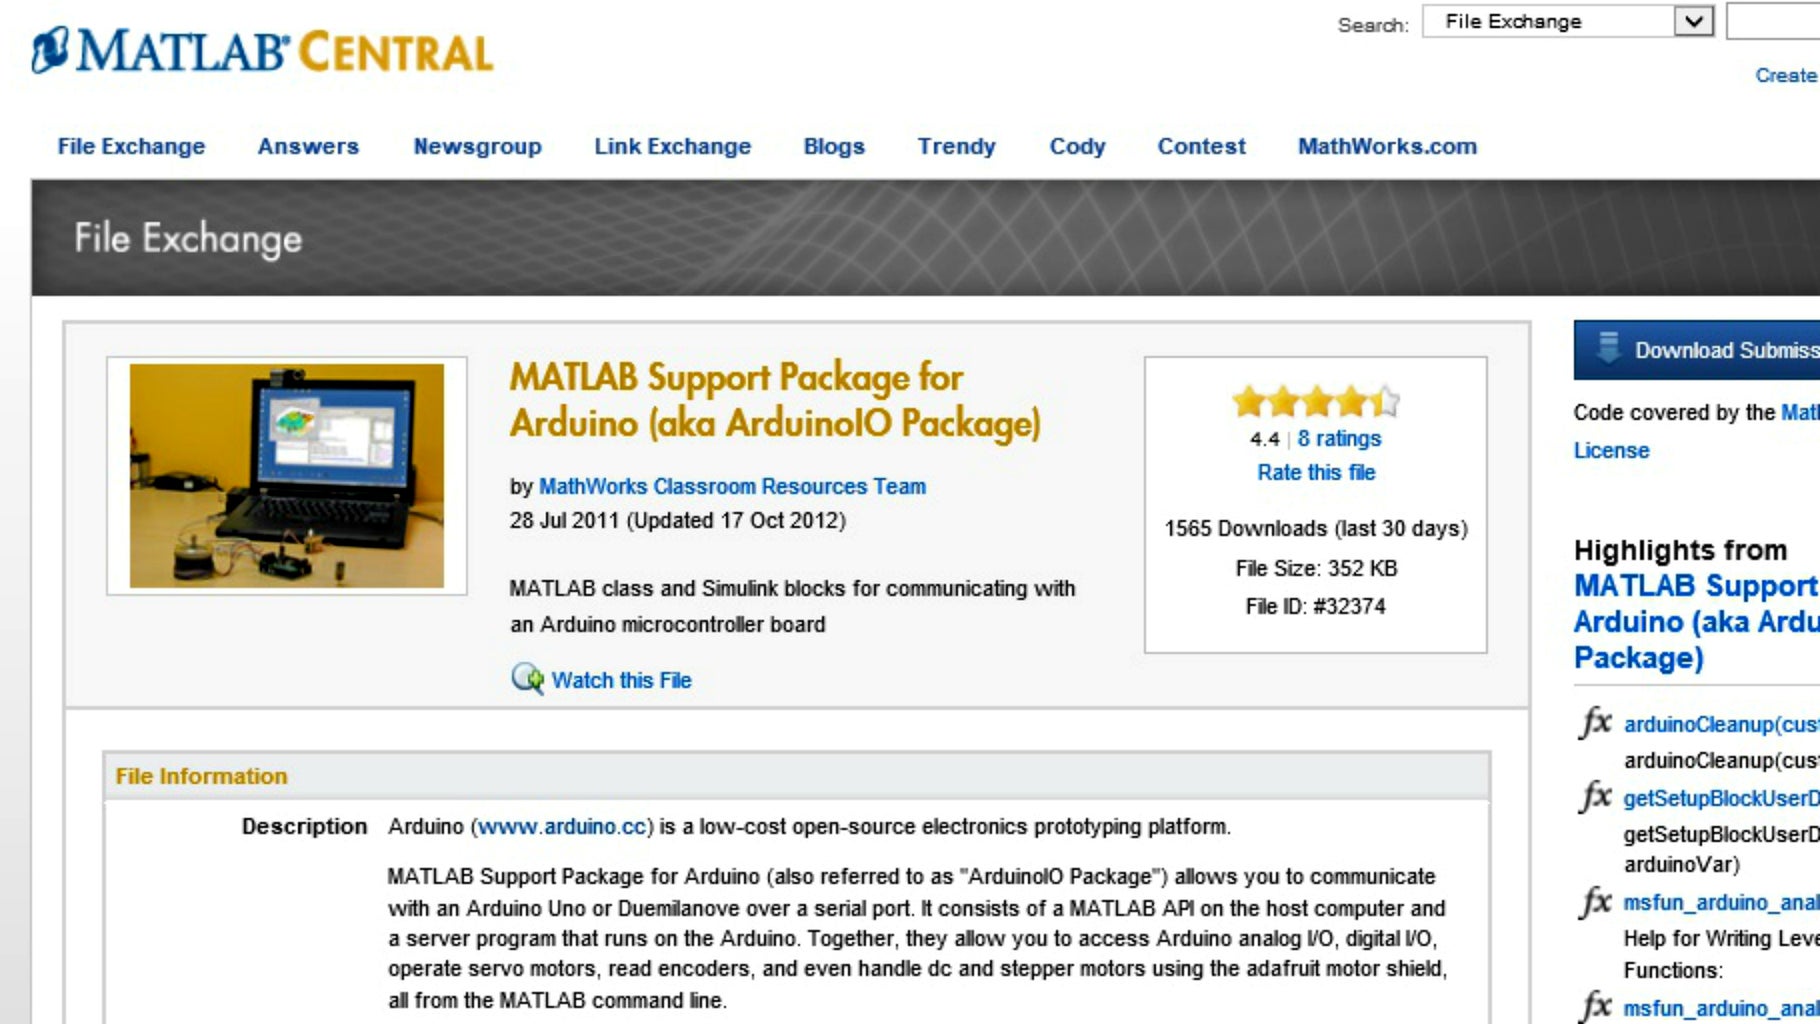
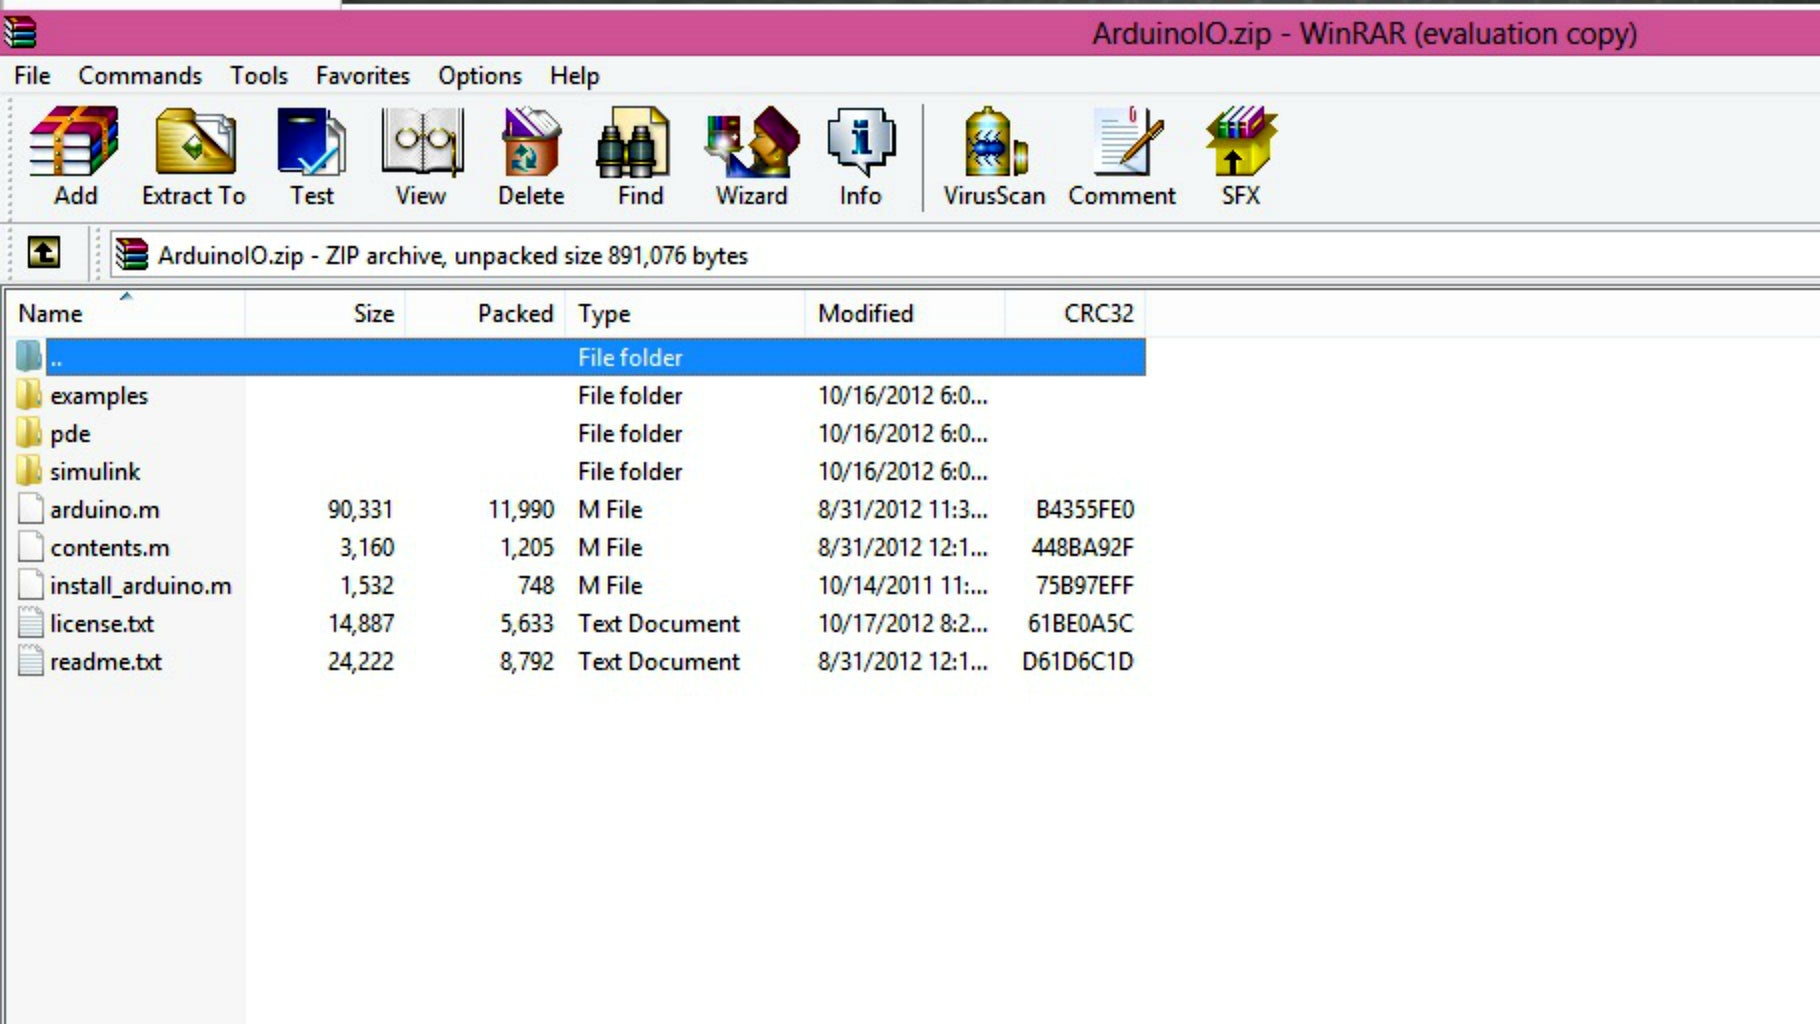
Although we will not use the MATLAB support package for Arduino, you may choose to download it for future reference.
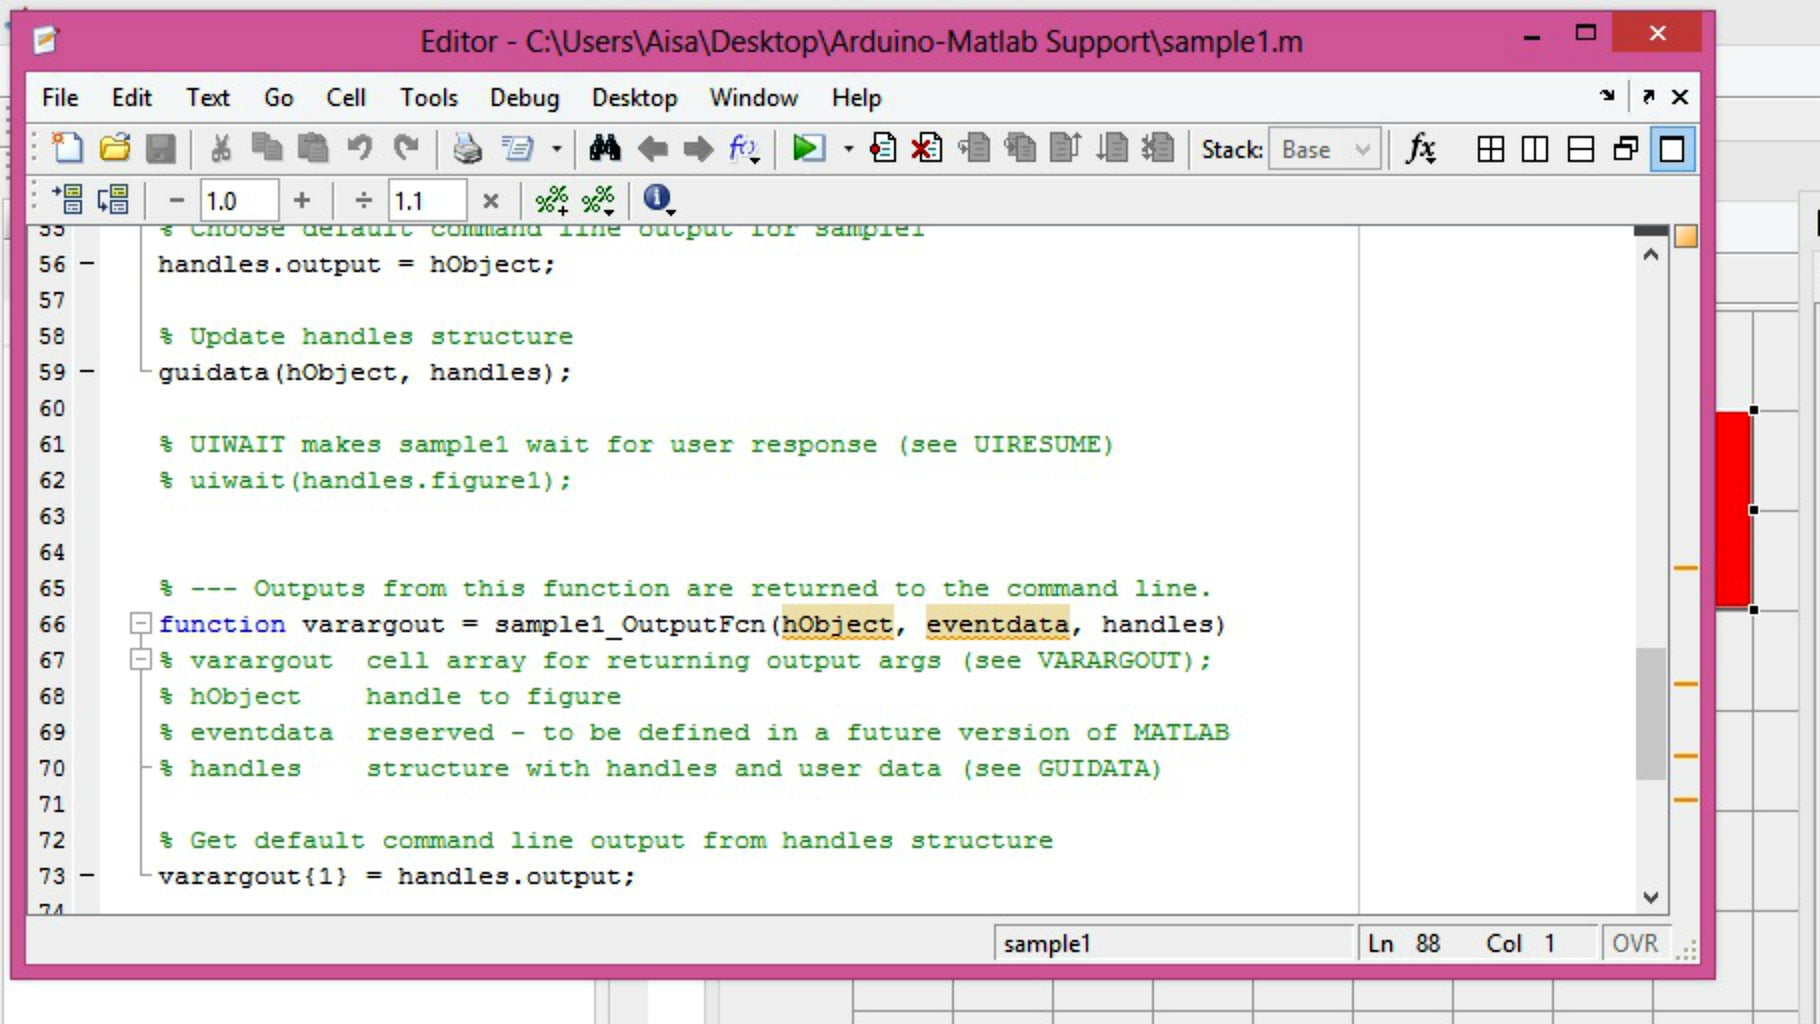
Step 9: Click on GUIDE
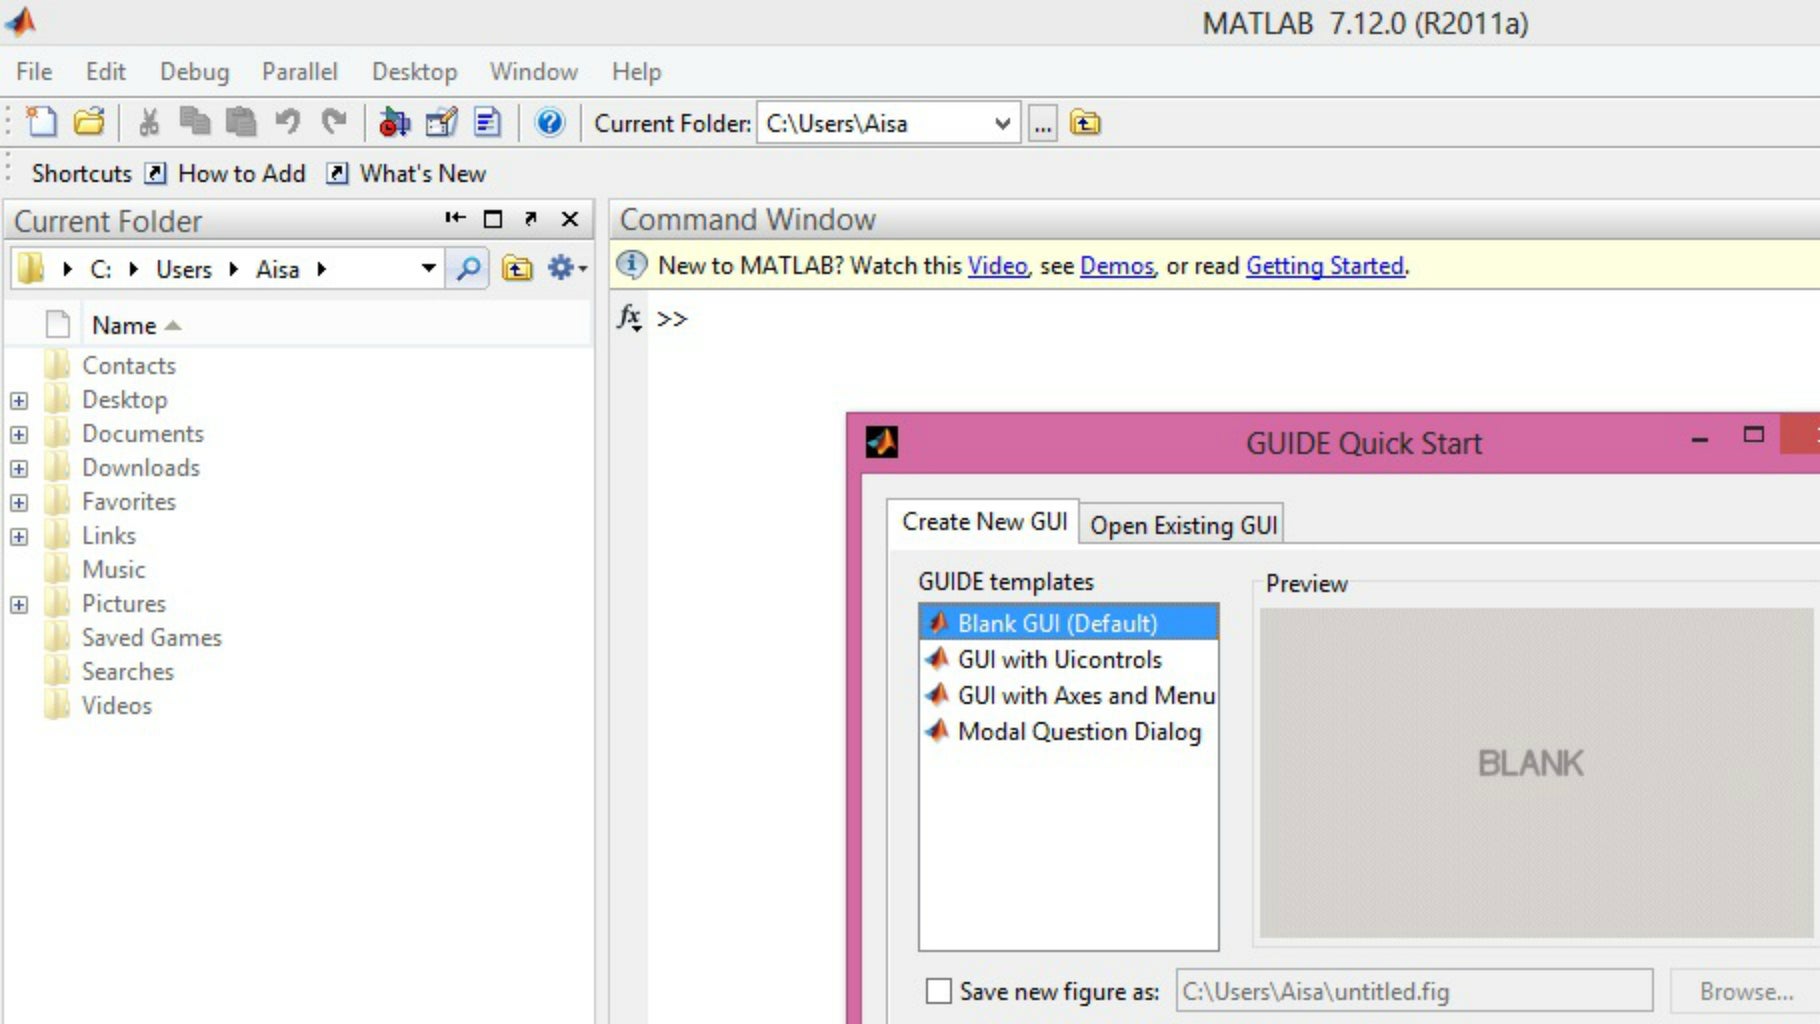

After running MATLAB, click on GUIDE. This will bring you to another window asking for GUI templates, just click on blank GUI.
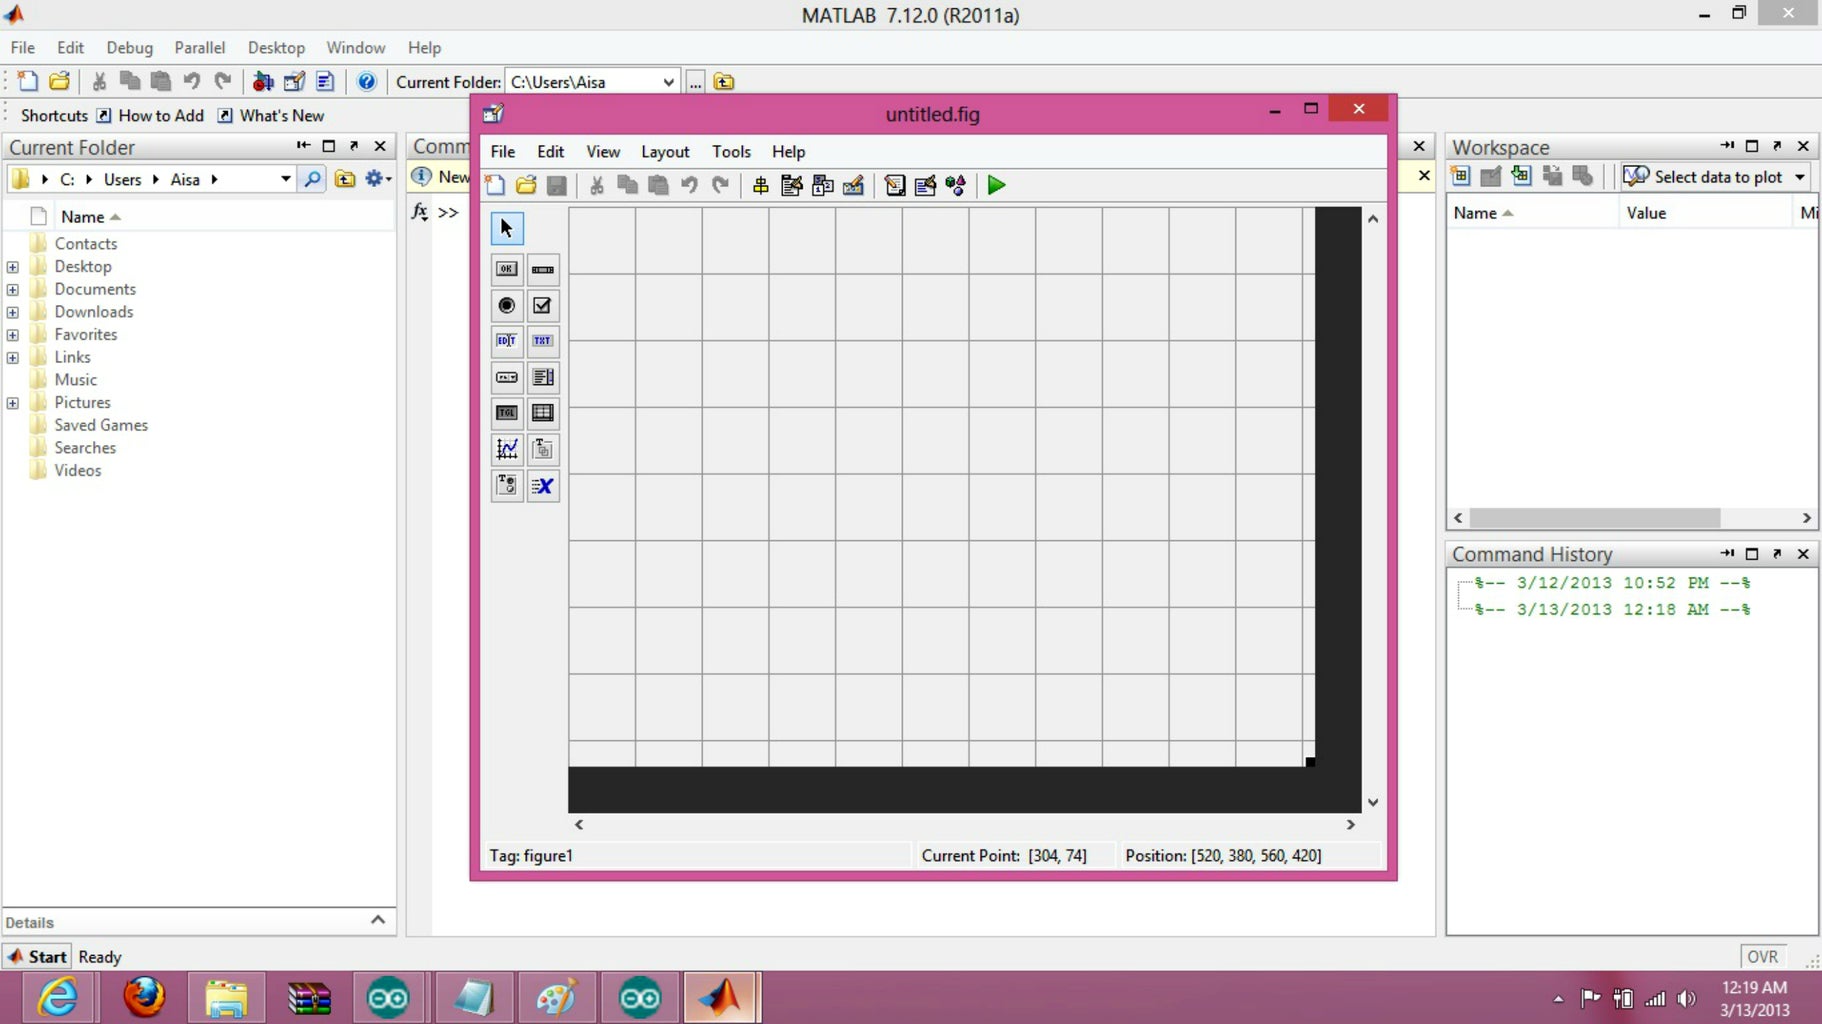
Step 10: Draw Two Buttons
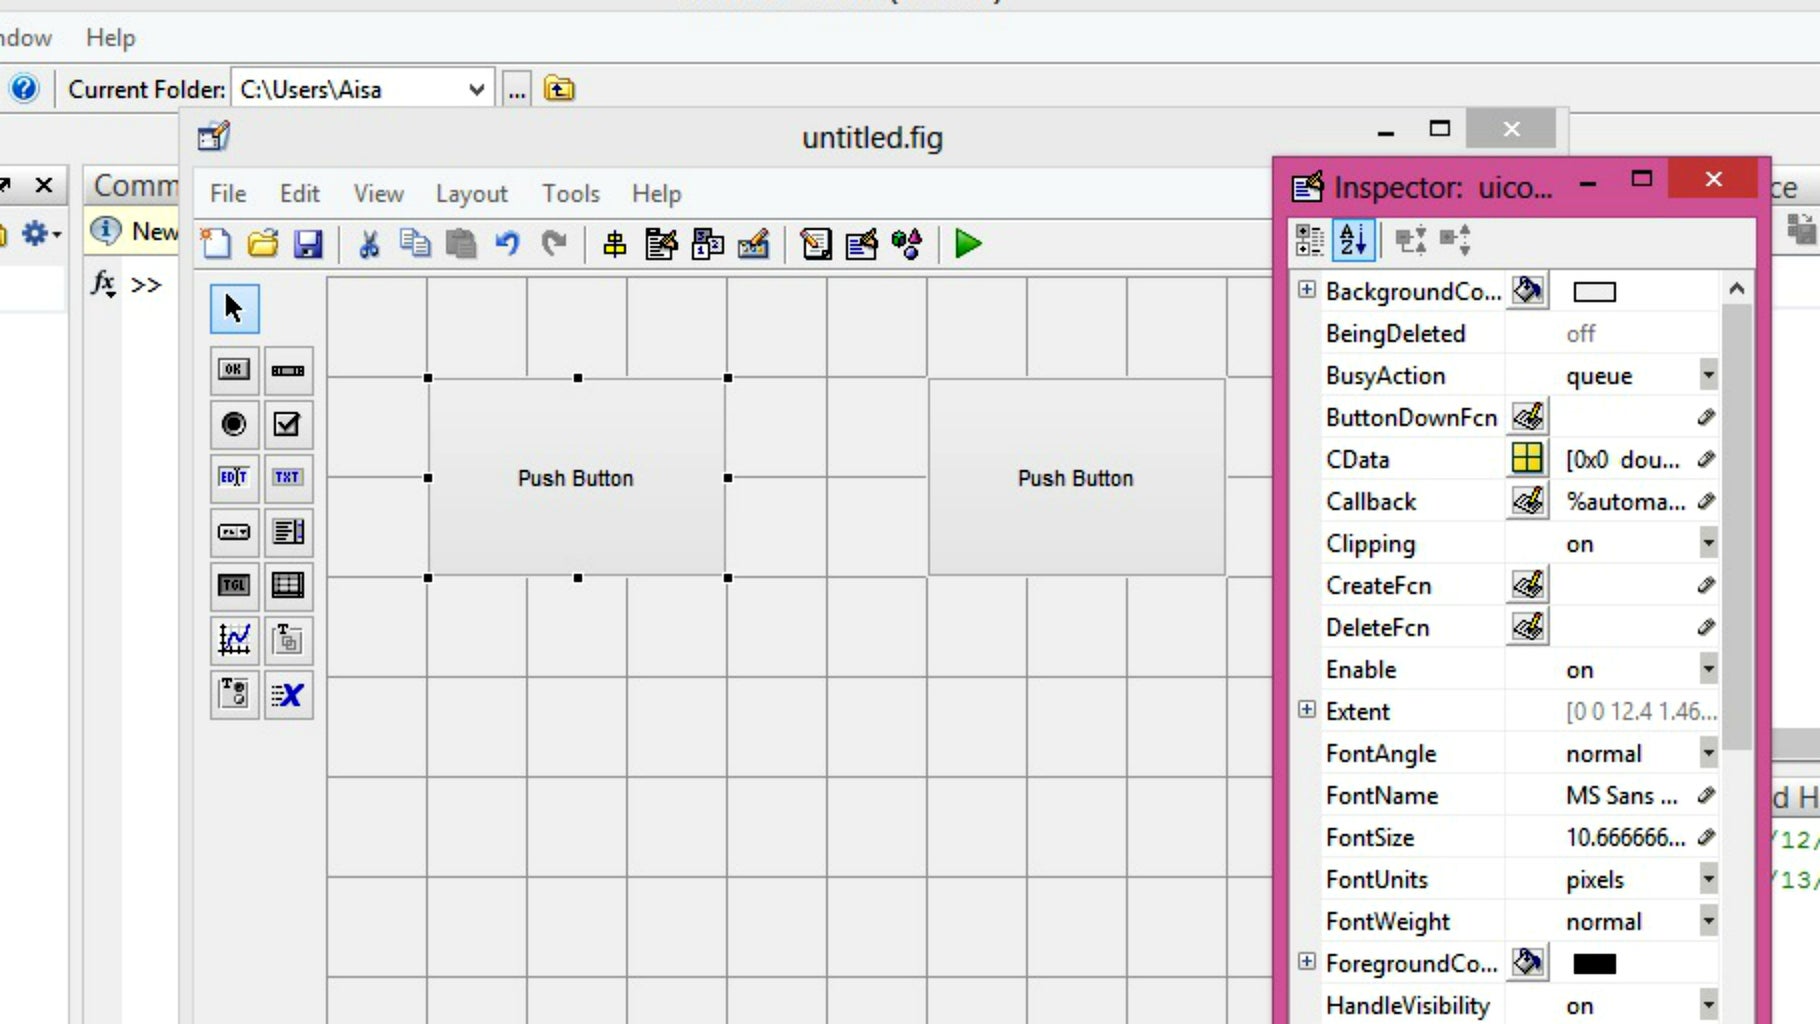

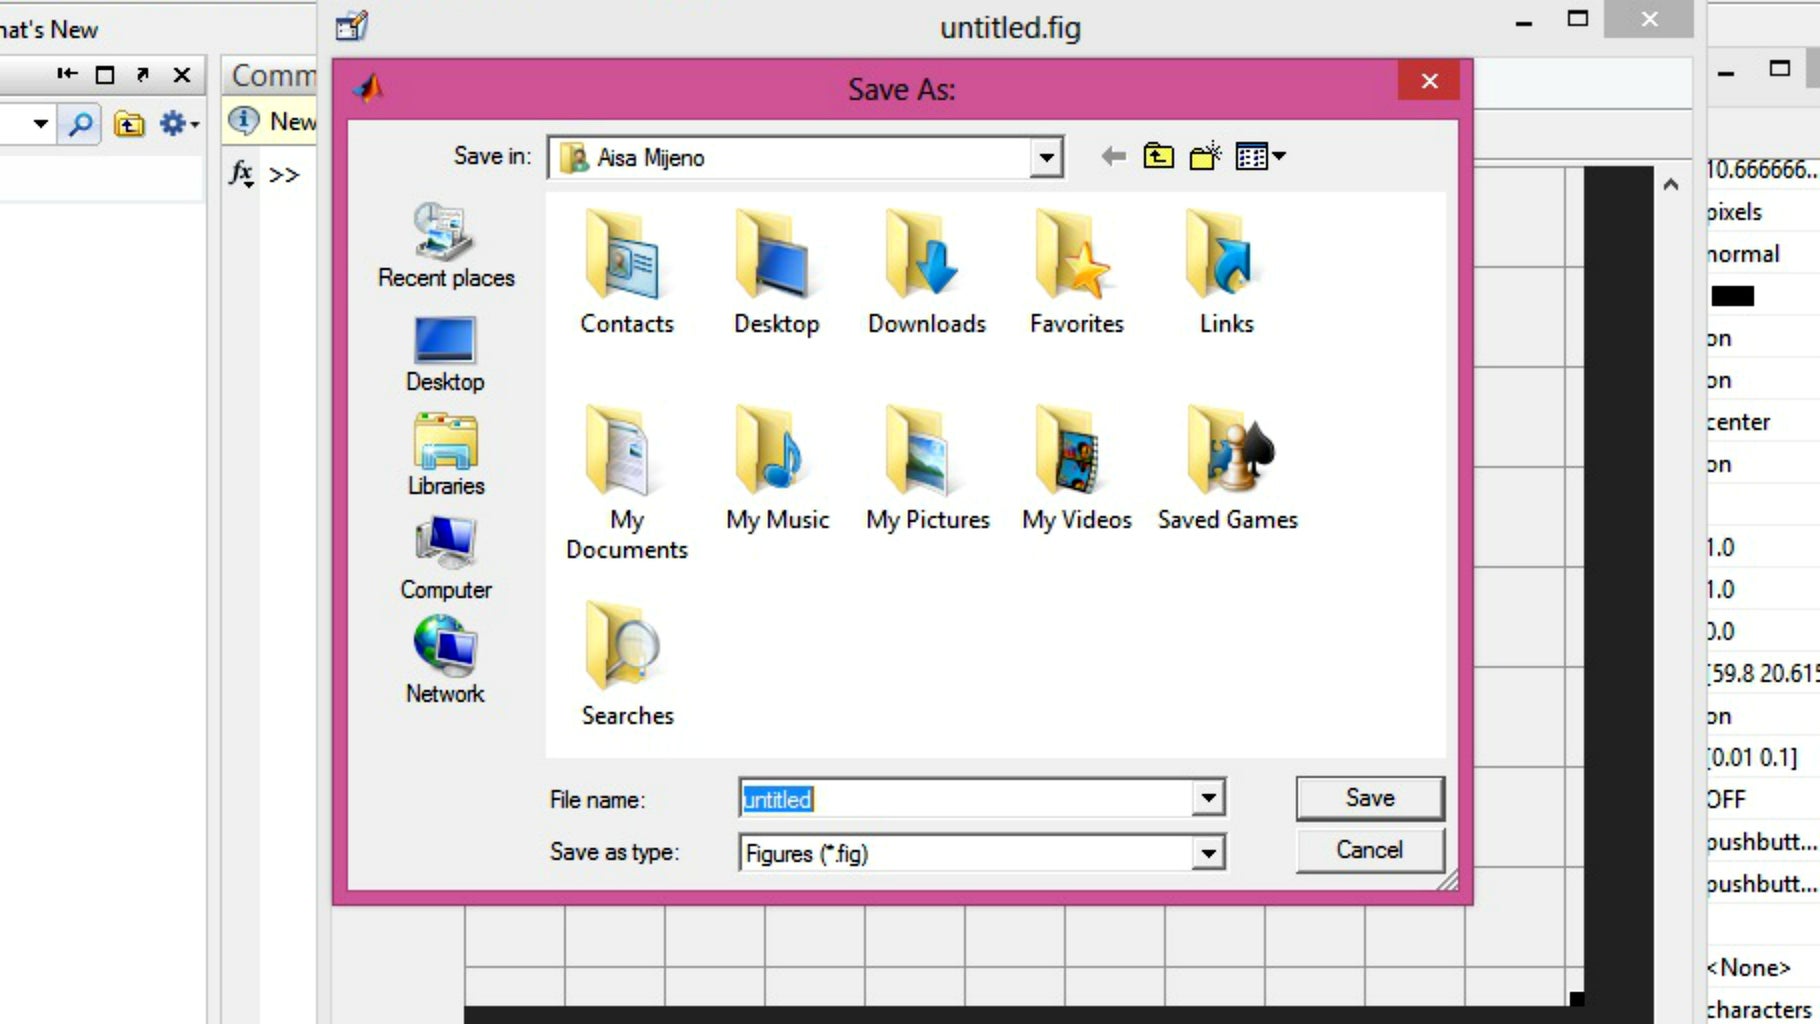

Click on pushbutton and draw two for ON and OFF mode. You may change its properties accordingly. Once done, click on m-file and save.
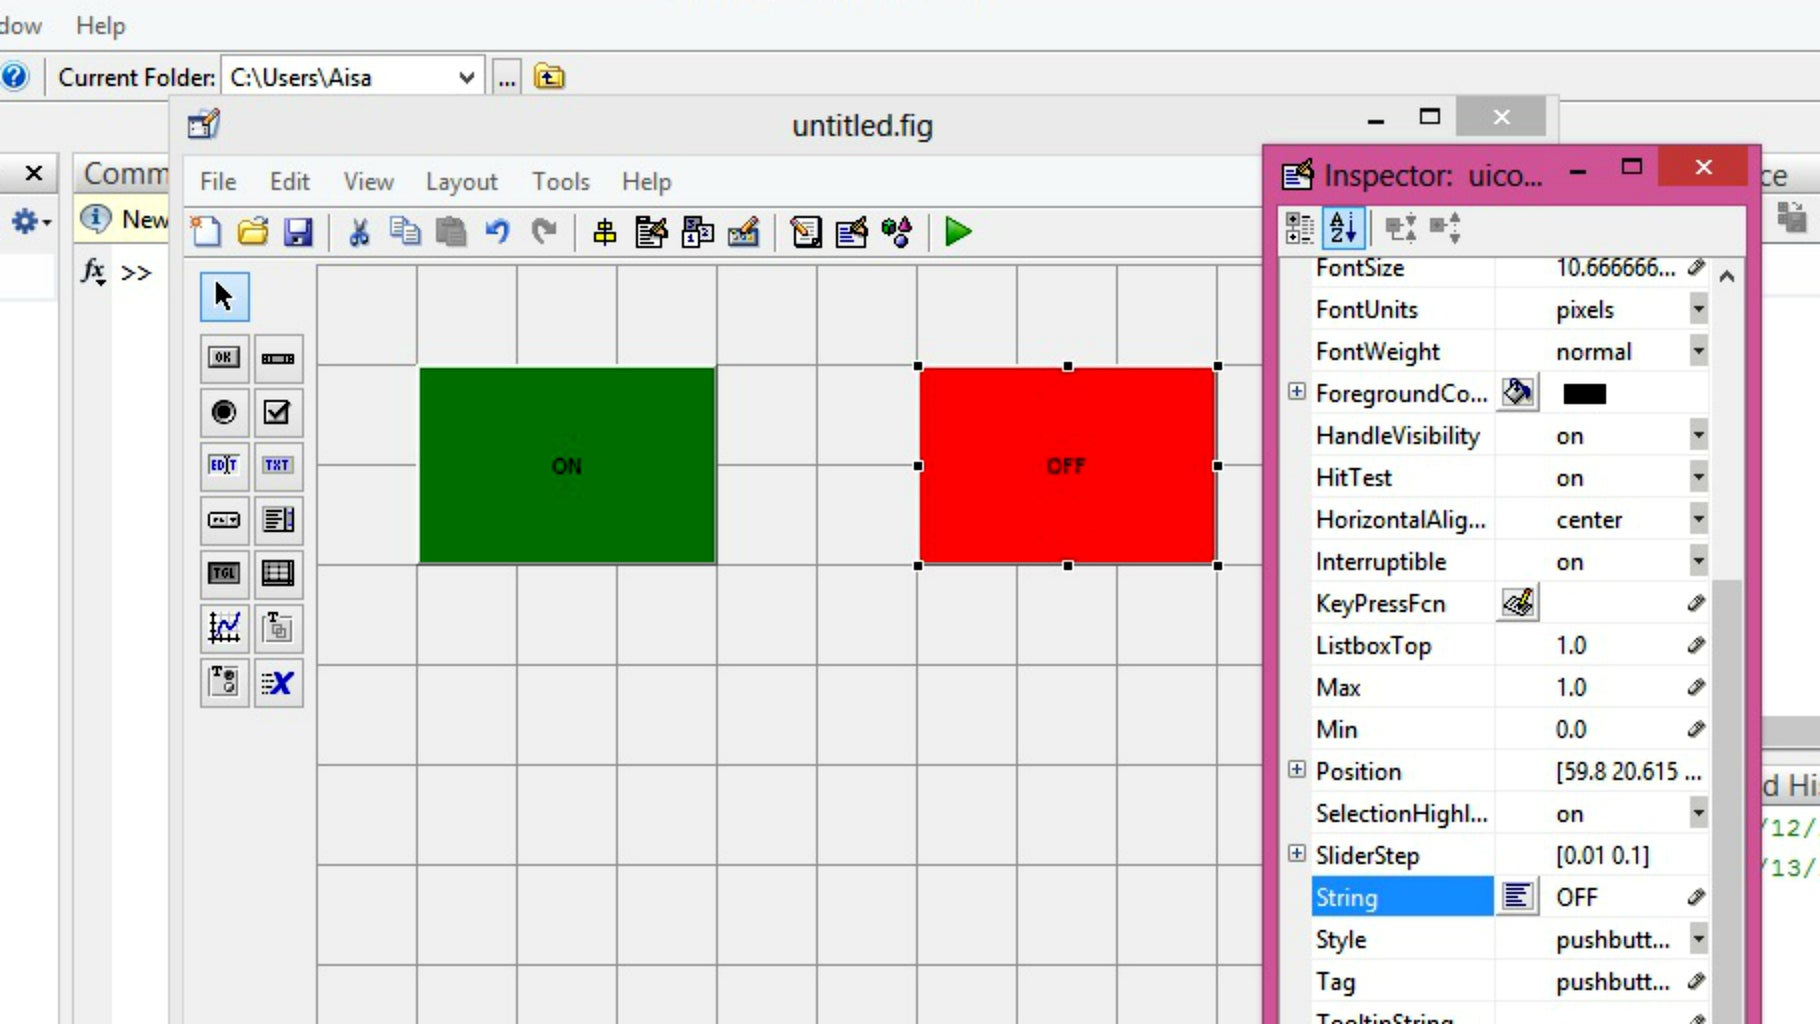
Step 11: Link Push Buttons to the URL
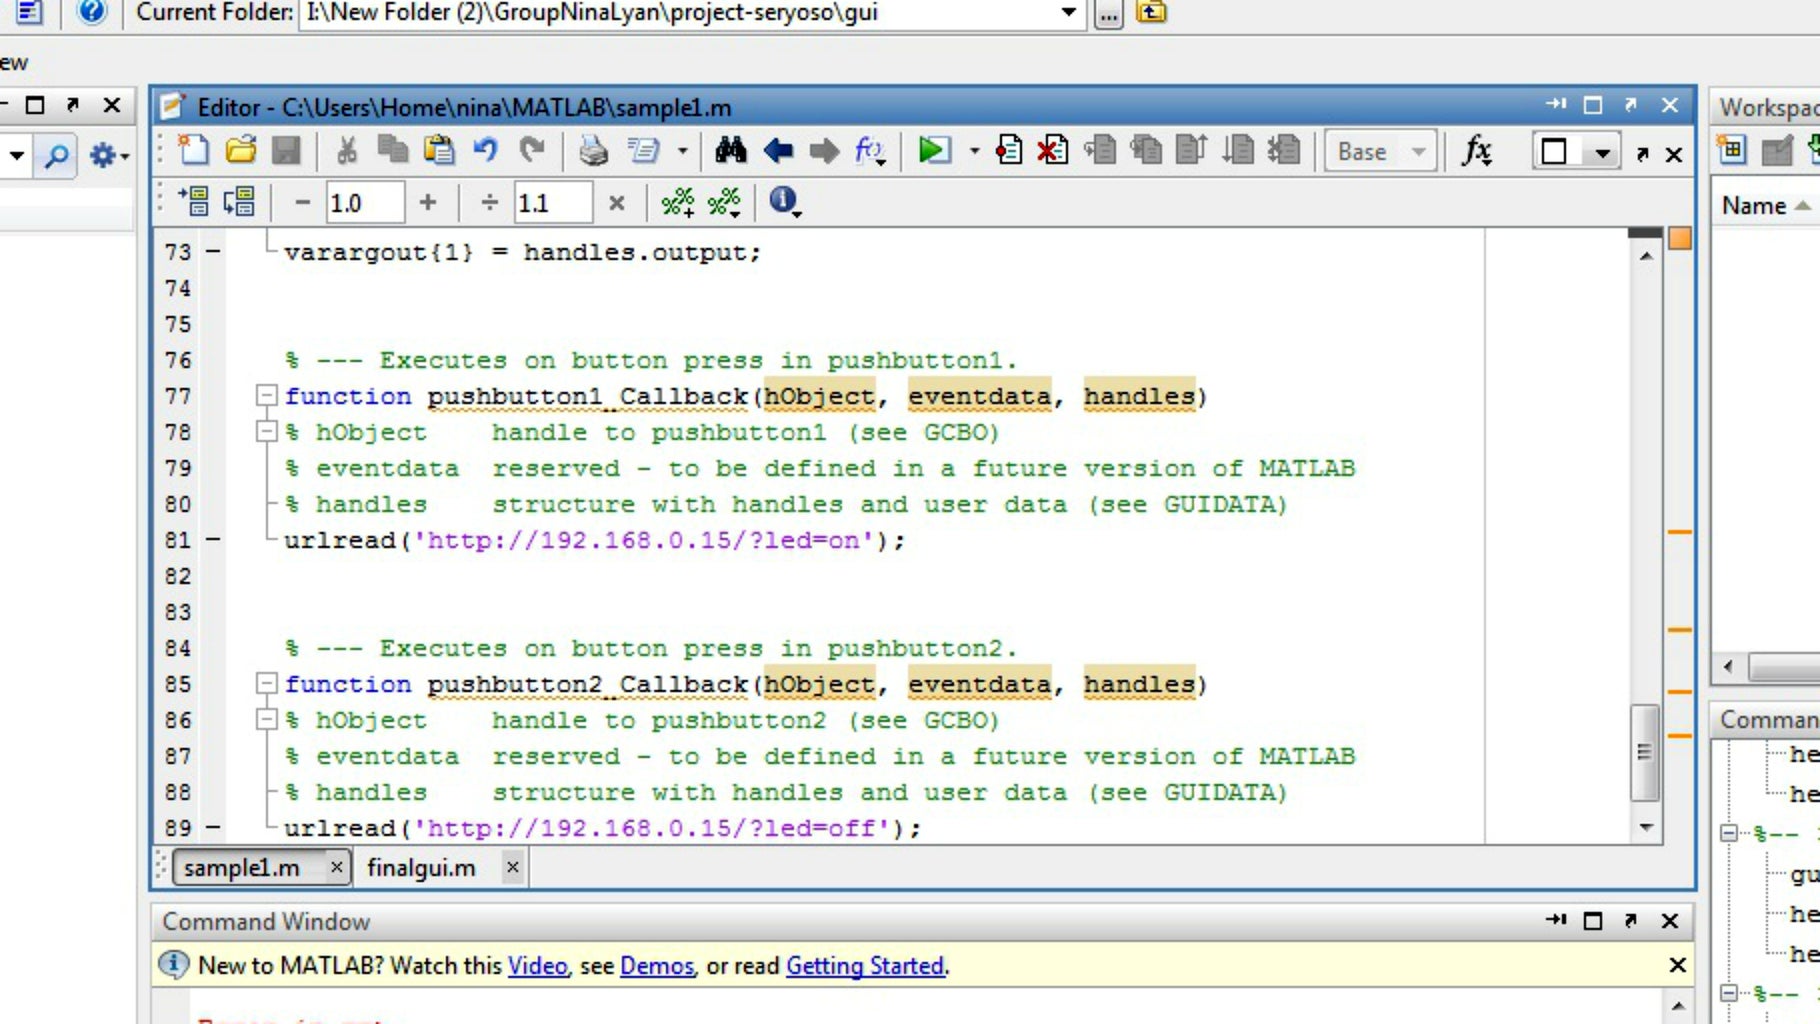
Once done, you may place the following codes below pushbuttons 1 and 2.
For the first push button:
urlread('http://192.168.0.15/?led=on');
For the second push button:
urlread('http://192.168.0.15/?led=off');
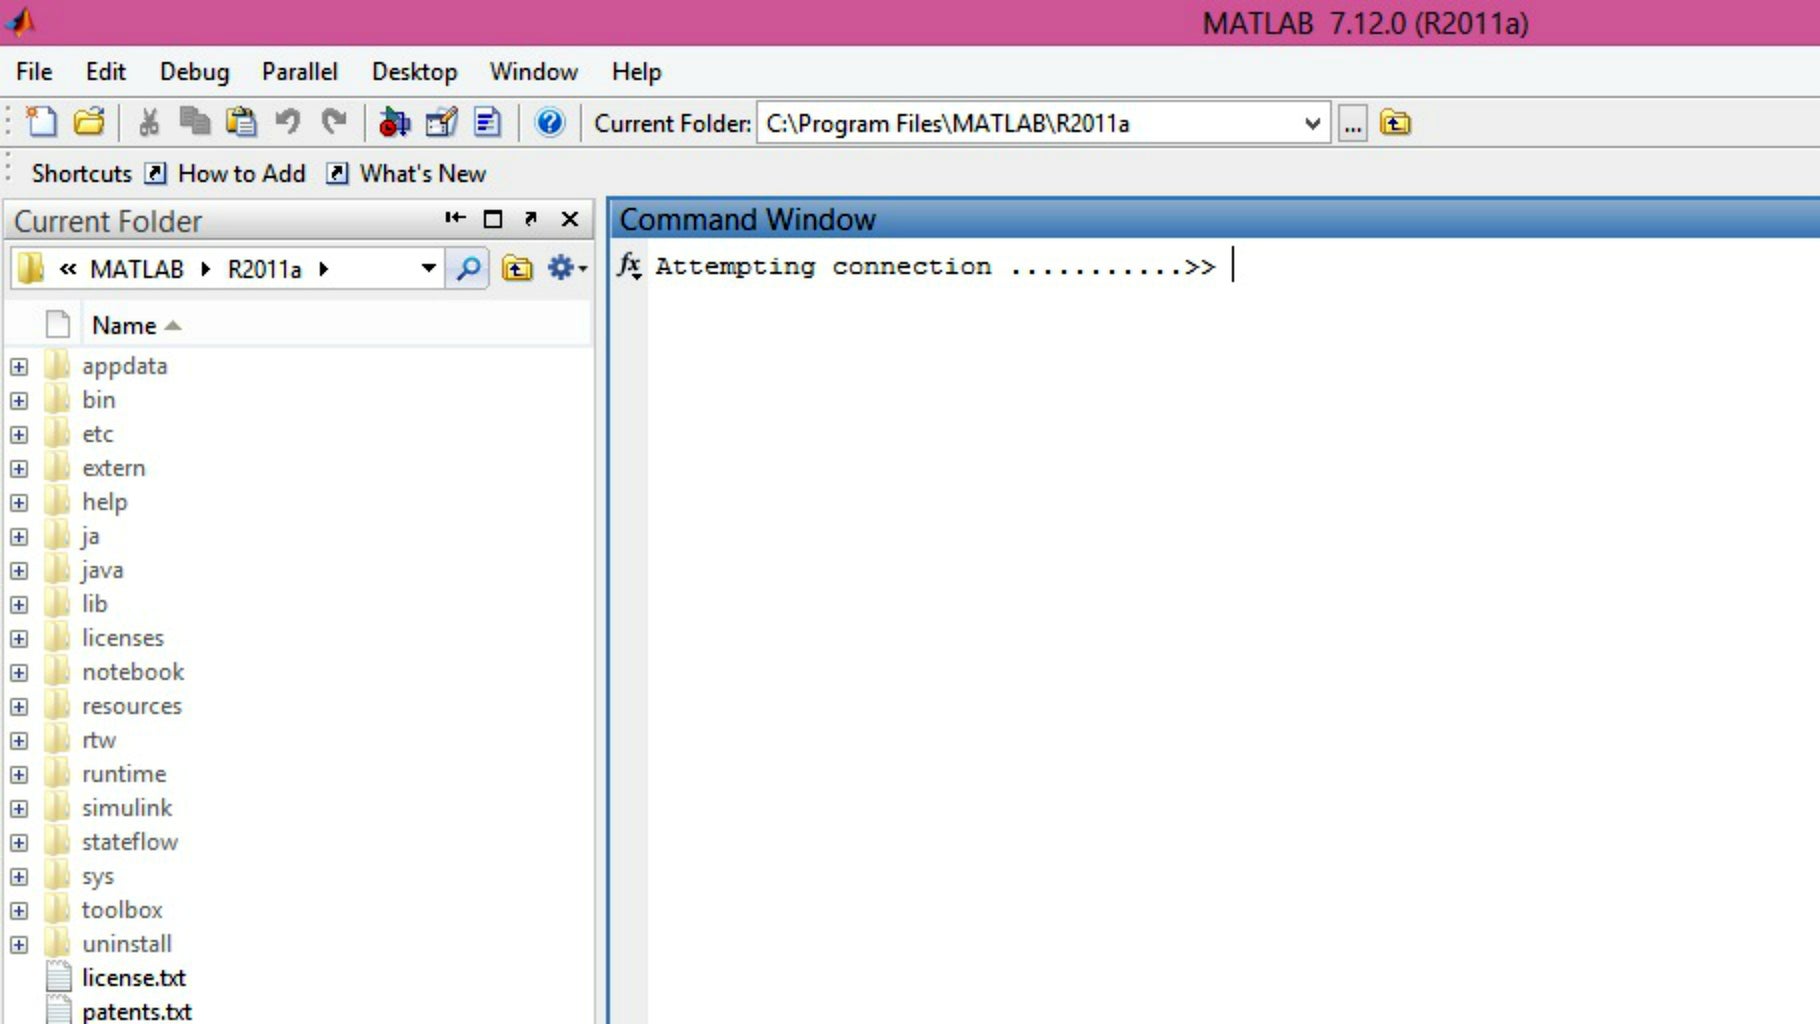
If you come to notice, the following codes above just makes MATLAB access the web server address for the commands on and off which makes it able to control the following wirelessly. Just click on play and run a test.


