

Introduction: Control a Servo Over the Internet


This Instructable show you how to control a servo over the Internet, using a Spark Core. This Instructable is powered by a Spark Core and and a tiny Servo which is included in the Spark Maker Kit (a normal servo will work the same). This tutorial is for complete beginners to get started with the Spark Core and IoTs, this tutorial will also cover how to use the spark variable and spark function, which is much simpler to work with as compared to that using a Raspberry Pi.
Step 1: Requirements


Here is what you need to have to get started with this Instructable, all the the parts are included in the Spark Maker Kit.
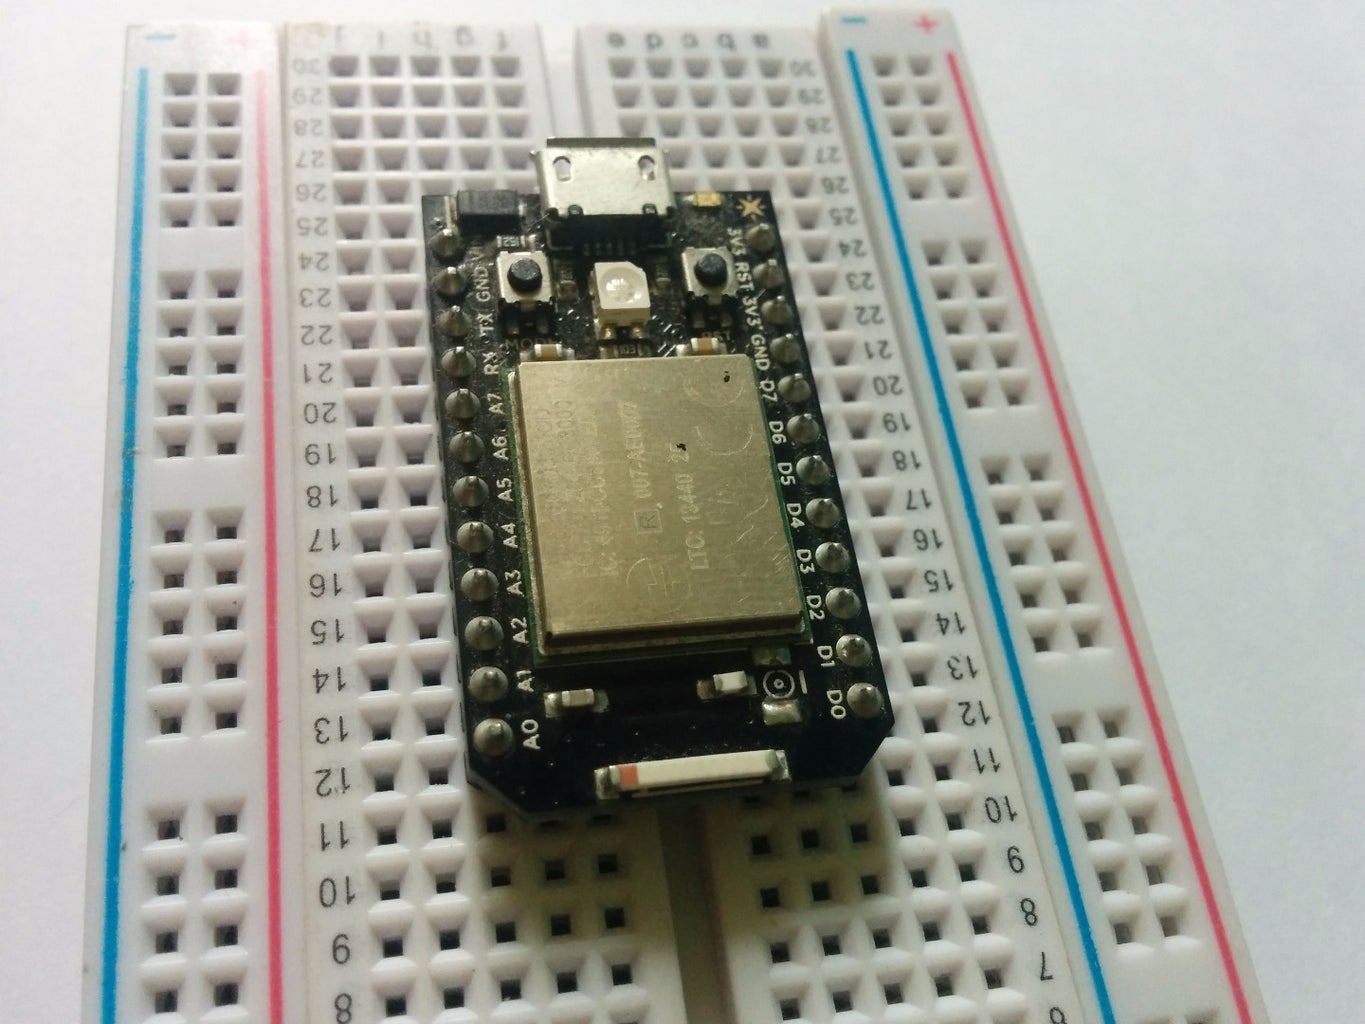
- A Spark Core or Spark Photon
- A Servo
- A Bread Board
- A Micro USB Cable
- Some Jumper Wires
Or here is a line to get the Maker Kit
Step 2: Servo


Getting started with a servo and the spark core is very simple and there is no need of hosting a python server or finding the IP address or anything complicated. All you need is to get the core connected to the Internet via your house WIFI.
The servo used in this tutorial is included in the spark maker kit so if you have that you are good to go. If you have one from a previous Arduino project that's also fine these servos use less power and can be powered directly from the core without frying the voltage regulator. In case you have those really big ones that eat a lot of power, then you need to power them separately.
Step 3: Wiring


Here is how the wiring goes the servo is 3.3V so the 3.3v form the core goes to the orange colored wired of the servo. The ground pin form the core is connected to the brown colored wire or a blacked colored one, and the last terminal is connected to the D0 pin of the core.
The orange and the brown wire are the power terminals for the servo which need to be connected to +5V or +3.3V. Servos are controlled using a PWM signal that always has the same frequency but varies in term of duty-cycle. The more time the control signal is high (greater duty-cycle), the more the servo will move in one direction. When the duty-cycle is lower and the control spends less time high, the more the servo will move in the other direction.
Step 4: The Code: Spark Core

This program needs to be uploaded to the core via the Web IDE, provided at the spark build page.
Servo myservo;  // create servo object to control a servo<br>
int pos = 0;    // variable to store the servo position</p><p>void setup()
{
  myservo.attach(A0);  // attaches the servo on the A0 pin to the servo object
  Spark.function("setpos", setPosition);
  Spark.variable("getpos", &pos, INT);
}

void loop()
{
}

int setPosition(String posValue) {
    pos = posValue.toInt();
    myservo.write(pos);
    return 0;
}
Note that the loop() function has no code because that is all been taken care for us and all we have to do is call the spark.variable() function and the spark.function(). If this was done using an Arduino a whole big chunk of code will have to be written in there to get it going.
Step 5: The Code: Web Side

Time for a bit of JavaScript, this is the tough part of the tutorial and here we get the controller side of the code ready.If you are new to JavaScript, you can just enter your access token and core id and run this file in a web browser, this is a program that performs Jason requests and communicates to the core via the spark cloud.
And using AJAX to get things to happen live time.
<!DOCTYPE HTML>
<<span class="hljs-title">html></span>
  <<span class="hljs-title">script src="http://ajax.googleapis.com/ajax/libs/jquery/1.3.2/jquery.min.js" type="text/javascript" charset="utf-8"></span></<span class="hljs-title">script></span>
<<span class="hljs-title">body></span>
    <<span class="hljs-title">P></span>Set Servo Position:<<span class="hljs-title">br></span><<span class="hljs-title">br></span>
    <<span class="hljs-title">input type="range" name="degBox" id="degBoxId" min="0" max="180" step="1" value="90" list="myData" onchange="setValue(this)"></span>
    <!-- This adds the tick marks to the range but does not in Safari -->
    <<span class="hljs-title">datalist id="myData"></span>
       <<span class="hljs-title">option value="0"></span>
       <<span class="hljs-title">option value="30"></span>
       <<span class="hljs-title">option value="60"></span>
       <<span class="hljs-title">option value="90"></span>
       <<span class="hljs-title">option value="120"></span>
       <<span class="hljs-title">option value="150"></span>
       <<span class="hljs-title">option value="180"></span>
    </<span class="hljs-title">datalist></span>
    <<span class="hljs-title">br></span><<span class="hljs-title">br></span>
    <<span class="hljs-title">button id="minusbutton" onclick="fineAdjust(-5)"></span>⇐ -5 °</<span class="hljs-title">button></span>
    <<span class="hljs-title">button id="plusbutton"  onclick="fineAdjust(+5)"></span>+5 ° ⇒</<span class="hljs-title">button></span>
    <<span class="hljs-title">br></span><<span class="hljs-title">br></span>
    <<span class="hljs-title">P></span>Current Position: <<span class="hljs-title">span id="curPos"></span></<span class="hljs-title">span></span><<span class="hljs-title">br></span>

    <<span class="hljs-title">script type="text/javascript"></span>
      <span class="hljs-keyword" style="font-weight: bold;">var deviceID    = "<< device id >>";
      var accessToken = "<< access token >>";
      var setFunc = "setpos";
      var getFunc = "getpos";

      window.setInterval(<span class="hljs-keyword" style="font-weight: bold;">function() </span>{
        requestURL = "https://api.spark.io/v1/devices/" + deviceID + "/" + getFunc + "/?access_token=" + accessToken;
        $.getJSON(requestURL, <span class="hljs-keyword" style="font-weight: bold;">function(json) </span>{
                 document.getElementById("curPos").innerHTML = json.result + "°";
                 document.getElementById("curPos").style.fontSize = "28px";
                 document.getElementById("degBoxId").value = parseInt(json.result);
                 });
      }, 1000);

      <span class="hljs-keyword" style="font-weight: bold;">function setValue(obj) </span>{
        var newValue = document.getElementById('degBoxId').value;
        sparkSetPos(newValue);
      }

      <span class="hljs-keyword" style="font-weight: bold;">function fineAdjust(value) </span>{
        var currentValue = parseInt(document.getElementById('curPos').innerHTML);
        var setValue = value + currentValue;
        sparkSetPos(setValue);
        document.getElementById("degBoxId").value = setValue;
      }

      <span class="hljs-keyword" style="font-weight: bold;">function sparkSetPos(newValue) </span>{
	var requestURL = "https://api.spark.io/v1/devices/" +deviceID + "/" + setFunc + "/";
        $.post( requestURL, { params: newValue, access_token: accessToken });
      }

    </span></<span class="hljs-title">script></span>
</<span class="hljs-title">body></span>
</<span class="hljs-title">html></span><br>
Step 6: Finishing
If you have got everything right and have flashed the spark core with the binary code, you should have your core controlling your servo with a bit of delay. The delay is due to the ping difference form your IP to the spark core server IP. You could also control it from a local cloud and I will post an Instructable on that shortly.
Note- Do not share your .html file with anyone as it contains your Access Token and Core ID make sure you erase it before you share it.


