

Introduction: Controlling Buzzer and Led From Android Using Blynk


In this instructable i am going to tell you how to connect arduino to android using bluetooth for GUI and IOT!
In this tutorial,we will use an android phone and blynk app (one of the best GUI option for arduino) to turn on LED and control buzzer using pwm.
Here how it works,
- We will connect an arduino to android using bluetooth.
- We will setup an interface on blynk app.
- Pressing LED on app should turn LED ON.
- And adjusting vtg of buzzer on app should give equivalent output on arduino.
Step 1: Parts Required.


1. Arduino Uno X 1
2. HC-05 Bluetooth module X1
3. Jumper Wires X 6-10
4. Buzzer X 1
5. Led X 1
Step 2: Set Up

- HC 05 Bluetoot module...
Module Ardduino
Vcc 5v
GND GND
Tx Digital pin 10.
Rx Digital pin 11
- Buzzer
module Arduino
+ve Digital pin 3
-ve Gnd
- LED
module Arduino
+ve Digital pin 13
-ve Gnd
Step 3: Blynk Setup


- Go to PlayStore from your android phone and download and install blynk app.
- Open Blynk app.
- Sign up/Register.
- Now Click on Creat new project
- Poject name - "Give Your project a name" (For e.g. i call it "BlueBuzz")
- Choose device - "Arduino UNO"
- Connection Type - "Bluetooth"
- Now click "Create"
- As soon as you click "Create", a mail called "dispatcher" is sent to you by blink.
- open mail and copy the "Auth token".
- Now visit blynk website.
- Now there you will find "Download blynk library". Now click on it follow the instructions and download blynk library.
- Now extract the downloaded library and copy it to C:\Program Files (x86)\Arduino\libraries. (In the drive where you have installed arduino software, there you will find a folder called "libraries" not "lib" paste the library into "Library" folder.)
- Now again visit blynk website.
- Under "Flash" you will find "Sketch Builder", click on "Sketch Builder", On left side you will find...
-Board = Arduino
-Connection = HC05/HC06
-Example = GettingStarted/BlynkBlink
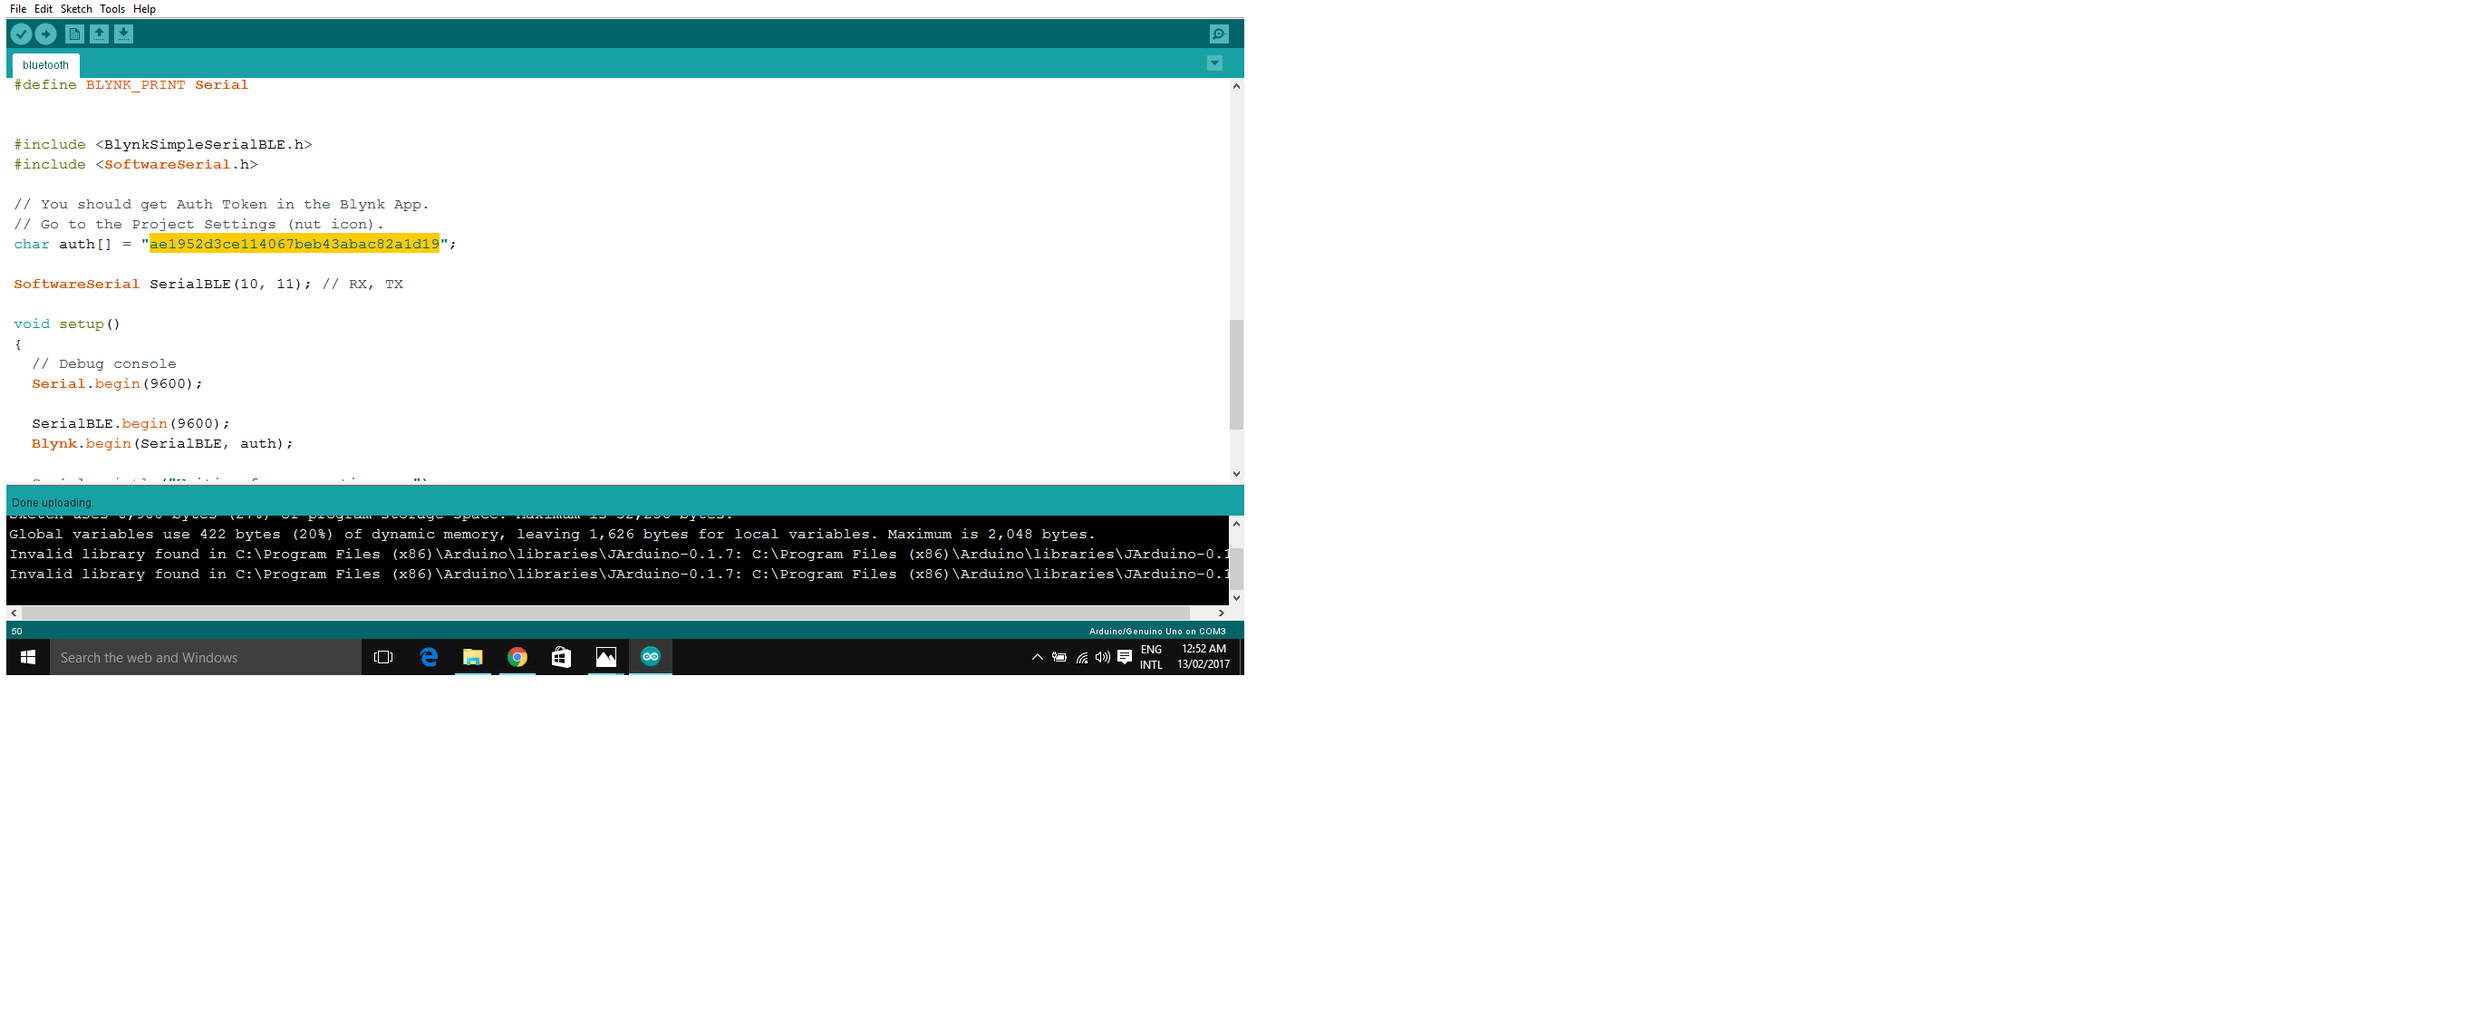
16.Now copy example and paste it to the arduino IDE.
17.Now paste the "Auth Token" (mailed by blynk) in the place of "Your Auth" and remove jumpers from pin 10 and 11
from arduino and upload the code to board.
Now your arduino is all set to take instructions from app. Now lets create an interface in app.
Step 4: Creating Interface in App


- Click on "add widget" (+) and select a button.
- now click on button.
- Give name to button say "led".
- under OUTPUT tab...
- click pin and select the pin to which led is connected arduino, here it is digital pin 13, hence select digital and under pin D13. And Click continue.
- under MODE tab...
- select whether you want this button as "push button" or "Switch". (Stick with "switch" for the sake of this tutorial)
- click back.
- Click on "add widget" (+) and select "Slider".
- Click on "Slider".
- Name the slider say "buzzer"
- Under OUTPUT tab...
Select the pin no to which buzzer is connected to arduino, here it is digital pin D3. Click "continue".
- under SEND ON RELEASE tab...
set it to OFF
- click back.
- Click on "add widget" (+) and select "Bluetooth".
- Now close the app.
- Now power your Arduino (you should see red light blinking on bluetooth module and make sure you have reconnected jumpers to pin 10 and 11)
- Turn on bluetooth of your phone and search for "HC-05", now pair the device with default key "1234".
- After successful pairing. Open Blynk app, select the project you have created select bluetooth.
- tap on connect "bluetooth device" here you should find "HC 05" select it.
- now you should see #HC-05 connected. and now hit back.
- Now in rt most corner you should see "play" button adjacent to "Add widget", hit "play"
- Now press led it should turn on led and move the slider accordingly buzzer should sound.
Congrats you have successfully created a GUI for arduino. Happy IOT !! Now go ahead and try controlling motor,fan,lamp using bluetooth!!


