

Introduction: Conversation Starter


Conversation Starter
Gebruikte materialen:
PLA 3D filamen
t2x 3mm Multiplex hout 70cmx40cm
Pistoollijm
Gebruikte tools:
Hardware Wanhao 3D Printer
Lasersnijder
Lijmpistool
Snoeren
3x LED (kleur naar keuze)
eventuele weerstanden
1x 9V batterij1x AA batterij
1x micro draaimotor 1.5 V
Toothpick
Software
Solidworks 3DCAD
Adobe Illustrator
Step 1: Lasercut Wood

Go to makercase.com and download the file to lasercut the wooden panels for the box. Dimensions are 200x120x80
Lasercut hole in the top panel to make place for 3 LED's and the switcher
Step 2: Lasercut Gears


You can cut as much gears as you want to decorate the box. Sizes are also variable.
However the 2 natulis (shell) gears should be precise
Step 3: Put Everything Together
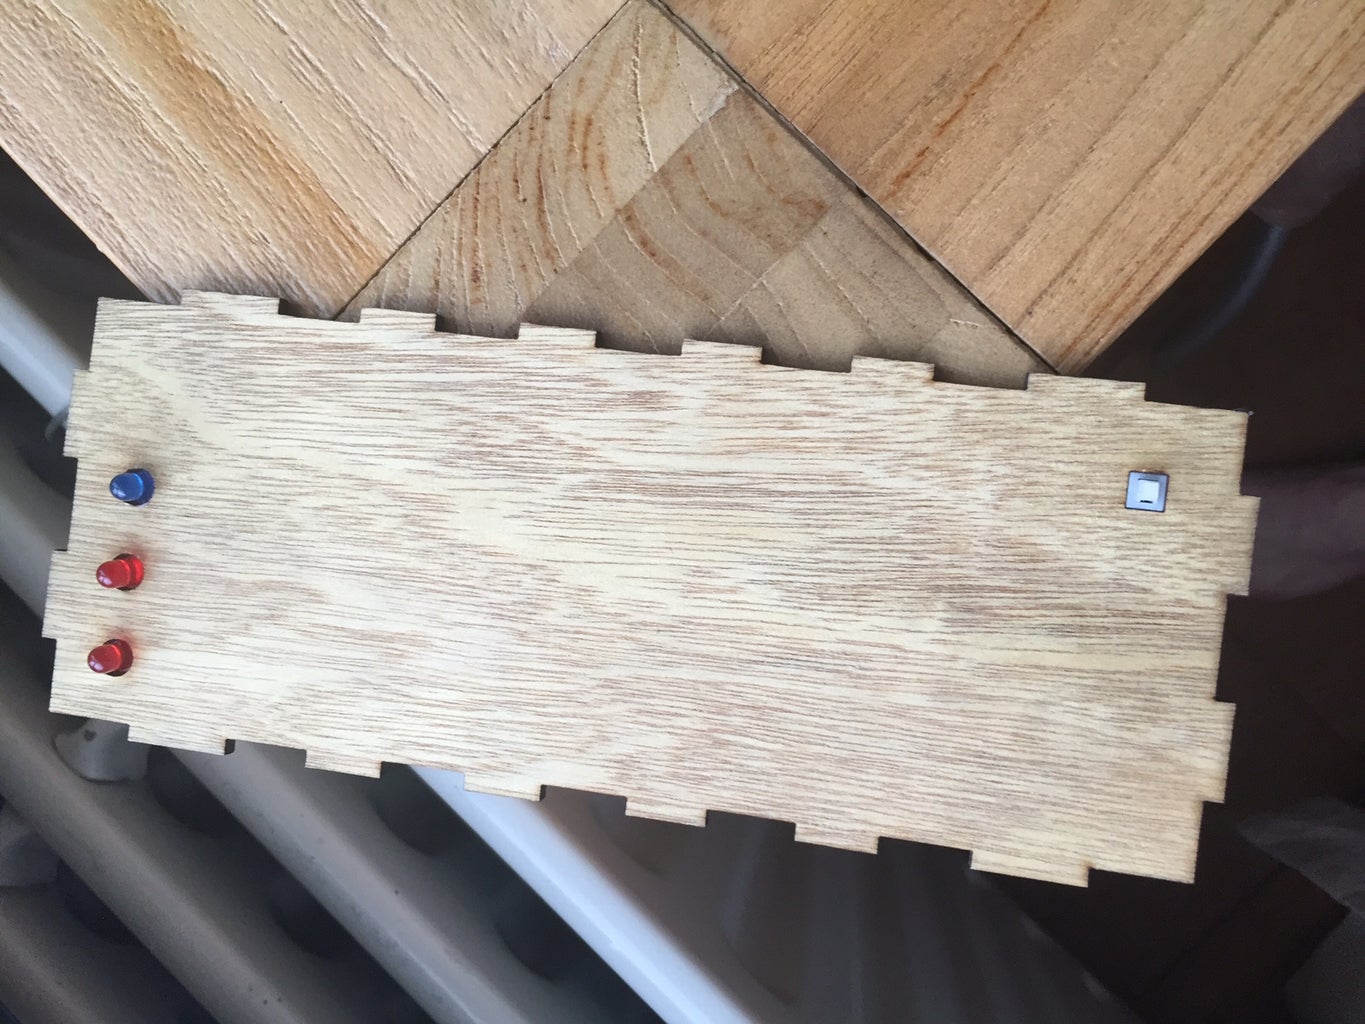

Use hot glue to put the LED's in position and don't forget the switch!
Step 4: 3D Print


To keep the micromotor in place in the box, 3d print the included file or change dimensions when needed
Step 5: Wiring Up!


Start connecting the electrical wires and keep them in place with hot glue
Step 6: Putting in Place


Wiring everything in place and connect the wires to the micromotor, switch, batteries and LED's
Step 7: Final

Glue the panels together ACCEPT the top one. This will make the box accesible to change batteries.
The shell gears are glued, one on the motor and one on a toothpick. The holes for the micormotor and toothpick should be lasercut on the front panel


