

Introduction: Create an Instructables Keychain


Or: How to give any patch an earring.
I won this patch over a year ago for the Valentines Day Contest, but I never put it on anything because I couldn't find anything cool enough to be worthy of the Instructables emblem. Finally, I got sick of it, and decided to make an awesome keychain.
Keep in mind, this could be made from any patch. Next time I win a patch, I'll make a Robot version. This is the old-school hand patch version.
Step 1: Materials and Supplies


Materials:
-A patch. Preferably an Instructables patch, just because it's awesome.
-Metal grommet. Find a 1/4" grommet. If you can find one that matches the patch color, great. If not, stop whining.
-Keyring. Can be found on any third grader's backpack. Wait until they're at lunch.
Tools:
-Grommet set. This curls down the outside of the grommet and fastens it.
-Punch. No, not fruit punch. A hollow punch slightly smaller than the shank of the grommet to poke a hole through the patch.
-Hammer. Used to drive the punch through the patch. Also useful for dropping on your toes.
Note: If you don't have a hammered punch, you can use a plier-type punch (not as effective or manly) or even a razor blade (not as clean or accurate).
Step 2: Whack!


The first step is to poke a hole in your patch. First, find a clear spot (near the edge to facilitate adding the keyring). Then, line up the punch, place it over a bit of hard wood (not pine, it just distorts), place the whole thing on a concrete floor (don't damage the hardwood), and give it a good, solid whack with the hammer. Hopefully, you hit it had enough to go through on the first time. Also, you hopefully remembered to hold the punch tightly so it doesn't fall over and leave a ragged edge.
Step 3: Insert Grommet and Squish
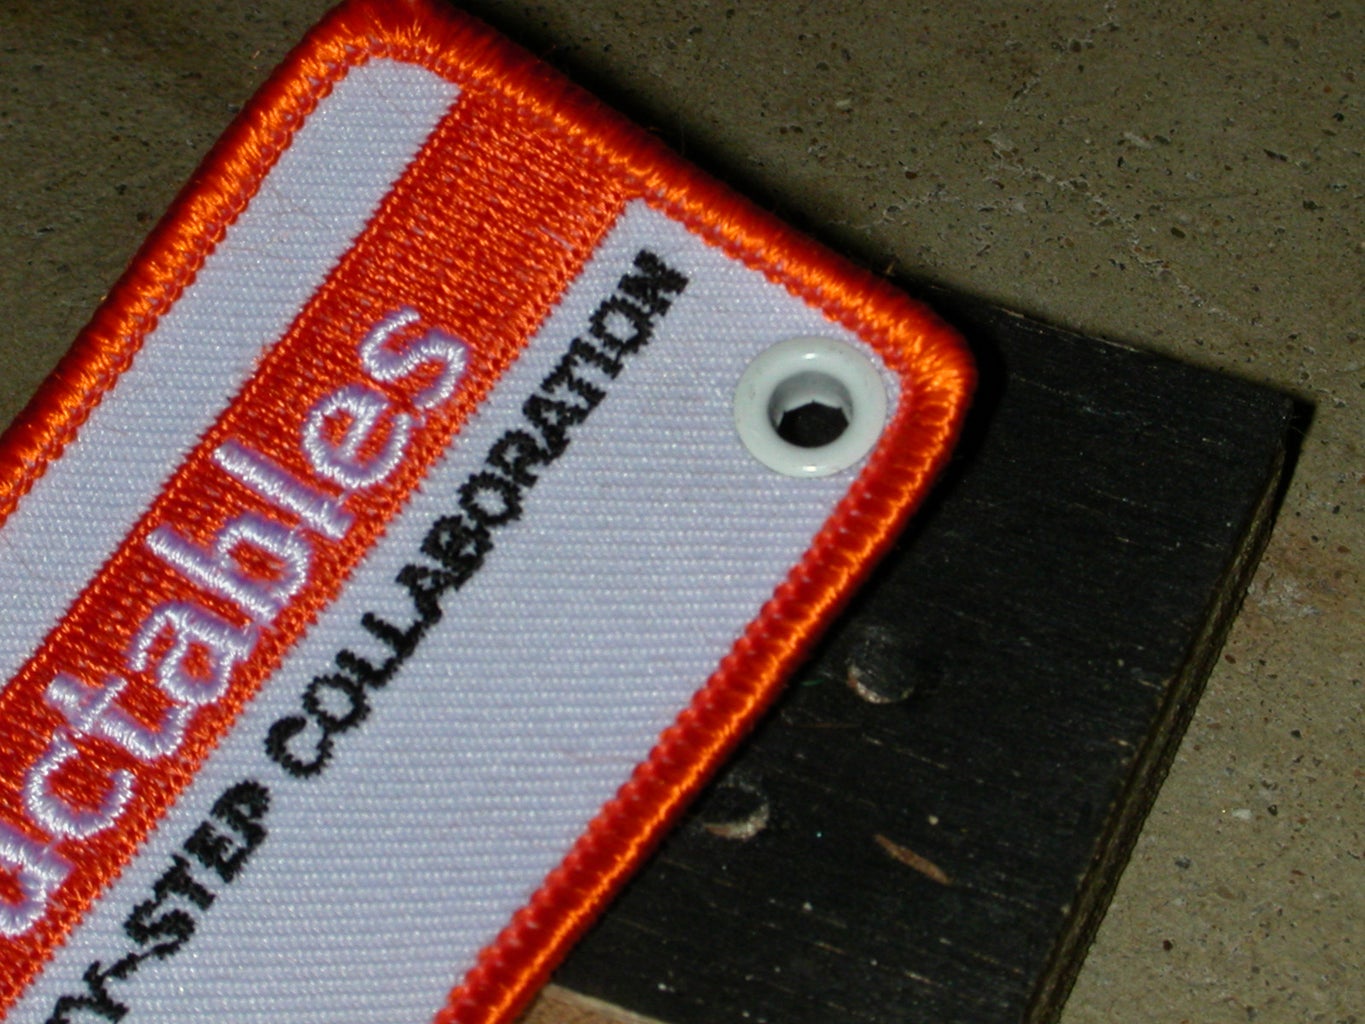


Now, poke the grommet through the hole. Make sure the flanged side is on the good side of your patch, as the other side looks ugly. Then, place the grommet in the grommet set pliers, and give it a good crunch. This mushrooms the end of the grommet over and holds it firmly in place.
Step 4: Add a Keyring! You're Done!
Ta-da! Now just add a keyring (carefully, so as not to gouge the edge of the patch) and you're done!
Now, attach it to your backpack, purse, camera bag, suitcase, duffel bag, or strait jacket. Everywhere you go you will now be advertising the coolness that is Instructables!


