

Introduction: Custom-built Computer Monitor


Ever wonder what you were going to do with that old, dusty, yet working monitor you have in that dark corner of your house? Well in this Instructable, I will show you how to turn that disease stricken monitor into a cool, hip, monitor ready to be put into action.
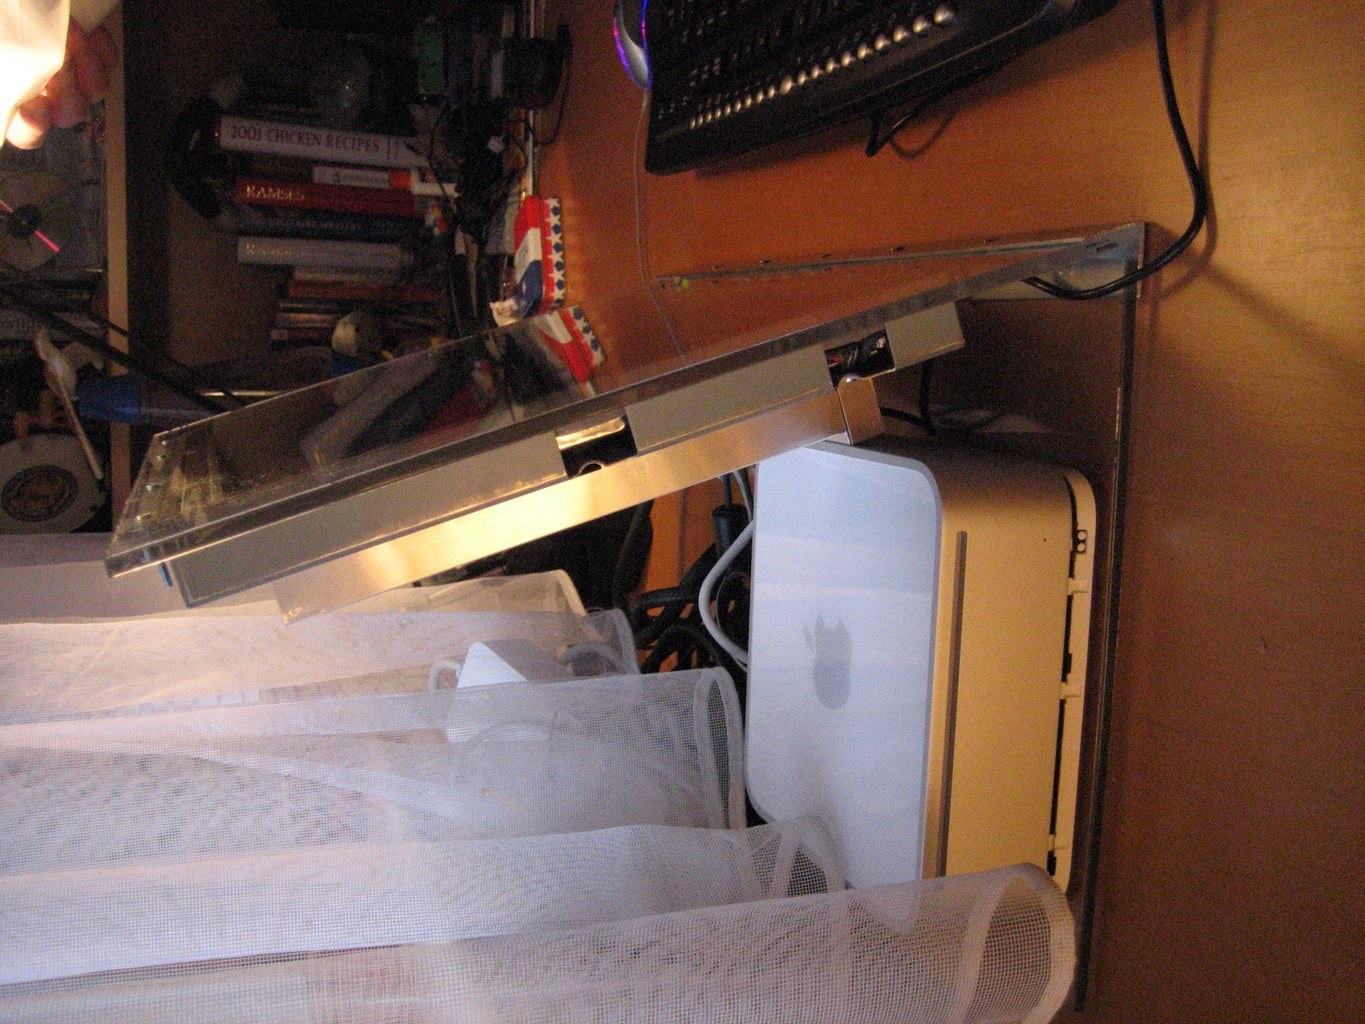
Step 1: Dismantling the Exterior of the Monitor

Once you have located your dusty old monitor, take some screwdrivers and unscrew that outer casing! There may be a couple snap in locks you may have to break. But who cares its an old dusty casing. Once you are finished it should look something like the picture below. I have only tried this with a flat-screen monitor so i do not know how you would go about this project without a flat-screen monitor.
Step 2: Creating the Frame


Go to a home depot or any department store to get the following materials:
screws (size up to you)
Metal Frame at 90 degree angle
Large sheet of plexiglass (enough to easily cover your monitor at least two times over)
Any tools ranging from Dremel, Hammer, Glasses, Mask
See First Picture
Once you have these materials go to your workshop and measure out where you will place your screws. I made holes for five screws spaced about 2 inches apart. But you can space them out according to the weight of your monitor and how long your frame will be.
See Second Picture
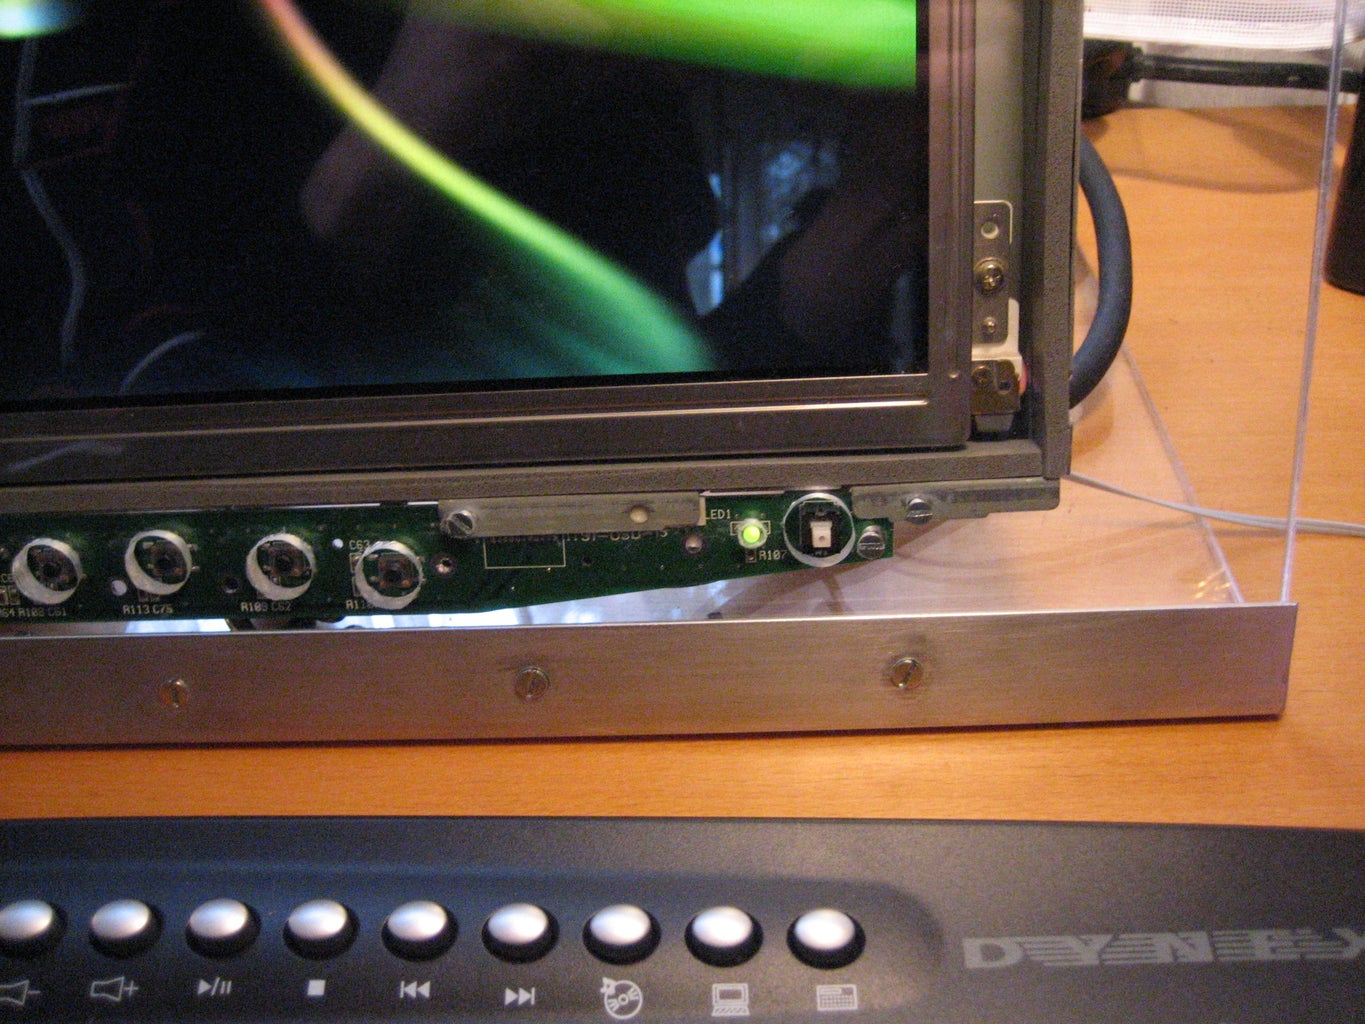
Once you have measured and made the holes in your frame, you will need to shape the frame to your desired angle. My angle was somewhere in the range of 70 degrees. This is so the monitor will be at a slight angle so it will not tip towards you. But make sure it is not at too small of an angle because then the monitor will not fit in.
Step 3: Screwing in the Plexiglass and Monitor

Now you must make sure the screws will fit through the monitor and the plexiglass juuuusst enough. If you need to shorten the screws, a dremel is a quick and effective way to shorten the screws. Just make sure right after you cut a screw you put a nut a little ways onto the screw to make sure the threads are still in line.
Cut your sheet of plexiglass to cover your monitor easily. Use the excess for the base of the new monitor. This will balance out your monitor so it will not tip over. Place both pieces into the frame to mark where the screws will go, then drill in some holes with a drill. Then, when all this is complete, screw in your monitor and plexiglass to the frame.
Step 4: The Finished Product

Now you should have a cool, hip monitor! It looks sleek with the see through plexiglass and the inside of the monitor. If you have a Mac Mini you can place it discreetly behind the monitor! Congratulations, now you can brag to your friends how your monitor is cooooooler than theirs. :D
Thanks for reading my Instructable. This was my first instructable EVER so please let me know how i did! Thanks!


