

Introduction: DC Motor Speed Controller


Hello,
today I’m gonna show you how to make a really simple DC motor speed controller.
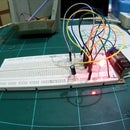
Step 1: Watch the Video
the video is in my Youtube channel Chris' Project
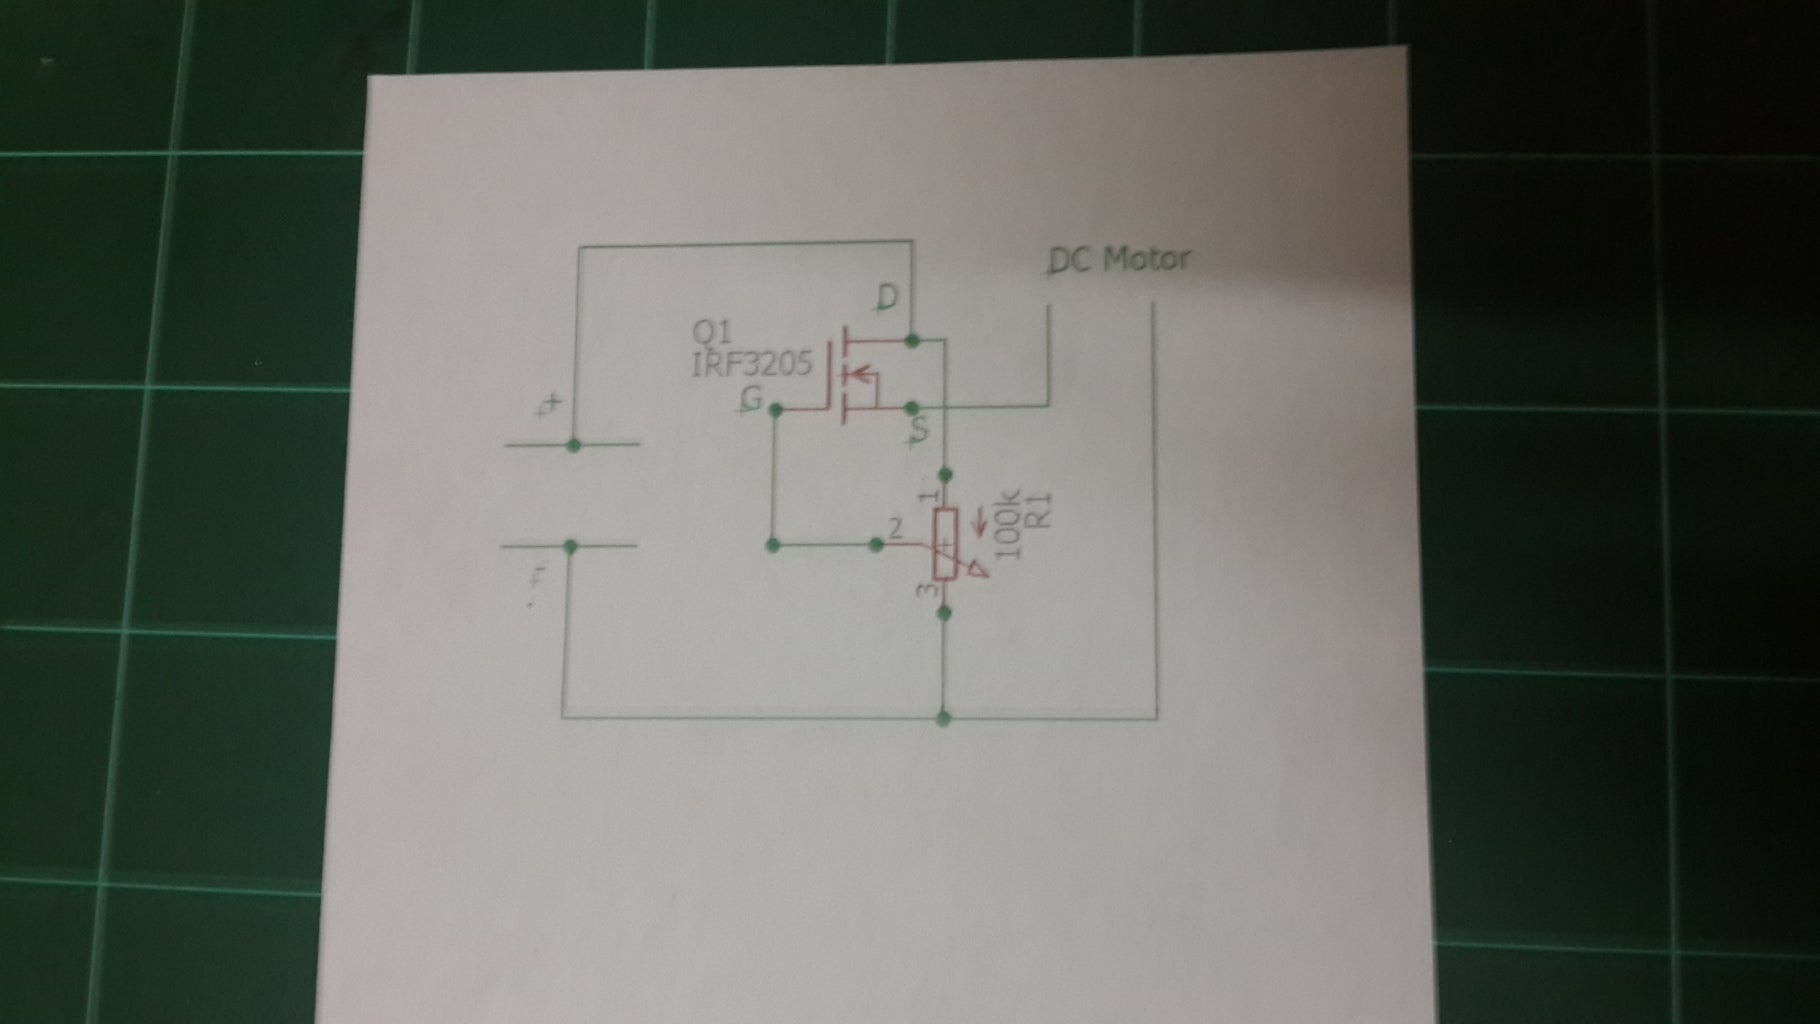
Step 2: The Schematic
Step 3: Buy All of the Components

The components for this project are:
1pc IRF3205 mosfet
1pc 100k ohm potentiometer
1pc potentiometer knob
some wires
1pc old credit card
1pc DC motor
1pc heatsink
1pc skrew
1pc 9V battery clip and a 9V battery.
Step 4: Put the Heatsink on the Mosfet

Put the heat sink on the mosfet with the skrew
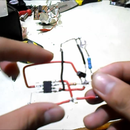
Step 5: Glue the Components to the Credit Card

Glue the mosfet and the potentiometer to the credit card
Step 6: Connect the Battery Clip

Connect the positive wire of the 9V battery clip to the drain pin of the mosfet and the negative wire to the dc motor.
Step 7: Connect the Potentiometer

Connect the left pin of the potentiometer to the drain pin of the mosfet, the middle pin to the gate pin of the mosfet, and the right pin to the negative wire of the 9V battery clip.
Step 8: The Last Connection

Finally connect the source pin of the mosfet to the other pin of the dc motor. Now just plug in the 9V battery and we are done.
Step 9: Testing

If you connect everything correctly than if you turn the potentiometer anticlockwise the motor will spin faster and if I turn the potentiometer anti clockwise the motor will slow down.


