Introduction: DIY Arduino


Want to save money by making your own Arduino clone boards? Or want to make a custom board specifically for your needs, then this project is for you! Make Arduino board from cheap electronic components available at your local store. Just follow these simple step by step instructions. Have fun with this DIY hacking tutorial!
Step 1: Components Assembly
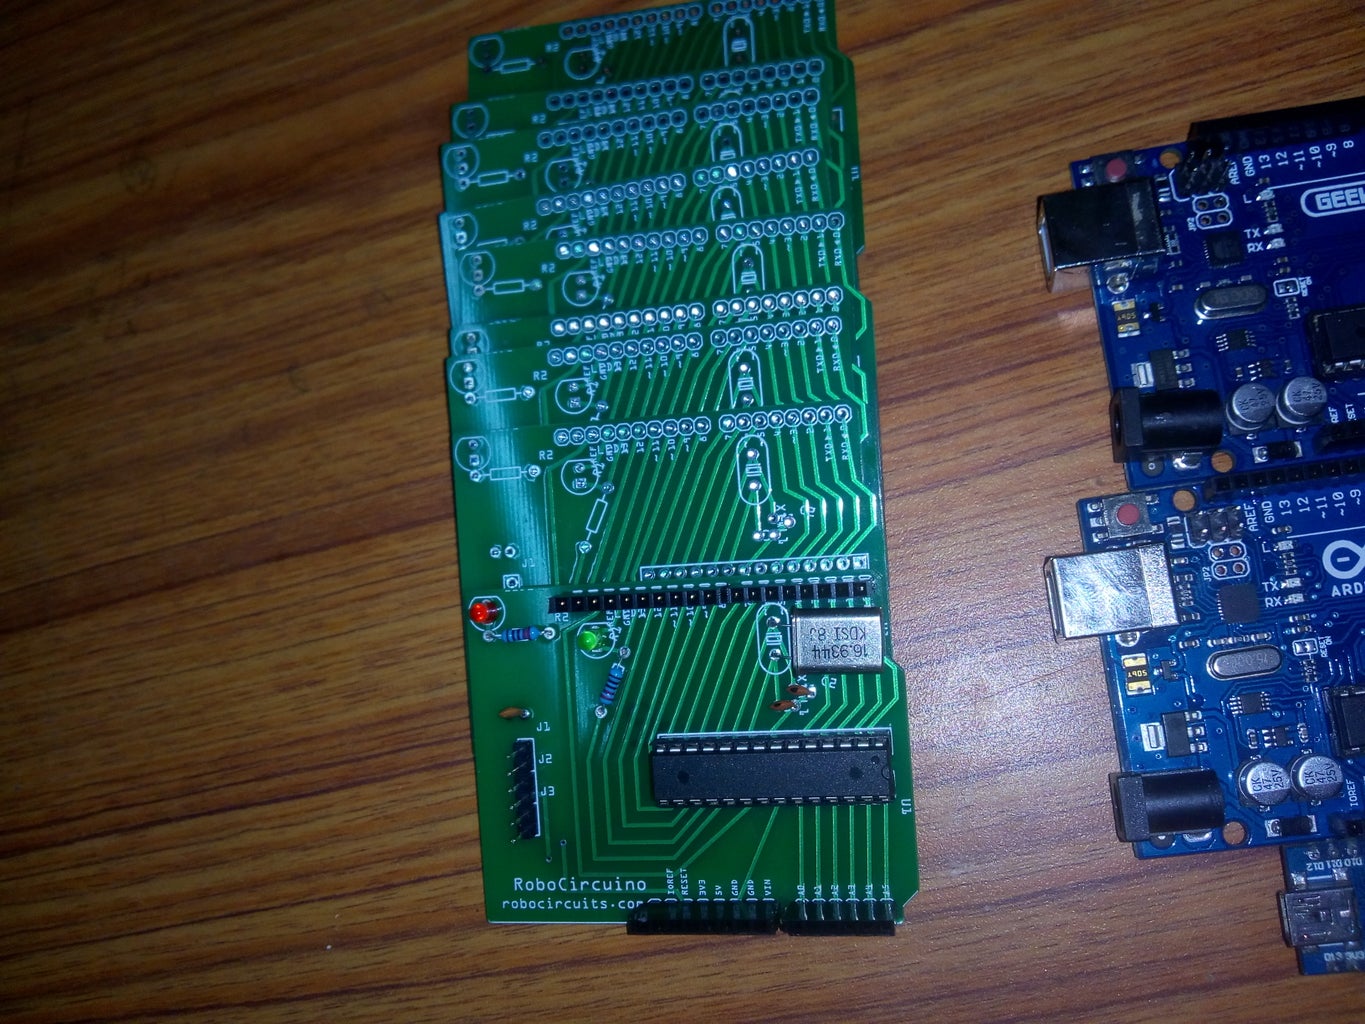
You can either etch a PCB to make your custom board, or use a prototyping dot board to solder the components on it, or arrange them on a breadboard. Connect the components with each other just like in the diagram below. There are only a few components required to make your custom Arduino board. A voltage regulator to supply 5V to the Arduino, its supporting circuitry to filter the voltage, then a 16Mhz crystal along with its parallelly connected 22pF capacitors that act as the clock to the Arduino. An LED is connected to pin no 19 of the ATmega for testing purposes. Use the schematic if you want to etch your own PCB. Modify the schematic to make your Arduino board suited for your projects. Use this eagle schematic file if you want to make a custom PCB
Step 2: Make It on a Breadboard


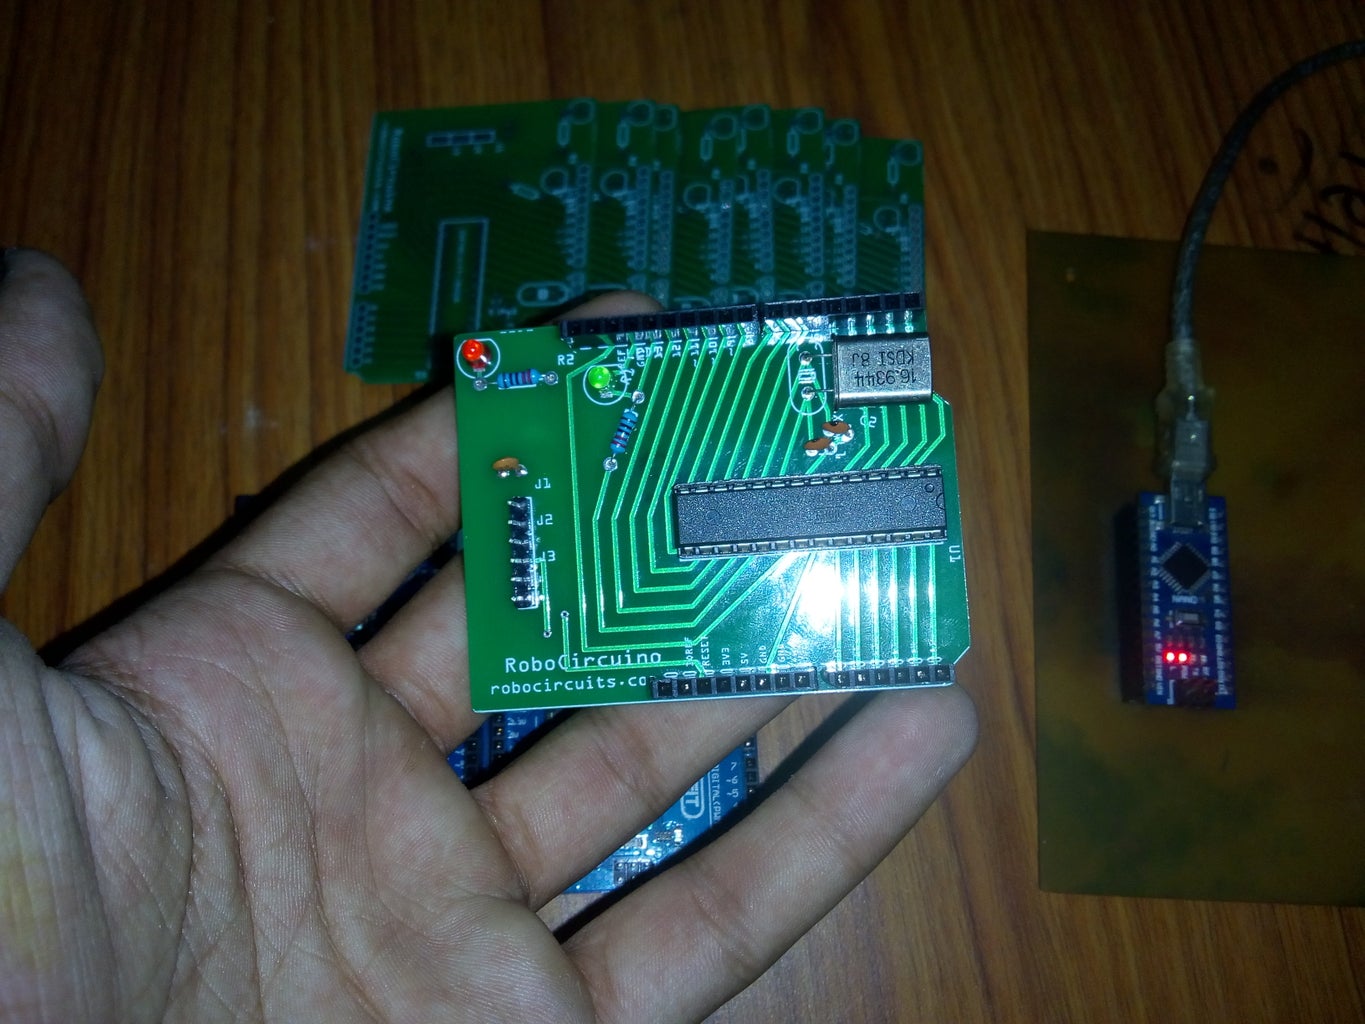
Step 3: Order PCB and Solder Components