

Introduction: DIY Arduino Controlled Egg-Bot


In this instructables I will show you how to make your own Egg-Bot controlled with Arduino. I wanted to make it before but I thought it is too hard for me but I was wrong. It's easy to build so for sure everyone can do it.
Step 1: Parts


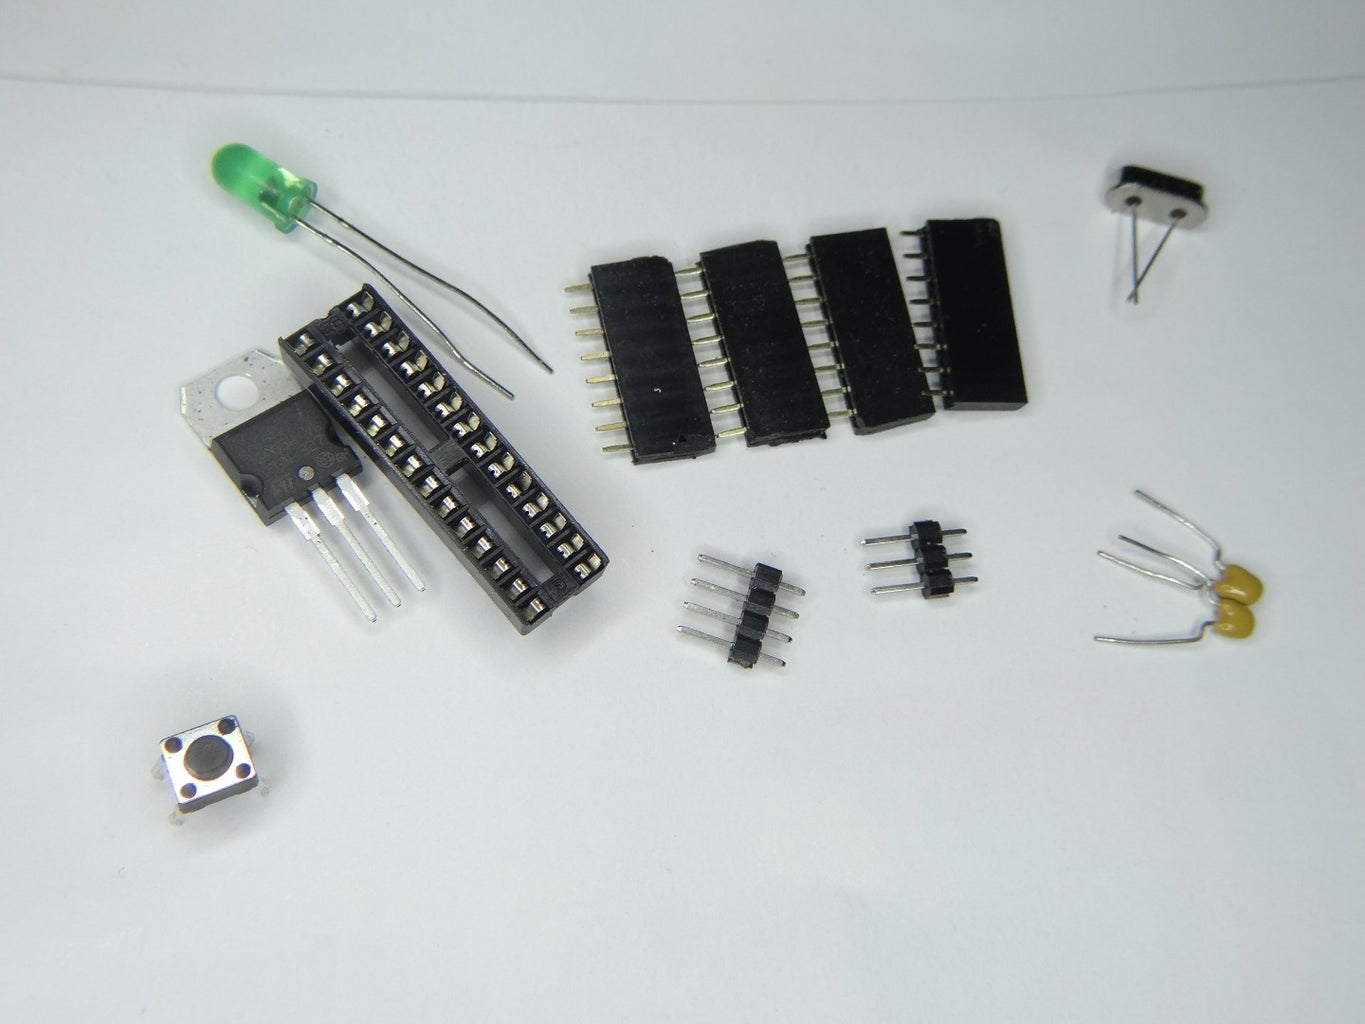
Below I add list of parts:
- Stepper motors
- Stepper motor drivers
- Arduino
- Power supply
- Micro Servo
- Plastic plate, wood
- 40cm screws x3 and 12 nuts for it's
- Two lego wheels
- Markers in different colors
- Drill, knife, saw, screwdriver, double-sided tape, wood glue, wire, soldering iron, rubber bands
- Everything you need to make PCB link.
Step 2: Connection
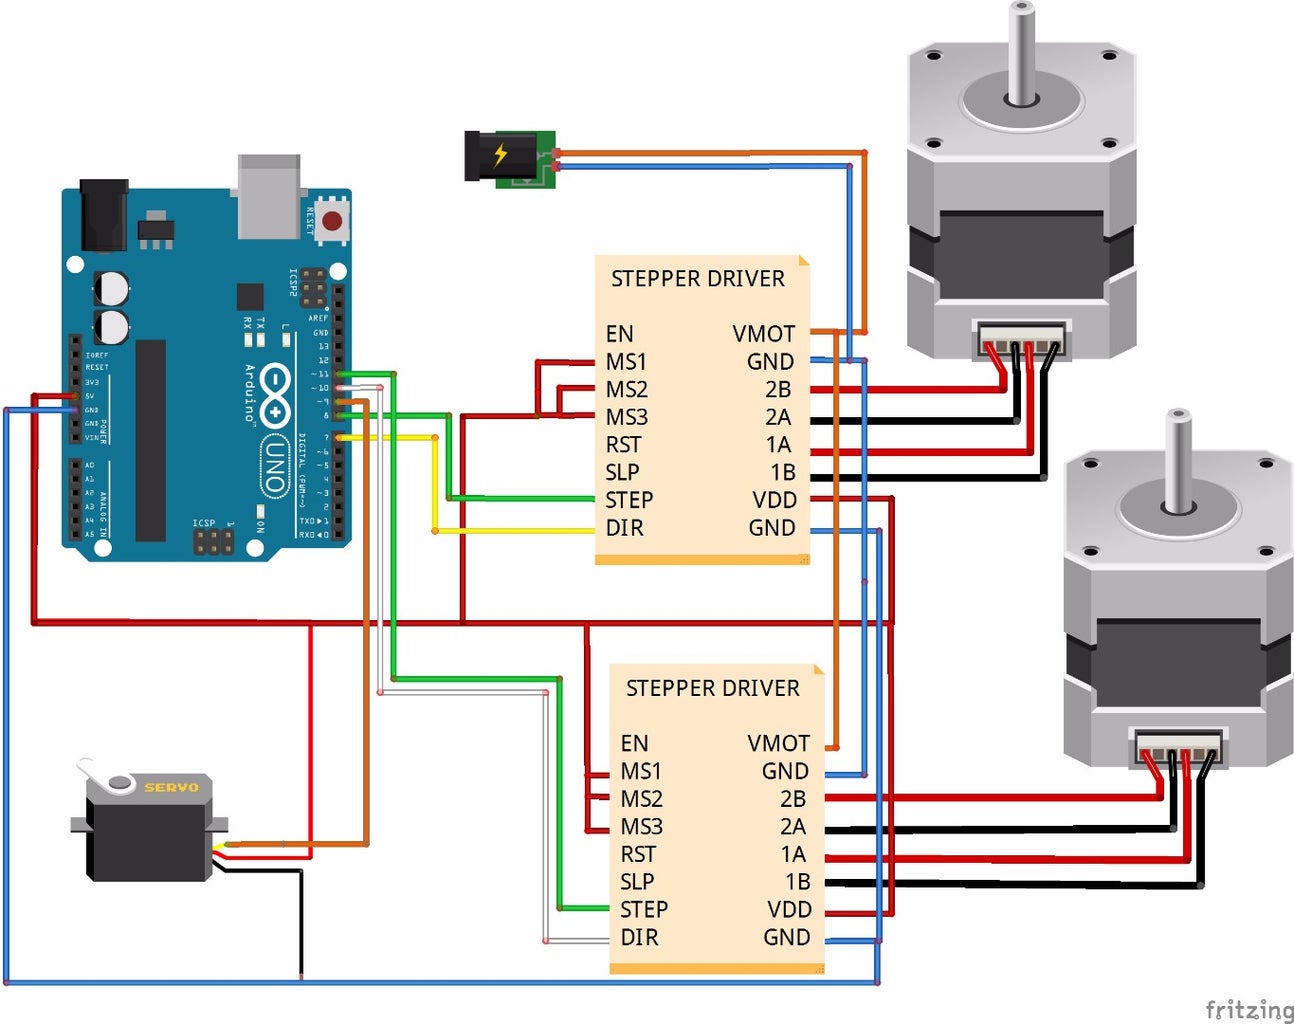

Connect it like on fritzing image above or go to the next step and make PCB (printable circuit board). And you must find right settings for potentiometer on stepper motors controller. With this potentiometer you can control voltage that goes to stepper motors. Try to set it that the stepper move is as smooth as it possible.
Step 3: PCB (optional)


Why I made PCB? Look at the image above, it shows how it looks on breadboard. Too many wires. You can easily connect something wrong or something can disconnect itself and you can spoil e.g: stepper motor driver. And on PCB everything looks better, take less place and is reliable in combined. You can read about how to make PCB here. Below I added PDF file with PCB layout. For more info see arduino on breadboard.


Step 4: Frame
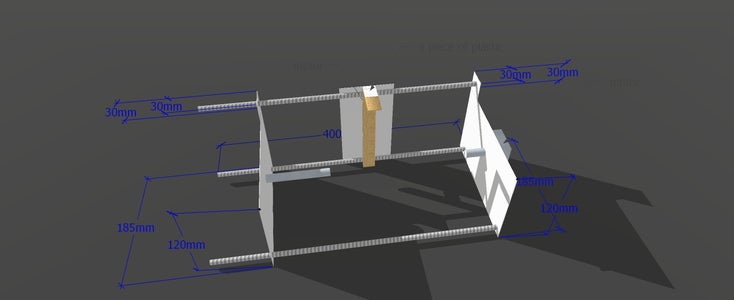


The frame is made with plastic and some wood. You can see dimensions in sketchup below or in next step.
Attachments
Step 5: Cutting of the Frame


Cut two elements from second picture and one from the third picture. Dimensions are shown in the pictures.
Step 6: Smoothing the Edge


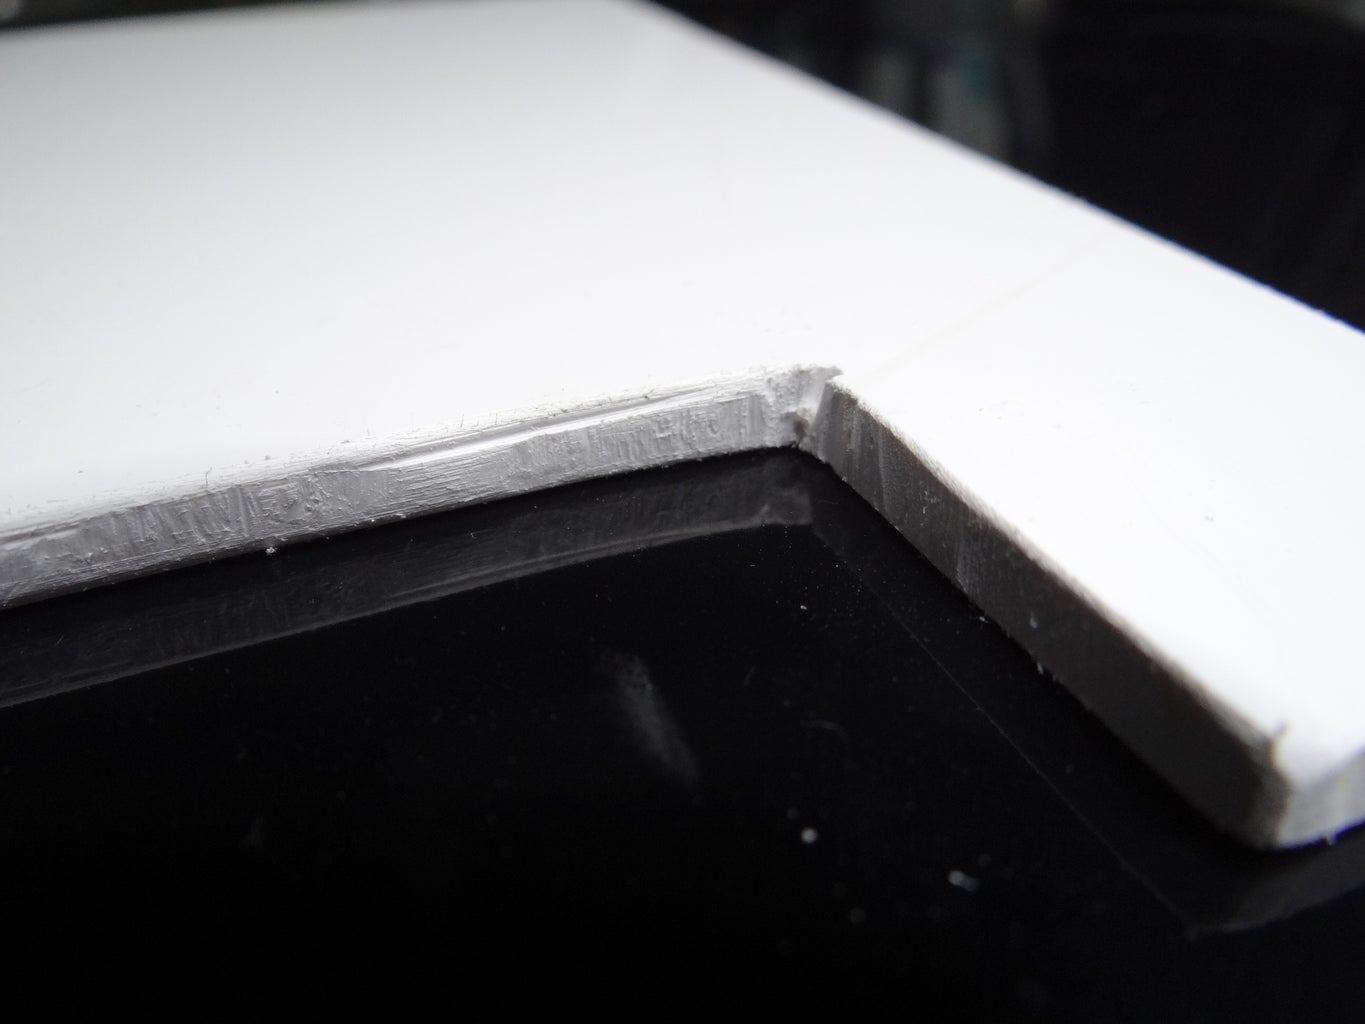
Smooth the edges with sandpaper to make them look better.
Step 7: Drilling Holes


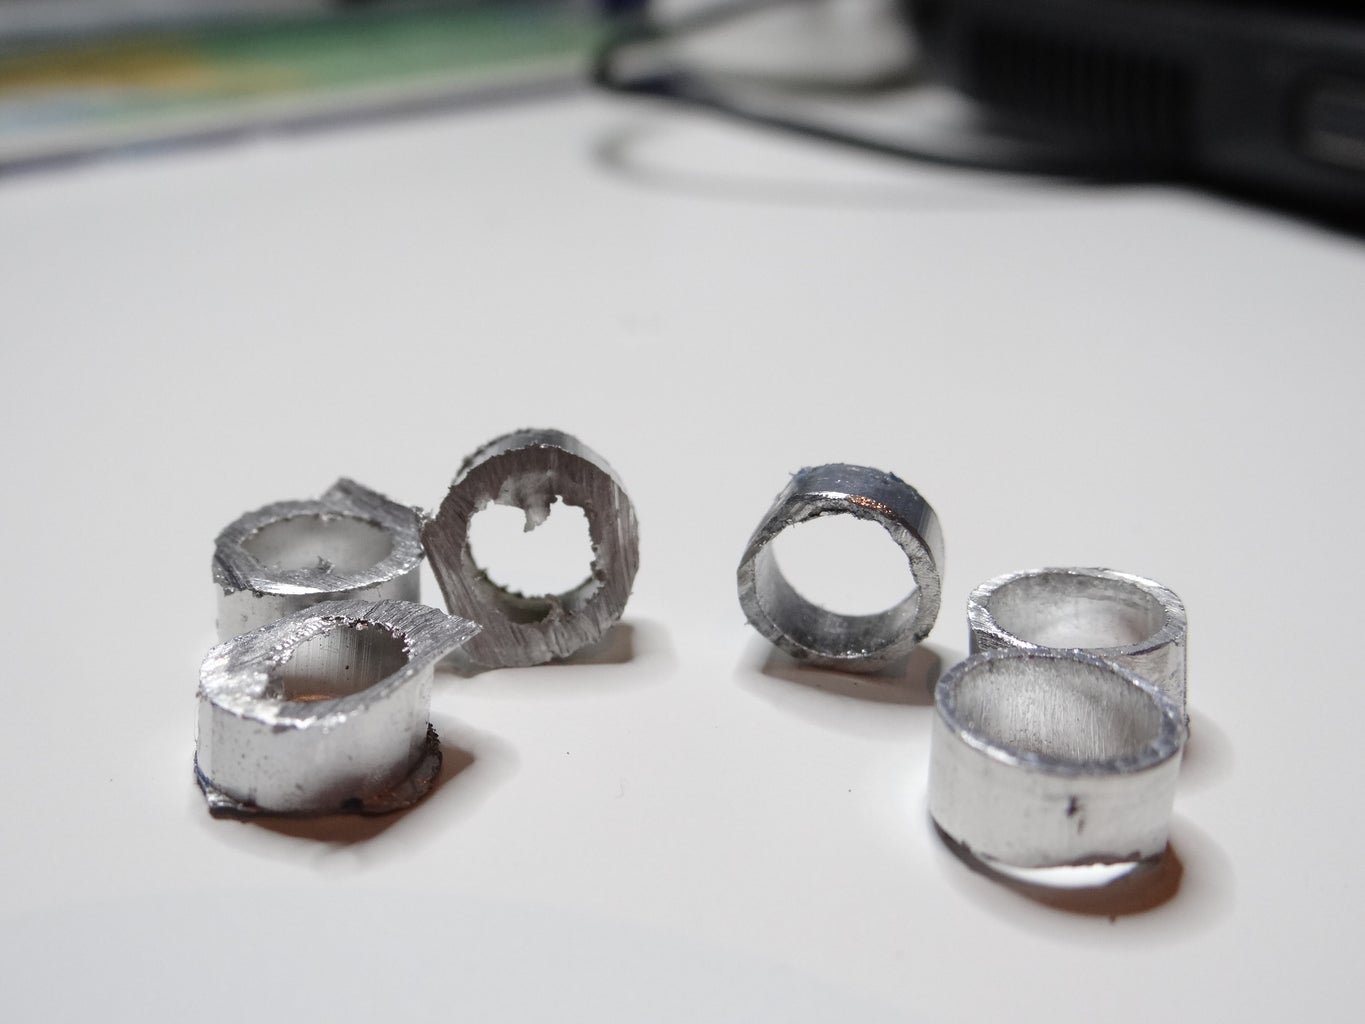
Drill holes like on image above. You need to make it very precisely. In the 3 holes at the corners put pieces of aluminum tube.
Step 8: Pen Arm


Pen arm is made with wood and plastic. At the end of the arm I made 9mm hole for marker
Step 9: Connection Frame
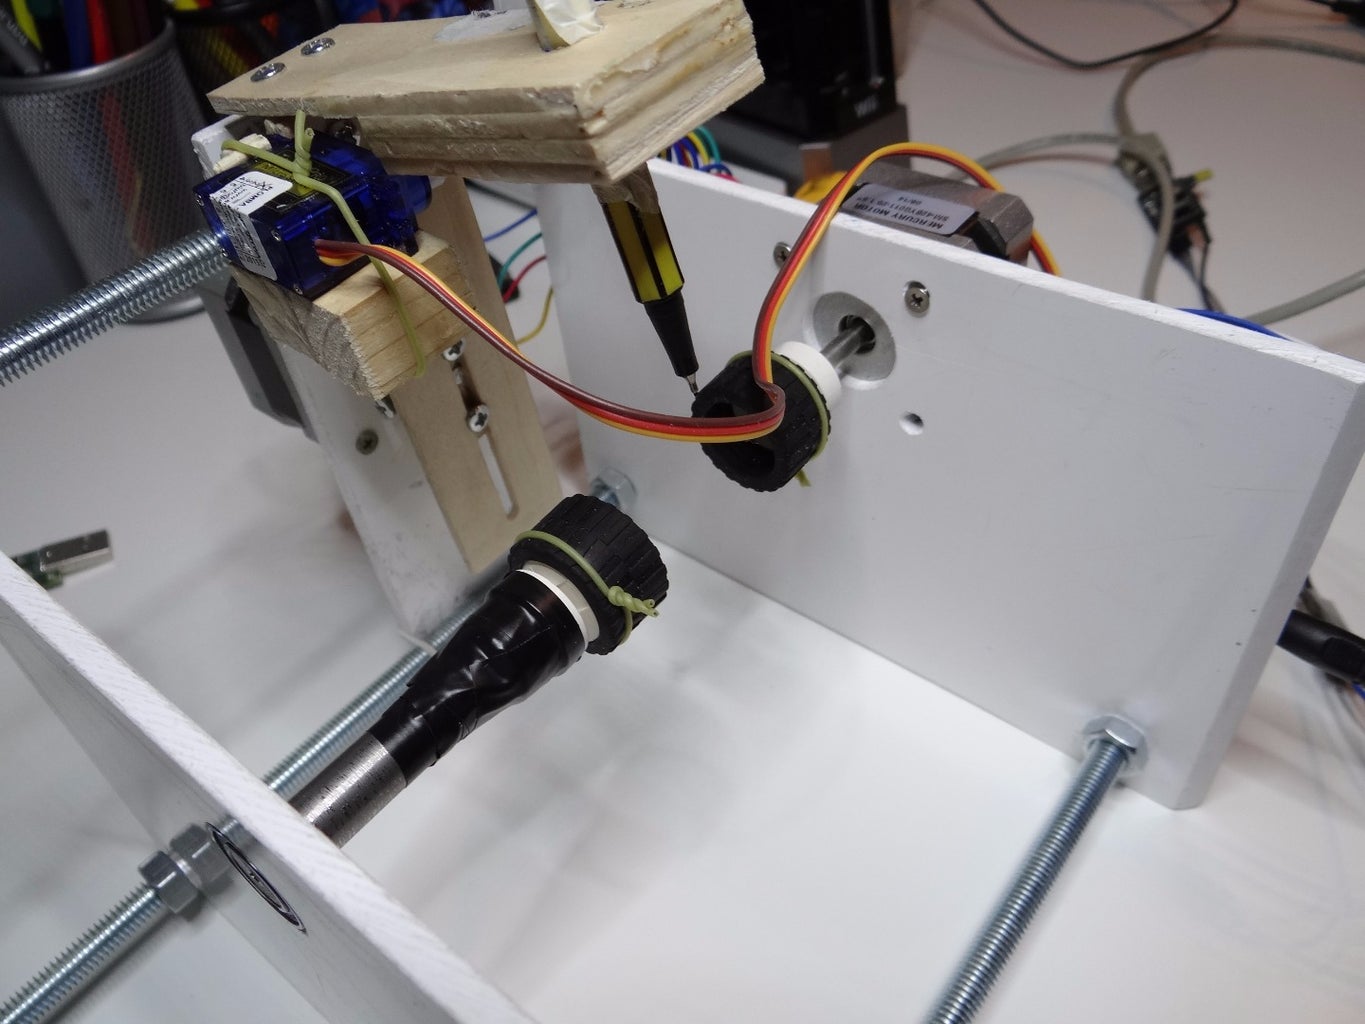


I hope you understand how to connect all of parts of frame with this photo if you have problems with it, write a comment I will try to help. Everything is connected with screws, double sided tape, glue and wires.
Step 10: Code for Arduino
Download code for arduino from here. And you need to change few lines:
This:<br>#define YAXIS_DIR_PIN 14<br>#define YAXIS_STEP_PIN 15<br><br><br>To this:<br>#define YAXIS_DIR_PIN 10<br>#define YAXIS_STEP_PIN 11<br>
and
This:<br>#define XAXIS_DIR_PIN 10 <br>#define XAXIS_STEP_PIN 8<br><br>To this:<br>#define XAXIS_DIR_PIN 7<br>#define XAXIS_STEP_PIN 8<br>
and
This:<br>#define SERVO_PIN 13<br><br>To:<br>#define SERVO_PIN 9
Step 11: Software for Computer
I propose to install original eggbot extension to inkscape because with it you can print filled object. You can read how to download it and how to use here. To make G-code files in inkscape download this extension made by martymcguire. And the last thing to download is a program to sending commands over serial to arduino. Download it here. Now you need to change unicorn extension code. Go to:
C:\program files\inkscape\share\extensions\unicorn\context.py
Add to 29 line this:
<p>"M300 S%0.2F (pen up)" % self.pen_up_angle,</p>
And delete line 39:
<p>"M300 S255 (turn off servo)",</p>
Step 12: First Painting


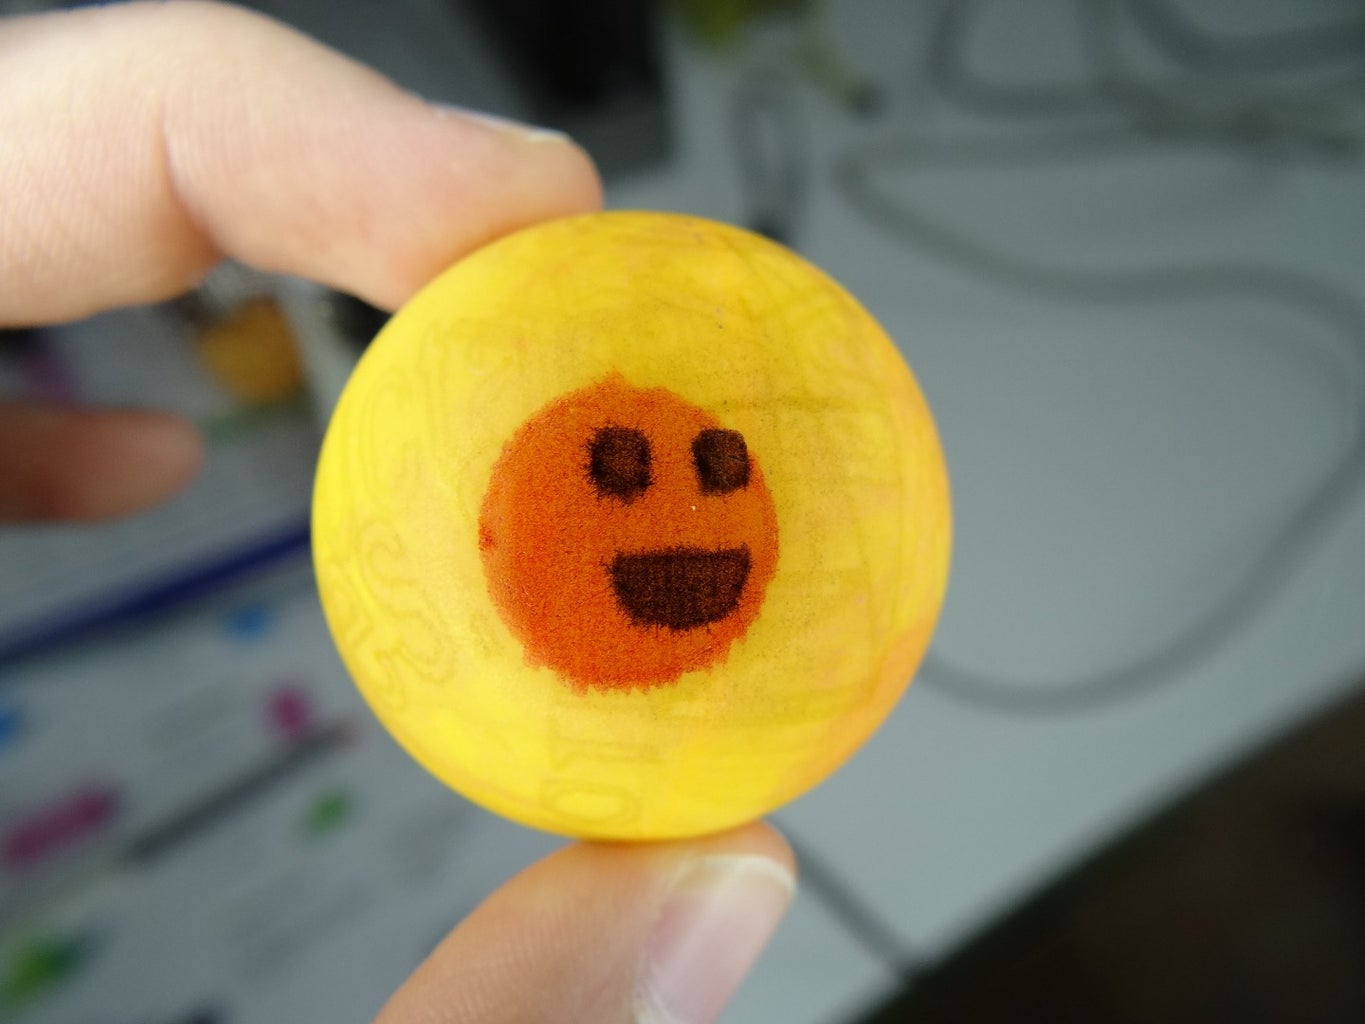
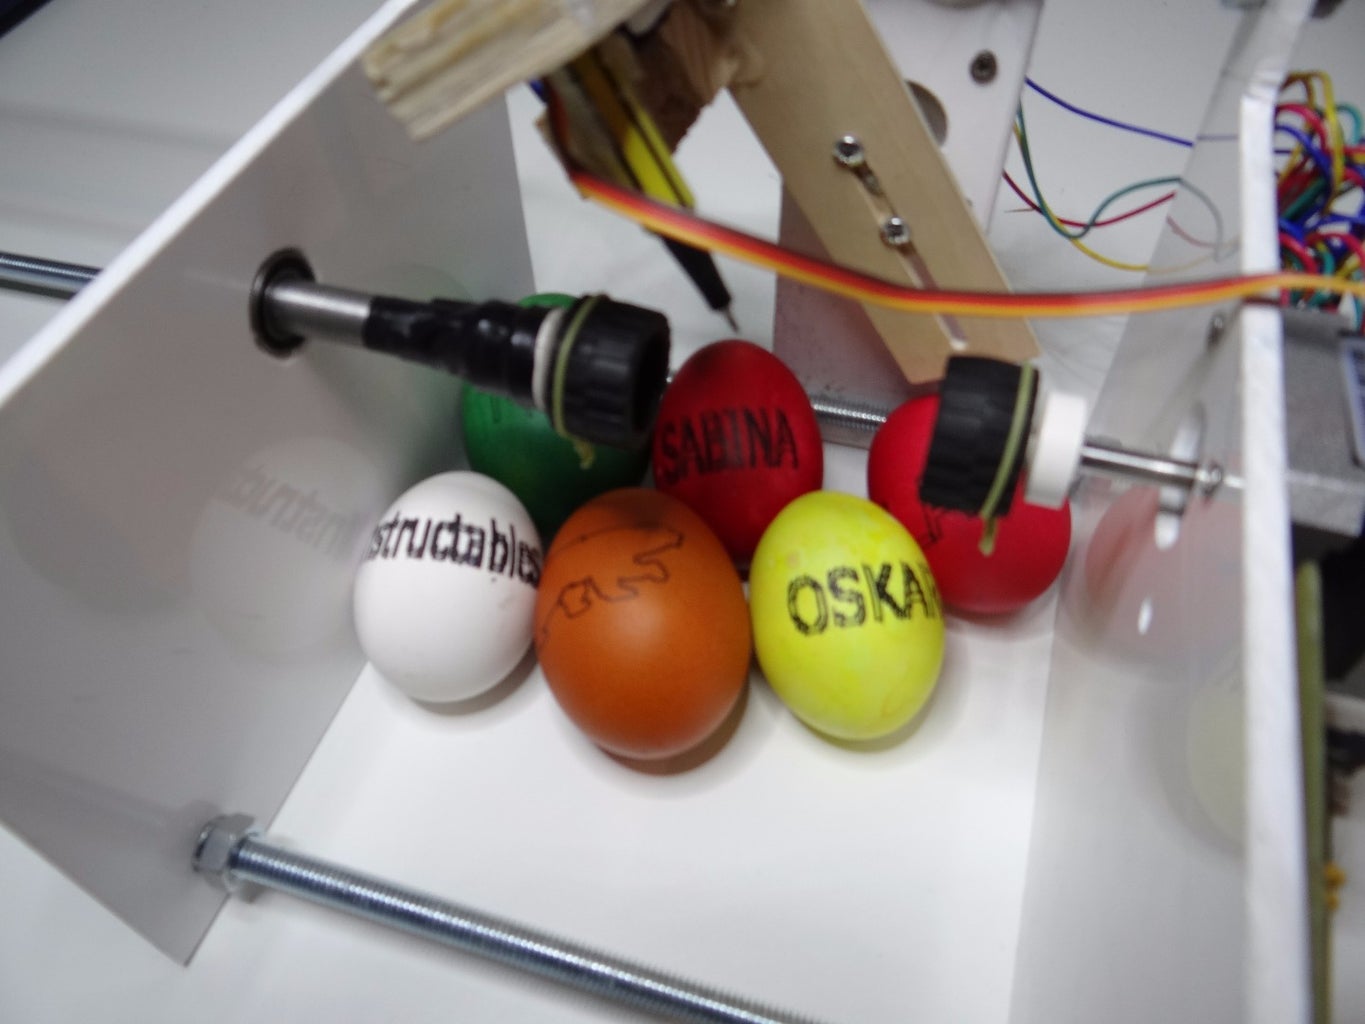

This are first eggs that I painted by my eggbot. Effect is no the best because of pen vibration. I all the time try to fix it but I can't do it succesfully yet. Picture on the orange egg is supposed to represent a bear.
Please, if you like my project vote for me. Thanks!!!!
Thanks for reading and sorry for my English :)
Have fun with your EggBot.

Runner Up in the
Egg Challenge

Third Prize in the
Automation Contest


