

Introduction: DIY Clap Circuit


Hello Guys! Welcome back to another instructables by Let's Innovate.
This time I will show you how to make a simple circuit that allows you to turn your appliances on or off with just 3 well timed claps.
I have a video on the topic, which provides all the details required to make the project. We will also love some support on the channel.
Alternatively, you can follow this instructables.
Lets get started.
Supplies
These are the things you will need:
1 x 5v power supply (A mobile adapter will work).
1 x DC Jack and Socket (If you want)
1 x Electret mic
2 x 0.1 uF capacitors
1 x 10K potentiometer
2 x 10K resistors
1 x 100K resistor
1 x 1K resistor
1 x 370 ohm resistor
2 x NPN transistors (I use C945, any NPN one will work though)
1 x LED (any colour)
1 x 5v Relay
1 x ATTiny 85
1 x solder board (small)
1 x terminal commonly used in house wiring( I connected it to the relay's pins so that I can connect anything easily)
Wires
Soldering Iron
Solder
Step 1: The Amplifier


The heart of the circuit is an electret mic which picks up disturbances in the surroundings by it's movable diaphragm which alters it's capacitance.
However,it's audio peaks are too low to be used directly. What we will need is an amplifier. The simple circuit shown works best.
Step 2: The Complete Schematic

Here is the complete schematic which includes the amplifier, an ATtiny, an indicator LED and a Relay.
This is all what you will need to make the circuit.
Step 3: The Coding and Uploading It to the ATTiny


I explain the code very clearly in my video. I advise watching it if you dont know what's going on.
I have provided my program here.
Next, we will have to upload the program to an ATTiny 85 which I show in my video. I follow this instructables by Arduino Master. Check it out because it is a great instructables and provides complete information.
Attachments

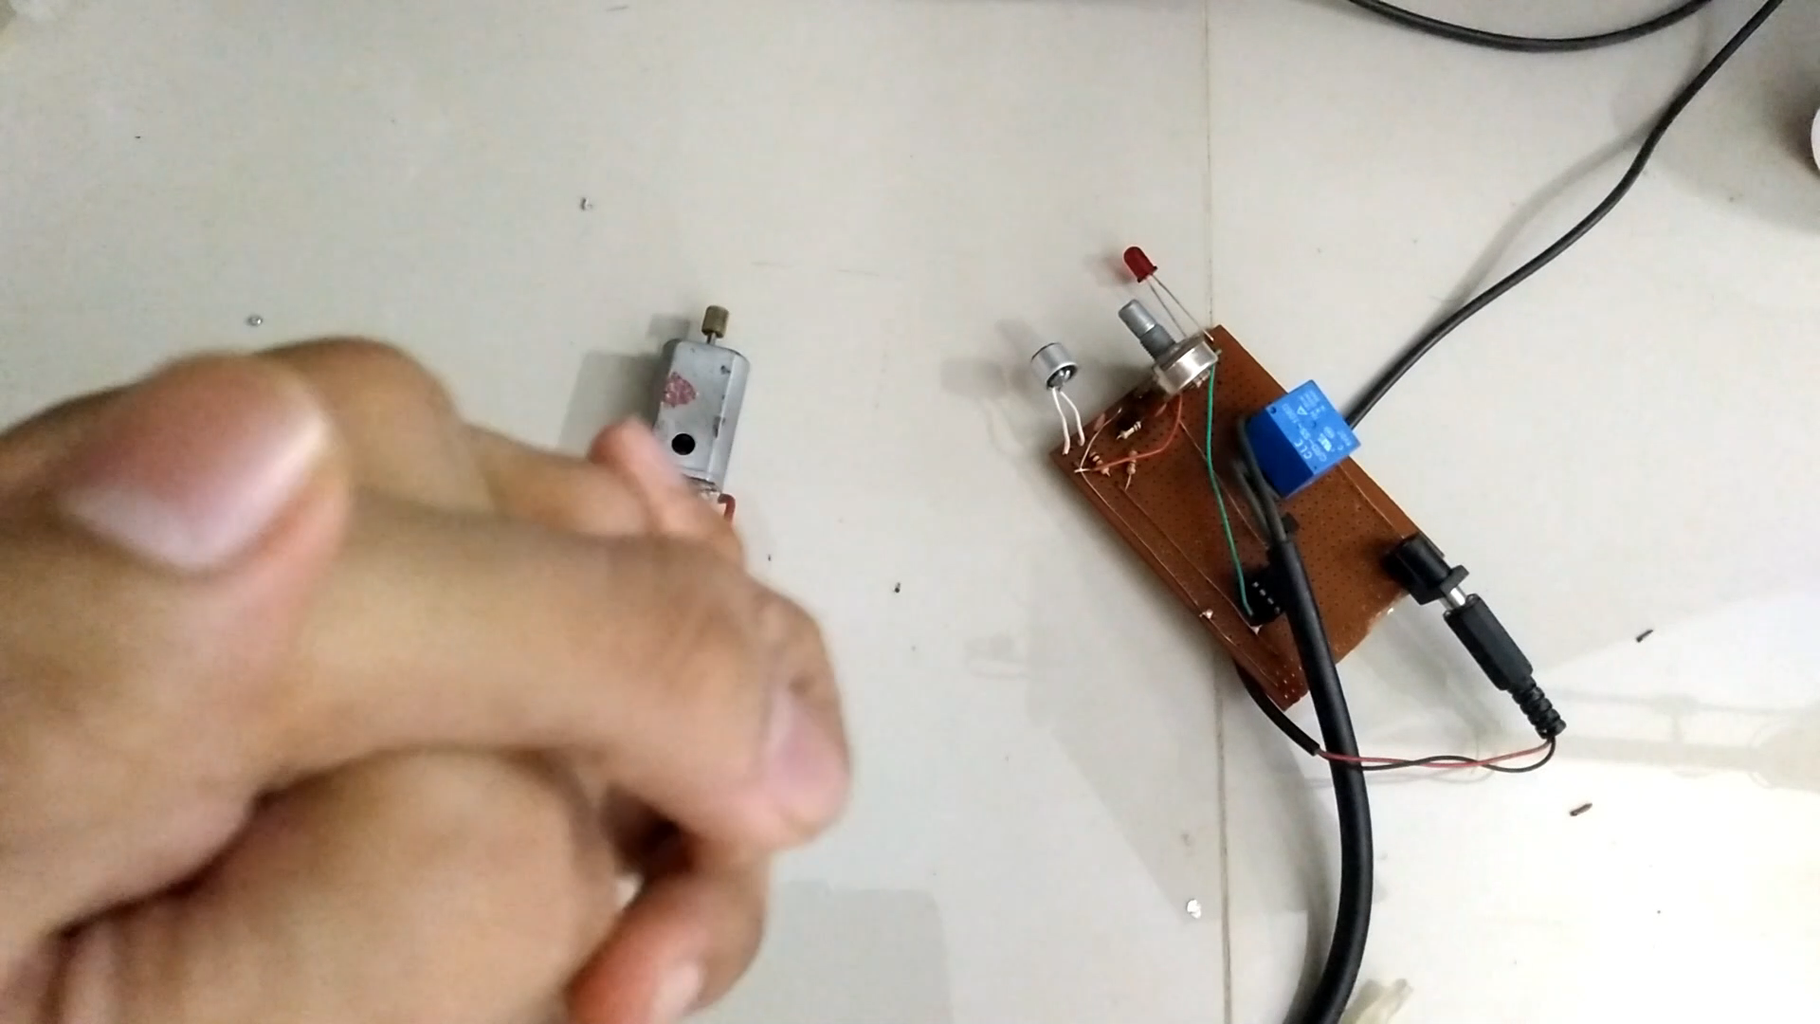
Step 4: Soldering


The soldering is pretty easy and only takes about 30 minutes.
I also hack a mobile adapter and solder a DC Jack to it.
Be sure to elongate the mic, indicator LED and potentiometer pins (or just solder them closer to the edges of the solder board.
I also added a connector to easily use the relay's pins.
Please be sure to check out the schematic to exactly know how the wiring is supposed to be done. You can make it so that you don't have to strip the power wires of your appliances but I suggest attaching the circuit after rectification of AC to DC (because there is no safety features in this circuit, my area does not support the idea of earth wires for some reason)
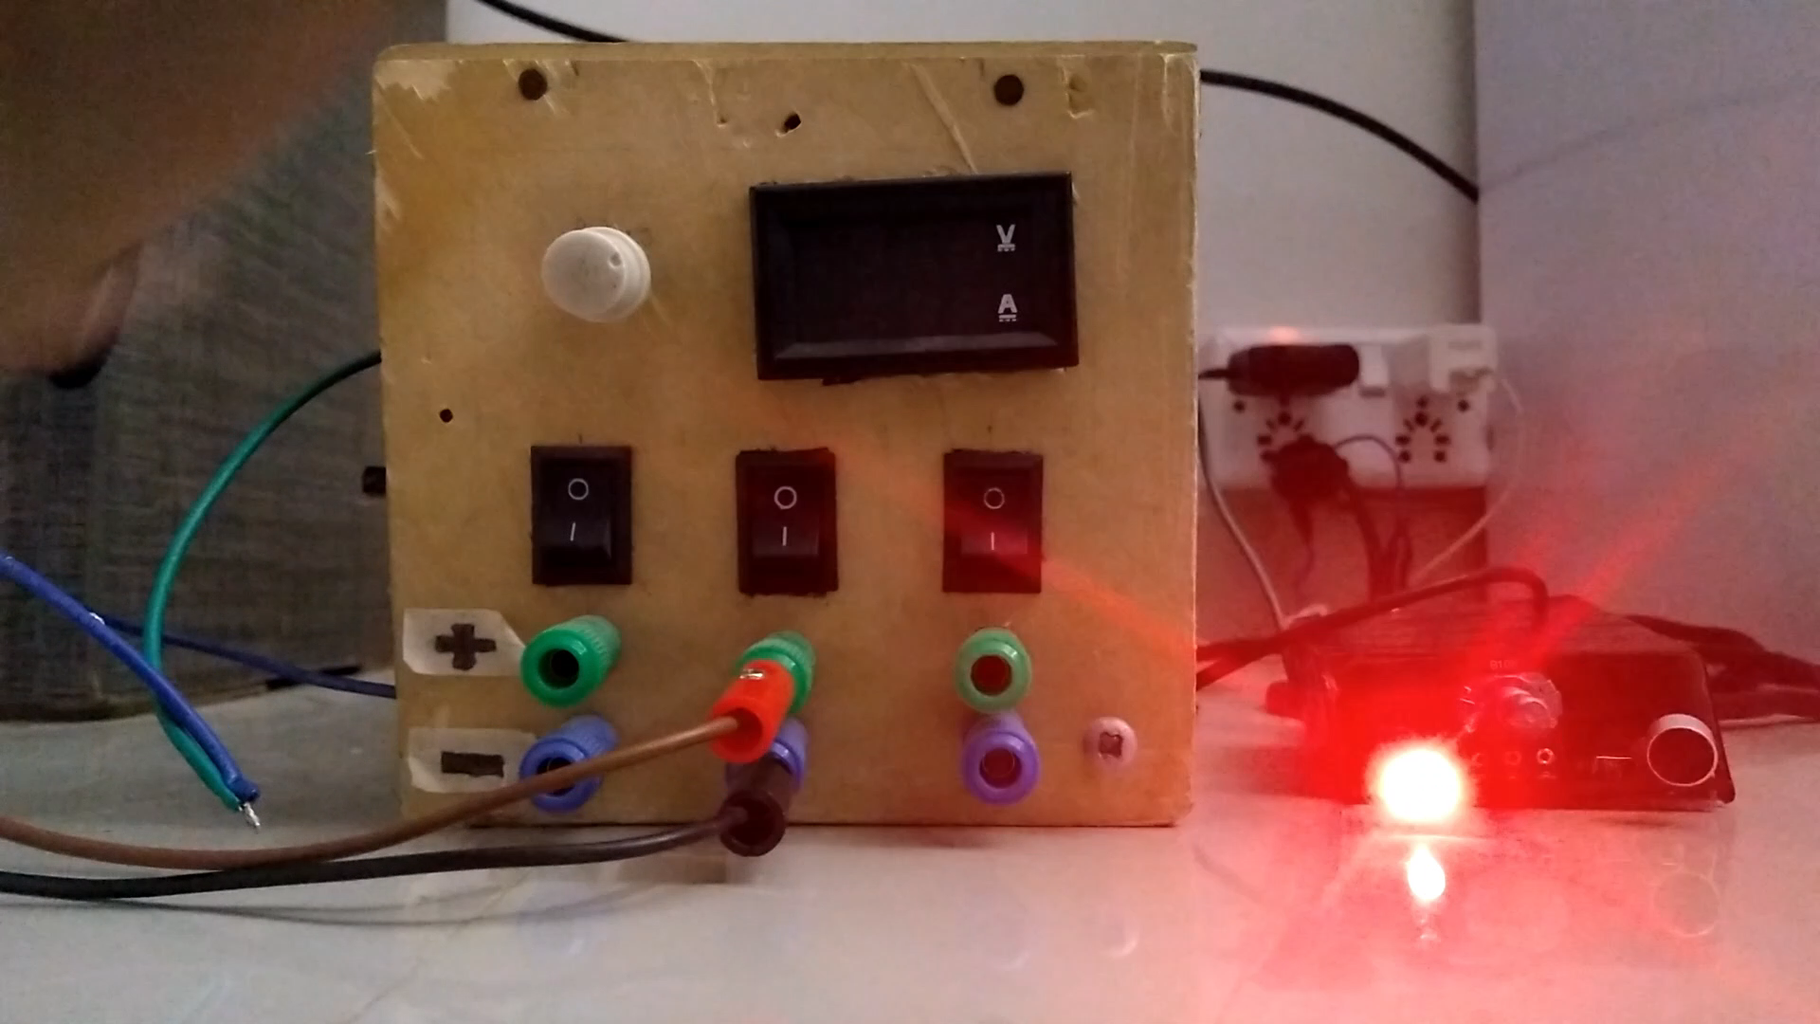
Step 5: All Done Have Fun!


With this you have completed your arduino clap circuit.
Become a real couch potato like me!


