

Introduction: DIY Electric Skateboard


Here's a video of my buddy riding the finished skateboard down the street.
Top speed is approx: 15-21mph
Step 1: Find an Old Scooter

This is not a picture of the actual scooter I used, but it's close. I found mine on craigslist for about $50 and amazingly the only problem was the batteries were shot.
Step 2: Strip It Bare

The materials you will salvage from the previous scooter are: the steel frame and shocks, the back wheel and chain linkage, the motor(mine was 1000W), the motor controller, the disc brake system, & throttle control from the handlebar. You can test the batteries, but usually they're bad and should be replaced. This picture shows the remaining frame after I stripped everything off. Nothing was more difficult than unscrewing several screws, except the vertical steel piece welded to the frame.(it supported the handle bars and LED display) I took a sawzall to it and it came off very easy.
Step 3: Find a Suitable Deck Material

I found four or five aluminum sheets at the local recycling scrap metal yard; they were almost the perfect size for the deck. The metal yard charged me around $20 for the material. Next, I took them to a local company that builds cotton gins and they were nice enough to offer me the service of their awesome laser cutter. I fastened it to the scooter frame with 3 bolts on each side and two in the front.
Step 4: Order New Batteries

The initial batteries were shot (3 total), so I went to Ebay and found a lot of different providers. The best price I could find at the time was around $22.
Step 5: Custom Battery Box


The initial battery box was too shallow with my new deck. So I removed the old battery box and replaced it with a custom acrylic box that I shaped into a trapezoid-ish shape. The acrylic is not the most durable material you can use. I only use it because it was easy to shape with a blow torch and extremely cheep. A metal box would probably be better.
Step 6:

Almost finished.........
To mount the acrylic box, I found some simple hinges from home depot and some nuts and bolts. This allows me to access the batteries for whatever reason in the future. You can't see it, but I bound the 3 batteries together with duct-tape to hopefully minimize them moving. I used the model number underneath the motor controller to find its data sheet online(didn't take long). I also found 4 screws to fasten the truck to the frame. I used about an inch thick rectangle shape block of extra aluminum underneath the front of the frame to increase the height. The trucks are the cheapest I could find for 9" wheels, there are much better and more expensive ones available. The deck design is simple, so there may be a better design to help with the wheels not bite while turning. Not pictured is the black scape tape on top of the deck. I went to a local skateboard shop and they applied it for a small cost.
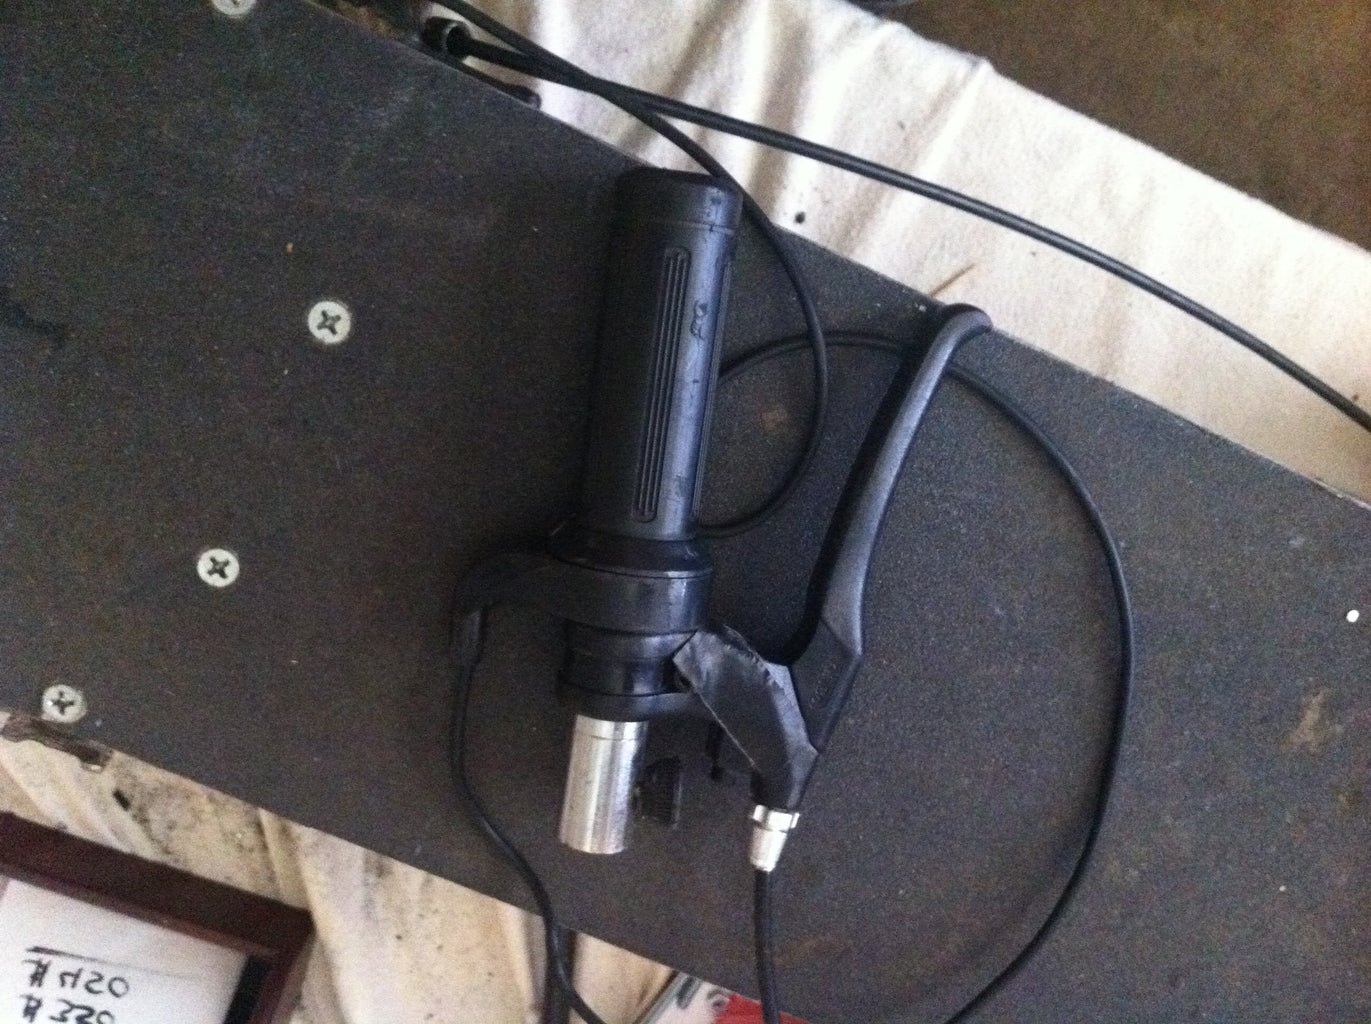
Step 7: Pictures of Separate Components


Here's the link for my motor controller:
http://tncscooters.com/index.php?route=product/pro...
You can also change out the bushing that comes with the truck for a more/less stiff one, whichever you prefer(I went one size more stiff).
Step 8:
Here's the link for my motor controller:


