

Introduction: DIY Model Rocket Under $25


In this Instructable, I am going to show you how to make a model rocket from materials you likely have in your house. What you buy (engines, fuse or igniters, and body materials) should cost under $25.
For this project you will need:
- 1 Poster Tube
- Some scrap wood (enough for 4 fins, balsa wood will do the job perfectly.)
- Model Rocket Engines (I recommend Estes C's)
- Spare Cardboard (for engine mount)
- A Styrofoam cone
As for tools you will need:
- A hot glue gun (Elmer's glue-all will work fine if you don't have one)
- A pair of scissors
- Sand Paper (optional)
- A hand saw or razor knife (To cut the wood)
- A Ruler
- Some string
- Paint (optional)
- Safety items: Goggles and gloves for hot gluing and cutting.
*Note: This tutorial is how to build the rocket, not how to actually launch it.
Step 1: Making the Fins

In order to make a rocket that works, you'll need to make some good fins.
Get your scrap wood piece out, it should be strong but not too thick, as it will be hard to cut. I used Eucaboard, which I would not recommend because it is way too heavy, but something like balsa works perfectly.
Step 2: Mark Up Your Wood

Determine how big you want your fins to be and then mark them up with a sharpie. You want to make them big enough to make your rocket stable, but small enough so they don't weigh your rocket down. I personally did 4 inches by 4 inches, and then just drew a diagonal line connecting the two marks. You'll also want to make as few cuts as possible, because if the wood you have is cut in squares, you can use the straight lines that are already on it to make your fins.
Step 3: Cut Your Fins

Follow the lines of your fin and make the cuts accordingly. If you are using a light wood like balsa, you can use a razor blade to make deeper and deeper cuts until it gets all the way through. If you are using something stronger like I did, you can use a hand saw or table saw to cut them.
Step 4: Repeat

Repeat this process until you've made four fins.
Step 5: Sand (optional)

Sand your fins down to get rid of the rough edges and to make them all the exact same dimensions. Although not required to make a rocket, I would highly recommend it. Use some normal sand paper or a belt sander if you have one.
Step 6: Paint (optional)

Its up to you weather or not you would want to paint your rocket, but I personally would. I painted my fins bright orange so they would be easy to find if they broke off after launch. Just give them a few coats of spray paint and let them dry for a few hours.
Step 7: Making the Fuselage
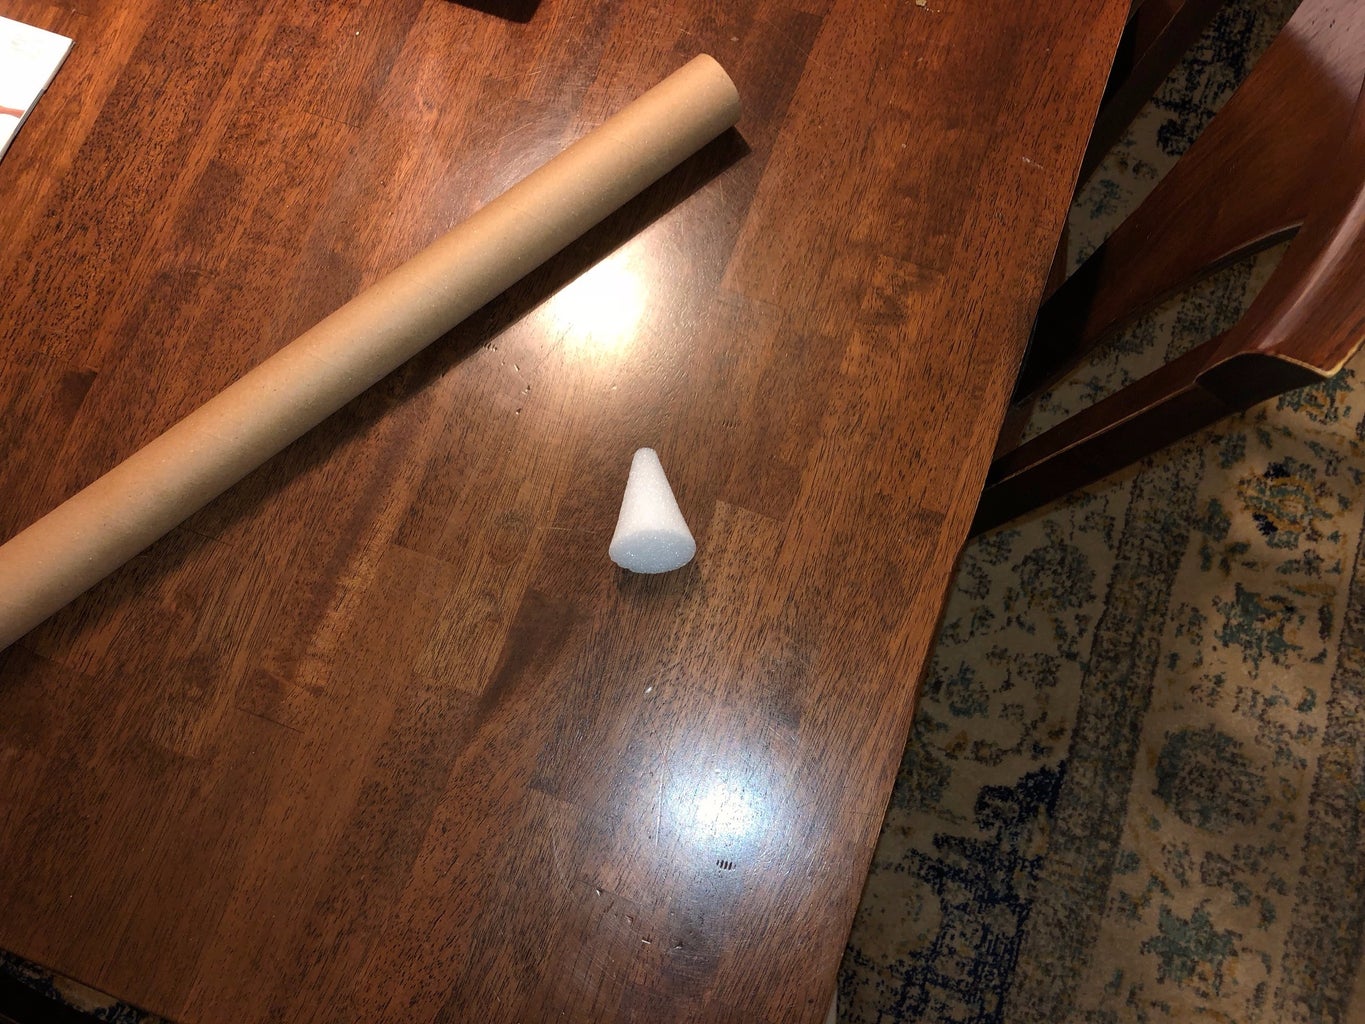
For this you will need a poster tube and a styrofoam nose cone. If you want to paint them, nows the time. (Pro tip: don't spray paint styrofoam, it will melt).
Step 8: Hot Glue the Nose Cone to the Fuselage

Place the cone on top of the fuselage, and then hot glue the place in between the two pieces. It will dry quickly, and then you'll have a nearly complete rocket fuselage.
Step 9: Making the Engine Mount

Trace the base of your rocket and your engine out on some cardboard like so. These will be the cut guides for your engine mount.
Step 10: Cutting the Cardboard

Use scissors to cut out the outer circle, and a razor blade to cut out the inner one. This doesn't need to look pretty, all it needs to do is snugly fit inside the rocket, and hold the engine in place.
Step 11: Glue the Engine to the Cardboard

Place the cardboard circles over the engine, with one at the top and one at the bottom, and then hot glue them to the engine. Set it to dry, and you'll have a completed engine mount. (I didn't take a picture of mine so I found one off of google. This one has wood instead of cardboard engine mounts but this is what it should look like.)
Step 12: Attach It to the Rocket

Put hot glue on the edges of the cardboard circles, then quickly put it in the rocket, so that the engine sits flush with the rim of the fuselage.
Step 13: Attaching the Fins to the Rocket

First you are going to measure the rocket fuselage. Take a string and wrap it around the rocket, and mark up where the end of the string meets the part thats wrapped around.
Step 14: Measure the String

Then put it up to a ruler to measure it. This is the circumference of your rocket. Divide the circumference by the amount of fins you made. My circumference was 6 inches, and I made 4 fins, so I had to put a fin every 1.5 inches to have them spaced equally.
Step 15: Mark the Fuselage

After you've marked your rocket, in my case one mark every 1.5 inches, put it up to a door jam and draw lines through your marks, in order to get straight guiding lines for the fins.
Step 16: Glue the Fins

Put hot glue on the fins of the rocket, and individually place them on to your lines. Then use hot glue on either side of the fins for increased stability in flight.
Step 17: You've Finished!!

Congratulations!!! You have successfully made a model rocket! All thats left to do is find an open field and launch it. If everything is secure and you followed the directions closely, your launch should go perfectly.


