

Introduction: DIY Omnitrix


Did you love "Ben 10" when it first premiered on Cartoon Network in 2005. This show created by Man of Action grabbed everyone's attention with its incredible cool and stylish Omnitrix. Moreover what it could do. It had a catalogue of aliens with different powers and Ben could transform into whomever he wanted to.
Well if you were a fan of the Original Ben 10 then you'll definitely love this DIY Omnitrix made out of foam.
Step 1: You'll Need:

1. 6mm EVA Foam
2. Craft Foam
3. Template
4. Xacto Knife/Box Cutter/Scissors
5. Grey Paint and brush (not necessary. I used it only because I could not find grey foam)
6. Wire/Thread (to measure your wrist)
7. Contact Cement/Glue
8. Ruler And finally
9. Fandom!
Step 2: Making a Template


First measure your wrist and make a template basing off of that. This is the most important step of all because it is the basic shape and you do not want to mess this up. My template was 7" X 3". This might not be the same for you. Since all our wrists are not the same.
Step 3: Copying the Template Onto Foam.


Now copy the template onto the 6mm Foam and cut it out using an Xacto knife or a box cutter. A scissors does not work well on 6mm foam. Once you cut it roll it up and put a rubber band around it so that the shape stays.
Step 4: More Layers!


After this modify the first template to make the second and third layers and the white strips on the watch.
Step 5: Sticking All the Layers


Once you've cut out all your layers, stick them all together. I've used contact cement here but you're free to use glue or any other adhesive. Do not use SUPER GLUE or SPRAY ADHESIVE they'll eat up the foam.
As you can see I've colored my base layer grey from black. I did this because I could not find grey 6mm foam.
[CONTACT CEMENT: Is an adhesive that is applied separately to the surfaces to be joined and is allowed to dry, with the surfaces then being brought into contact. This stuff is toxic when inhaled. So do not use it near children.]
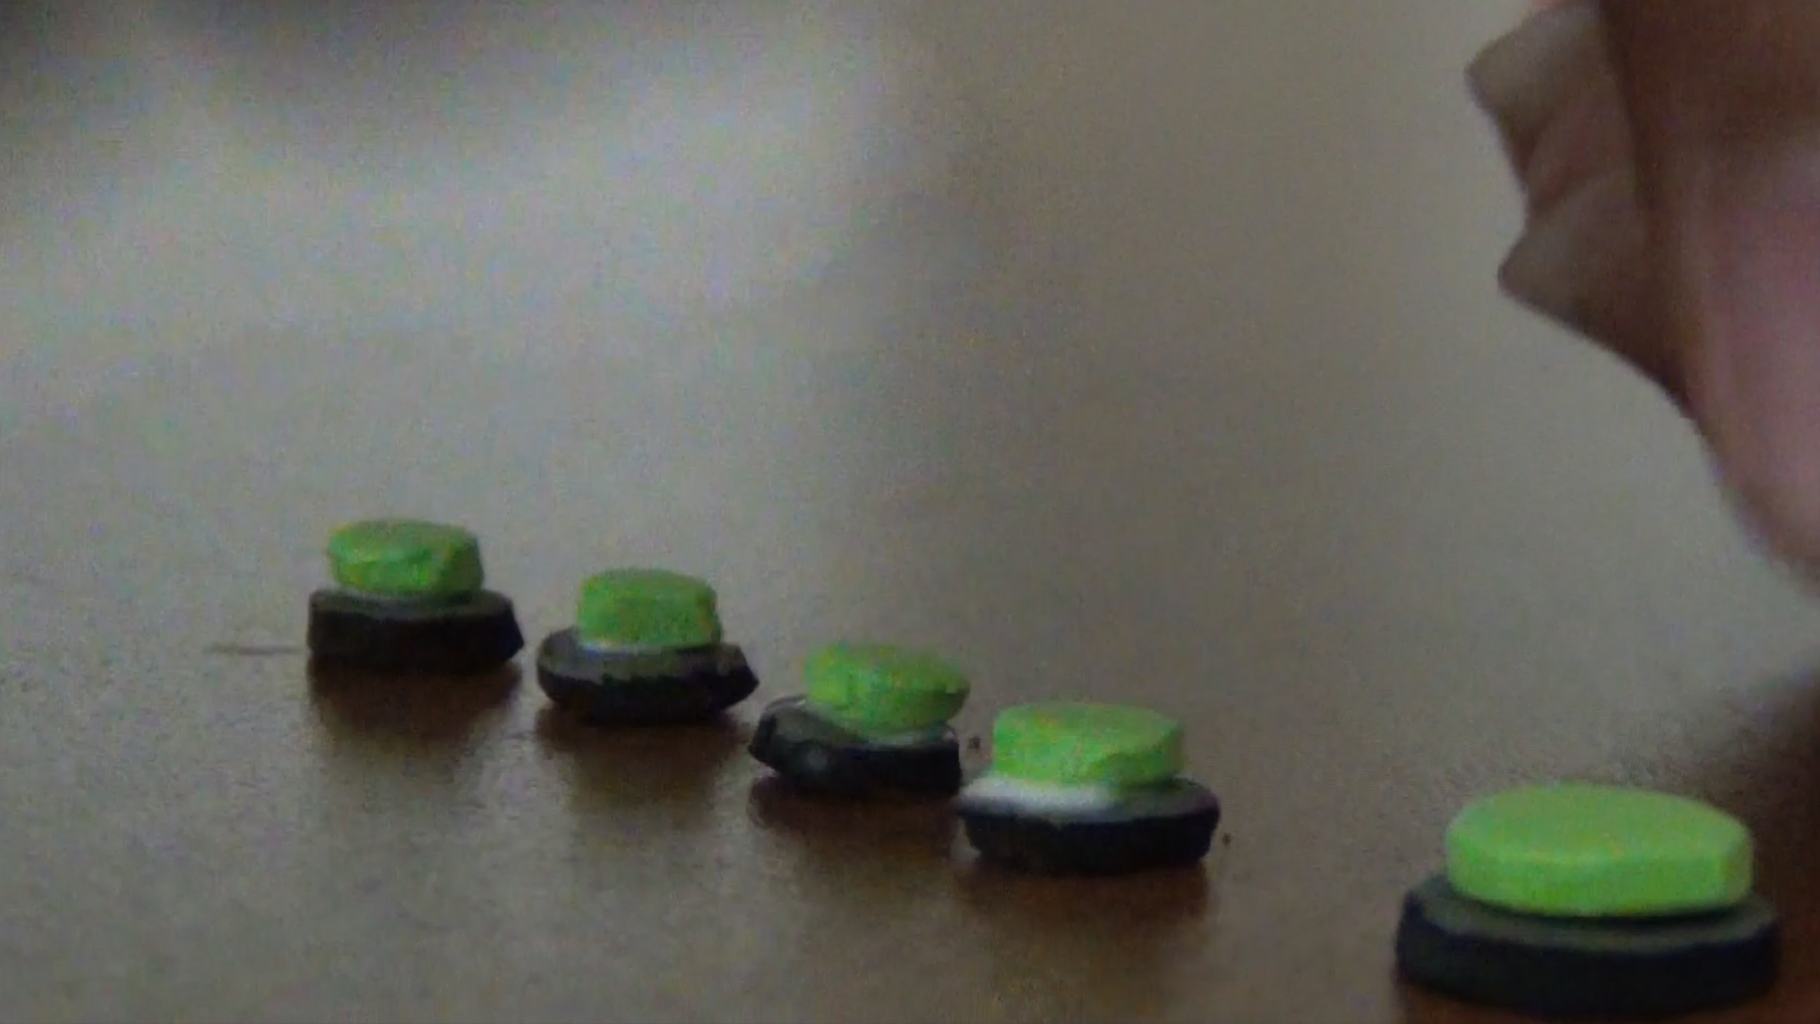
Step 6: Details


Now cut out these shapes which will make the Omnitrix look cooler/detailed.
Step 7: Put It All Together!


Once you've cut those out, it's time to put them all together.
Step 8: It's Done! or Is It?


You can stop here if this is what you want. In the next step we are going to add more details.
Step 9: Adding More Details.


Step 10: And You're Done!


The whole omnitrix cost me USD $3.20 / INR ₹200 (3 sheets of craft foam, 1 sheet of 6mm foam, and Dark grey paint).
I'll upload the templates soon. So that you can follow along.
If you have any suggestions on what you'd like me to make next, leave them in the comments below!

Participated in the
Sci-Fi Contest 2016

Participated in the
Homemade Gifts Contest 2016


