

Introduction: DIY Solar Powered Water Heater: 3 Steps

In this first Ecowanderer DIY instructable you will learn, step-by-step, how to make a simple solar water heater from simple household items.
Be sure to check Ecowanderer for the latest news on eco-technology, energy, diy projects and general scientific breakthroughs that can all potentially change the way we live in the future.
Additionally, check the youtube video or the ecowanderer post
Now, on with the instructable.
Here’s the list of the materials you’ll need:
- - Round-shaped plastic bucket
-- Aluminum foil
-- Water barrel (or another round-shaped bucket)
-- 1 metre long pvc pipe, with 5cm of diameter.
-- 2 pvc adaptors: one to join two pvc pipes, and one with a 90 degree angle (both to fit a 50cm diameter pvc pipe)
-- Black spray paint
-- Strong glue/plastic weld
-- Saw
-- Kitchen knife and a lighter
-- Duct tape
-- Black&decker with a small drill piece and an abrasive piece for polishing
-- Protective mask and eyewear
Step 1: Building the Parabola


Let’s start with the round-shaped bucket. Start by cutting the bottom with the saw or a heated kitchen knife so as to end up with a plastic cylinder (the cover of the bucket is not needed). Now the purpose will be to cut this cylinder in half. Start by marking or finding a straight line that is parallel to the height of the bucket (place the bottom-cut part facing your workbench and use your saw to cut through it.
Although not harmful to the project, try to cut in a straight line the best you can. Repeat the process in the exact opposite line of that which you just cut. You should not have 2 small parabolas! To take the best advantage of the power of the sun, glue them together with strong glue or a plastic weld.
Now, to achieve the mirroring effect, grab some aluminum foil. In order to glue/fix it to the plastic without wrapping the foil or creating any crumbs, cut small pieces (in length) but that are large enough in width to cover the width of the parabola. Use simple glue or duct tape to fix it in place.
Step 2: Getting the PVC Pipe


Now that the parabola is completed, let’s focus our attention to the pvc pipe. You can find one in your local hardware store or in a gardening shop. It is important that the length of the pvc pipe is greater than the length of the finished parabola.
In our particular case, we used a 1 metre long pvc pipe which had 5 cm of diameter (50 dm). Afterwards, get a black spray can. It is crucial that the type of paint chosen does not reflect light.In the project, we used jet black paint, so look it up.
Before painting, we passed the scrubbing sponge through all the pipe in order to make the paint more adherent to the pvc plastic.
Put on your protective mask and eyewear and start painting the pvc pipe. Remember to do this in a fully ventilated area!
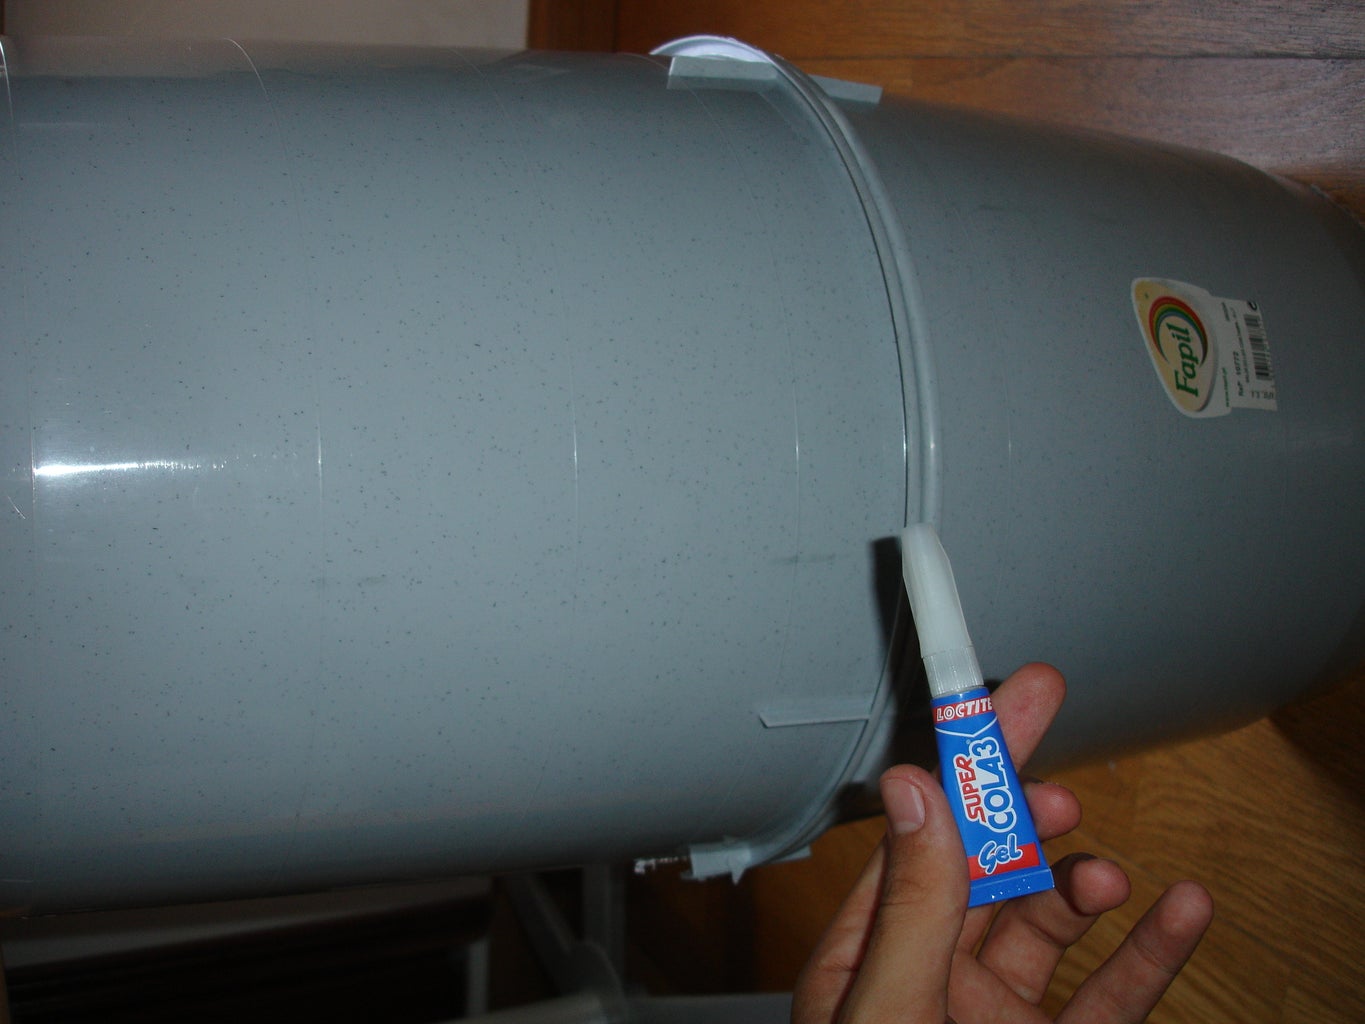
Step 3: Building the Water Reservoir


Now all you need left is a water barrel as a water reservoir. You should be able to find one at a local hardware or gardening store. If you can’t find one, a plastic bucket will do, although make sure the plastic is not composed of any dangerous chemicals that can be transported to you when the water is going by.
To finish, you need to mount together all parts. The most efficient solution to connect the pvc pipe to the water barrel is to buy a 90º pvc adaptor and an union pvc adaptor (remember to check if the adaptor’s diameter and your pvc pipe diameter are the same!)
Place your water barrel bottom up and, with a pen, mark the diameter of the adaptor in the bottom of the barrel.Get a drill with a small diameter and, inside the drawn circular line, drill holes next to each other. Use a knife to cut the hole and attach a polisher to your drill to manually increase the size of the hole until the 90º adapter can fit in.
Then insert the union adapter through the inside of the water barrel and connect it to the 90º adapter. Make sure you make enough pressure, because the point of the union adapter is to serve as a physical barrier so water does not leak away.
After that, just mount everything together and you're done! Easy, right?


