

Introduction: DIY Wooden Computer Case


The First thing that needs to be done in any design process in decide what you want to include in the design. It is easiest to simply make a list of what you would like the case to do and sort it by importance. I knew my main concern was cooling. The next important thing was I wanted to have plenty of space for everything. I also knew that I wanted to have the hdd's free floating. My list looked something like this:
1. cooling
2. space
3. hanging hdd
4. simple to build
5. quiet
6. looks
7. cheap building materials
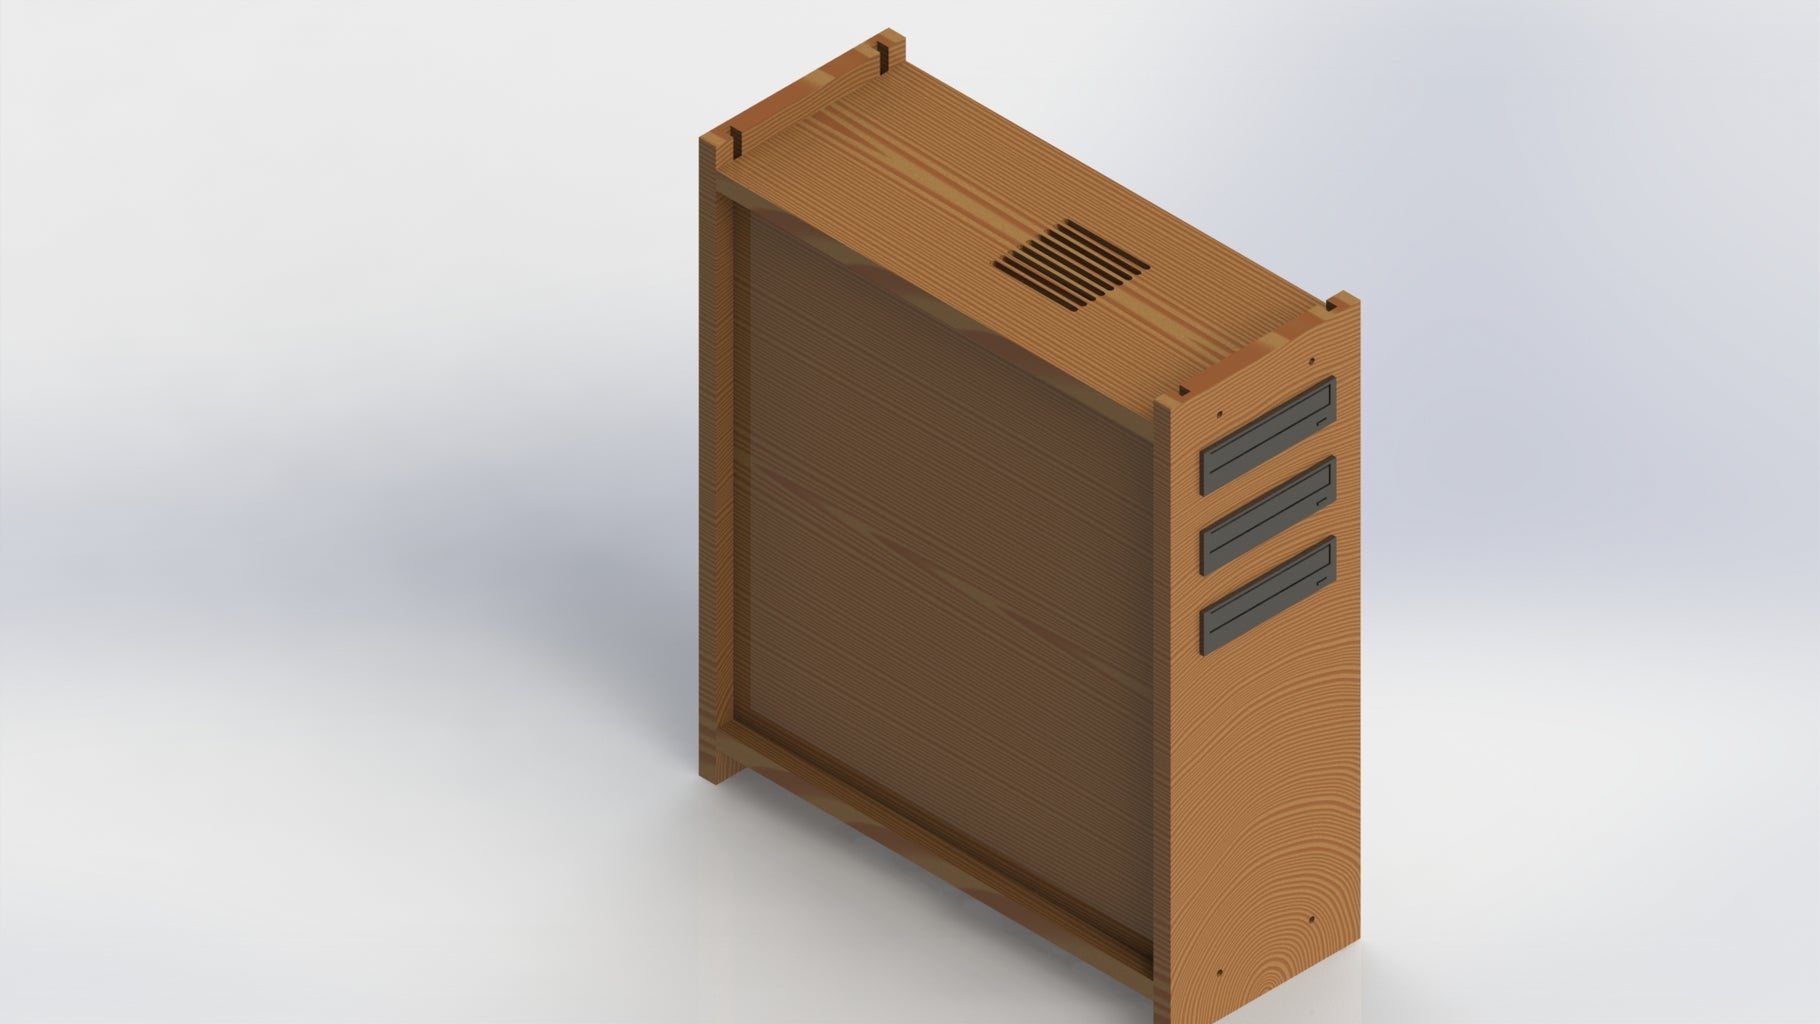
Step 1: Basic Shape and Air-flow


After I knew about what I wanted the case to look like I started making a basic tower shaped case. At this point I had to start thinking about cooling. I didn't want fans on the sides or the top and there wasn't room on the back plate. My only option left was to put them on the bottom. This actually seems like it was my best option anyway. The fans will pressurize the case, pushing the air out the power supply and the vent at the top.
Step 2: Download the Standard Parts

After I had the basic shape I needed to get all the standard parts in the case to make sure there was plenty of room. I could have manually drawn each standard part or I could just head over to GrabCad and download a file for all the standard parts.
Step 3: Assemble All the Parts and Make Any Final Changes.

The last step is to assemble the parts and make any changes that are needed. For example I originally had my case to skinny. The CD bays had zero tolerance and would have needed to be pressed into the case. I was able to simply had an extra half inch to the width of the case to make room for it.

Participated in the
Improve Your Room Youth Design Challenge


