

Introduction: Distance Measurement Tape Using the LinkIt One


Recently I got a LinkIt One micro-controller, which is a great Arduino alternative and after working it for some time I decided to post an instructable on it.
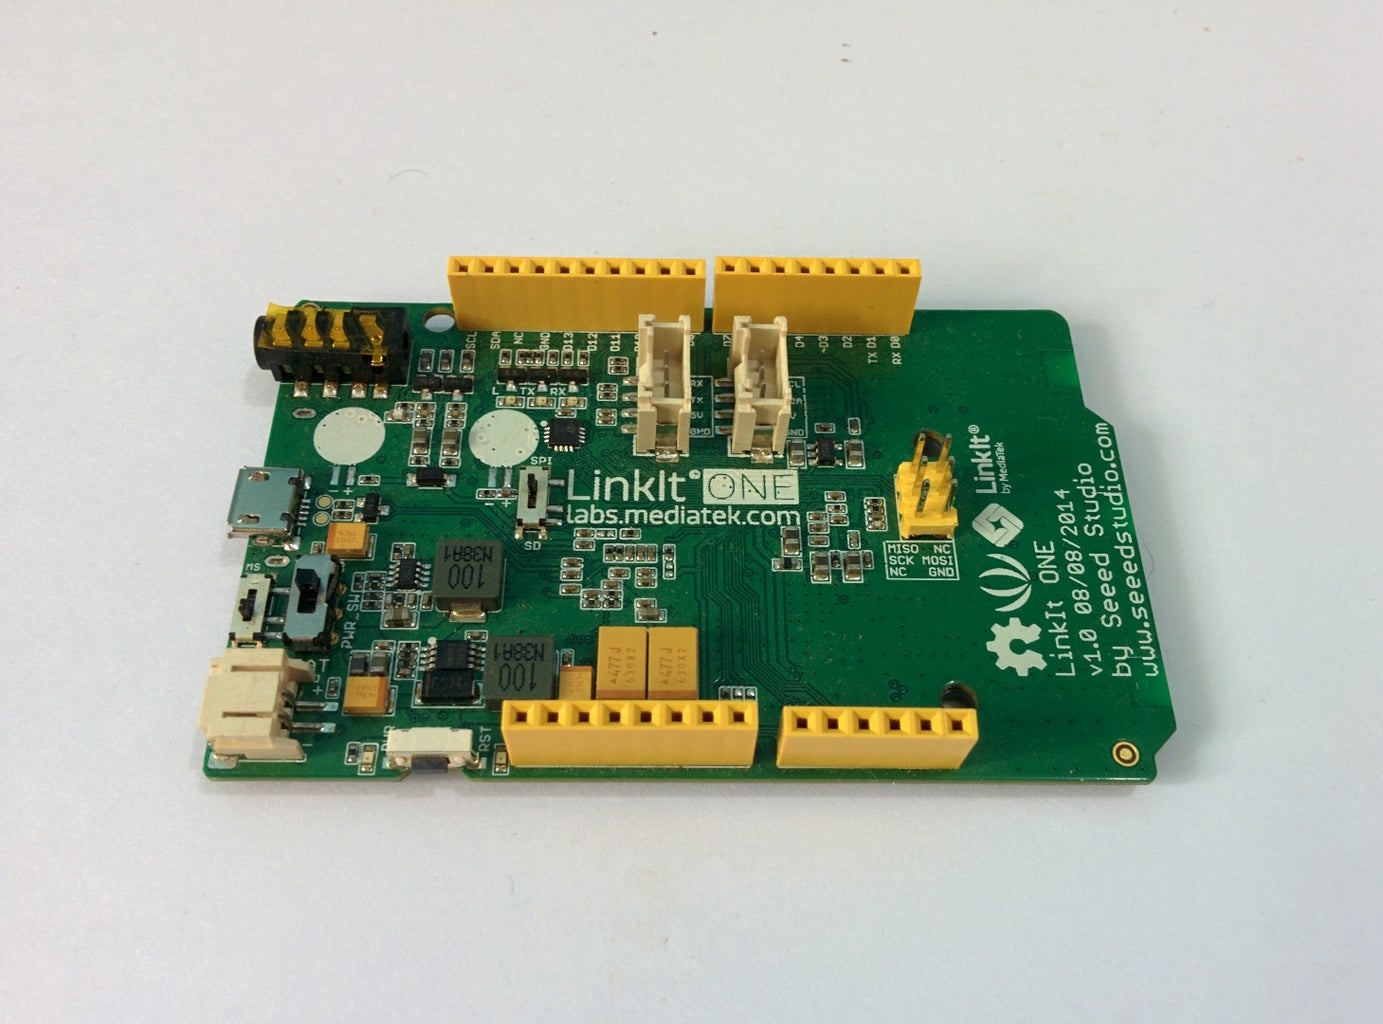
For those of you who do not know the LinkIt One is a great micro-controller it has an Arduino like environment and the board has WiFi, GPS, GSM, Bluetooth and a lot more on a single board. If you want the same features on an Arduino you would need to have a whole lot of shield and also spend a whole lot of money.
In today's instructable I'm going to show you a really cool project I built a while ago using an Arduino and now it is time to upgrade it.
What does this thing do?
Well its quite simple, it is just an replacement for an distance tape. It can also measure temperature, this was an upgrade to the old circuit. The measured distance is displayed on the web browser. And this circuit is powered by the LinkIt One battery which came in the box.
So lets get started....
Step 1: Requirements


Lets start with gathering is all the parts.
- LinkIt One
- Ultrasonic Ranging Module (HC-SR04)
- Battery
- A Box to get all the circuit in
- Some Jumper wires
- LinkIt One WiFi antenna (included in the box)
Once you have all the parts its is time to get started...
Step 2: Ultrasonic Sensor

For the ultrasonic range module I used HC-SR04 as it is easy to find and I had it available at my house from a previous project. The module has a maximum distance of 2m . The readings are quite precise and the Arduino IDE supports the board with an inbuilt library. Connect the module-
- SR04 VCC pin to the Arduino 5v
- SR04 GND pin to the Arduino GND
- SR04 TRG pin to the Arduino Digital pin 12
- SR04 ECHO pin to the Arduino Digital pin 11
Step 3: Test

Before actually diving into the real project, it would be good to try out some basic code first. This step ensures that you have got your connections right and also that your ultrasonic sensor is working. Make sure you have the connections set up from the previous step.
Now copy the code below and paste it in the Arduino IDE with the LinkIt One plugin.
Once that is done now you can open up a serial terminal on the right port and you should see the distance values being printed out.
unsigned long echo = 0;
int ultraSoundSignal = 9; // Ultrasound signal pin unsigned long ultrasoundValue = 0;void setup() { Serial.begin(9600); pinMode(ultraSoundSignal,OUTPUT); }
unsigned long ping() { pinMode(ultraSoundSignal, OUTPUT); // Switch signalpin to output digitalWrite(ultraSoundSignal, LOW); // Send low pulse delayMicroseconds(2); // Wait for 2 microseconds digitalWrite(ultraSoundSignal, HIGH); // Send high pulse delayMicroseconds(5); // Wait for 5 microseconds digitalWrite(ultraSoundSignal, LOW); // Holdoff pinMode(ultraSoundSignal, INPUT); // Switch signalpin to input digitalWrite(ultraSoundSignal, HIGH); // Turn on pullup resistor // please note that pulseIn has a 1sec timeout, which may // not be desirable. Depending on your sensor specs, you // can likely bound the time like this -- marcmerlin // echo = pulseIn(ultraSoundSignal, HIGH, 38000) echo = pulseIn(ultraSoundSignal, HIGH); //Listen for echo ultrasoundValue = (echo / 58.138) * .39; //convert to CM then to inches return ultrasoundValue; }
void loop() { int x = 0; x = ping(); Serial.println(x); delay(250); //delay 1/4 seconds. }
Step 4: WiFi


Once you have completed the previous test step and now have the LinkIt One board printing out the distance on the serial terminal, it is now time for the fun part making the set up wireless and displaying the distance on a web browser so you can monitor it over the internet.
To get started with, you need to plug in the LinkIt One WiFi antenna to where it says WiFi/BT antenna on the back of the board. Be sure you take care plugging that in as the antenna is quite delicate and you do not want to break the terminal.
Step 5: Hardware


You should have set up most of the hardware in the previous steps, but there is still the battery left. The battery included in the LinkIt One box should do the trick. I use the battery because I wanted to keep the set up wireless but if you are planing to leave the device ON and forget about it then you should consider using a wall adapter instead.
Now that all the connections are done, it is time to upload the code to the board...
Step 6: Code


The code can found bellow, you need an Arduino IDE with the LinkIt plugin to get the code uploaded to the board. Since the board connects to your home WiFi network you need to enter your network SSID and password in the code to where it says "SSID" and "Password". Once you have uploaded the code make sure you open a serial terminal and you should be presented with an IP address. Open the IP address on a web browser and you should see the distance on the browser window.


