

Introduction: Drum Pads With Arduino


More by the author:


About: Electrical engineering and computer science specialist
Hello,
In this tutorial I'm going to show you how to build a simple drum pads using Arduino.
I used tones to replicate In the end by Linkin Park.
Step 1: Required Components


- Arduino Uno (Nano, Mega etc)
- SD Card (Size depends on your tones, mine are less than 50 KBytes each)
- SD Card module
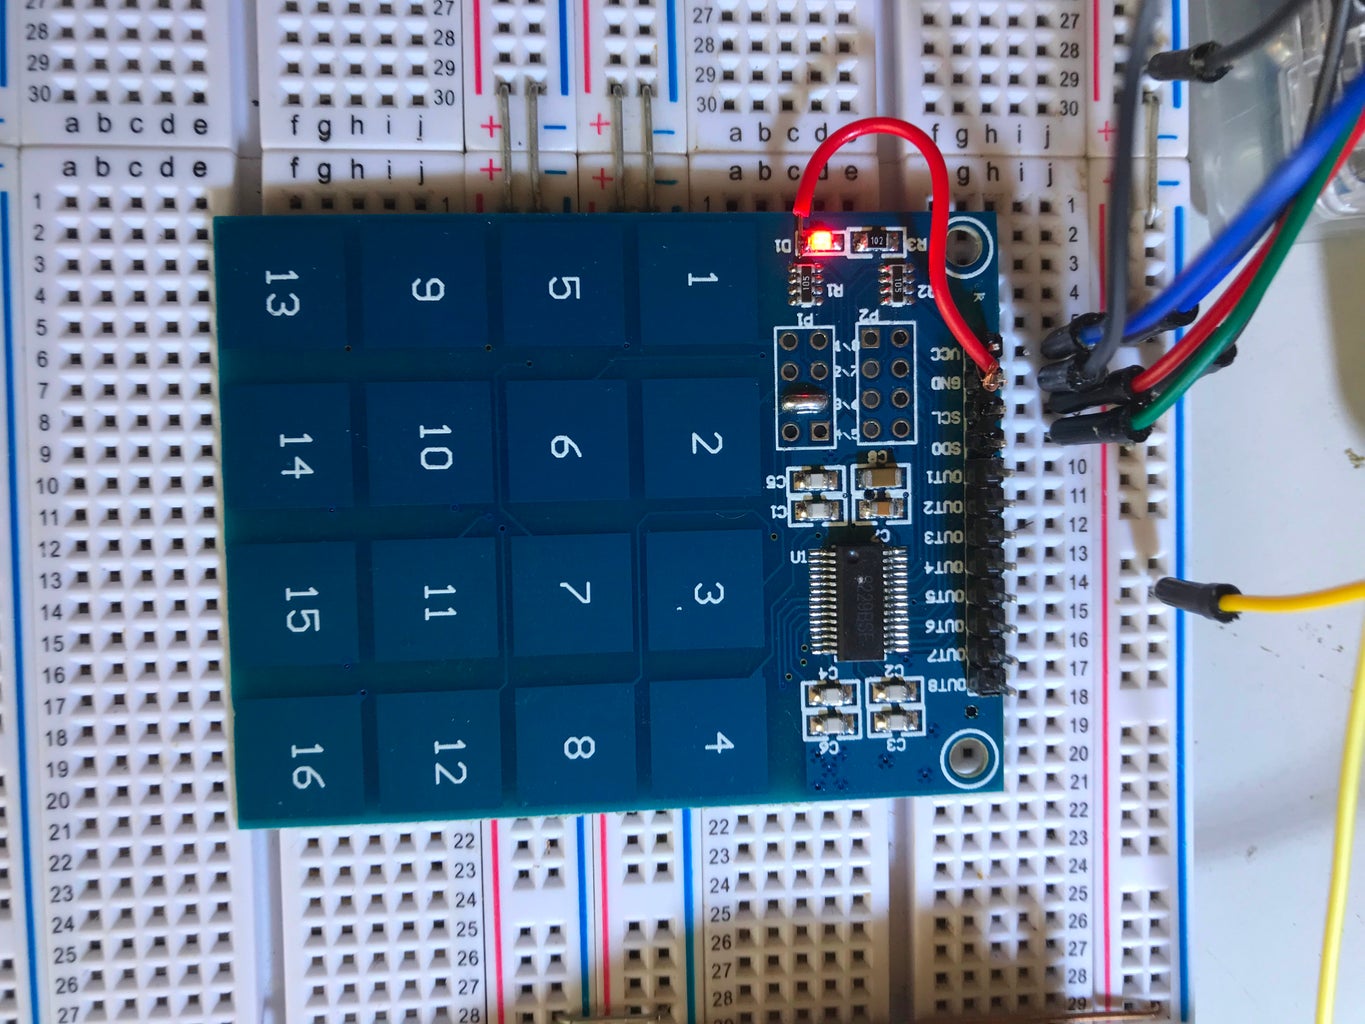
- TTP229 capacitive touch keypad
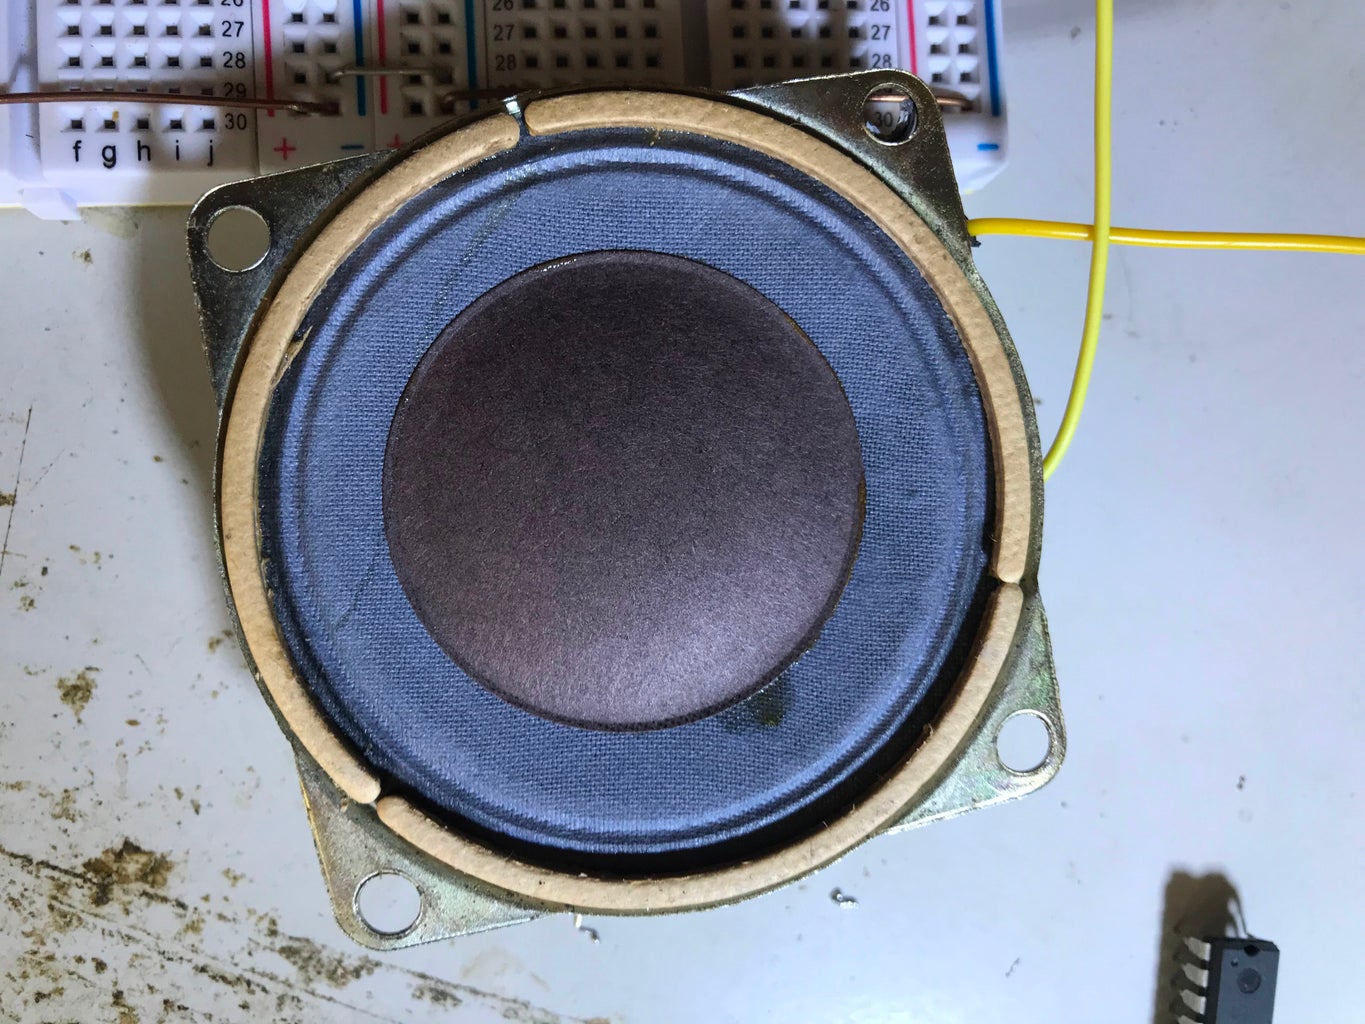
- Speaker (Headphones or 3.5 mm female jack would work aswell)
- Breadboard & Jumpers
Step 2: Required Software & Libraries
Step 3: Preparing the Audio Tones
Now, the audio tones must be in a specific format in order to be playable with Arduino.
The main format must be .WAV with:
- Bit resolution 8
- Sample rate 16000
- Audio channel Mono
- PCM format unsigned 8 bit
for converting my tones I used Online Convert
Step 4: Schematic


Now connect everything as follows:
SD card:
- MOSI - Pin 11
- MISO - Pin 12
- CLK - Pin 13
- CS - Pin 4
- VCC - 3.3V
- GND - GND
TTP 229
- VCC - 3.3V
- GND - GND
- SCL - Pin 2
- SDA - Pin 3
Speaker (headphones etc)
- Wire 1 - Pin 9
- Wire 2 - GND
Step 5: Running the Code

Step 6: That's It.
Now upload your tones to the SD card, power up your Arduino and start playing..
NOTE: The output audio quality is pretty bad if you use it directly from Arduino, It is possible to create a amplifier/filter circuit to raise the quality.


