

Introduction: ESP32: How to Interface LCD With ESP32 Microcontroller Development Board


Hello World!
In this Instructables we will be learning how to interface a 16x2 LCD with the ESP32 Microcontroller Board. There are currently no tutorials online on how to interface it, so I decided to share with you my experience and knowledge on how to connect this together!
The LCD display is one of the most versatile electronic component in the maker market so it is wise to learn how to interface it so as to apply his knowledge to many other applications that you will discover as a maker.
Let's get started!
Step 1: BoM

* ESP32 Microcontroller Development Board
* 16x2 LCD
* A Lot of Jumper Wires
* Potentiometer
Step 2: Connections


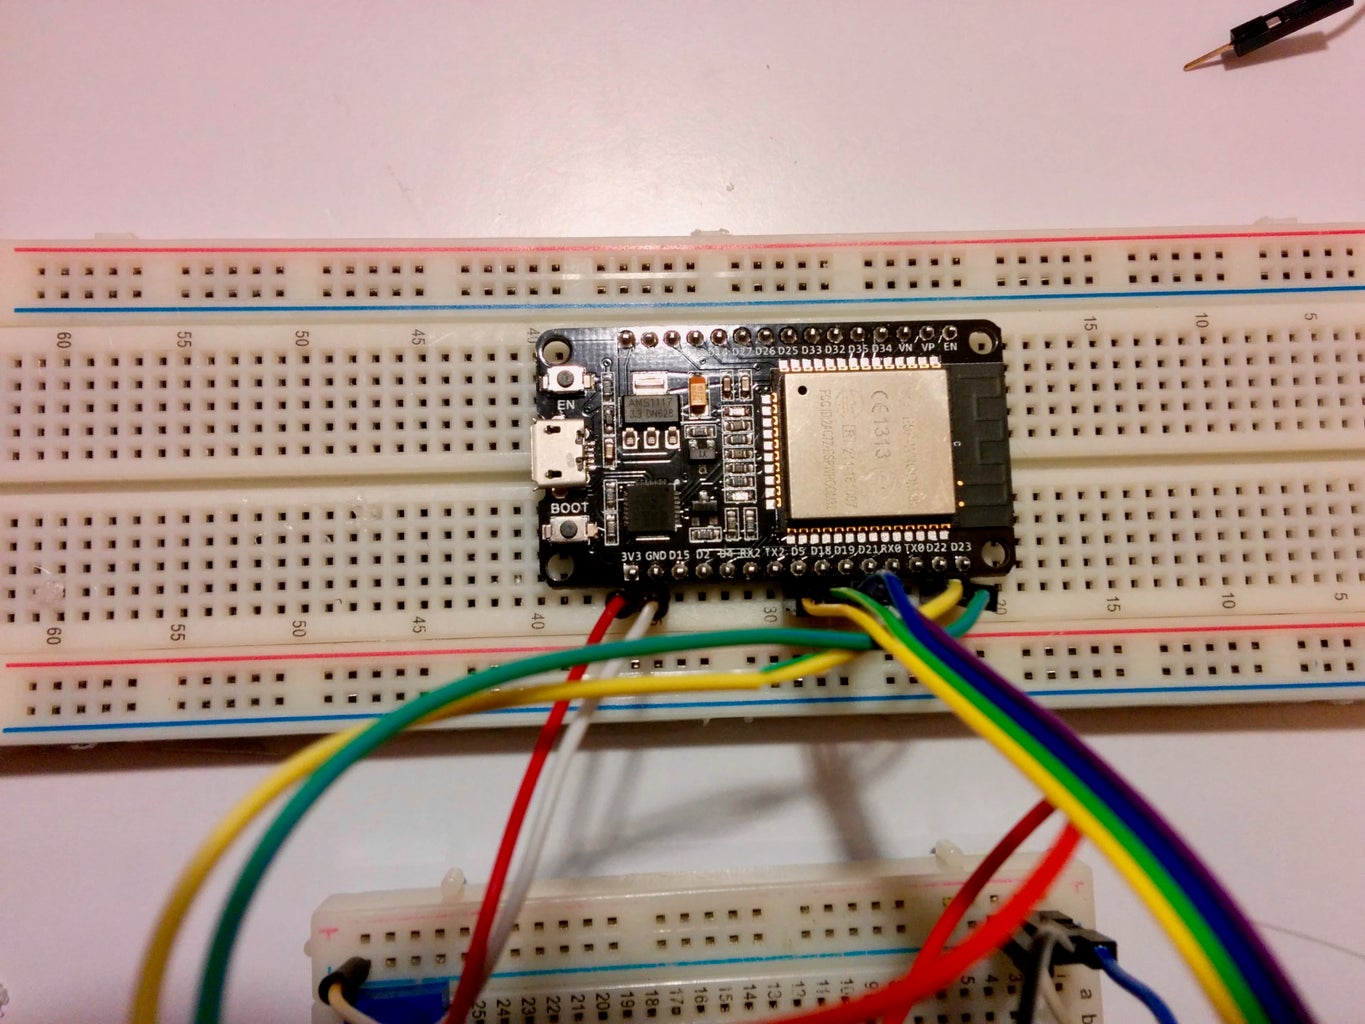

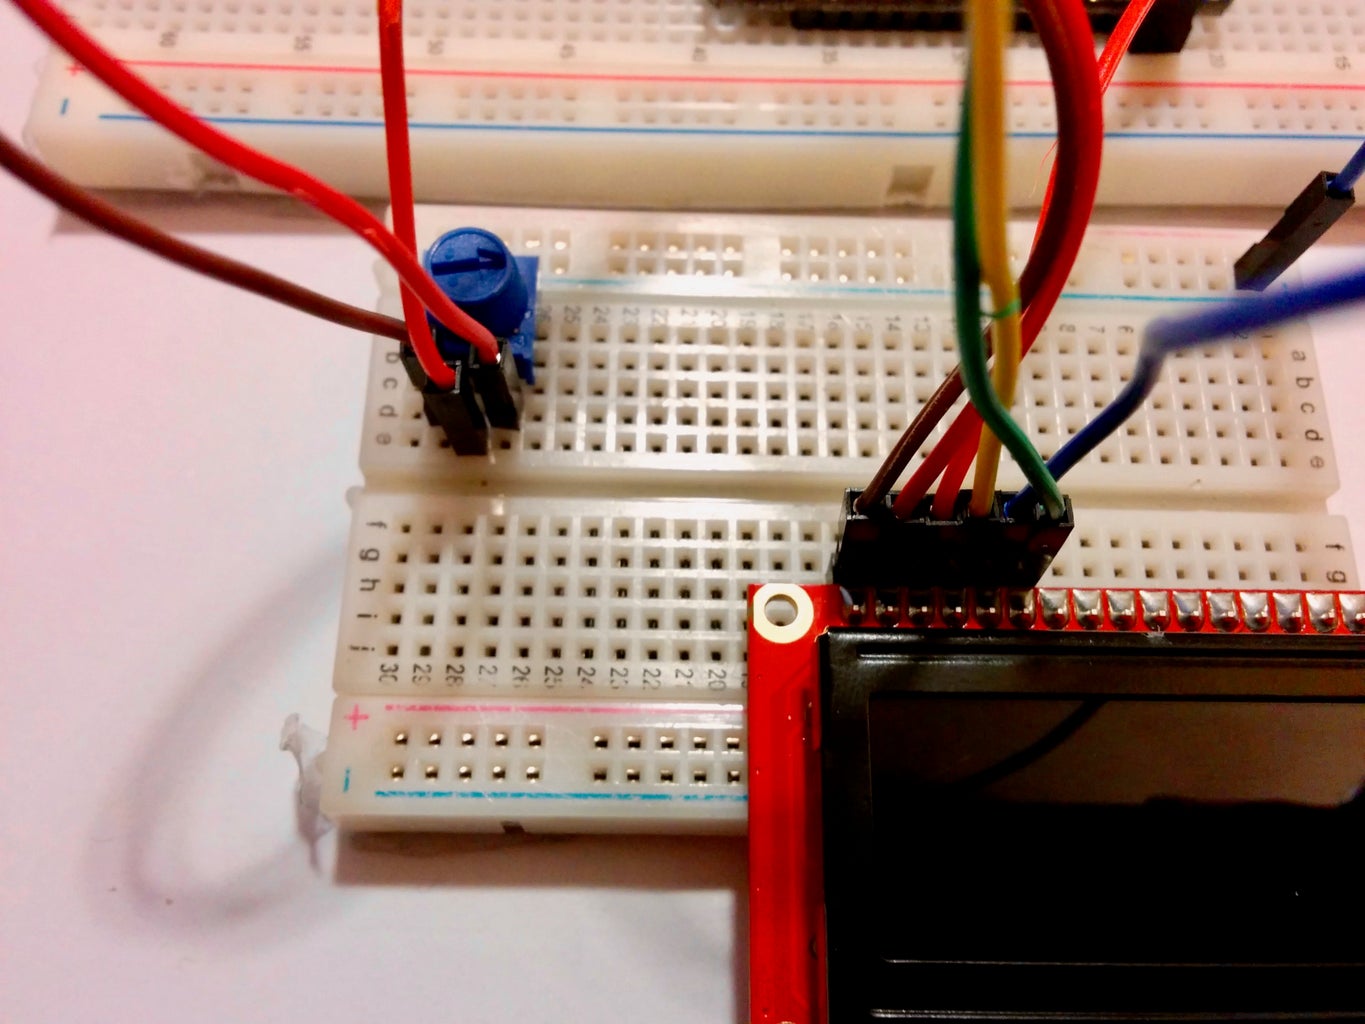
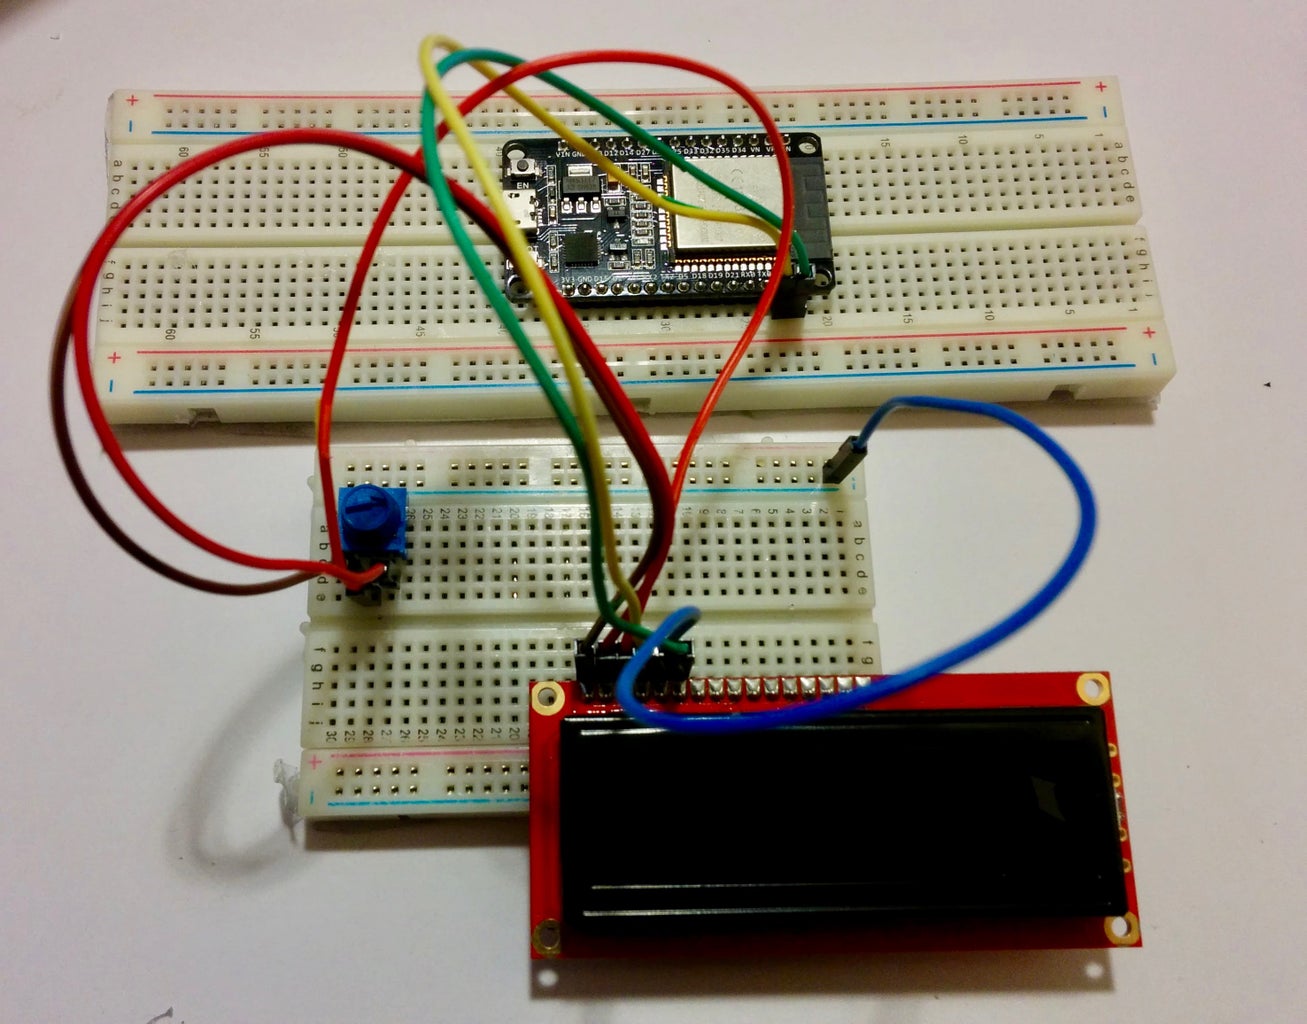

Follow the table below for a concise and comprehensive guide on how to connect all the pins of the LCD screen to both the potentiometer and the ESP32 micro controller development board
| LCD Pin | Potentiometer Pin | ESP32 Pin |
|---|---|---|
| 1 and 16 | 1 | GND |
| 2 and 15 | 3 | 3.3V |
| 3 | 2 - Signal pin | |
| 4 | 22 | |
| 5 | GND | |
| 6 | 23 | |
| 7 | unused | |
| 8 | unused | |
| 9 | unused | |
| 10 | unused | |
| 11 | 5 | |
| 12 | 18 | |
| 13 | 19 | |
| 14 | 21 |
Step 3: Code

#include <LiquidCrystal.h>
LiquidCrystal lcd(22,23,5,18,19,21);
void setup()
{
    lcd.begin(16, 2);
    lcd.clear();
    lcd.print("How to Interface");

    // go to row 1 column 0, note that this is indexed at 0
    lcd.setCursor(0,1);
    lcd.print ("LCD with ESP32");
}
void loop(){}Step 4: Contrast Control

Turn the knob of the potentiometer to change the contrast of the LCD. When you first upload the program onto the ESP32 board you may find that you're not seeing anything on the display, this is likely because the contrast is not set properly.
Turn the knob until you can see the display clearly.

Participated in the
Makerspace Contest 2017


