

Introduction: ESP 8266 Wifi Controlled Home Automation


ESP8266 is a great thing for starting to Wifi And IOT
It is also cheap and be used for making cool projects connected to the Internet .Learn how to make a simple IOT Project with it .The ESP8266 WiFi Module is a self contained SOC with integrated TCP/IP protocol stack that can give any microcontroller access to your WiFi network. The ESP8266 is capable of either hosting an application or offloading all Wi-Fi networking functions from another application processor. Each ESP8266 module comes pre-programmed with an AT command set firmware, meaning, you can simply hook this up to your Arduino device and get about as much WiFi-ability as a WiFi Shield offers (and that’s just out of the box)! The ESP8266 module is an extremely cost effective board with a huge, and ever growing, community.
Update : I made a iot home control box to control home appliances
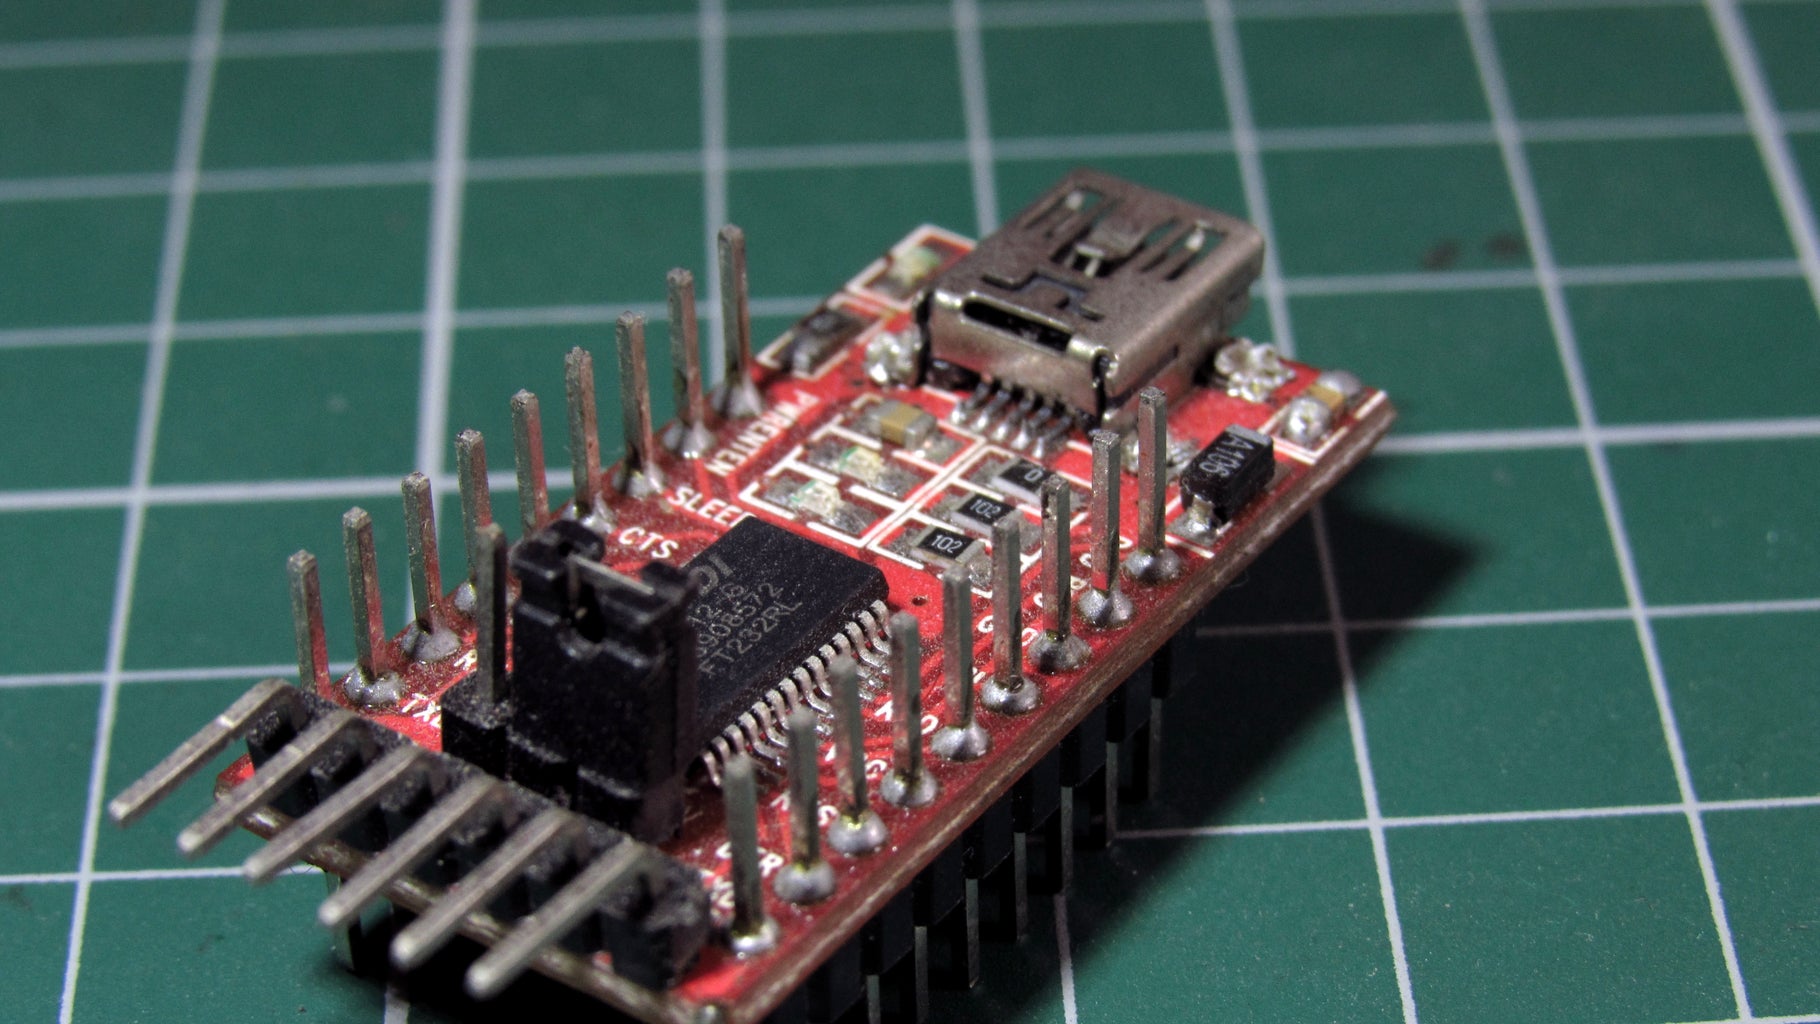
Step 1: Components and Connection
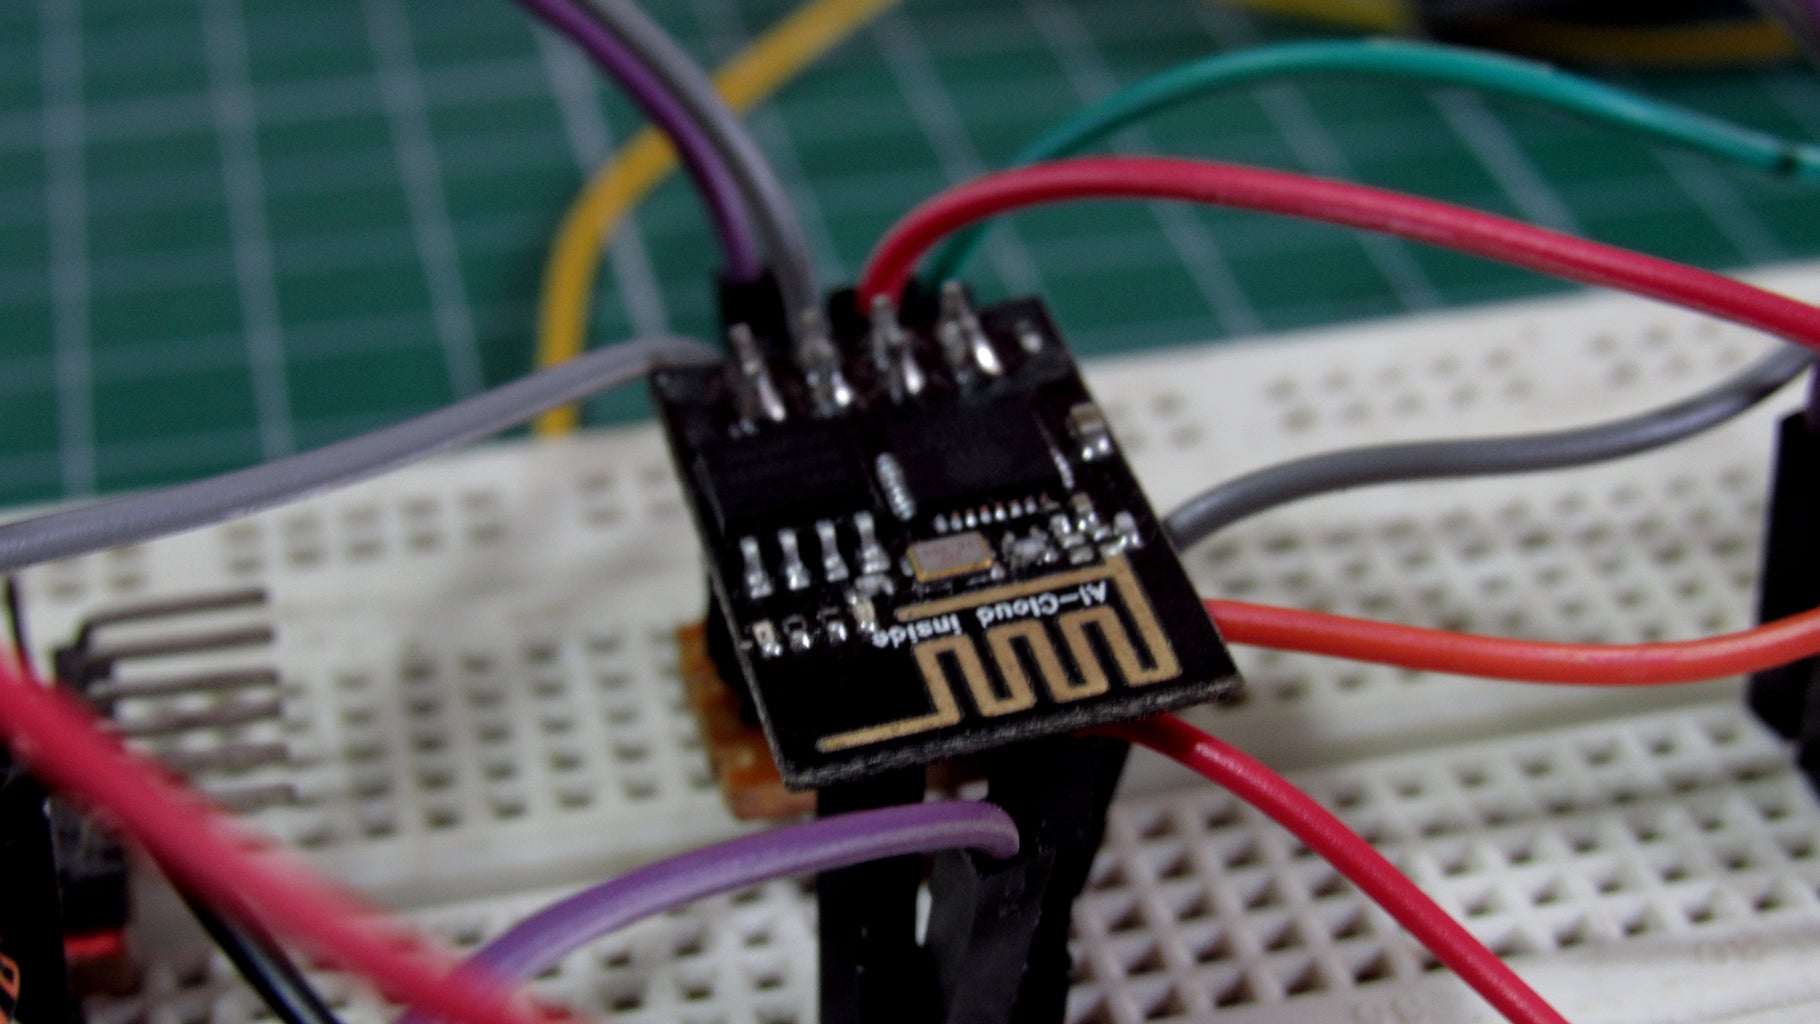
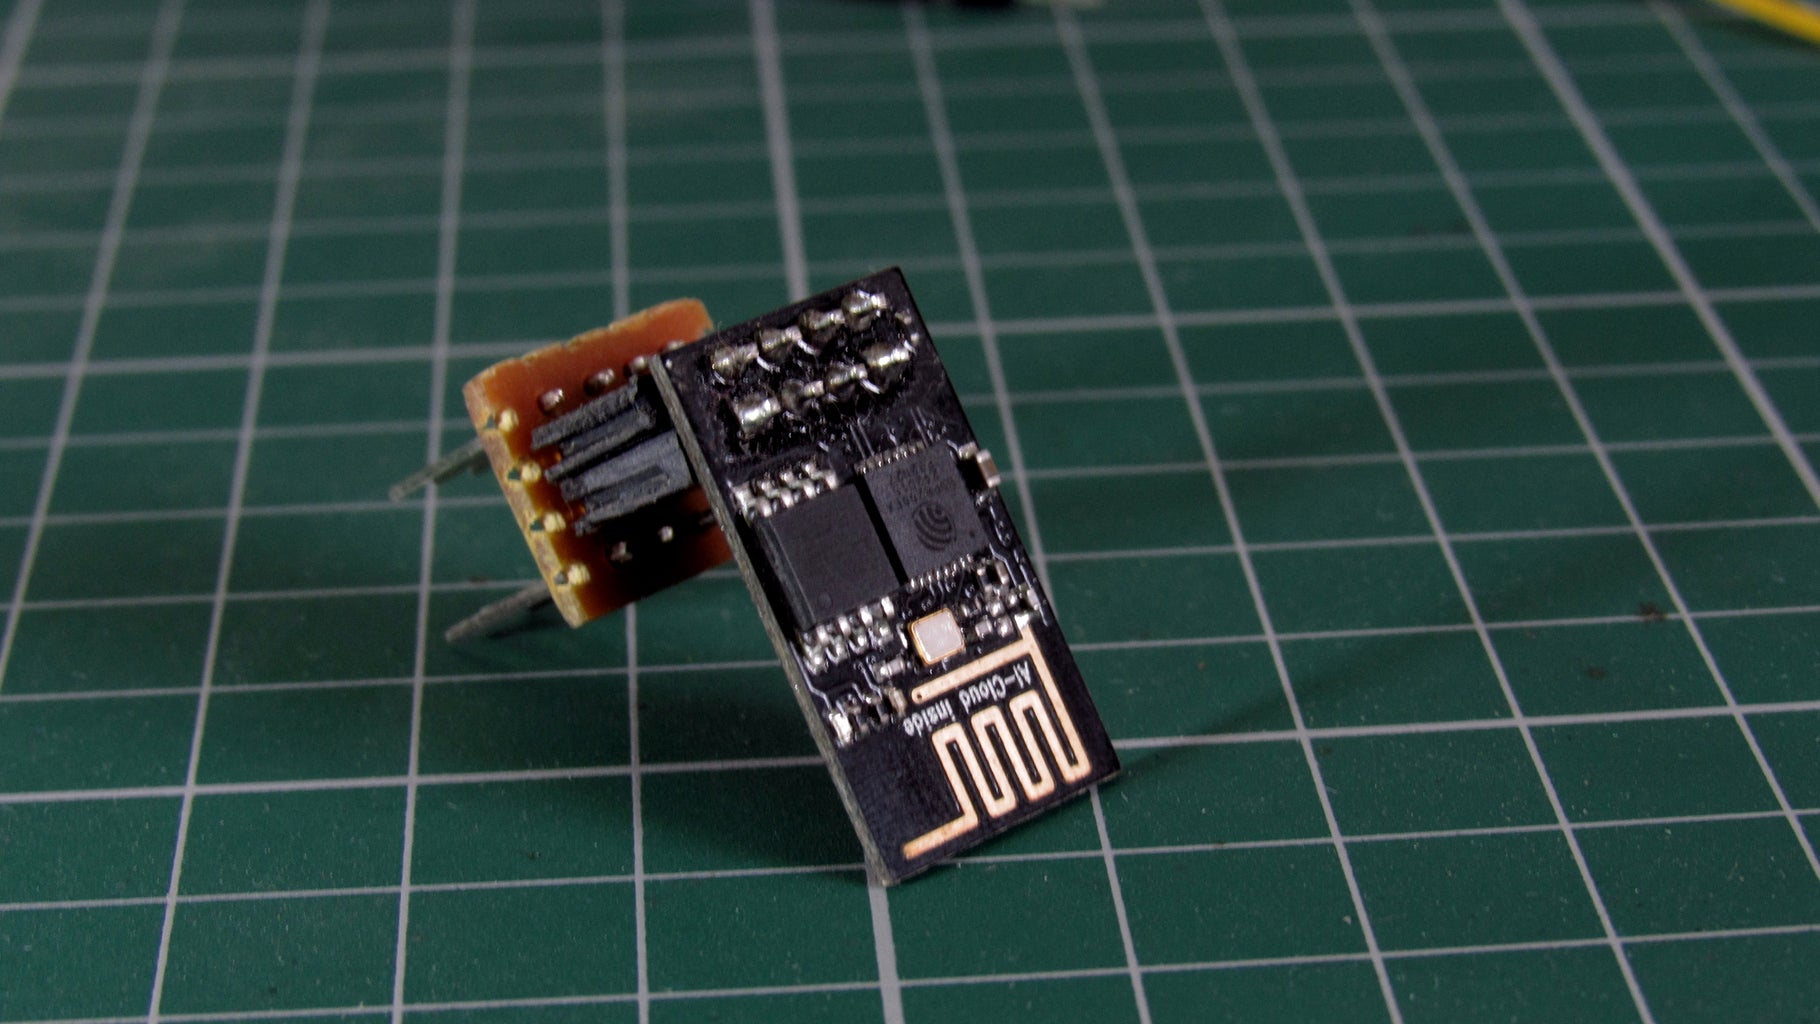

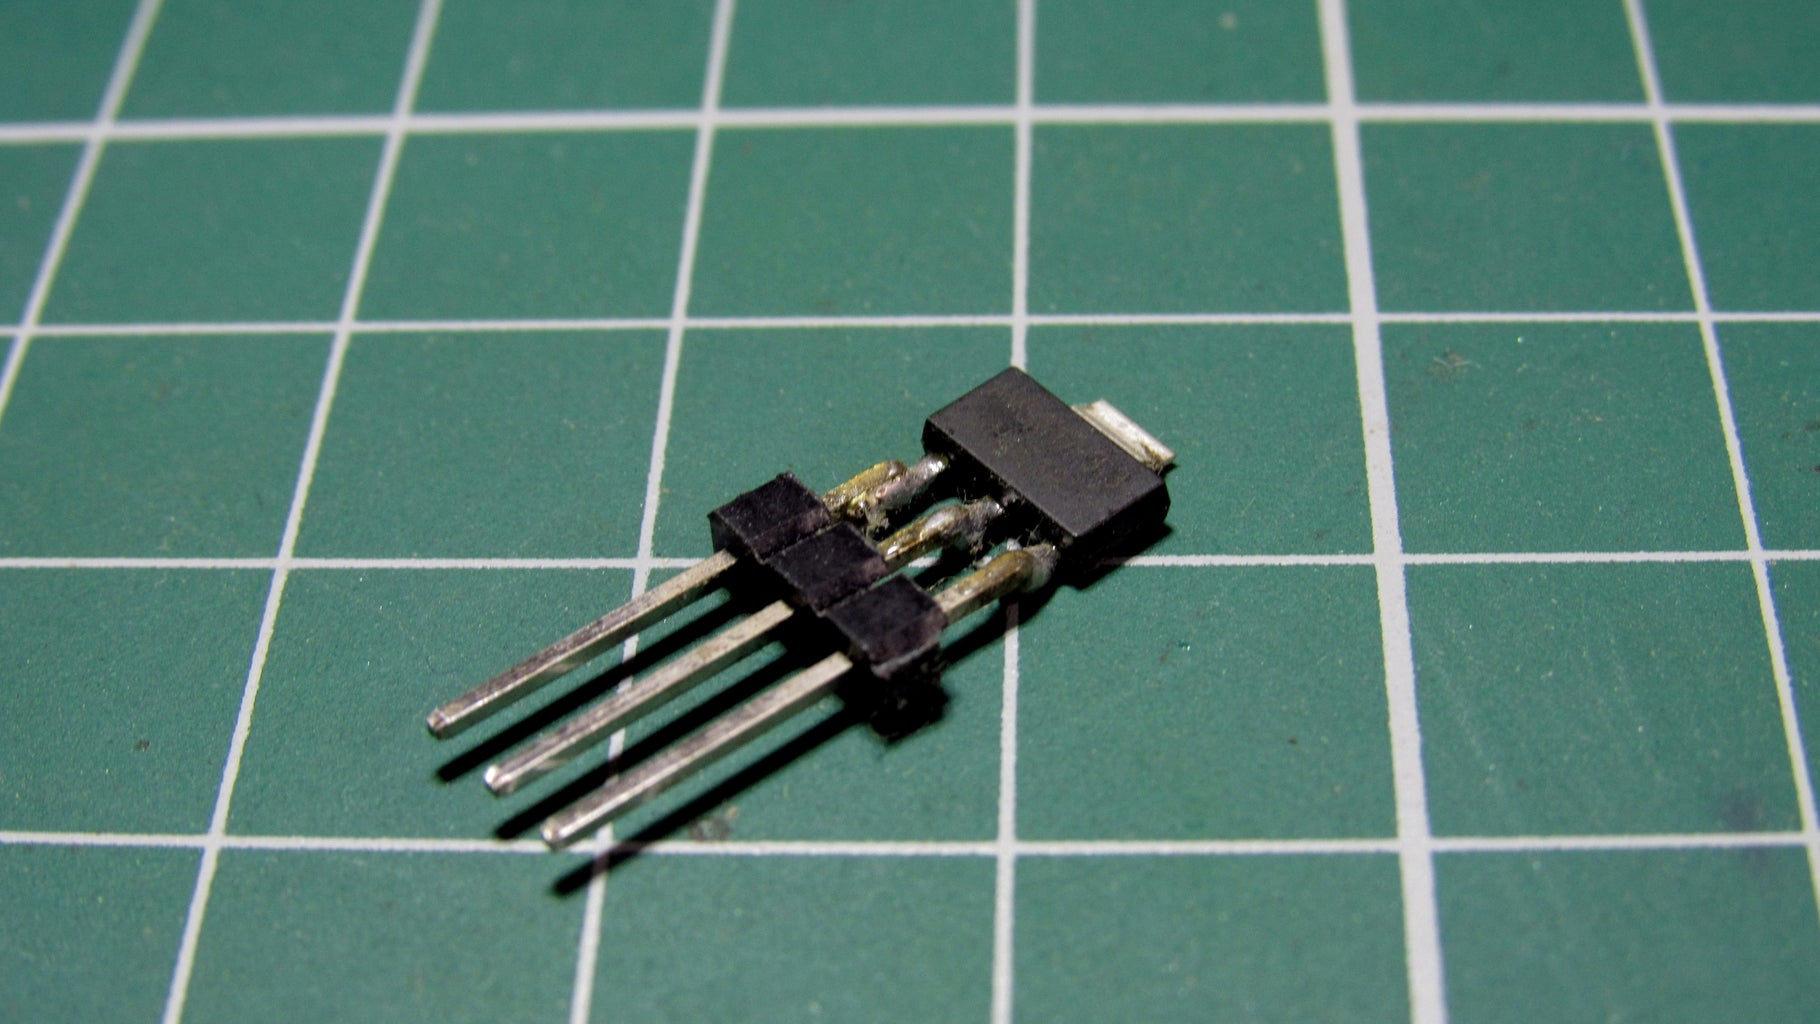

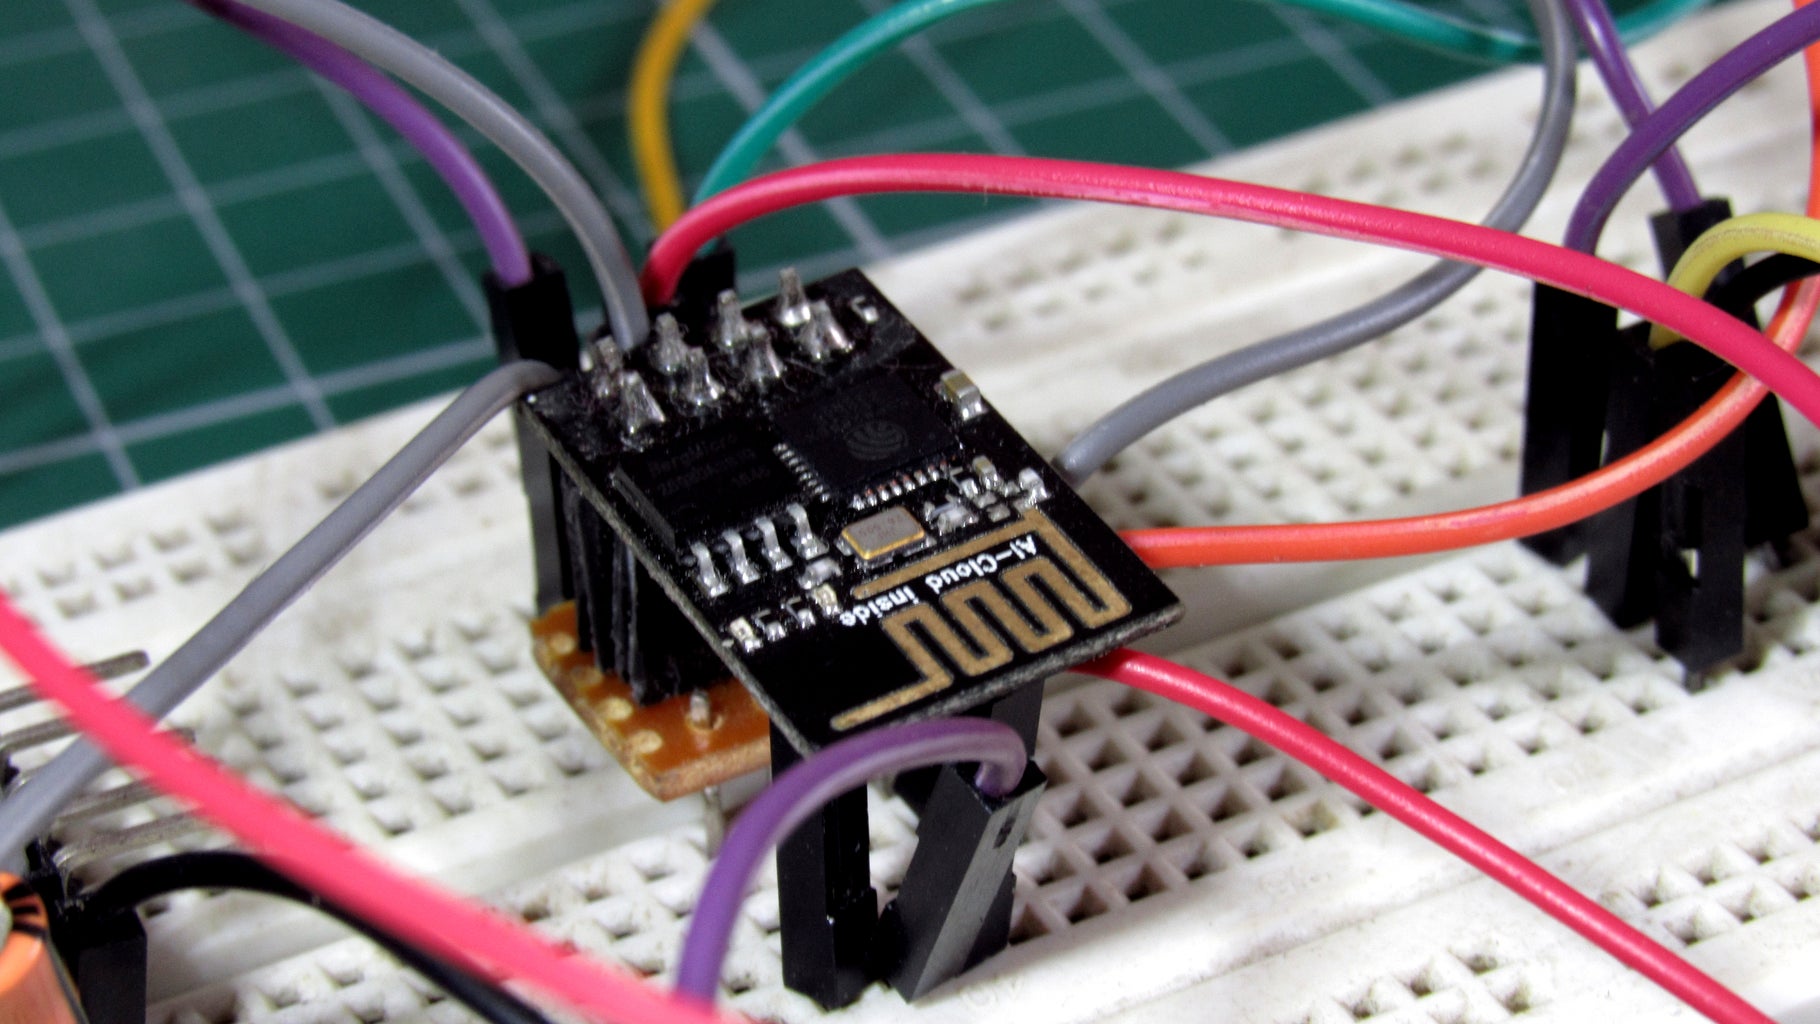
Step 2: Making the Esp 8266 Bread Board Friendly

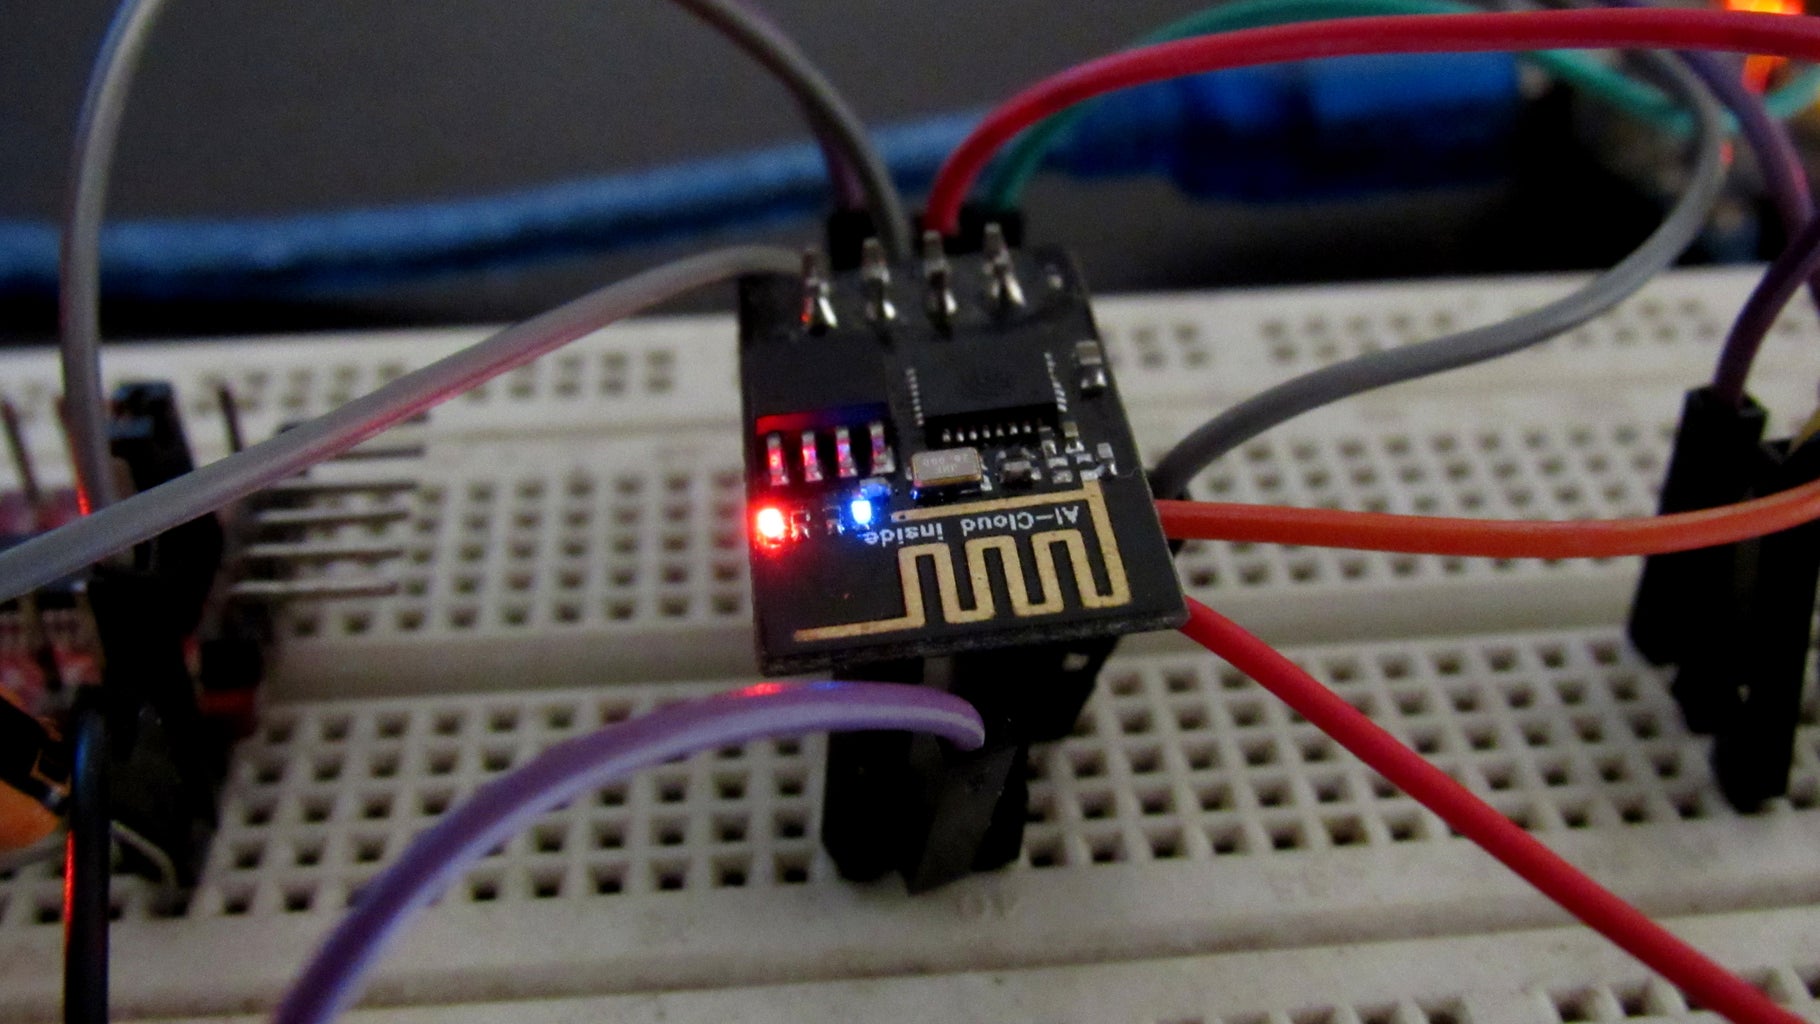
Esp 8266 esp 1 is badly famous for being rude to the Bread board .
Here is a small hack to make it convert into a DIP pack.
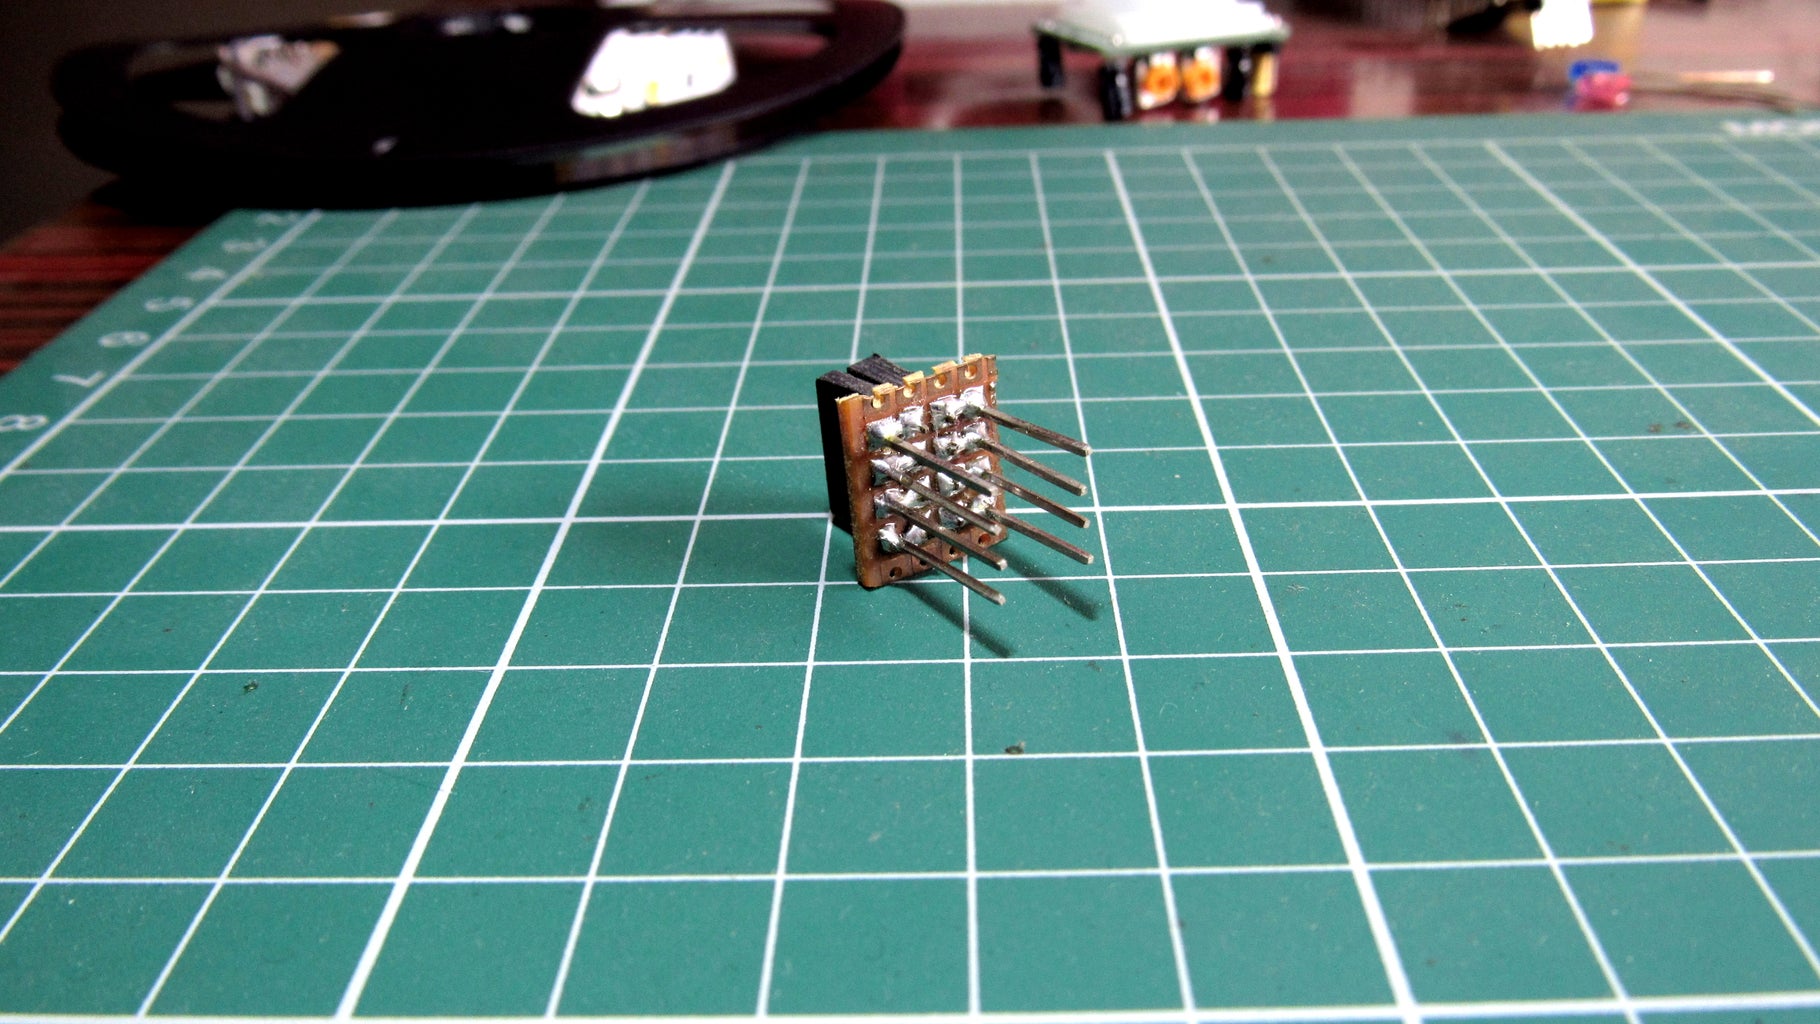
You only want a 4x 4holes perf section with 4 rows of copper track of length four holes.
see the photos and you'd understand what I mean by that.
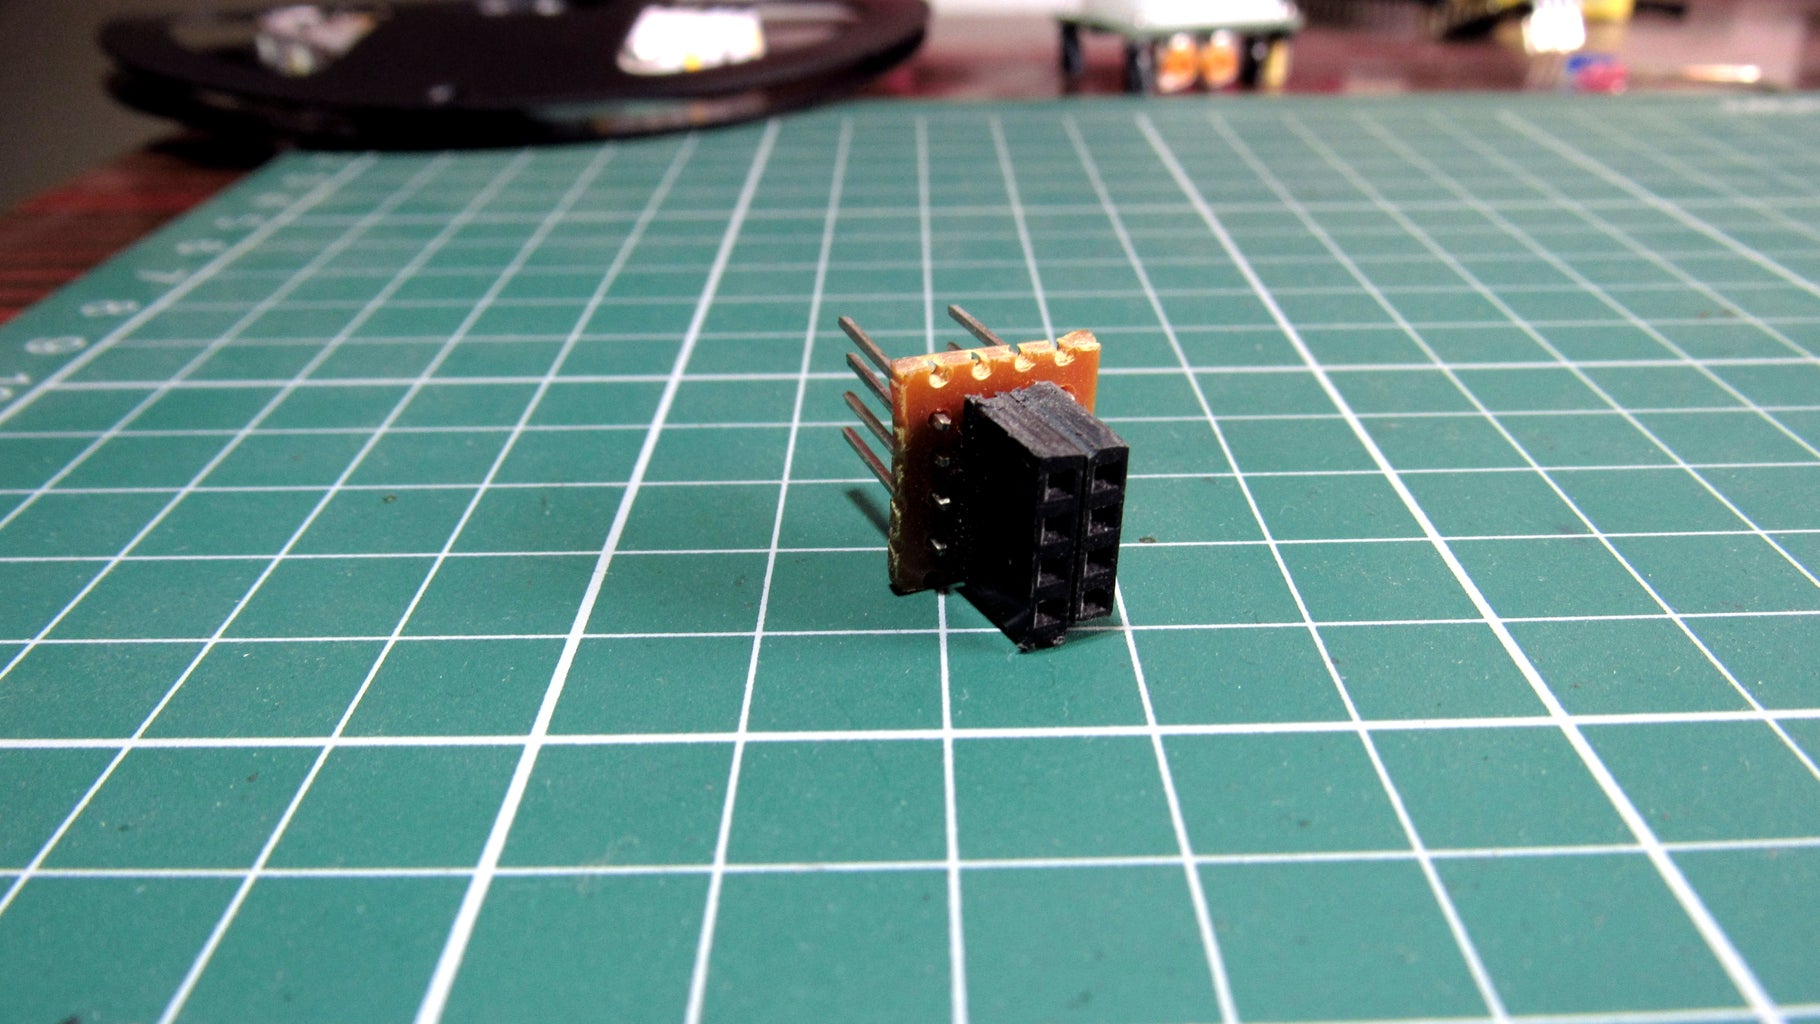
Cut two Strips of 4 Male Header pins each.
Cut two Strips of 4 Female Header pins each.
Push the 4-Pin Female header pins
Solder the Female Header (4-Pins each)
Push the 4 pin male all the way down until they are invisible in one side of the plastic frame.
Solder the male Header (4-Pins each) and join female together with it
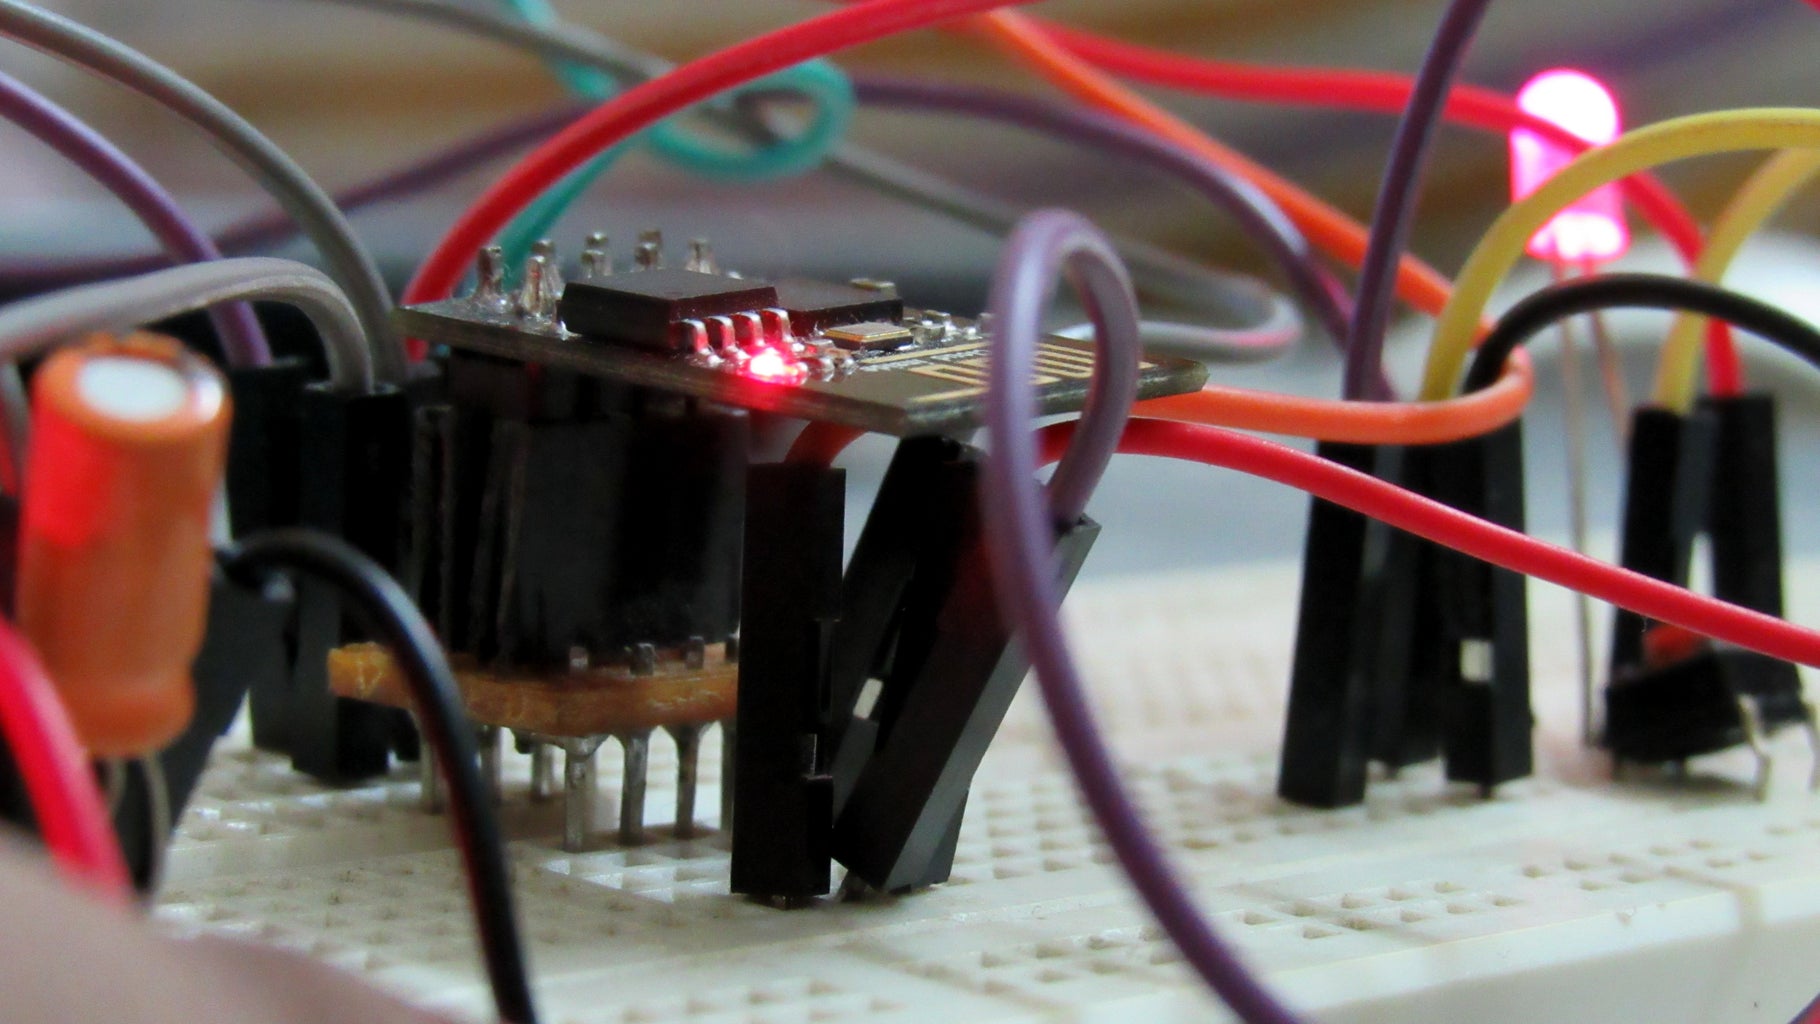
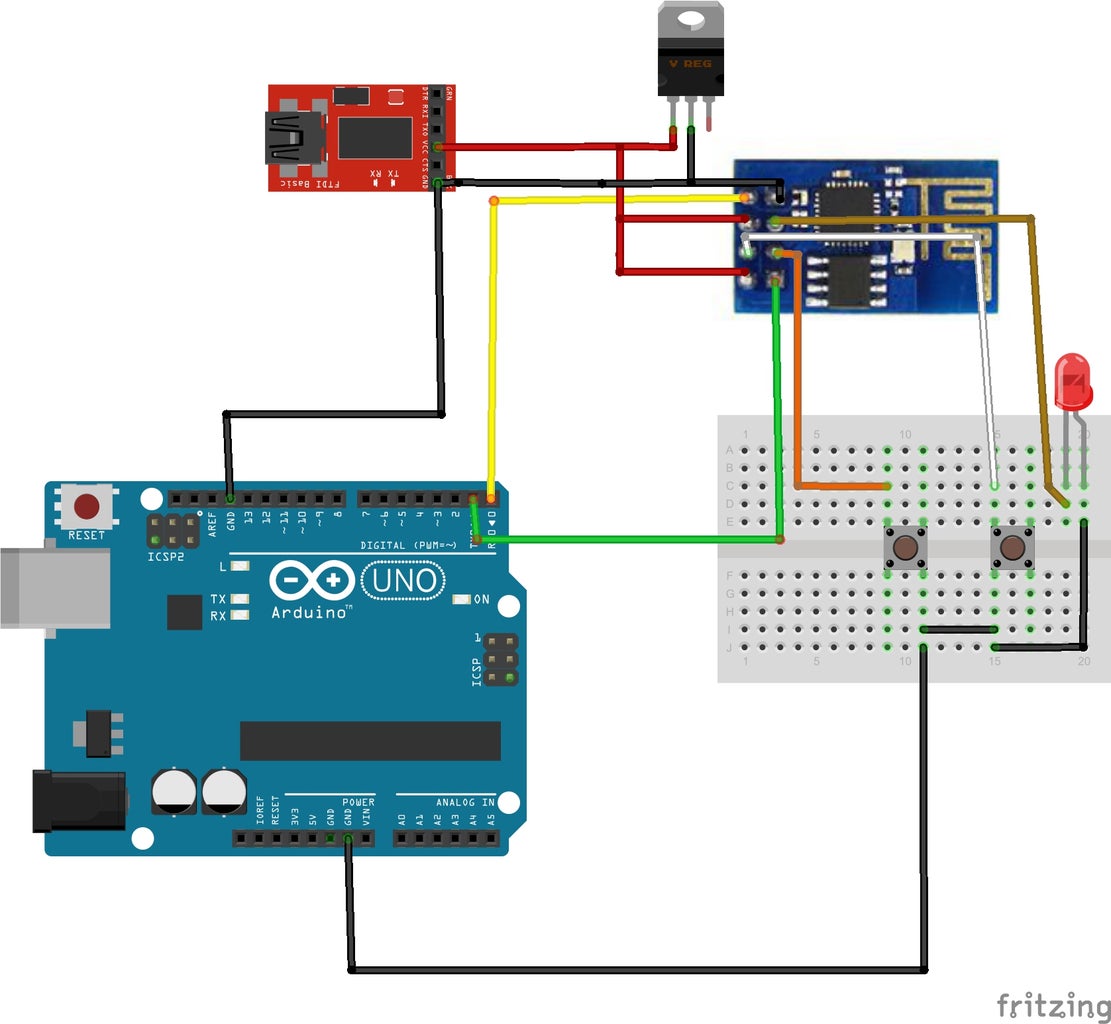
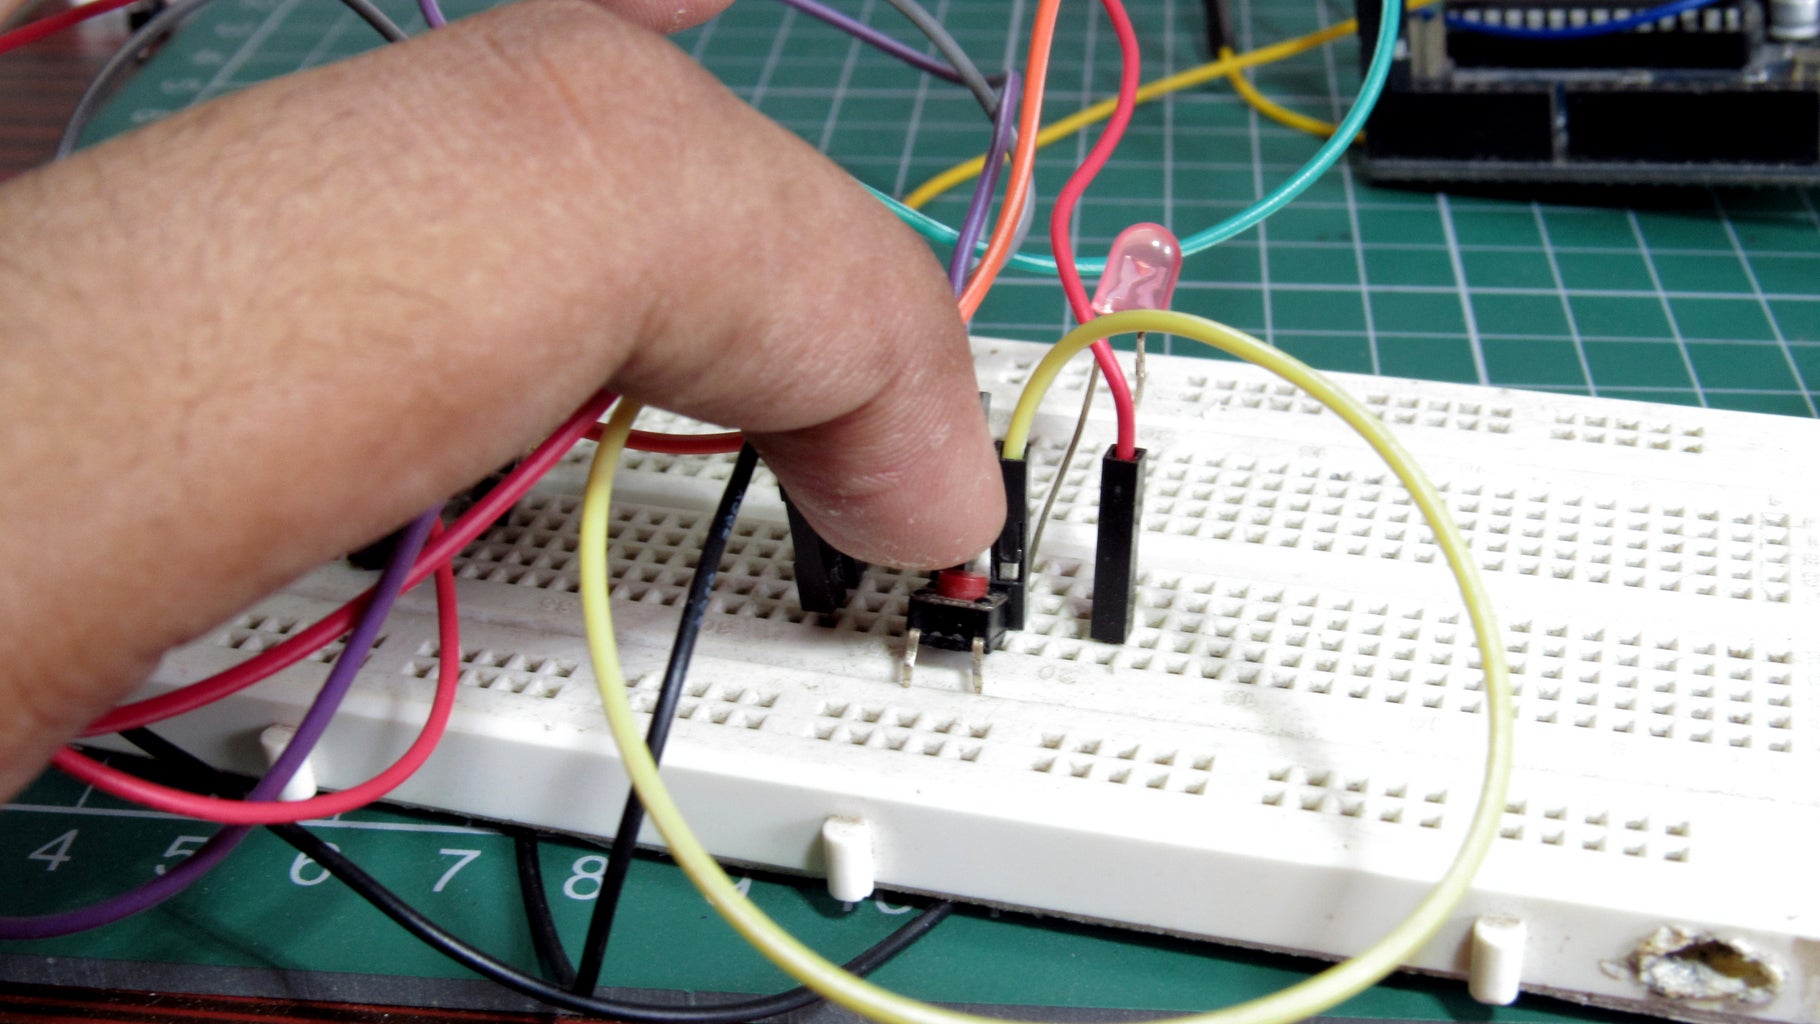
Connections
Vcc and ch_pd to vcc
Gnd to gnd
Rst to button 1
GPIO0 to button 2
Note While uploading Program press reset once while holding GPIO Button as long as the program uploads
Step 3: Setting Up the Arduino Environment


You need to download the core if your Arduino is below 1.6
https://github.com/esp8266/Arduino
Installing with Boards Manager for Arduino
Starting with 1.6.4, Arduino allows installation of third-party platform packages using Boards Manager. We have packages available for Windows, Mac OS, and Linux (32 and 64 bit).
- Install Arduino 1.6.8 from the Arduino website.Start Arduino and open Preferences window.
- Enter http://arduino.esp8266.com/stable/package_esp8266... into Additional Board Manager URLs field.
- You can add multiple URLs, separating them with commas.
- Open Boards Manager from Tools > Board menu and install esp8266 platform (and don't forget to select your ESP8266 board from Tools > Board menu after installation).
Boards manager link: http://arduino.esp8266.com/stable/package_esp8266...
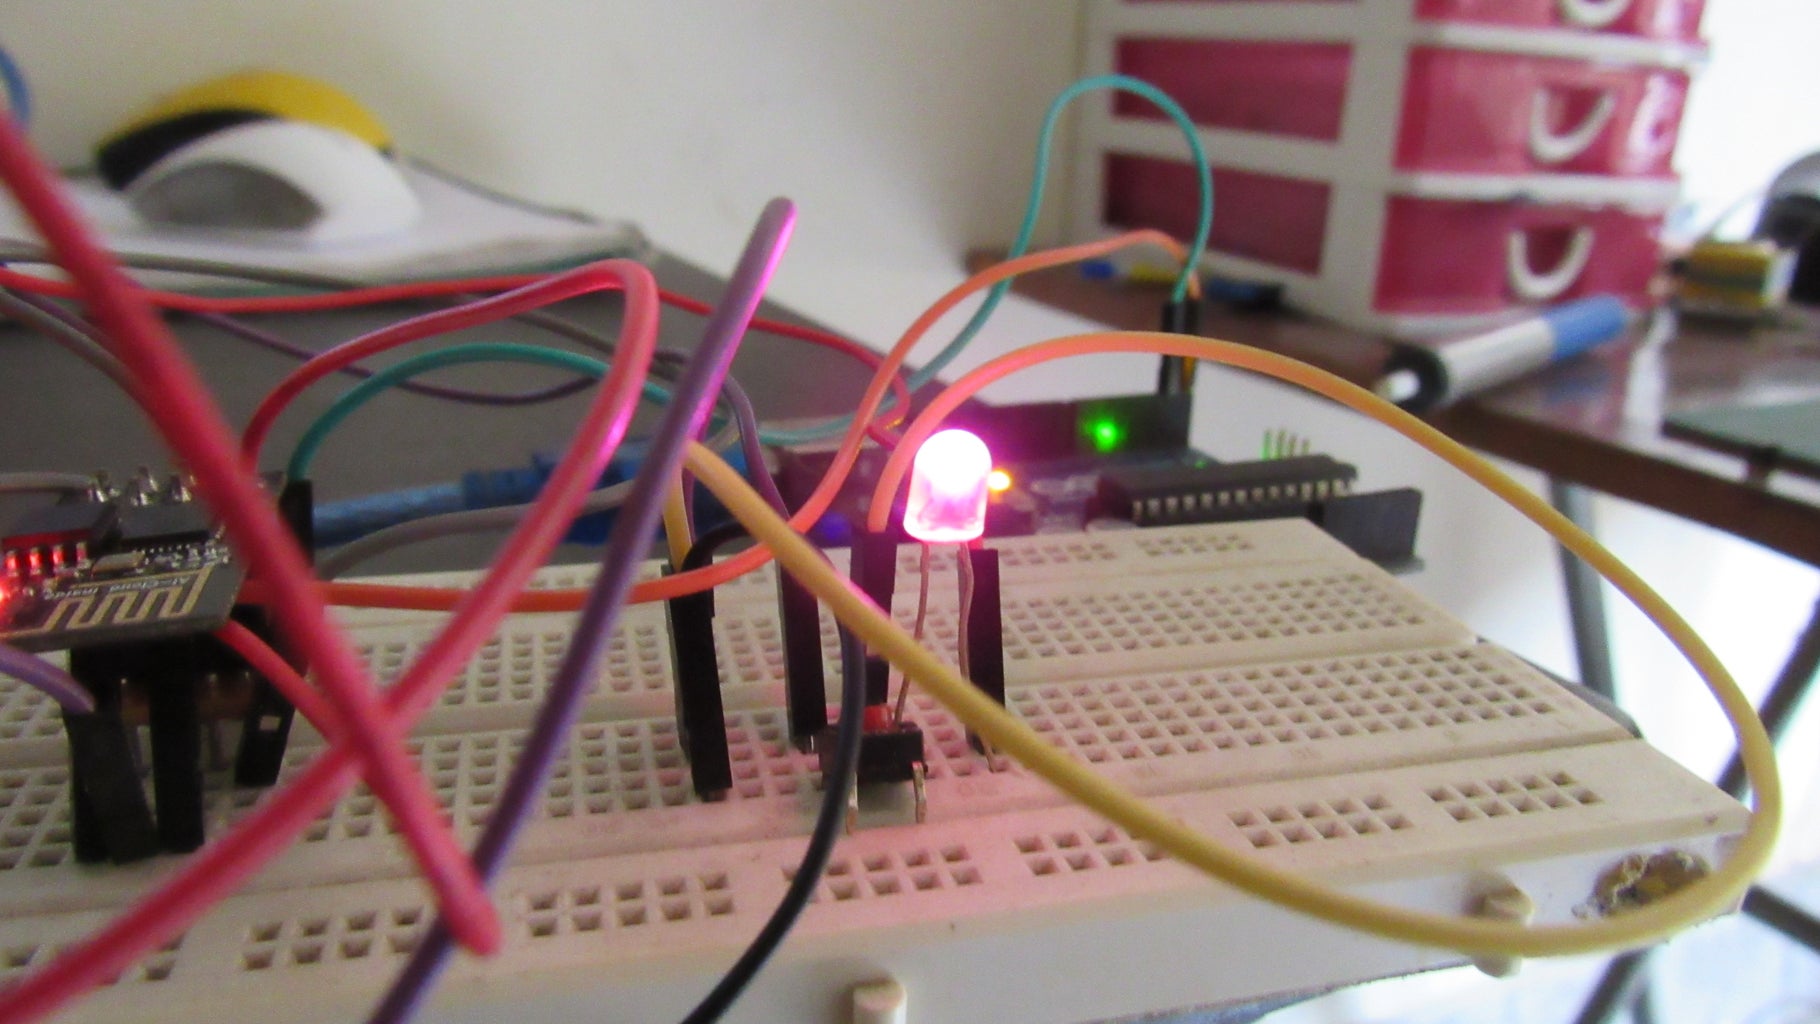
Step 4: Trying the Blink Sketch


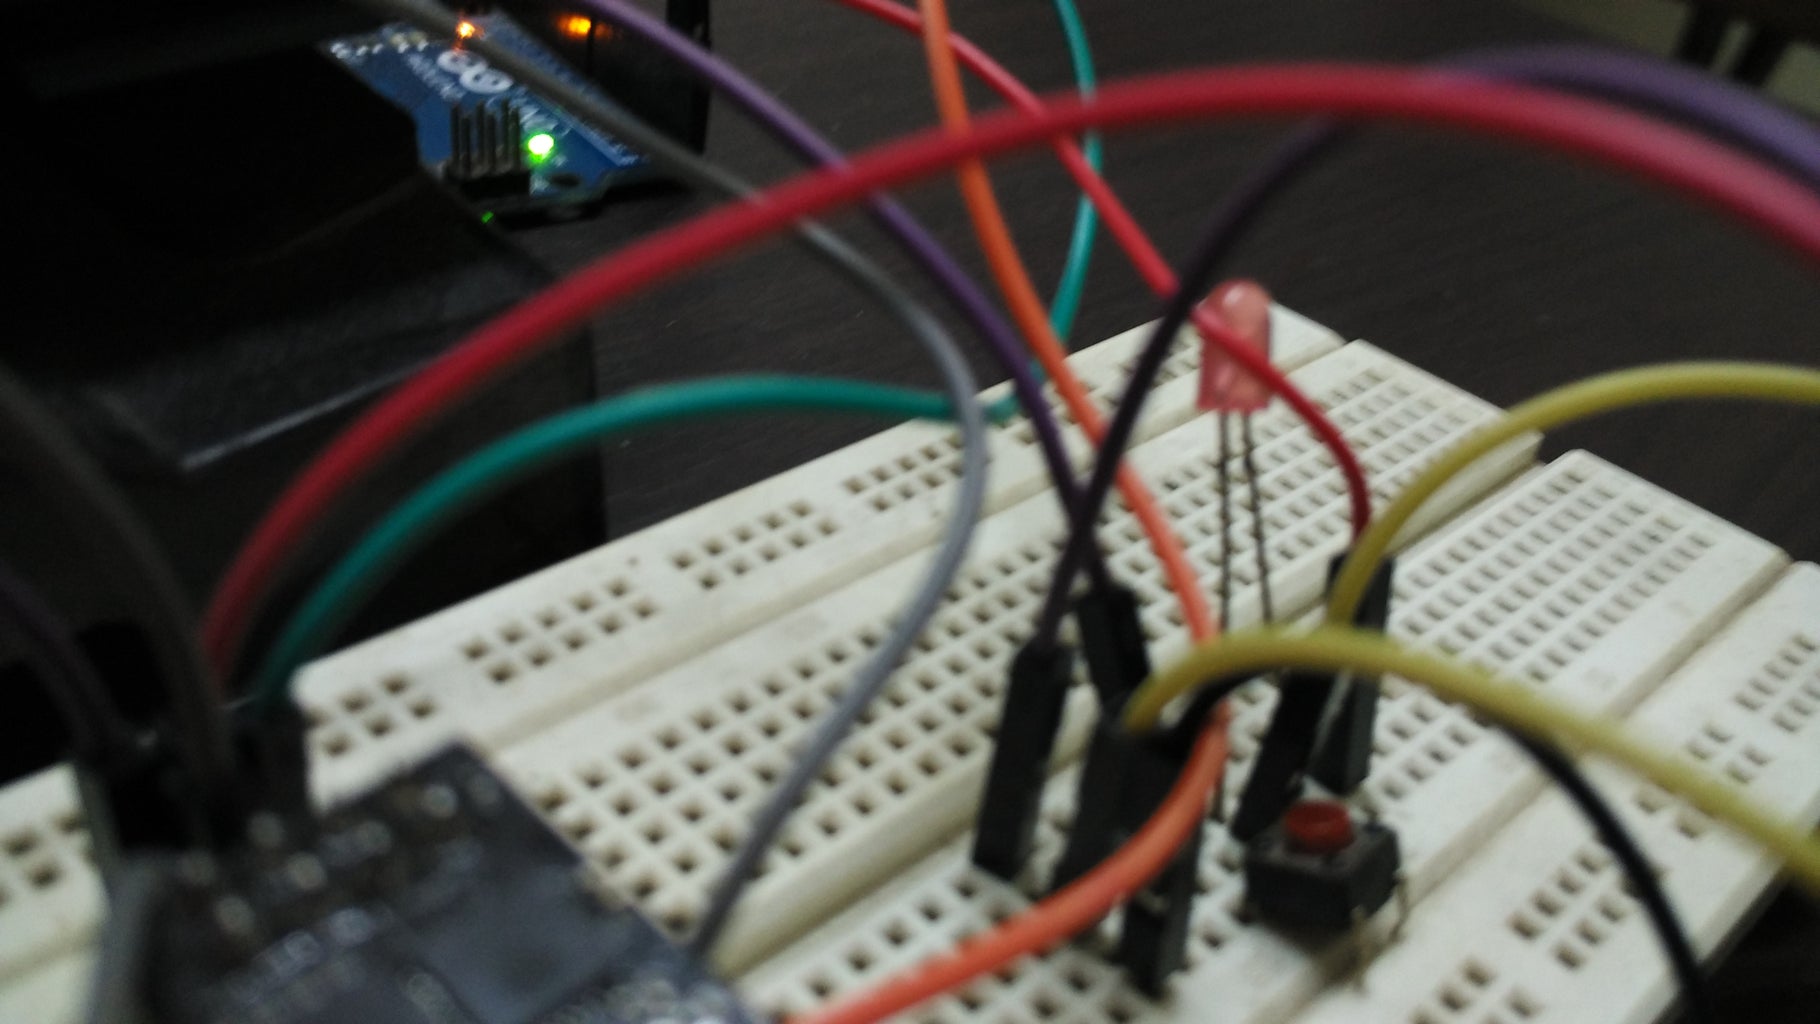
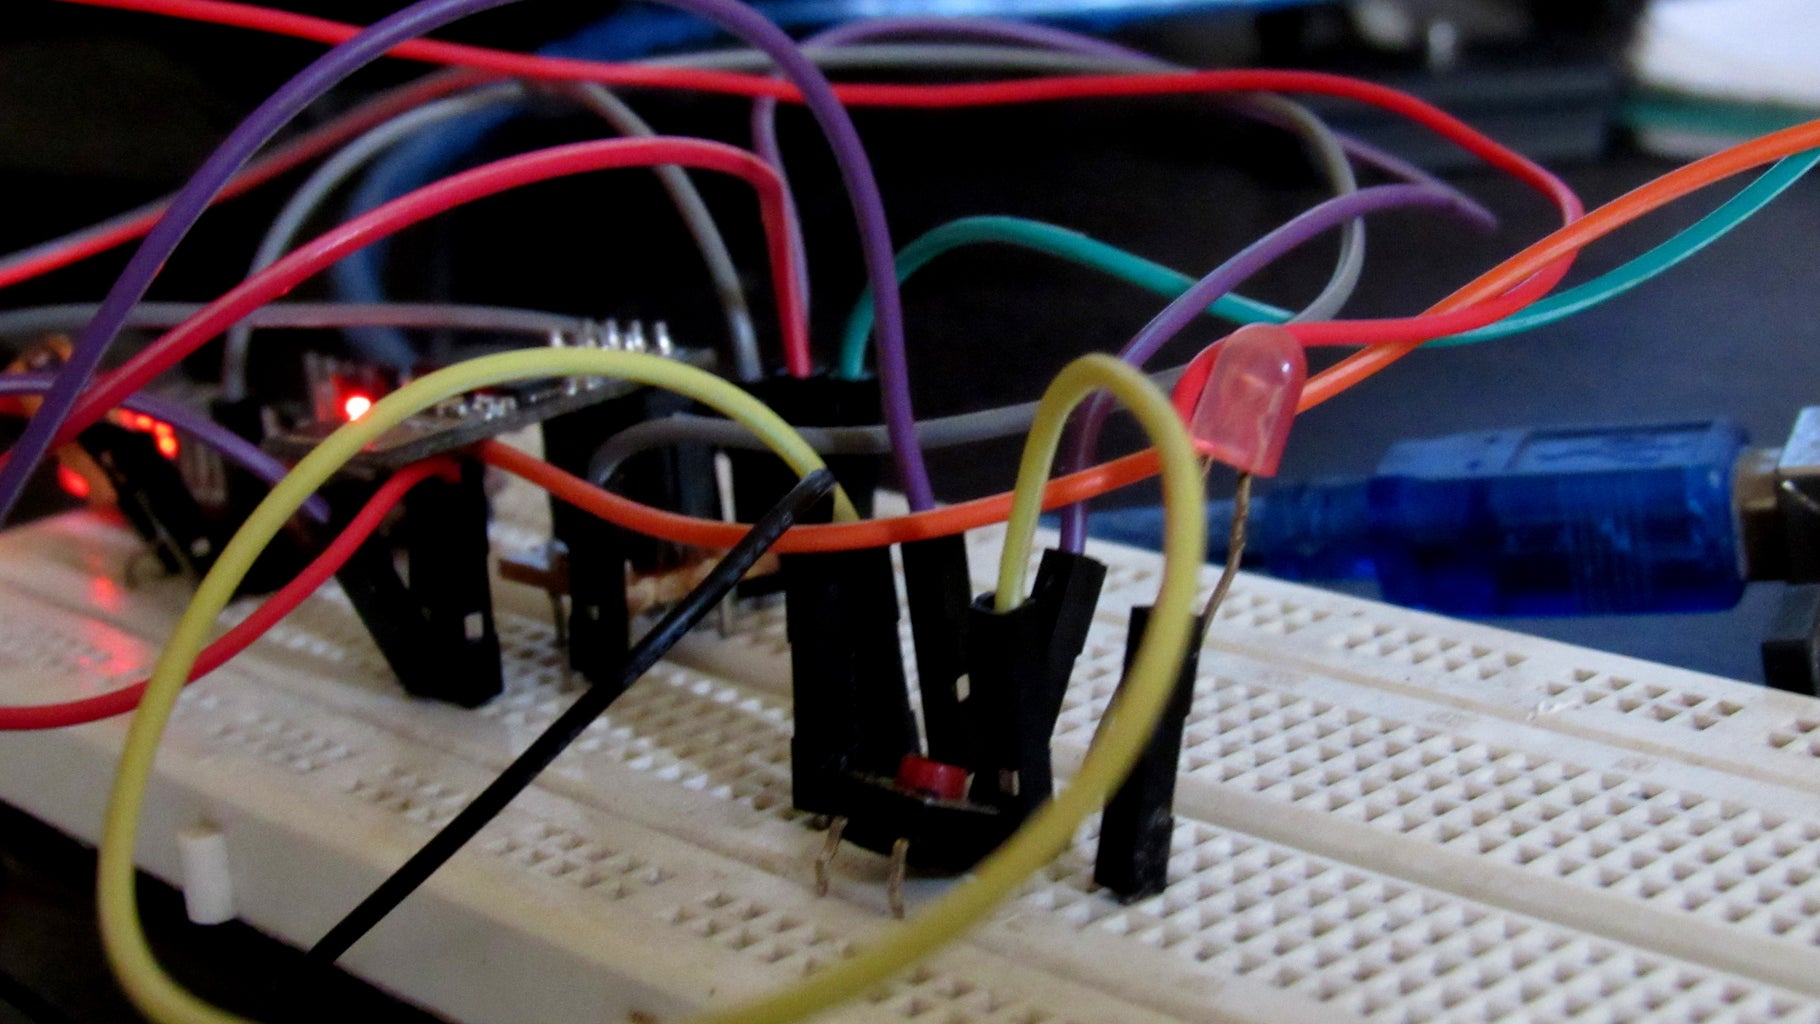
Connections
The led is connected to the GPIO 2
Tx is connected to Rx
Rx is connected to Tx
Vcc to 3.3v
gnd to gnd
Ch_pd to 3.3v
GPIO 0 to gnd while programing
int ledPin=2;
void setup() {
pinMode(ledPin, OUTPUT);
}
void loop() {
digitalWrite(ledPin, HIGH); // turn the LED on (HIGH is the voltage level)
delay(1000); // wait for a second
digitalWrite(ledPin, LOW); // turn the LED off by making the voltage LOW
delay(1000); // wait for a second
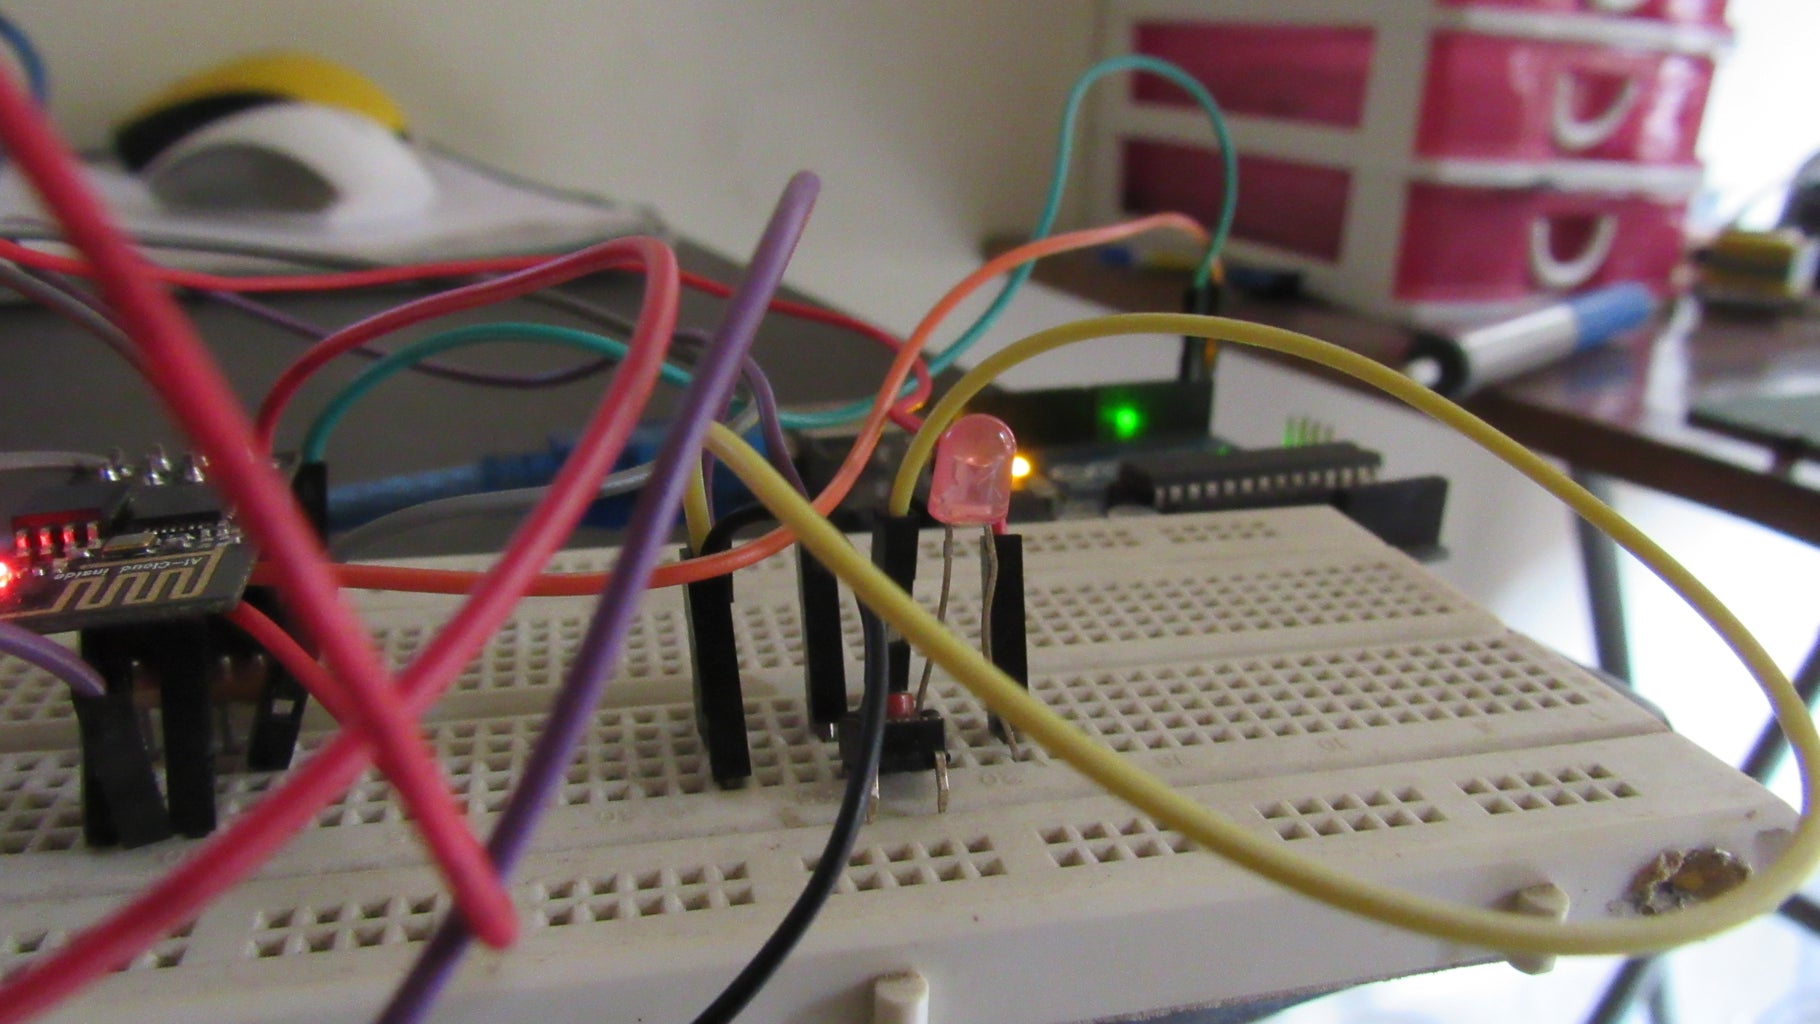
}Step 5: Making a Web Controlled Home Automation


Connections
The led is connected to the GPIO 2
Tx is connected to Rx
Rx is connected to Tx
Vcc to 3.3v gnd to gnd
Ch_pd to 3.3v
GPIO 0 to gnd while programing
<p>#include <ESP8266WiFi.h><br></p><p>const char* ssid = "dlink";
const char* password = "ilovechips";</p><p>int ledPin = 2; // GPIO2
WiFiServer server(80);</p><p>void setup() {
Serial.begin(115200);
delay(10);</p><p>pinMode(ledPin, OUTPUT);
digitalWrite(ledPin, LOW);</p><p>// Connect to WiFi network
Serial.println();
Serial.println();
Serial.print("Connecting to ");
Serial.println(ssid);</p><p>WiFi.begin(ssid, password);</p><p>while (WiFi.status() != WL_CONNECTED) {
delay(500);
Serial.print(".");
}
Serial.println("");
Serial.println("WiFi connected");</p><p>// Start the server
server.begin();
Serial.println("Server started");</p><p>// Print the IP address
Serial.print("Use this URL to connect: ");
Serial.print("http://");
Serial.print(WiFi.localIP());
Serial.println("/");</p><p>}</p><p>void loop() {
// Check if a client has connected
WiFiClient client = server.available();
if (!client) {
return;
}</p><p>// Wait until the client sends some data
Serial.println("new client");
while(!client.available()){
delay(1);
}</p><p>// Read the first line of the request
String request = client.readStringUntil('\r');
Serial.println(request);
client.flush();</p><p>// Match the request</p><p>int value = LOW;
if (request.indexOf("/LED=ON") != -1) {
digitalWrite(ledPin, HIGH);
value = HIGH;
}
if (request.indexOf("/LED=OFF") != -1) {
digitalWrite(ledPin, LOW);
value = LOW;
}</p><p>// Set ledPin according to the request
//digitalWrite(ledPin, value);</p><p>// Return the response
client.println("HTTP/1.1 200 OK");
client.println("Content-Type: text/html");
client.println(""); // do not forget this one
client.println("");
client.println("
");</p><p>client.print("Led pin is now: ");</p><p>if(value == HIGH) {
client.print("On");
} else {
client.print("Off");
}
client.println("<br><br>");
client.println("Click <a>here</a> turn the LED on pin 2 ON<br>");
client.println("Click <a>here</a> turn the LED on pin 2 OFF<br>");
client.println("</p><p>");</p><p>delay(1);
Serial.println("Client disonnected");
Serial.println("");</p><p>}</p>
Participated in the
Home Hacks Challenge


