

Introduction: Hand Gesture Controlled Robot With Sound Activated Light System


In this Instructable i will show step by step instruction for how to make finger controlled robot with sound activated light system
this robot can be controlled using your four fingers of your hand(left/right) .And the robot automatically switch on/off its light when needed(when the robot is moving throw darker areas).It sounds crazy but is very simple.
Step 1: MATERIAL REQUIRED


- Glove(Non conductive type)
- Prototype Board x 2
- RF transmitter receiver module
- 12v Dc motor
- Electret microphone
IC
- 555 timer
- L293d IC
- HT12E Encoder IC
- HT12D Decoder IC
- 7805 IC
CAPACITOR
- 470uf
- 100uf
- 0.1 uf
RESISTORS
- 1M
- 1k
- 50k
- 4.7k
- 47K
- 470R
TRANSISTORS
- BC547
Step 2: Making the Robot: Power Supply


First we will start with the power supply circuit. The power supply it is simplest one.
Both the transmitter and receiver circuit should be power separately,
The power supply circuit consist
- IC 7805 which regulates the 12v supply to 5v (use heat sink)
- Two capacitors 0.1uf and 470uf
- 1k resistor for status led
For both circuit(sound activate light ) RF receiver i have provided a common power 12v supply
i have used 7805 IC to step down to 5v
- Power the transmitter board with a 9v battery
Step 3: Making the Receiver Circuit


Using the rf module is very simple because pin description is on it
just wire the it as per the receiver circuit
If you want to know how all the stuff works read this or If your lazy or busy just skip this part
L293D
L293D contains two inbuilt H-bridge driver circuits. In its common mode of operation, two DC motors can be driven simultaneously, both in forward and reverse direction. The motor operations of two motors can be controlled by input logic at pins 2 & 7 and 10 & 15. Input logic 00 or 11 will stop the corresponding motor. Logic 01 and 10 will rotate it in clockwise and anticlockwise directions, respectively.
Enables:.The enable 1 chip enables the Left part of the IC for inputs and outputs, and so does the Enable 2 does to the right part of the IC
Output : Output pin is connected to the terminal of the motor
Input: Input pin tells whether output should be given to he respective output pin or not.
Gnd: connect this pin to ground
Vs : this pin is given the voltage that we have to supply to the motors.
Vss: this pin is to power up th IC ,so connect it 5V supply
HT12D
VDD and VSS: This pin areused to provide power to the IC, Positive and Negative of the power supply respectively
DIN: This pinis the serial data input and can be connected to a RF receiver output.
A0 – A7: This are the address input . Status of these pins should match with status of address pin in HT12E (used in transmitter) to receive the data. These pins can be connected to VSS or left open
D8 – D11: This are the data output pins. Status of these pins can be VSS or VDD depending upon the received serial data through pin DIN.
VT: stand for Valid Transmission. This output pin will be HIGH when valid data is available at D8 – D11 data output pins.
OSC1 and OSC2: This pin are used to connect external resistor for internal oscillator of HT12D. OSC1 is the oscillator input pin and OSC2 is the oscillator output pin
Step 4: Making the Transmitter Circuit


Try making the transmitter circuit as small as possible because it should be mounted on gloves.place all element closer to each other to minimize the size.I have provided pcb layout and silkscreen for transmitter circuit
NOTE : THE PCB LAYOUT IS NOT A MIRRORED ONE
The transmitter circuit is contains only one IC(ht12e) just connect all wire as per the transmitter circuit You can see a red box in circuit just ignore it .I have provided image notes A,B,C,D on the transmitter circuit connect it to A,B,C,D,E respectively on the glove.How to make the glove i will discuss in next step
HT12E
The HT12E encoder has same as the HT12D decoder
The pin 14 TE is transmission enable
pin17 DOUT isSerial data output
pin 10,11,12,13 are AD0, AD1, AD2, AD3 respectively they are 4 bit Data/Address pins for input

Step 5: Making the Controller (Glove)


Making the glove is little bit tricky you should place all the parts at the correct place(don't use gloves which are made of conductive textiles,they will no work properly)
In the picture you can see red strips marked with A,B,C,D ,those red stripe are conductive material (i used a piece of copper clad )any conductive materials can be used . Stick or stitch the conductive material on tip of the fingers(A,B,C,D) and connect wire to A,B,C,D pins in the transmitter circuit respectively
I have used Super glue for sticking the small piece of board to the glove
For ground (-ve) i have made slight change in the wiring i had made a common ground on the palm of the hand ,connect it to the ground of the transmitter circuit
To controll the bot we need only four fingers
In the picture you can see red and black strips they are positive and negative respectively , they act like a switch
when you bend your fingers the -ve and +ve come in contact and the bot moves
NOTE: Dont use conductive glove for making this
Step 6: DIY Car Chasis


In this step i will show you how to make DIY car chasis using cardboard box
- First take a rectangle cardboard box
- stick black color paper (any color) on the cardboard for good looking :)
- make four holes at the four corner of the box for inserting motor
- insert the four motors and screw them
Step 7: Placing the Lights


For light up light we need leds ,I took a small strip of circuit board and connected 2 led in parallel .Insert small holes for placing the leds and connected the 2 pair of leds positive and negative together ,For increasing the light i used a led reflector,
In the circuit you can see a LED replace that LED and connect the positive and negative terminal of the paired leds to it
Step 8: Making the Sound Activated Light Circuit

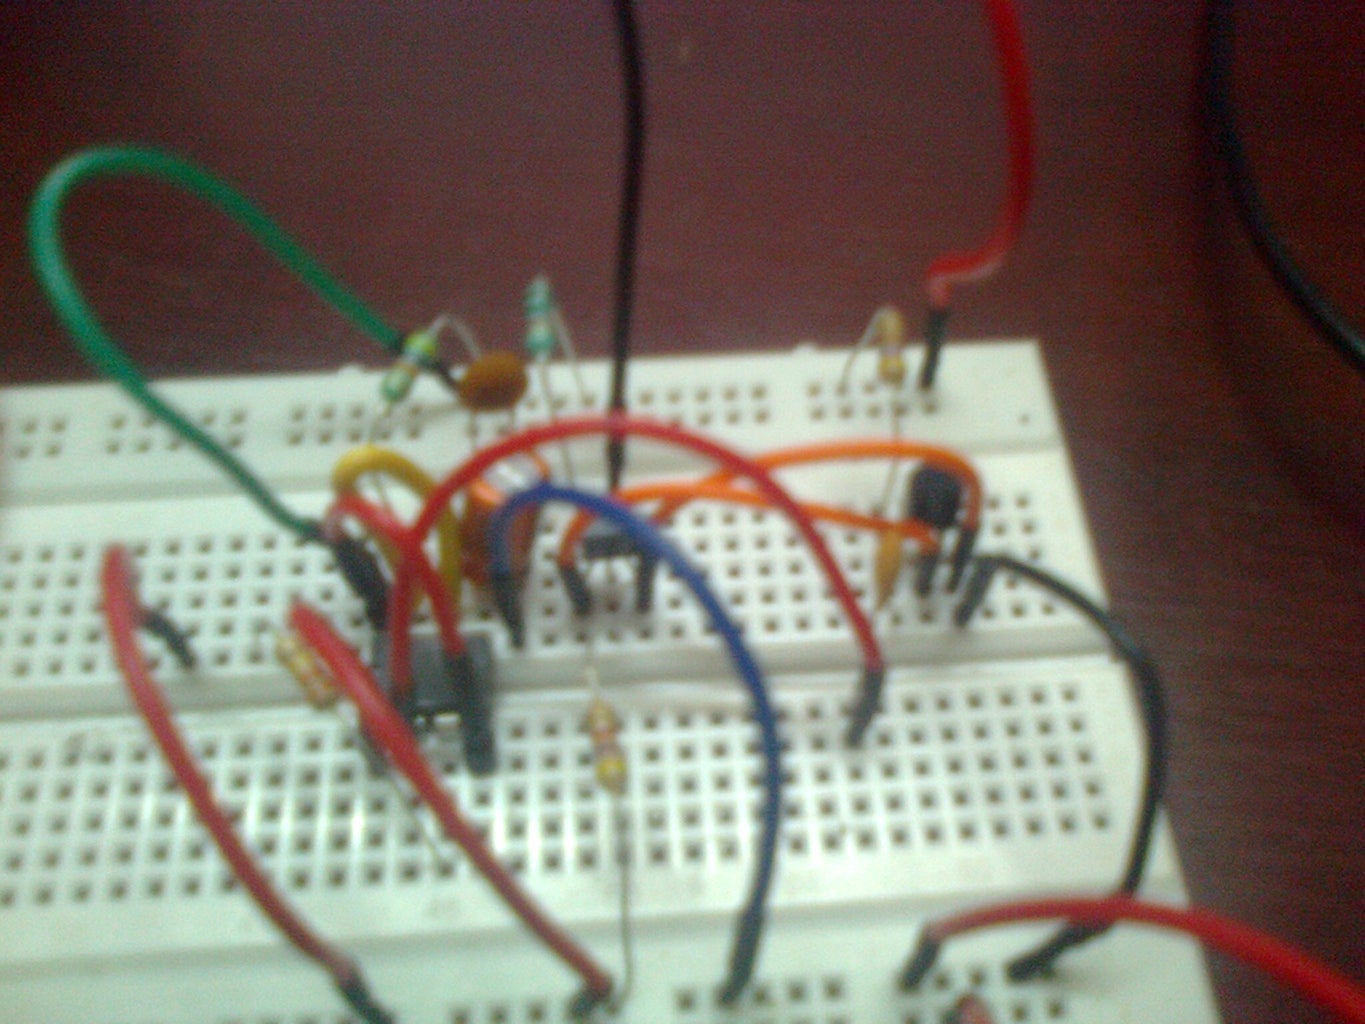


This is a simple sound activated light without any programming
The main components for sound activated light 555 timer,BC547, electret mic and some rsesistor and capacitir
first test circuit on a breadboard if its works well solder it on a circuit boad
Working: when a sound is produced the LED lit for some times then turn offs
VIDEO WILL BE UPLOADED SOON!!!!

Participated in the
Remote Control Contest

Participated in the
Battery Powered Contest

Participated in the
Glue Contest


