

Introduction: Fix Any Video Game Controller

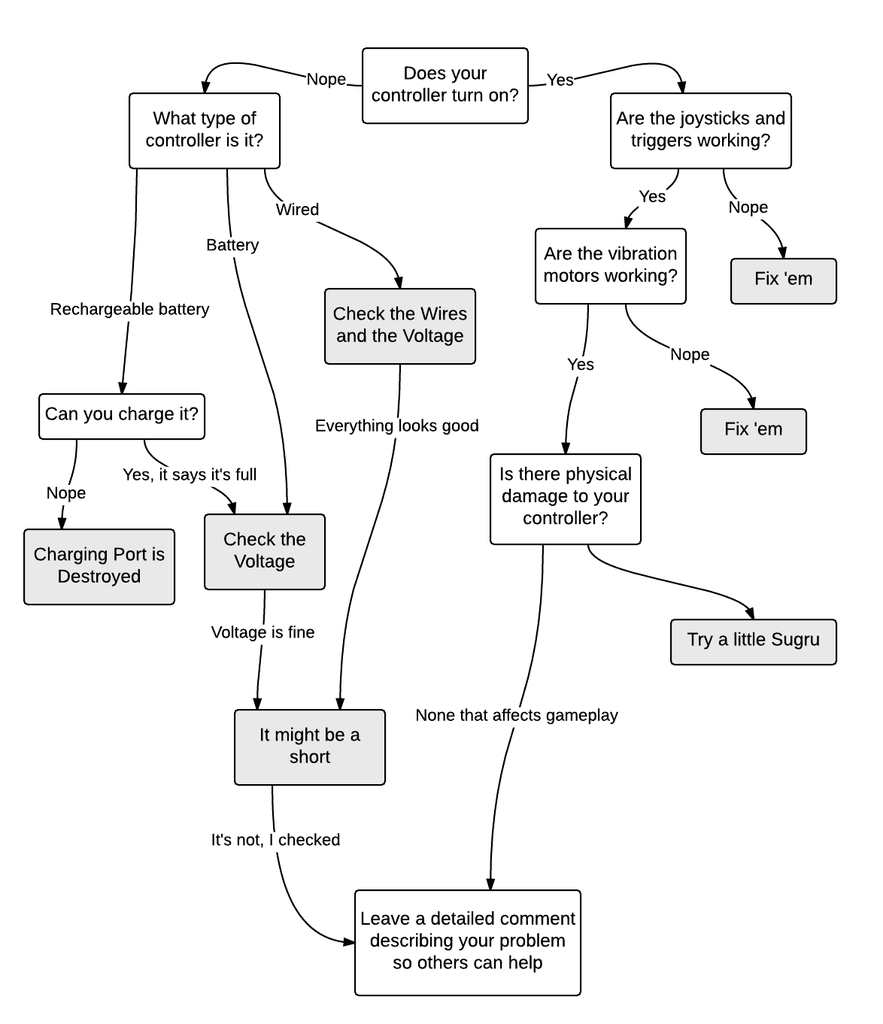


Video games are awesome. Buying a $40-50 controller every time something small breaks is not. This Instructable will show you how to fix various problems with your remote!
Use the flowchart in the pictures above to help diagnose your problem.
Disclaimer:I am in no way associated with Sony, Microsoft, or Nintendo, nor do I claim anything created, designed or manufactured by them as my own. This Instructable is purely for informational purposes.
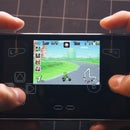
Step 1: Anatomy of a Controller


The first step to fixing anything is to take it apart and understand its components.
Taking apart the controller is as simple as removing a few screws. See the "Screwdriver" row in the table below to find the screwdriver needed.
Now, we've got to learn about what's being taken apart:
Controller Facts | ||||
|---|---|---|---|---|
| GameCube | Wii | Xbox 360 | PlayStation 3 | |
| Company | Nintendo | Nintendo | Microsoft | Sony |
| Screw Design | Tri-wing | Tri-wing | Torx T8 | Small Phillips |
| Screwdriver | Flathead | Flathead | Flathead | Small Phillips |
| # Physical Analog Inputs | 6 | 0 | 6 | 4 |
| # Physical Digital Inputs | 12 | 12 | 15 | 17 |
| Motion Sensing | No | Yes | No | Apparently |
| Output Type | Tumble | LED/Tumble/Speaker | LED/Tumble | LED/Tumble |
| Power Usage Battery | -- | 3V (2xAA) | 3V (2xAA) | 3.7V (Li-ion) |
| Power Usage Wired | 5V | -- | 5V | 5V |
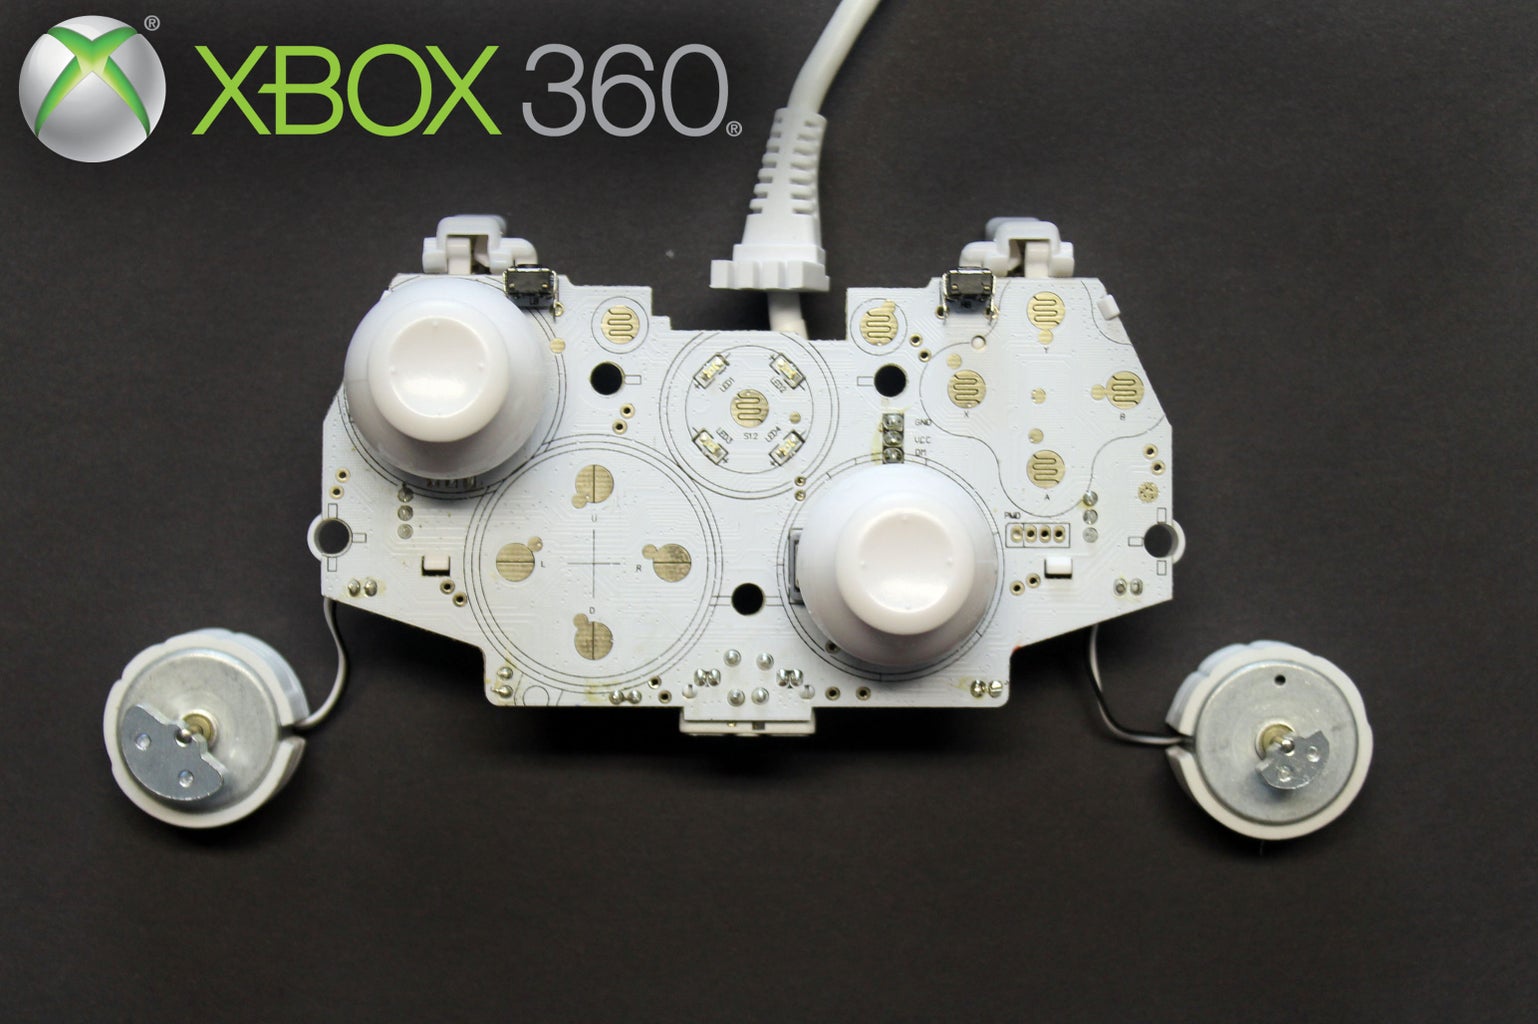
Step 2: Controller Won't Turn On?


A typical reason your controller won't turn on is because it's not being supplied enough power (if any). The potential causes of this problem are numerous. Here is how to identify and fix it:
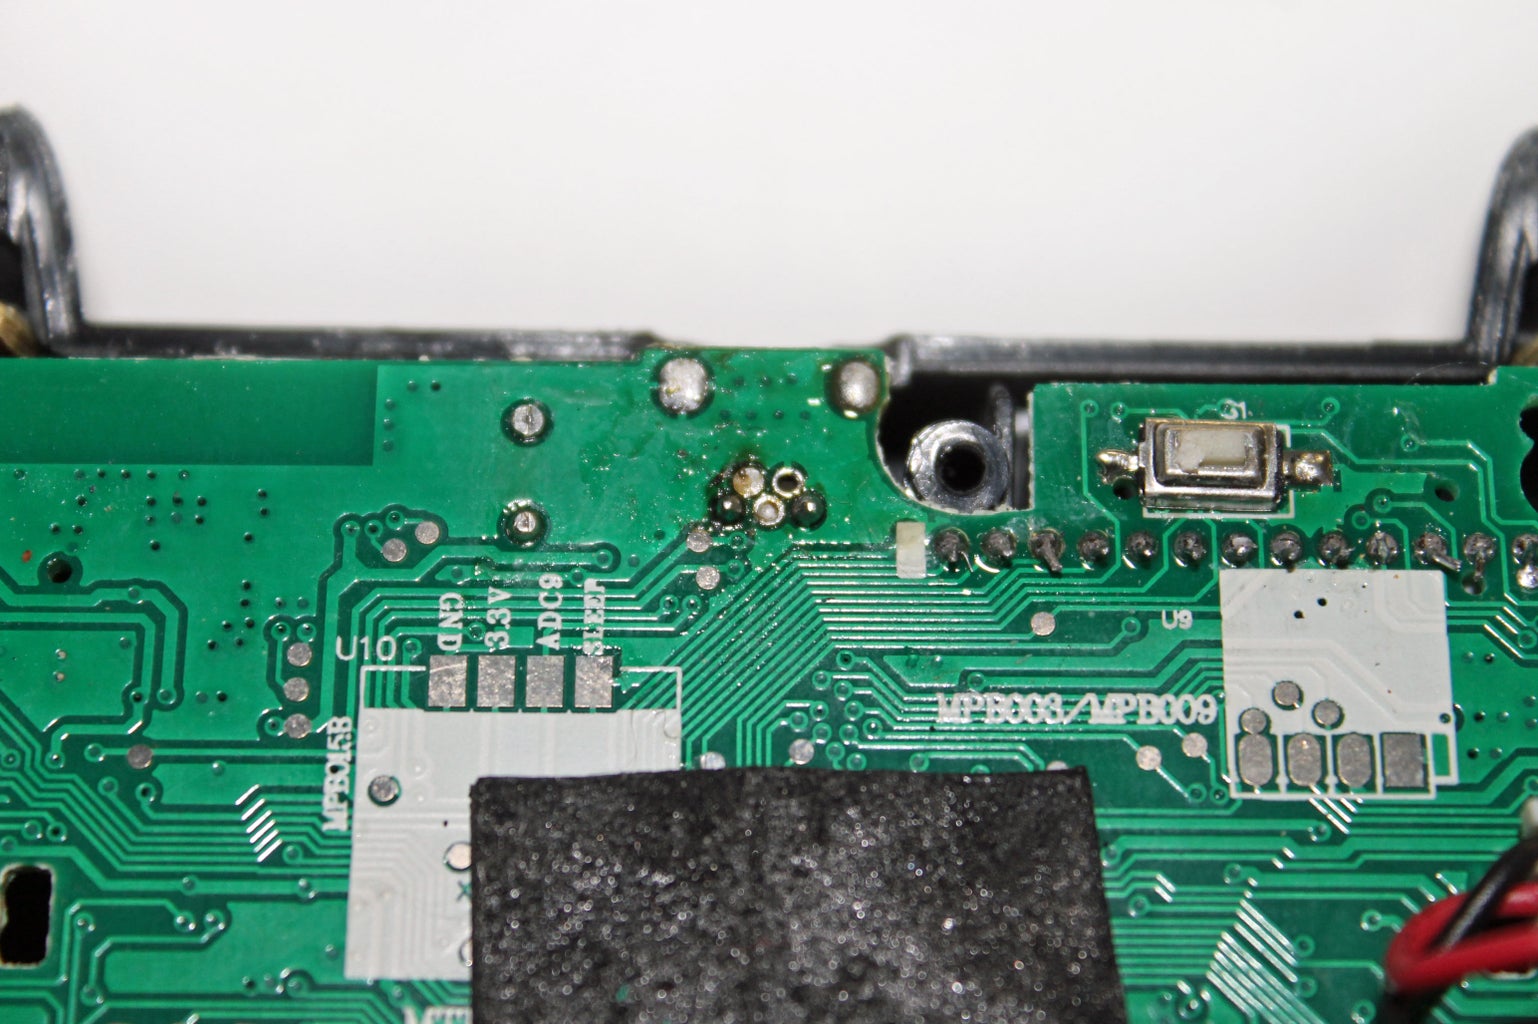
Step 3: Joysticks/Triggers Aren't Working


The joysticks of most controllers are analog components. They use potentiometers to change the resistance based on their position. Triggers are usually also analog parts, but some controllers (PS3) use a digital push button instead.
Replacement parts
| Tools and Materials
|
 Desoldering pump/solder wick
 Step 4: Vibration Motor/Speaker Is Broken


Some controllers have vibration or "tumble" motors in them for physical feedback. Others (like the Wiimotes), contain another source of output, like a speaker. These both are usually connected to the controller with thin wires, so they break easily. Yet, they are both easily replaced because they only use two wires!
Replacement parts
| Tools and Materials
|
Step 5: Charging Port Is Destroyed


A friend of mine had a PS3 remote whose mini-USB port was completely mangled. A small plastic piece came off, making it impossible to bend things back into place.
To fix this, I ripped out the mini-USB (it was too small to desolder) and soldered a JST connector onto the power vias.
Then, created a USB to JST cable by soldering the USB's power wires to the JST's wires. Be careful—don't switch the connections!
Step 6: Customization
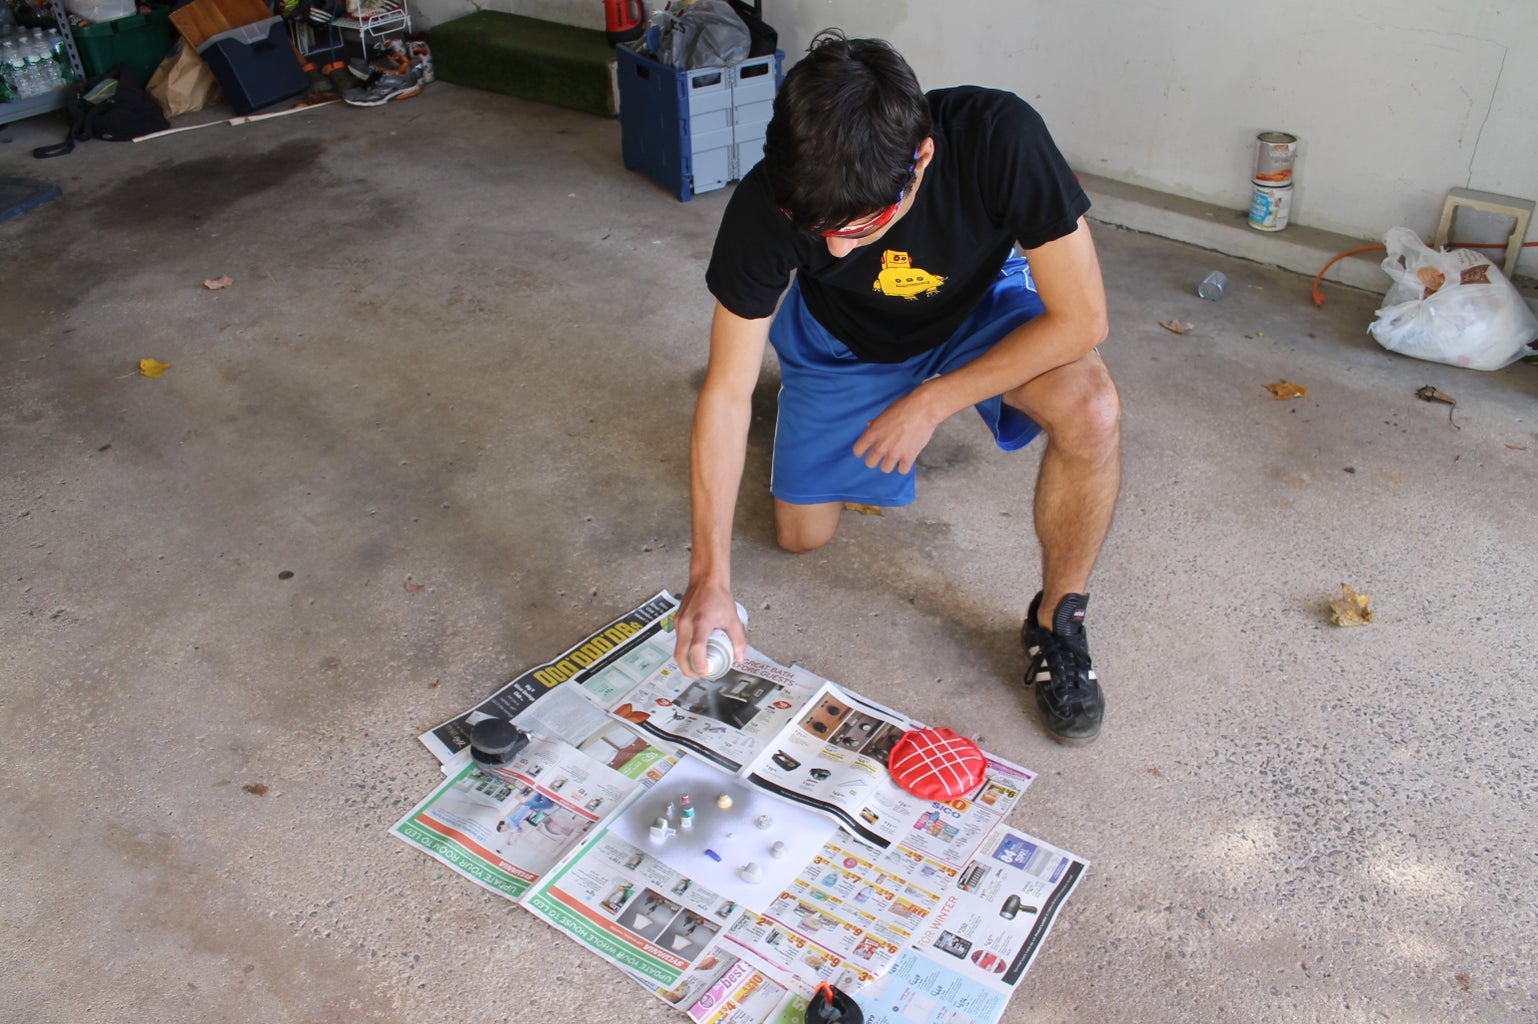


While your remote is apart, why not make it look awesome?! You can buy custom parts or just spray paint what you already have.
Step 7: For General Problems, a Few Tips

- Sugru can fix various types of physical damage to you controller
- Double check the battery voltage
- Simply taking it apart might help you easily spot your problem, but it can create issues, too (just be cautious and you'll be fine)
Step 8: Last Resort: Reusing the Parts and Buying a New Controller
Sometimes, a problem can be complex enough that it's not worth fixing, or is just too costly. But there's hope!
Inside every kind of controller, you can find useful parts to reuse in future projects! Examples of potential projects are listed below.
- Hacking the joysticks while still in the controller
- Make the joysticks digital
- Joystick Servo control
- Take components off of the PCB
- You'll get a free Li-ion battery (PS3)
- Make something with the vibration motors
Where to buy a new controller:
- Rock Candy
- Search for it on Amazon
Step 9: Conclusion/ Problems Already Solved
If your controller still isn't fixed, be sure to leave a comment (with a picture), so you can get answers! I plan to update this Instructable with each new problem that arises, no matter the type of controller.
Thanks for reading! =D
Common Problems Solved in Comments
(please read BEFORE commenting):
- Random button presses or one button is triggered when another is pressed
- Clean under the pads with isopropyl alcohol
- Wedge something between the plastic part of the button and the rubber part to allow for a firmer button press
- Clean the controller's circuit board (thanks to Instructables user wsavoie)
- Controller's joystick drifting
- Reset the controller with the joysticks in their natural position, then press the power button on the controller while wired to the console
- Replace the joystick/analog trigger (Step 3)
- Gamecube Wavebird connectivity
![]() I've officially stopped answering questions on this Instructable (80% of comments are now answered above).
I've officially stopped answering questions on this Instructable (80% of comments are now answered above).
Please feel free to continue posting comments and HELP EACH OTHER out by answering them =D

Participated in the
Fix & Repair Contest

Participated in the
Tech Contest


