

Introduction: Fix Schlage Free Egress Locks


A simple way to reduce your chances of getting locked out.
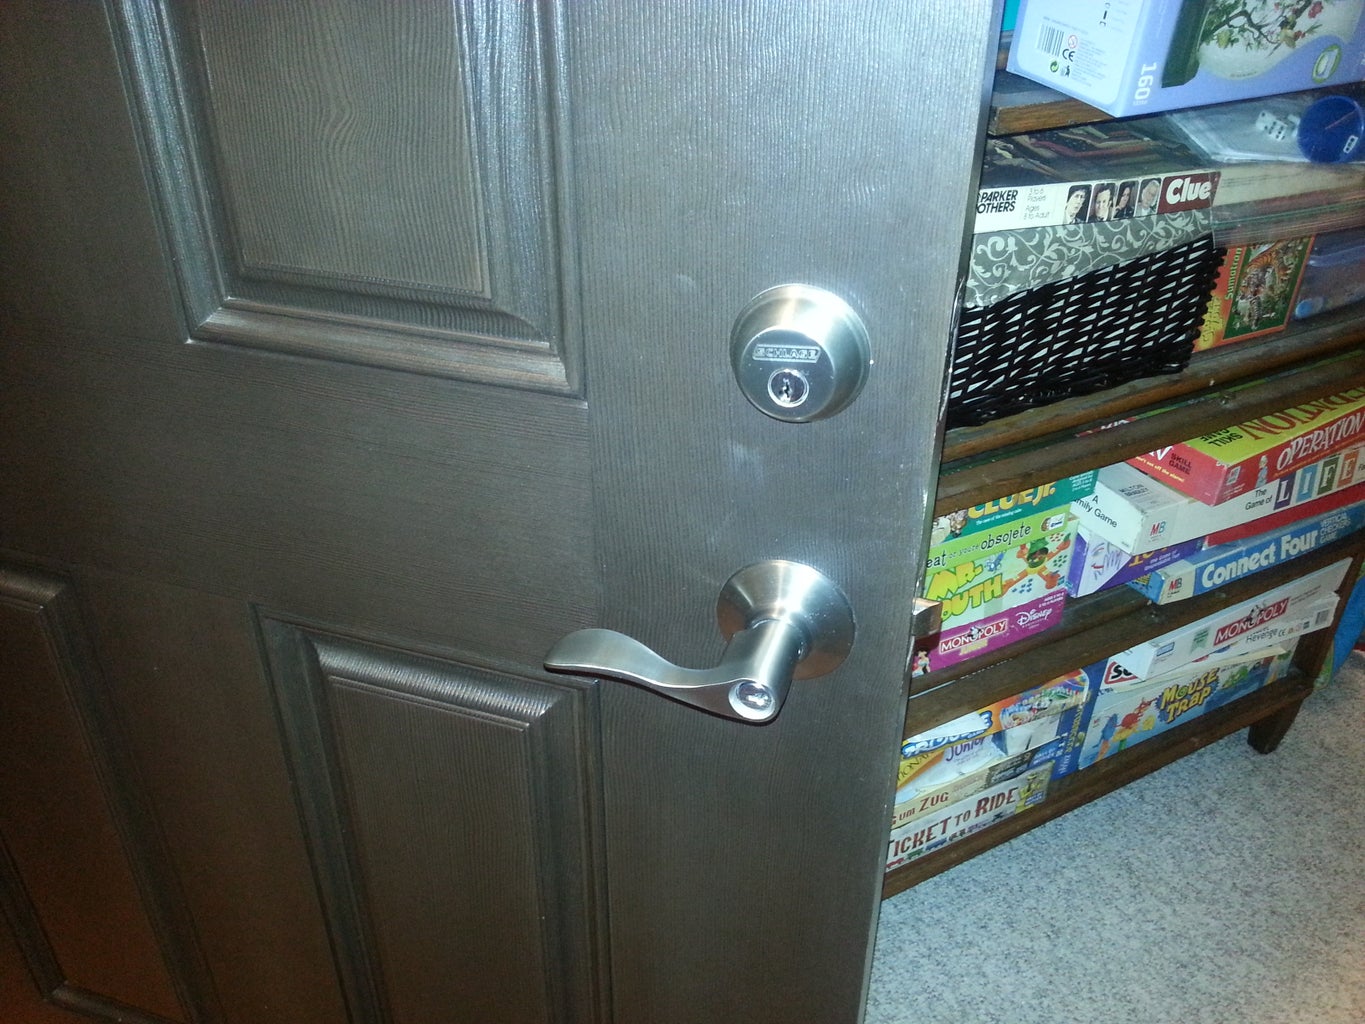
Have you ever walked out the door, closing it behind you, only to realize as it clicked shut that it was locked and you didn't have your keys? Do you have to open the door and rattle the outside handle to check if it is locked or not? What if the inside handle wouldn't turn if the door was locked? That just might have given you a hint on your way out that the door was locked and made you check for those keys.
Step 1: Research.
In the ongoing attempt to make us safer from ourselves, some companies (well Schlage anyway) are producing locksets for homes that allow 'free-egress'. What this means is that, from inside the house, regardless of whether the lock is locked or unlocked, you may turn the knob (or lever) and exit the door. This may sound like a nice feature, except that it leads more frequently to you being on the wrong side of a locked door without keys than it allows you to exit a door in an emergency. I have looked for information on this subject before, but apparently with the wrong search terms. After needing the hidden key AGAIN, I hit the web. Surely someone has figured out a simple fix. This time my Google-fu was up to the task. I found a hit on the diychatroom forums discussing fixing this 'feature'.
Step 2: Legalese.
Every time I have looked this subject up, people on the intertubes come out from behind their free egress doors and state unequivocally that this is a "good thing"; free egress doors allow you to exit the door in an emergency without having to fiddle with the locking mechanism. This may be true, however if this was really a problem, deadbolts would be a major problem. Turning the lever on a deadbolt takes the same amount of time, but you might not remember the deadbolt was there.
It is my opinion that the claimed additional 'safety' of the free egress lock is MORE than offset by the danger of getting locked out. In fact, the thread that I finally found my solution included a story from a real estate agent locked in a garage while showing a house, as well as a link to a story about an elderly couple who died of exposure after getting locked out.
So, if you plan to modify the locks on your house, accept the fact that YOU are changing a feature that was designed by the company who manufactured the lock as a safety feature. I don't agree, you may not agree, but let there be no confusion that you are doing this at your own risk.
Step 3: "Helpful" Advice
Around about this point in time, a professional usually shows up, admonishing those of us who have these locks with a list of our sins. The list goes something like:
1)"You should have done better research before buying a lock that does not do what you want it to do."
2)"If you had gone to a lock-smith instead of a big box store you would not be having these problems."
3)"This is a safety feature! Don't change the lock, change your behavior!"
4)"Go to a lock-smith and have them install new locks that do what you want."
5)"That model and brand has known reliability issues, go to a lock-smith and buy new, better locks."
1)Unfortunately, my retro-spectoscope works only for telling me what I did wrong in the past, it's not so good at warning me ahead of time when I'm about to make a bad decision.
2)Perhaps this is true, see number 1. I'm in one or the other of the big box stores at least once a week, I drive past 3 locations on my way to and from work, and they are open until 9 pm every day. Lock Smith shops, not quite as convenient.
3)I'm actually pretty good about checking the lock, but my wife and kids - not so much, and then it becomes my problem again. This affects guests to our home, including pet and baby sitters as well as parents, we shouldn't have to have a door knob training class. This function also complicates checking the doors prior to bed.
4) Current finances dictate that I am not in a position to spend a good chunk of cash to replace working locks.
5)See number 4.
So, if you are looking for information on locks ahead of time - Good on you, mate! Be sure that you get a quality lockset that functions the way you are used to, and that works for your lifestyle.
If you are renting, you don't have much say in the mater at all. You'll get what the landlord installed and that's that.
For the rest of us, we have been properly castigated and we thank all those people who have shown us the error of our ways. Please allow us to do our penance in private so that we may reflect on our failures and learn from your superior wisdom.
.....
Are the Helpful Experts all gone? Good, now let's fix the stoo'pit thing so that it works WITH us instead of AGAINST us.
Step 4: Development.


The fix I found here:
http://www.diychatroom.com/f19/schlage-entry-door-knobs-86520/#post811719
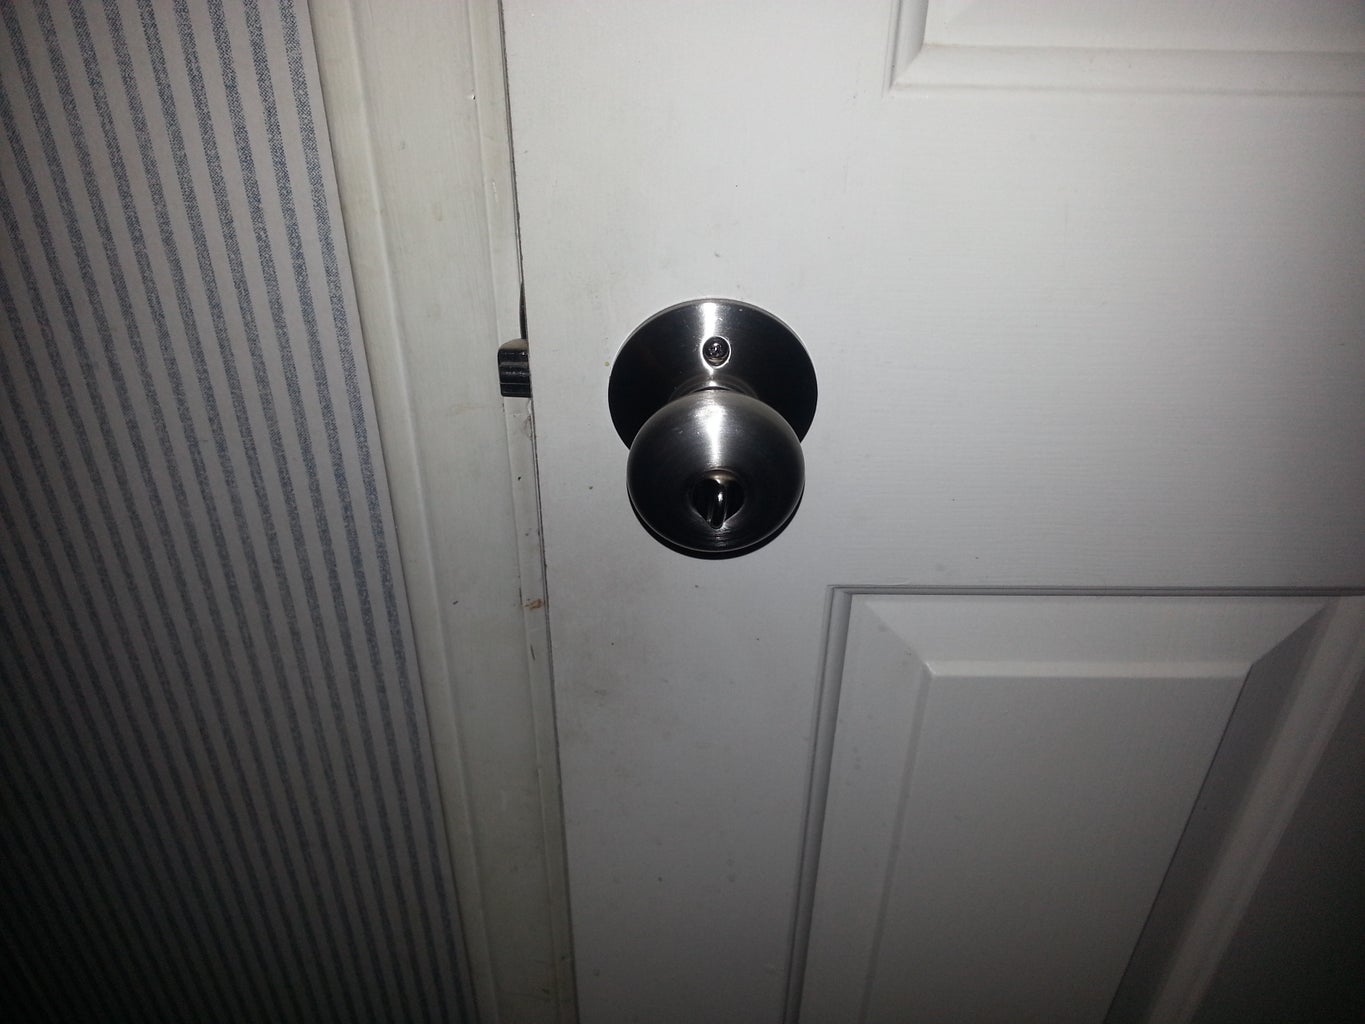
involved drilling two small holes inside the lock, tapping them, then adding two screws. I was headed for the shop to get the right tools when I saw my container of Insta-Morph (generically known as Polycapralactone, but since that's a long word to type, and the container says Insta-Morph, lets go with that). All we need to do is fix the square tube to the washer shown in the picture. A little Insta-Morph will do the trick nicely. This has the added benefit of being non destructive to the lock. If you are renting , simply removing this piece of IM will return the lock to its original function. There's a lot less chance of destroying the lock this way also.
I used just enough to create a small washer like piece that surrounds the square tube and locks it to the spring actuator. Be aware that if this is too thick, you will have problems reassembling the lock. Roll out some IM into a small snake, then press it down on the actuator around the square tube. I used a flat ended punch to smoosh it down fairly uniformly, but anything that will fit will work (like an unsharpened pencil). Trimming away any extra IM with a knife and a chisel cleans things up.
Allow enough time for the IM to cool before trying it out, you don't want to manipulate it while it is still pliable.
Put the two halves of the lock together on the counter (NOT IN THE DOOR YET) and check if both of the knobs will turn when it is unlocked. If not, you probably used too much Insta-Morph , clean it out and try again.
Assuming it works when unlocked, try locking the knob. The outside (the one with the keyhole) should feel like a locked door knob (duh..). The inside may give just a little, not turning much, but you may feel that it is a more 'plasticky' feel than the metal 'locked' feel that you are used to.
If this works, WITH THE DOOR PROPPED OPEN, reassemble the knob in the door and check for clearances. Check function again. Only when you are certain that it works should you close the door and try it one last time.
Step 5: Caveats and Next Steps


Realize that Insta-Morph is a biodegradable plastic that melts at approximately 140 degrees and we are using it to make a mechanical stop. If you grab hold of the door knob and crank on it, your newly formed stop may very well deform enough to turn. This will probably leave the knob in an unknown state. I have not tested this far yet. The lock should have some oil / grease on it from the factory, I have no idea how this will affect the Insta-Morph, I have this installed on one of my doors and will try to update on longevity. [edit ]I now have a 3D printed ABS version in place, longevity test has been terminated, sorry.[/edit] The benefit of Insta-Morph is that it is cheap and anyone capable of boiling water can use it to try this out.
A metal fender washer with the hole filed to fit the square tube would be the next step up from that, but would probably again require drilling into the lock to fix it in place. Plus we are back to potentially damaging the lock, and certainly 'voiding the warranty".
I am also working with a local non-profit STEM youth leadership organization called Wake Robotics to develop a 3D printed version. I hope to have files available soon. If we can get it printing reliably, we will put them up on shape ways or thingiverse with any profits going to Wake Robotics. The pictures in this step show the first attempts to create a working part. Getting measurements down inside the door knob is difficult, and add to that the tolerances of current hobby level 3D printers and the fact that I've never used one, while working with high school age students (who have used printers before). We are working on getting each of the layers to fit where they are supposed to. Kyle and Ben, the two young men I am working with, are very knowledgeable regarding 3D printing and have been a great help getting me started, my thanks to both of them and Wake Robotics.
(1/24/15: My Daughters and I went to the open house today at Wake Robotics and we have successfully printed two parts in ABS using one of their printers. We printed several partial pieces in PLA (the purple parts) using a Plasti-bot which allowed us to tweak the design more quickly to get it to fit. It's very difficult to get accurate measurements inside the doorknob, so we did our best, modeled the part in AutoCad, then printed and tested. One of the members is loaning a Solidoodle printer that they got via a KickStarter and we had the good fortune to help set it up. The completed white parts in the pictures were printed today using the Solidoodle with the included ABS filament. The experts at Wake Robotics tell me that ABS is a better material for this part than the more typical (?) PLA due to ABS's superior strength. The parts above took about 16 minutes to print using the Solidoodle, and around 23 on the Plasti-bot.
I'd like to say that my nine year old has a new appreciation for the design process: watching parts go from computer screen to printer to prototype and back to the computer again without feeling like any part was a failure really opened her eyes. Each part that didn't work showed how to make the next one better.
Notes on the picture:
1- The first IM version. Not quite enough to hold everything in place.
2 - The first and over optimistic complete print. Don't rush removing your parts from the bed. It can lead to fractured prints! Fits the square shaft, but will not mate with the actuator.
3 - We print a partial piece to figure out where the interference is.
4 - Adjust, print, test.
5 - The working IM version.
6 - Adjust, print, test.
7 - This (ABS) part fits! It is incomplete, so we add the rest.
8 - With firm thumb pressure, this (ABS) one fits the test door knob! High fives ensue. 1/24/15)
This is a perfect project for students who are working with 3D printers, it is small enough to not take too long to print, it requires careful measurements and adjusting both inside and outside tolerances to fit. Best of all, it is a functional item when completed - it changes how an everyday item behaves, rather than being yet another octopus or pokemon character that gets printed and put on a shelf. (I know that younger students get excited to have a knick-knack, but we can print an extra washer that sits on a shelf, which my girls can show off and explain what it is and how it came to be.)
Please vote for this Instructable, especially in the Dremel 3D Design contest.
Step 6: The STL File.
So this is my very first 3D printed object. I can't guarantee it will fit your Schlage lock, much less any other brand. The file is not parametric, so in order to change it, you will have to modify the DWG file and rebuild the STL. Learning to do that is next on the list. I have been told that different colors of filament in the same printer can change how parts fit, so printing it on an entirely different printer is even more questionable. But if you have your own 3D printer, you probably already know all this, and are more than capable of making a few changes to the model.
Attachments


Participated in the
Protected Contest

Participated in the
3D Design Contest

Participated in the
On a Budget Contest


