

Introduction: Fixed Blade Razor/Hobby Knife


Xacto knives are great. But sometimes they are a pain, from wearing out, to just being too dangerous. So, I decided to make a simple, cheap, and fast alternative that I can customize. This project actually started out with a goal to create a razor in the context of shaving, but plans always change. So what do you need for this? You will need a medium amount of metalworking expierience and a variety of metalworking tools.
Step 1: Cut Out Blank


Using high carbon steel, cut out a rectangle that is as wide and as long as your final product. The goal is to cut as little as possible, yet still have style and nice curves to your work. My piece is 5"x3/4", but you can use what ever dimensions you would like.
Step 2: Cut Out Shape


Draw out a basic shape, like the one I have drawn in the pictures above. I decided not to have specific measurements for this just because the more you make it your own, the more you can make it look good. After that, get out your file and take out all sharp edges and smooth all cut marks. If you would like to see how I make the file handle in the picture, be sure to check it out on my instructable's list.
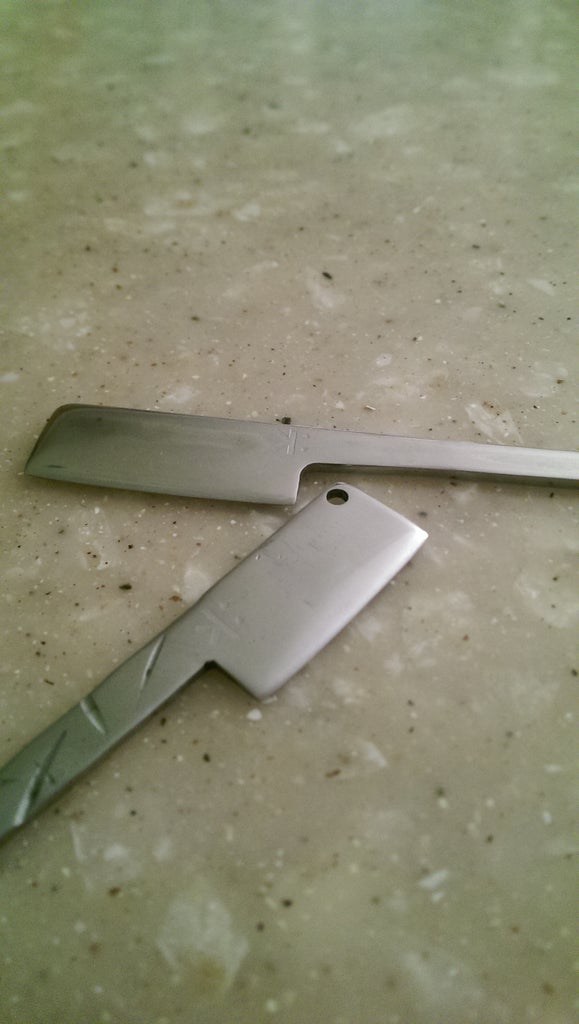
Step 3: Adding Attitude.


Like I just stated in the previous step, make this your own. I chose the put about 1" or 25 mm in the vise and bend the handle up a bit. If you think it would be more cool or stylish to bend it down, or not at all, go ahead. Just make sure not to go too far when bending cold metal.
Step 4: Refine Shape


This is the step that counts. Using your bench grinder, angle grinder, or for a more accurate shape but slower time, a file, shape the bevel of the blade. It is important to get a very gradual bevel so the blade will be easy to sharpen and keep its edge even when dull. Be sure to make your bevel even across the blade, not having dips and bumps. These will show once you polish it and won't look very professional. But if there are, then that's ok. Because chances are you are not professional, I know I am not!
Step 5: Quenching and Tempering


This is one of the easier steps. Grab your propane, mapp, oxy- mapp, or even your forge for this. Heat up the blade until it is red hot, and it isn't magnetic. Don't keep it red hot for long, as this can begin to ruin your metal. When it is still red hot, dunk it in oil. I use canola oil or olive oil, only because those are the cheapest, most pure, and least dangerous concerning fumes. You can also use water if your metal allows it. Now, be very careful. Sony drop the knife, and don't hit it or try to work it with machines. It can shatter, crack, or fracture. To solve this, place it in a toaster or an oven at 400℉ or about 200℃ for an hour or two. The longer you can leave it the better. After an hour or two, remove the knife and let it cool on its own.
Step 6: Forming Handle Texture


This is an extra step that isn't needed, but is recommended. Simply clamp it in some vise grips, and using a hammer strike a nail into the metal to put the textures in. Slightly bend the nail first to stop it from rolling away. You can also use a ball bearing on a piece of electrical tape to hold it.
Step 7: Sand Down Blade


Beggining at 100 grit, sand down until smooth and now large scratches are there. Then move to 220 grit and get rid of all scratches. Keep going down to 400. If you want a mirror finish, Hit 1000 and 2000. Be careful not to scratch it once you have finished. Soak it in some canola oil for a few minutes to protect it, and your pretty much done.
Step 8: Sharpen

Using a hone or knife sharpener, sharpen to a fine point slowly and lightly to get a perfect edge. Now, you are done! Comment if you have any questions or concerns about this or if you would like me to make something else!

Participated in the
Guerilla Design Contest

Participated in the
Tools Contest


