

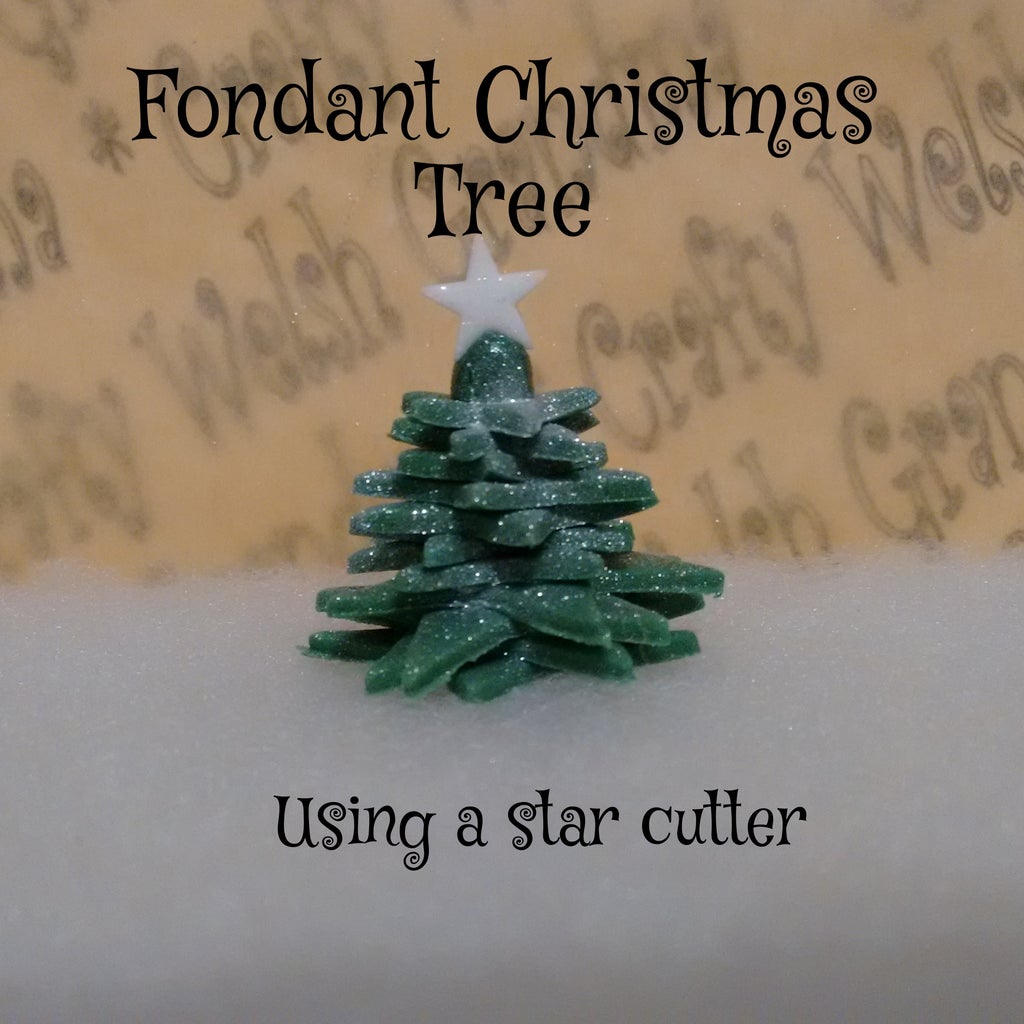
Introduction: Fondant Christmas Tree - Using Star Cutters

More by the author:


About: My name is Niki, I am a mum of three amazing grown up kids as well as a Grandma. I am a keen hobbyist and a full time carer for someone with a disability. In my spare time I indulge in my eclectic crafting …
A Christmas tree, from fondant, using a star cutter
Step 1: You Will Need

- Green fondant
- White fondant star
- Glitter spray
- A cocktail stick
- Small / Medium star cutters in three sizes
Note: Add a dab of water / edible glue to each star before adding the next one
Step 2: Cut Out Your Stars

Roll out your fondant and cut the following:
- 4No Large
- 4No Medium
- 3No Small
Step 3: Start Stacking - Small Stars

Using your cocktail stick, start stacking your stars, in reverse order - always keep cocktail stick in the centre of each piece. Keep one small star until the end.
Start with the smallest star and place cocktail stick in centre
Step 4: Next, the Medium Stars


Once you have added the two small stars, move onto the medium stars.
Keep stacking with the four medium ones, then ...
Step 5: Finally the Largest Stars

... Move onto the biggest four
Step 6: Time for the Topper

- Place your work onto the surface that you will be drying it out on, with a little parchment paper.
- Gently remove the cocktail stick using a twisting motion.
- Add a dab of water and then add your final small star to the top.
- Using a little extra green fondant, make a small, flat-bottomed cone to top off the tree
Step 7: Add Your Small Star and Sprinkle With Some Festive Magic

Or in this case, a little edible glitter
Step 8: Allow to Dry and Add to Your Cupcake

If you don't wish to add it to a cupcake, you can add them to your Christmas cake or Yule log.
There are also ones with daisy cutters and snowflake cutters
Step 9: Update: My Cupcakes


