

Introduction: Foosball Table


Football table is also the same with soccer table. But in North America, it is called foosball table. It is a miniature of table top game. The goal of the game is kicking and moving the players, which are attached to the rod to make a goal in opponent's goal. Click here for more detail information.
Supplies
Materials:
Cardboards
Scissor
Elmer Glue
Hot Glue
Cutter
Acrylic paints (blue, green, red, and black colors)
Paintbrush
Tinkercad Software
3D Printer
PLA Filament (red, gold, blue, white, black and see-through-blue)
Dremel Digilab 3D Slicer
Cordless Drill with 10 mm bit
File, to smooth the holes
Step 1: Base


For the base of foosball table, prepare the cardboard with the measurement as follows, length of 39.5 cm, width of 28 cm and height of 8 cm. Cut other cardboards with the size of:
39.5 x 8 cm (2 pieces)
28 x 8 cm (2 pieces)
Glue all of them to the side of the first base cardboard. It is to make the base of foosball table sturdy and strong.
Step 2: Grass Field

Make a template in Microsoft word by using shape of rectangle. Fill it with green color. Make it two pages of green color and print them. Cut and glue them to the base.
Step 3: Goal Post


To make the goal post, take a cardboard and cut it into the size as shown in the picture.
Make 2 pieces for each goal post. Glue them to the base of foosball table.
Step 4: Layout Field


Make a layout for the field by using white paper. See the image for the style of layout.
I use 1 cm width for the surrounding field and 0.5 cm width for the goal and penalty area. You can design the layout as you desire.
Step 5: Goal List


Make a template in Microsoft word by using shape of rectangle. Fill it with red color and print it. Cut it with the width of 0.5 cm. Glue it to make list for the goal.
Step 6: Hole for Handle


To make holes for handle, first, measure it with the interval of 6.7 cm for each hole. Next, take a cordless drill with 10 mm bit and drill the holes one by one. See the pictures.
Smooth the edge of holes by using files. Make sure the holes are greater than 10 mm because later we use the rod with diameter of 10 mm. Therefore, the rod will smoothly move.
Step 7: Paint the Base


Paint all the surface of the base with green color one by one.
Step 8: Secure the Corner

To make more beautiful and smooth, cut the cardboard with rectangle shape. The size is 7 x 8 cm. Make 4 pieces. Fold it into 2 for all of them and glue them to each corner of the base.
Paint them with black color.
Step 9: Scores


For scoring, cut the cardboard with rectangle shape. The length is 23 cm and the width is 3 cm. Give ½ cm to left and right side for gluing.
Made the template for scoring in Microsoft word by using shape and fill it with blue color. Add text to the shape with numbers 0-10. Print and cut it. Stick it to the cardboard that you prepared before.
Cut another cardboard with rectangle shape, too. The length is 6 cm and the width is 2.5 cm. Make a hole in the middle of the cardboard. Make sure the score will appear in the hole. Paint it as you like. I paint with black color. Glue it to the base as shown in the picture.
Step 10: Legs


For legs, grab cardboard. I used Amazon big box with the size of 36 x 47.5 x 26.5 cm. All for the measurement for the legs and how to glue, see the pictures. After finish making the legs, paint it with blue color.
Step 11: Ball

For the ball, make it in Tinkercad.
Drag and drop the sphere to the workplane and make the diameter of 4 cm. Choose the color as you want. Save and export it to .stl file. Print it.
Step 12: Rods and Handles


For making the rods and handle, make it in Tinkercad, too.
For the rods, drag and drop the cylinder to the workplane. Make the diameter of cylinder 1 cm. Because they are too long to be printed once, I divided into 3 parts. Make the length of cylinder 14.5 cm. Pick the color of the rods as you like. I choose black and see-through-blue. Save and export it to .stl file. Print 3 for each rod, so you will print 12 cylinders in total. I used 1 color for each team, so I used 2 colors in total, which are black and see-through-blue.
For the handles, drag and drop the cylinder to the workplane. Make the diameter of cylinder 2 cm. Drag another cylinder to workplane for make a hole. Make the diameter of cylinder hole 1.2 cm. Make 2 type for the handles. The shorter handle has length of 1.5 cm and the longer one 4.5 cm. Pick the color of the handles as you like. I choose gold color. Save and export it to .stl file. Print 4 for the shorter and longer handles each.
Step 13: Players


For the players, make it in Tinkercad. Drag and drop boxes and cylinder for the hole to the workplane. For the measurement, see the picture. Group all together. Print it 6 times for each group, so there are 12 players in total. For printing, I separate the players into 3 parts to get maximize result and glue them together.
Step 14: Assemble Base and Leg


Assemble base and leg together by using hot glue.
Step 15: Assemble Players and Rods


Glue the players to the rod. There are 3 players for 1 long rod each. Secure with the handle on both side of the rod. One side is for the short handle and the other side with the long handle.
See the picture for more clarification.
Step 16: Stickers for Accessories


These steps are optional. You can skip it if you do not want to add with stickers. Also, you can change the picture as you like.
For accessories, find them by googling.
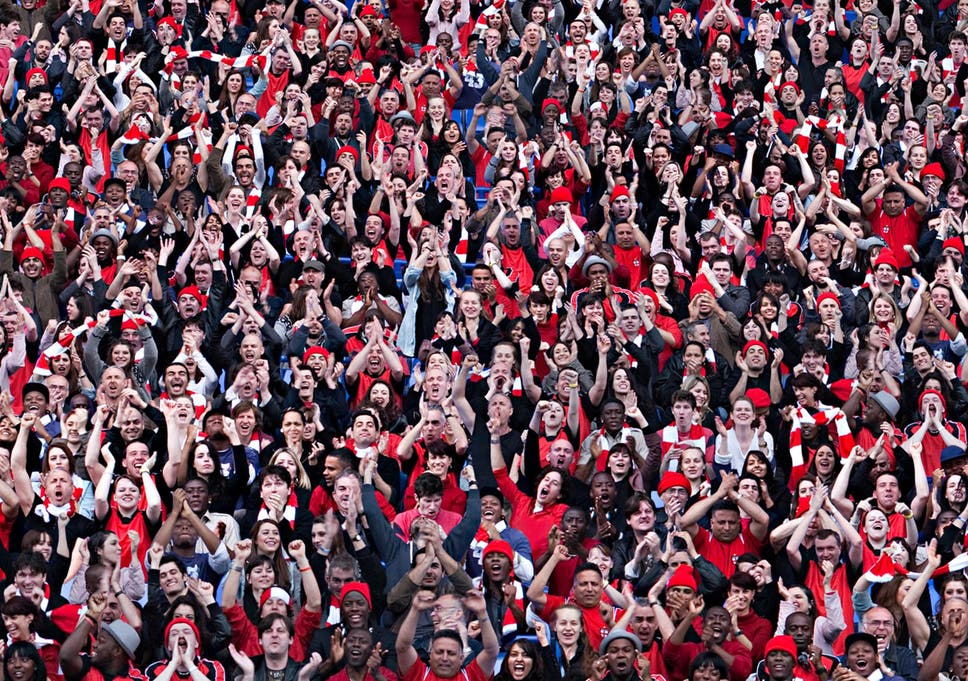
First, find the audience picture. Click here for the source. Copy and paste it in Microsoft Word. Make the size of length of 15 cm and the width of 8 cm. Print it 4 times. Glue 2 pictures for each side for the inner part of wall base. Make the holes for the handle.
Second, find NFL Logo. Click here for the source. Copy and paste it in Microsoft Word. Make the size of length of 14 cm and the width of 14 cm. Print it twice. Glue the pictures for each side of the legs. Also, make another NFL Logo, but with smaller size. The length is 2 cm and the width of 2 cm. Print it twice. Glue the pictures besides the scores.
Next, find the team logo. Click here for New England Patriot team and here for SF 49ers, for the source. Make the size of length of 11.5 cm and the width of 5.5 cm. Print it. Glue the pictures for each side of the outer part of wall base.
Find another picture for team logo words. Click here for New England Patriot team and here for SF 49ers, for the source. Make the size of length of 15 cm and the width of 8 cm. Print it twice. Glue 2 pictures for each side for the outer part of wall base. Make the holes for the handle.
Lastly, to make more beautiful, make pattern with stripes. I used white and yellow stripes. Glue it one by one beside the NFL Logo. See the pictures.
Step 17: Other Accessories Stickers


Because the legs areas are still empty, find some pictures for advertising. I used "Coca-Cola", "Mercedes-Benz", "Sony" and "Shell". Print and glue them to the legs as you desire.
Make some stripes near the team logos. I used white and red stripes and white and blue stripes. Glue it one by one beside the team logo. See the pictures.
Step 18: Finished and Play


The foosball table is finished.
I hope you like it.
Enjoy playing!
For more project idea, visit 3D Printing Center.

Participated in the
Cardboard Speed Challenge


