

Introduction: Formatting and Installing Windows 7 on a Computer Using USB/CD


This tutorial demonstrates the process of formatting and installing windows 7 on a computer. Let us be honest for once ^^ and admit that we often carelessly download files from the internet or copy files from someone using an external storage. These habits may cause to transfer virus to the system of our computer and may damage/weaken its operating system (don’t worry, I empathize with you ^^). I hope this tutorial may help you to repair your computer by formatting it and reinstalling windows 7.
Step 1: PREPARATION OF MATERIALS


Main Materials
o Laptop
o Windows 7 CD installer / USB flashdrive
Optional
* External storage for back-up files
Please note that formatting your computer means deleting all of its files. Hence, if you have important files that you do not want to be deleted please make a copy of it first using an external storage device.
Step 2: FIT THE SETTINGS

1. Insert windows 7 CD / USB Flash drive
Insert the CD containing the windows 7 installer on the CD-ROM of your computer. The CD-ROM needs a power supply to operate hence you need to open your computer first. After inserting the CD, you can proceed to the next step.
2. Restart then press F2
Second, shut down your computer then turn it on (restart your computer) and press F2 repeatedly until you see an option page on your screen. Go to the “Boot” tab and analyse the content. The “Boot” tab contains an information that you can manipulate to make your computer access its CD-ROM drive/ external hard drive first before booting up.
3. Change the settings
Lastly, change the settings of your computer and instruct it to access its CD-ROM drive first before anything else. This process is important to make the windows 7 CD installer run. (A simple note: the "Boot" tab on the picture above may differ from the "Boot" tab of your computer. Do not fret because it may look different but the function is still the same.)
Step 3: FORMATTING YOUR COMPUTER


1. Type of installation
After you run the installation of windows 7, the installer will ask the type of installation. Click “Custom (advanced)” which is the second option.
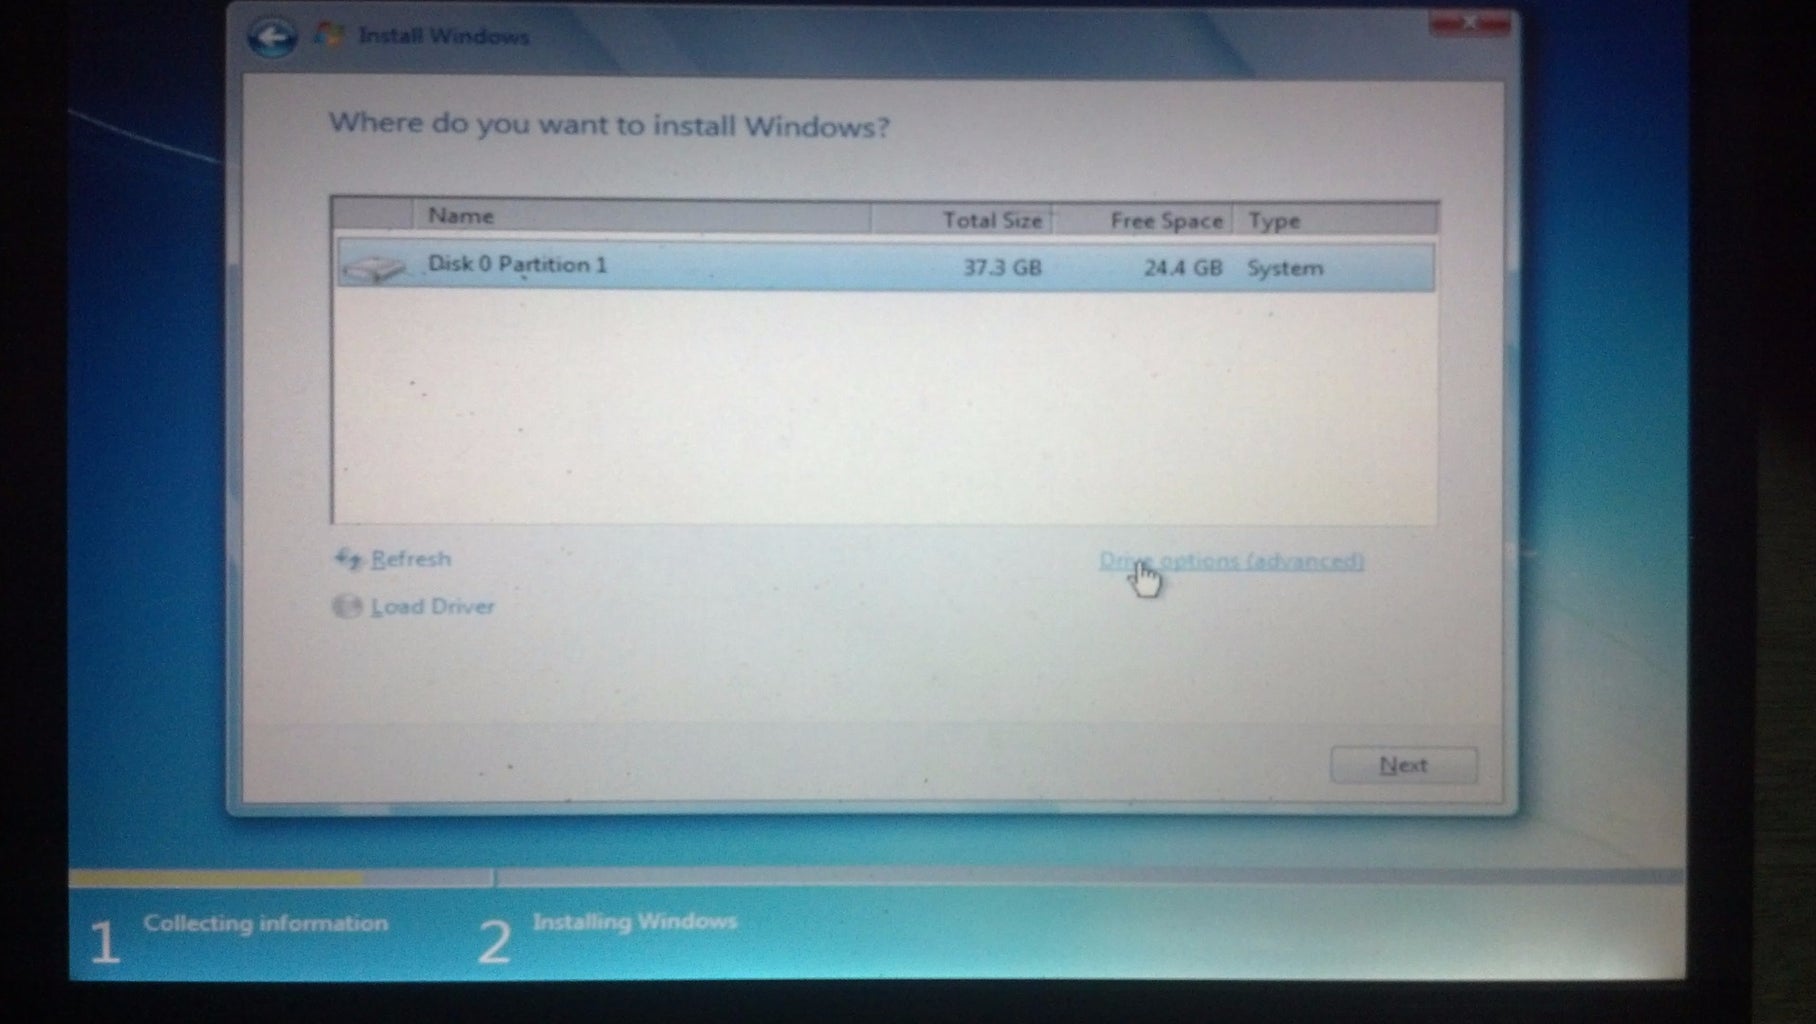
2. Driver options
Second, a page having the list of the computer hard drives will display on the screen. Pick the drive that you want to format then click “Drive options (advanced)” which is located at the right of your screen.
3. Format
Lastly, a “format” button will appear at the center of your screen. Just click the button to format the selected hard drive.
Step 4: INSTALLING WINDOWS 7

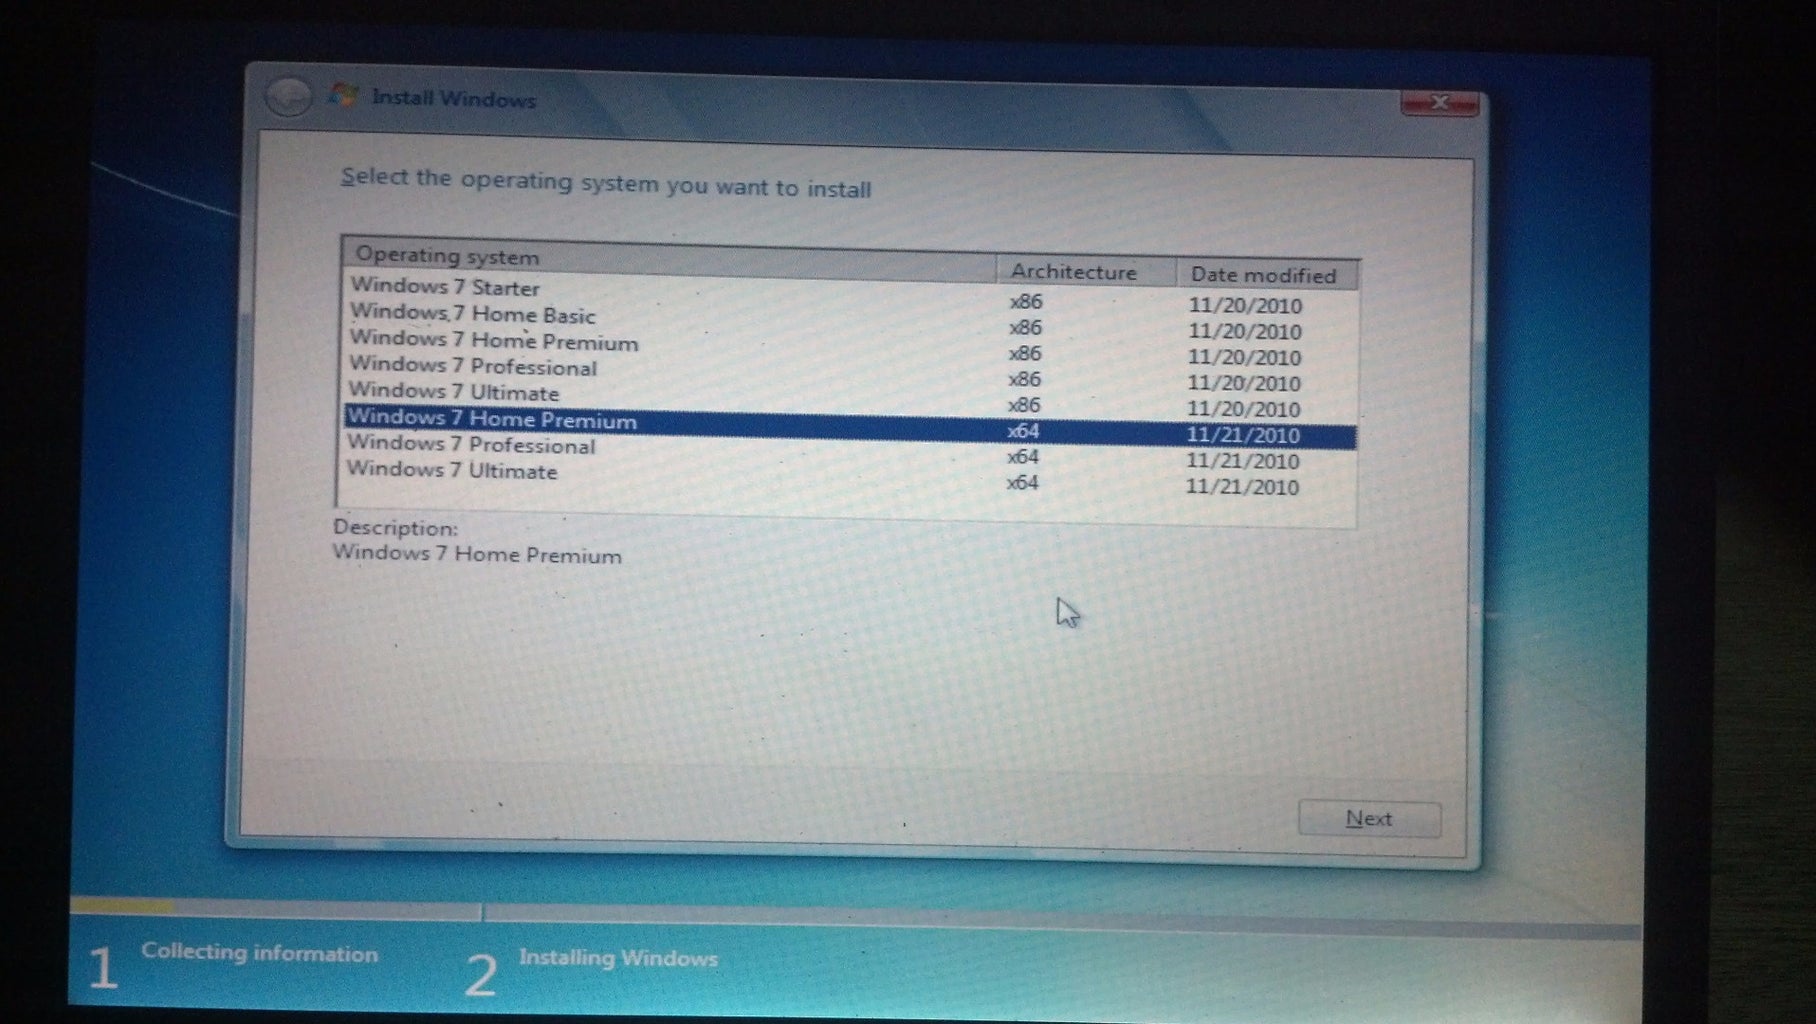
1. Select
First, select a hard drive to install and store Windows 7 operating system on your computer.
2. Wait!
Second, the installation process will proceed and will take some time. Just relax and take a break for a while.
3. Go with the flow
Lastly, the installer will ask for computer name, password, windows 7 product key, and etc. These are just trivial things I think, or not? ^_^.
Step 5: TESTING

Nice and well done! You can now use your computer again. I hope that this instructable benefits you a lot and please do know that It is a great privilege to help you. Please comment/subscribe/like/share. Thanks ^^.

Participated in the
First Time Author Contest


