

Introduction: Grove IR Distance Interrupter - Arduino


This is the second instructable of the series of instructables where I show you how to get started with grove sensors and an Adruino. In the previous instructable I showed you how to get started with a Hall Sensor which is a magnetic field sensor (don't forget to check that out). In this instructable I'm going to show you how to get started with a Grove IR Distance Interrupter.
The Grove IR Distance Interrupter is a proximity sensor just like the ultrasonic senor which I showed you a few days back, but instead of a ultrasonic sound this uses IR (infra red) to project a beam and waits for a reflected beam.
So lets get started....
Step 1: Tools and Components

All that you need to get started is
- Arduino UNO
- Grove IR Distance Interrupter
- BreadBoard LED
- Jumper wires
The Grove IR Distance Interrupter can be brought form Seeed Studio.
Step 2: Circuit

Now its time to hook up the connections, the connections goes as follows -
- VCC => Arduino +5v
- Gnd => Arduino
- Gnd Sig => Arduino D2
Then upload the code below to check the connections.
void setup()  {
  Serial.begin(9600);
  pinMode(2,INPUT);
}
void loop()  {
  while(1)  {
    delay(500);
    if(digitalRead(2)==LOW)  {
      Serial.println("Something in range");
    }
    else  {
      Serial.println("Nothing in range");
    }
  }

}
The above code will output "Something in range" when any object is in its range or will output "Nothing in range" when nothing is in its range.
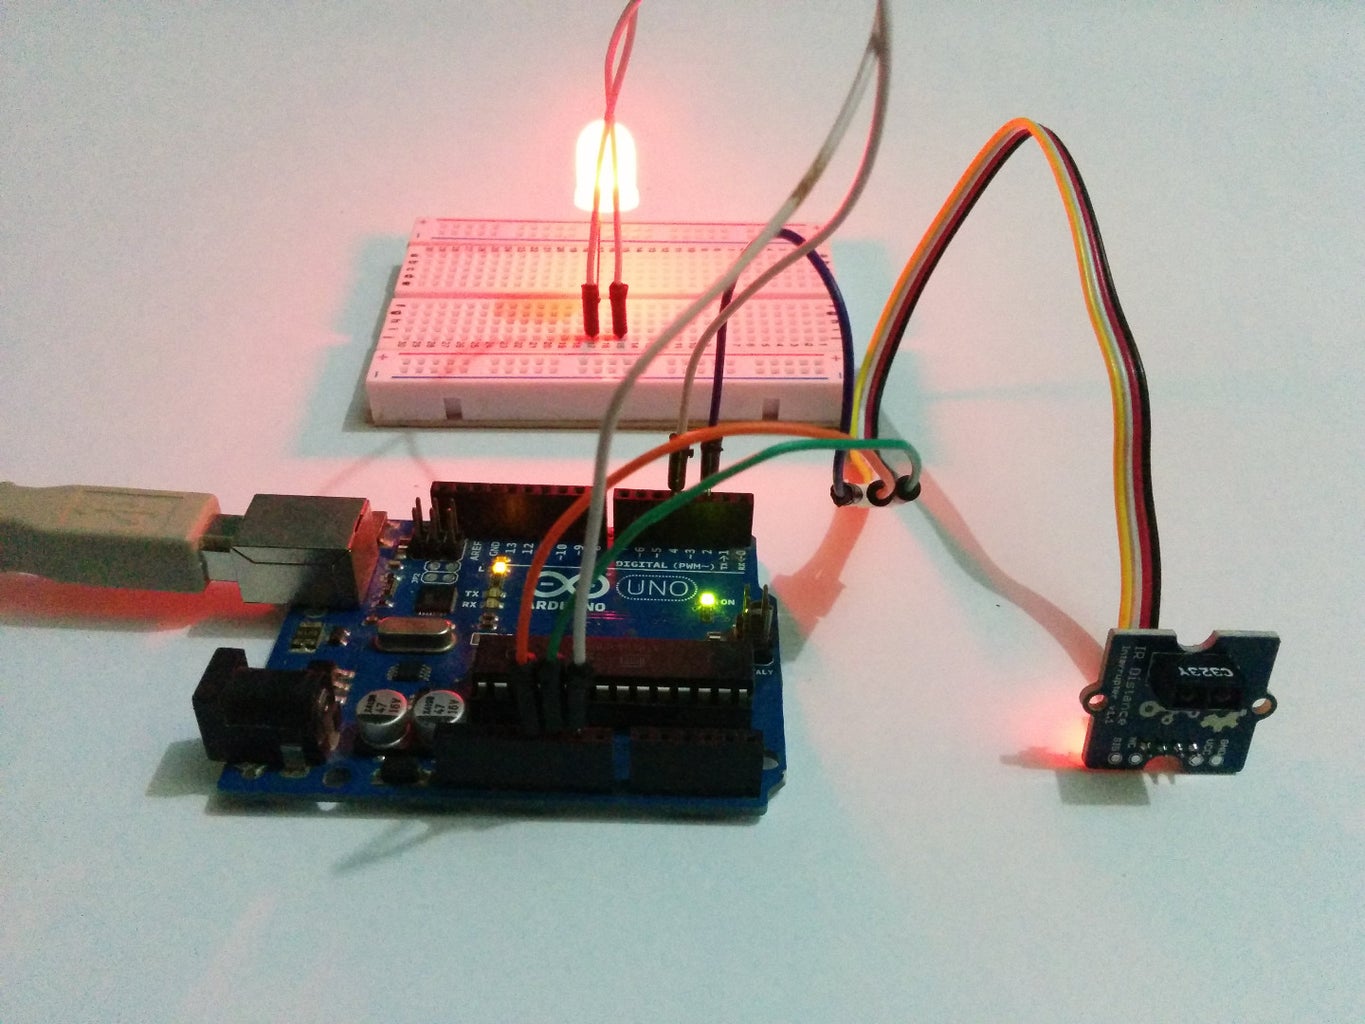
Step 3: Control and LED
In this step I'm going to show you how to control an LED, such that when you bring a object close to the Sensor the LED will glow.
Connect the anode of the led to digital pin 4 and the cathode to Gnd. After connecting the LED upload the code -
void setup()  {
  Serial.begin(9600);
  pinMode(2,INPUT);
  pinMode(2,OUTPUT);
}

void loop()  {
  while(1)  {
    delay(500);
    if(digitalRead(2)==LOW)  {
      Serial.println("Magnet in range");
      digitalWrite(4,HIGH);

    }
    else  {
      Serial.println("Magnet out of range");
      digitalWrite(4,LOW);
    }
  }

}


