

Introduction: Harbor Freight Knife Mod


I bought the five dollar pocket knife from Harbor Freight over a year ago and I use it daily and absolutely love it. Not a single bad word do I have to say about this marvelous tool. So when I was misusing it and broke the tip off of it, I sure as heck wasn't going to toss it out. It's a member of the family at this point. I figured I would share the journey and let anyone who sees this know that it's a really easy knife to remove the handle and replace it with your own.
Step 1: Remove the Handle


This step really is just as easy as it sounds. The only tricky part is the size of the "star" screws. I'm no expert, but I think these type of screws are called "torx" screws. I actually just looked it up to make sure I spelled it right and it's a reasonably interesting read on wikipedia about the origin of the torx screw. Anyways, most standard sets of driver bits come with standard torx bits, 15,20,25 and so on. This particular set of screws in this knife are T6 screws. I didn't have any of those, so I borrowed a set of bits from my work and returned them when I was done.
Blah, blah, blah...
Sorry about all that rambling. Basically, just remove all the screws and the blade falls right out.
Step 2: Prepare the Wood


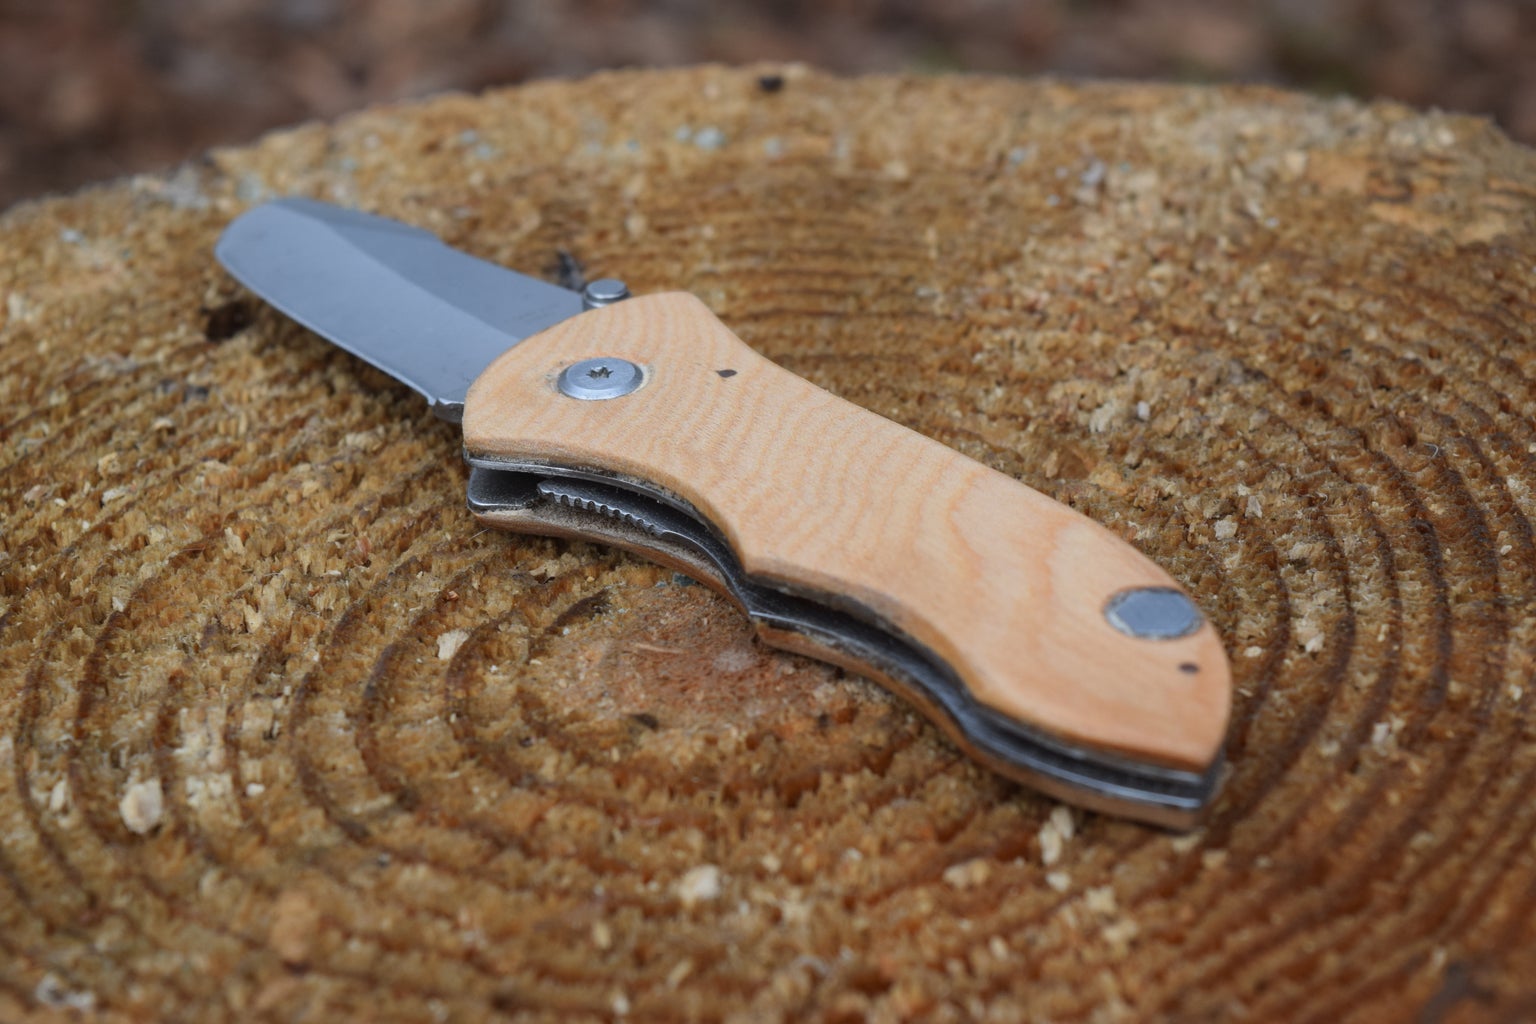
I decided to use maple for my handle, and I have loads of maple that I salvaged from a mill before it was demolished a couple of years ago. It's maple flooring, so I ran it through the table saw to get it the width of the knife handle. Then I turned it on its side and ran it through to remove the flooring side of the wood. Finally I ran it through the table saw one last time to get my final thickness, which was super thin.
Once you have your piece of wood ready, trace out the piece of metal from the knife handle and drill the holes in the same places they were on the metal.
Step 3: Shape the Handle


I used a two part epoxy to attach the wood and metal. I simply spread it out, layed the metal on the wood and clamped it for a few minutes. Worked like a champ.
I used a jig saw to cut pretty close to the metal, then I sanded it down flush using a belt sander. The wood was so thin that it really was easier than it sounds.
Step 4: Finishing It Up


To reattach everything, I had to improvise. The top screw that holds the blade between the two handles went it just fine. No problem at all. The bottom wasn't so easy. So I put a really small bolt through and put a nut on the other side to the right place, then sealed the entire area with super glue.
After it set for quite a while, I used a cut off wheel on my little rotary tool to cut off the remaining bit of bolt sticking out, then I went back to the belt sander to sand it flush. Followed that up with a bit of hand sanding to make it nice and smooth.
Then I finished it with a few coats of shellac. As far as the broken tip, I simply ground it down to a rounded shape as best as I could. Then I sharpened the round part to a razor sharp blade.
That's all there is to it, now I have the greatest knife the world has ever known!

Participated in the
Knives and Blades Challenge


