

Introduction: Heartbeat Valentine


Step 1: Finding the Blink Example

Once you got the hang of programming the Attiny85 you just need to upload the blink sketch from the examples.
Here is the one I edited.
// the setup function runs once when you press reset or power the board
void setup() {
// initialize digital pin 2 as an output.
pinMode(2, OUTPUT);
}
// the loop function runs over and over again forever
void loop() {
digitalWrite(2, HIGH);
delay(100);
digitalWrite(2, LOW);
delay(100);
delay(250);
digitalWrite(2, HIGH);
delay(100);
digitalWrite(2, LOW);
delay(100); }
Attachments

Step 2: Making the Connections

I probably should of used a resistor but I just chose to keep it simple and don't care if this doesn't last.
Like I said earlier it was last minute.
After soldering the wires I just broke off the pins I didn't need.
Step 3: ATTiny85 Connection


Here is a drawing I made to show how to make the connections. Pay close attention to the half circle at the top of the attiny85 image. The drawing I made is upside down.
Step 4: Connecting


I soldered the connections together and used some heat shrink.
Step 5: Making the Base


I used the 3D printed heart to trace the shape I needed on some thick construction paper and used some scissors to cut out.
Step 6: Tape Down


Used some double sided tape to secure to bottom of base.
Step 7: Time for Hot Glue

I started to use hot glue for securing the wire to the base.
Then I bent the LED into place.
Step 8: Build the Enclosure


I had some foam board and use this to make my enclosure.
I cut 4 squares roughly 3x3 and then traced my heart to cut the shape into three of the four layers.
Then I hot glued each peace together.
I placed the base with the circuit at the bottom and trimmed the edges of the foam board.
After hot gluing all the pieces together the heart just fit into the top snugly.
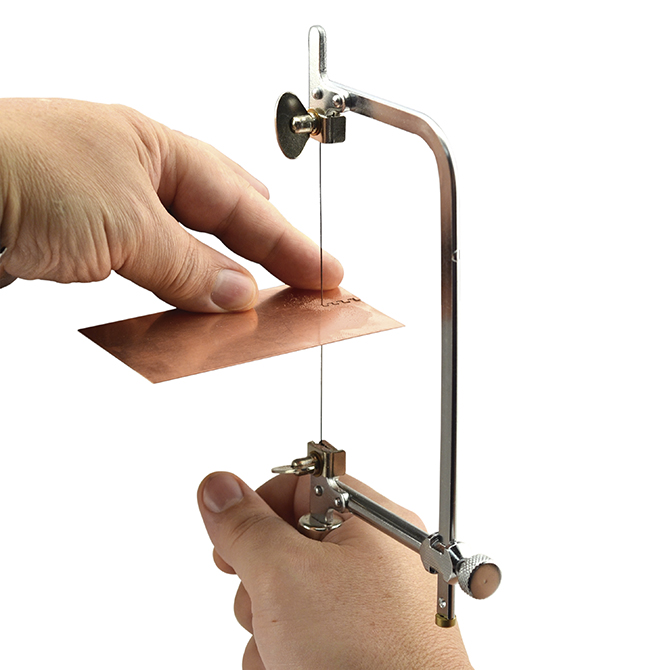
The hard part for me was trying to cut the enclosure in the shape of a heart with an x-acto.
I took a jewelers saw with a 3/0 blade that did the job just right.
Could use some tips please for alternative method for cutting thick pieces of foam board in the future. Using an x-acto is just out of my patient zone.
That's it, Enjoy


