

Introduction: Holiday Decorations:Christmas, Halloween, Thanksgiving


This is an instructable of several decorations to make out of generally free, readily available materials. Cardboard, EPS foam, or styrofoam, paper, glue, usual stuff. The Christmas tree actually cost less than five dollars to make, should last for a very long time, and was lots of fun to make. I use a hotwire machine a lot to cut letters, numbers and signs. Foam is easy to obtain, generally free. Many hours of work, but not much cost.
Step 1: Making a Christmas Wreath

1. Cut a base of cardboard, about 22 inches in diameter.
2. Paint base a shade of green.
3. Cut many leaves from construction paper, various shades of green, various shapes. Use picture as a guide.
4. I painted the Santa on a piece of EPS foam, then trimmed with a hotwire.
5. The letters are made on a word processing program, cut out with scissors, then glued to EPS foam.
6. Cut out letters with hotwire, paint with the color of your choice, and glue to wreath.
7. Add lights of your choice. These are mini lights, 35 to a string. Drill 5/16 holes to accept lights
Step 2: Make a Low-Cost, Last Forever Christmas Tree.

This tree is almost 6 feet high, is cut from 6 separate pieces of cardboard, glue together at the upper margins of each piece, then painted as shown, drilled for mini lights (use a 5/16 inch drill), attached to a support board which is embedded in concrete in a coffee can.
Step 3: Make Ornaments for Tree

For this tree I made several "globes" cut out from cardboard, using a cat food can as a template.
Candy canes can be made by drawing shape on cardboard, painting with acrylic paint, and adding a coat or two of acrylic varnish.
Step 4: Turn the Lights On!

The finished, lit christmas tree.
Step 5: Add a Star to the Top of the Tree.


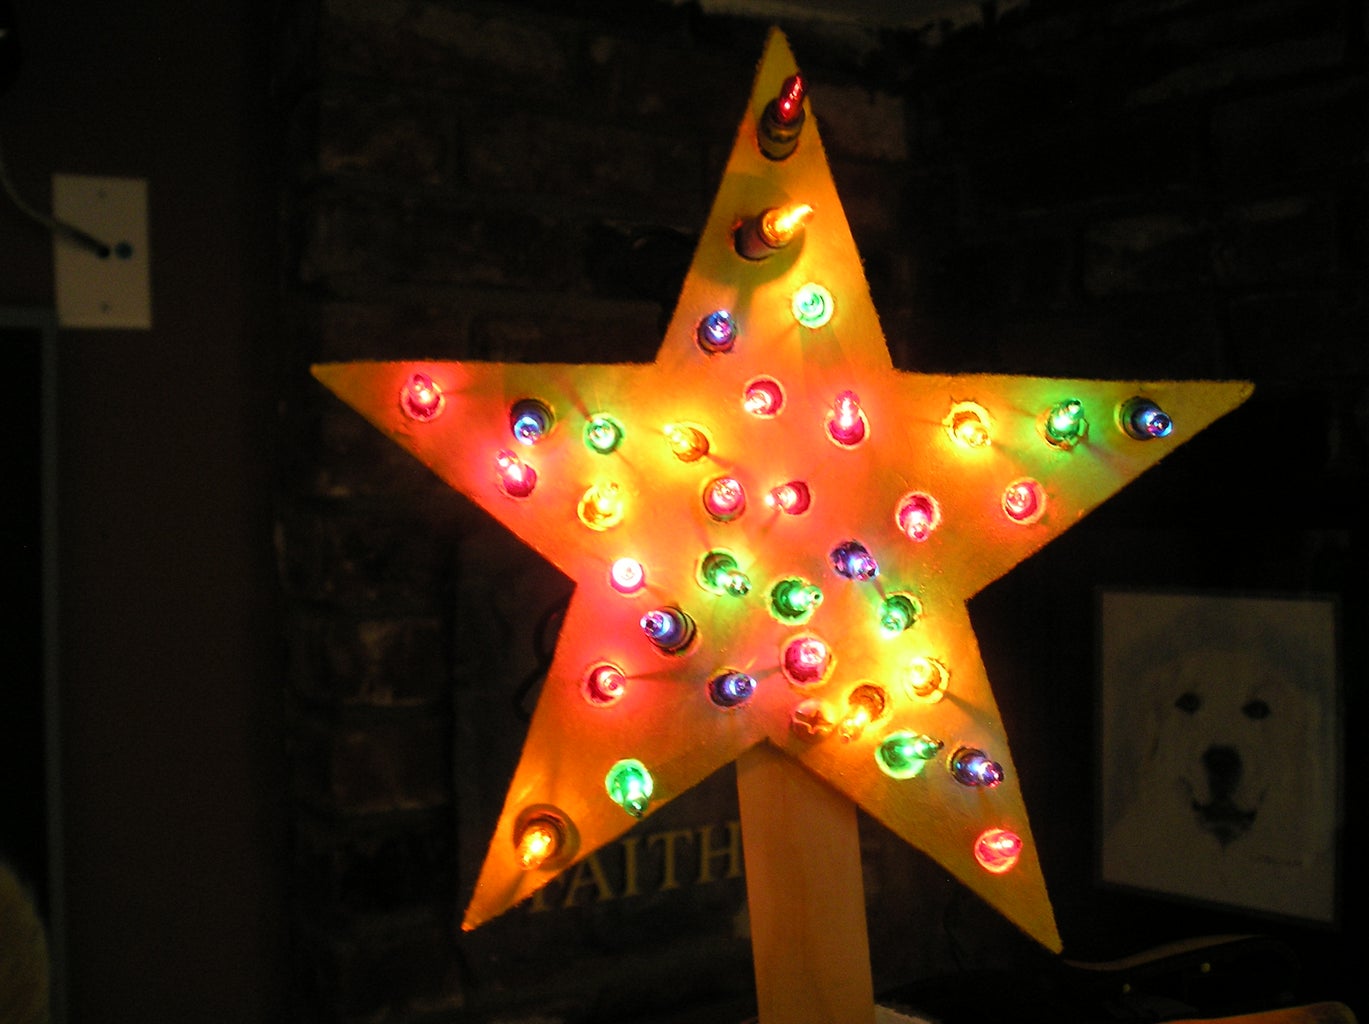
For the finishing touch, cut a star out of cardboard as shown. This star is about 7 inches across. See image notes for easy to follow instructions.
Step 6: Halloween Decorations to Make.
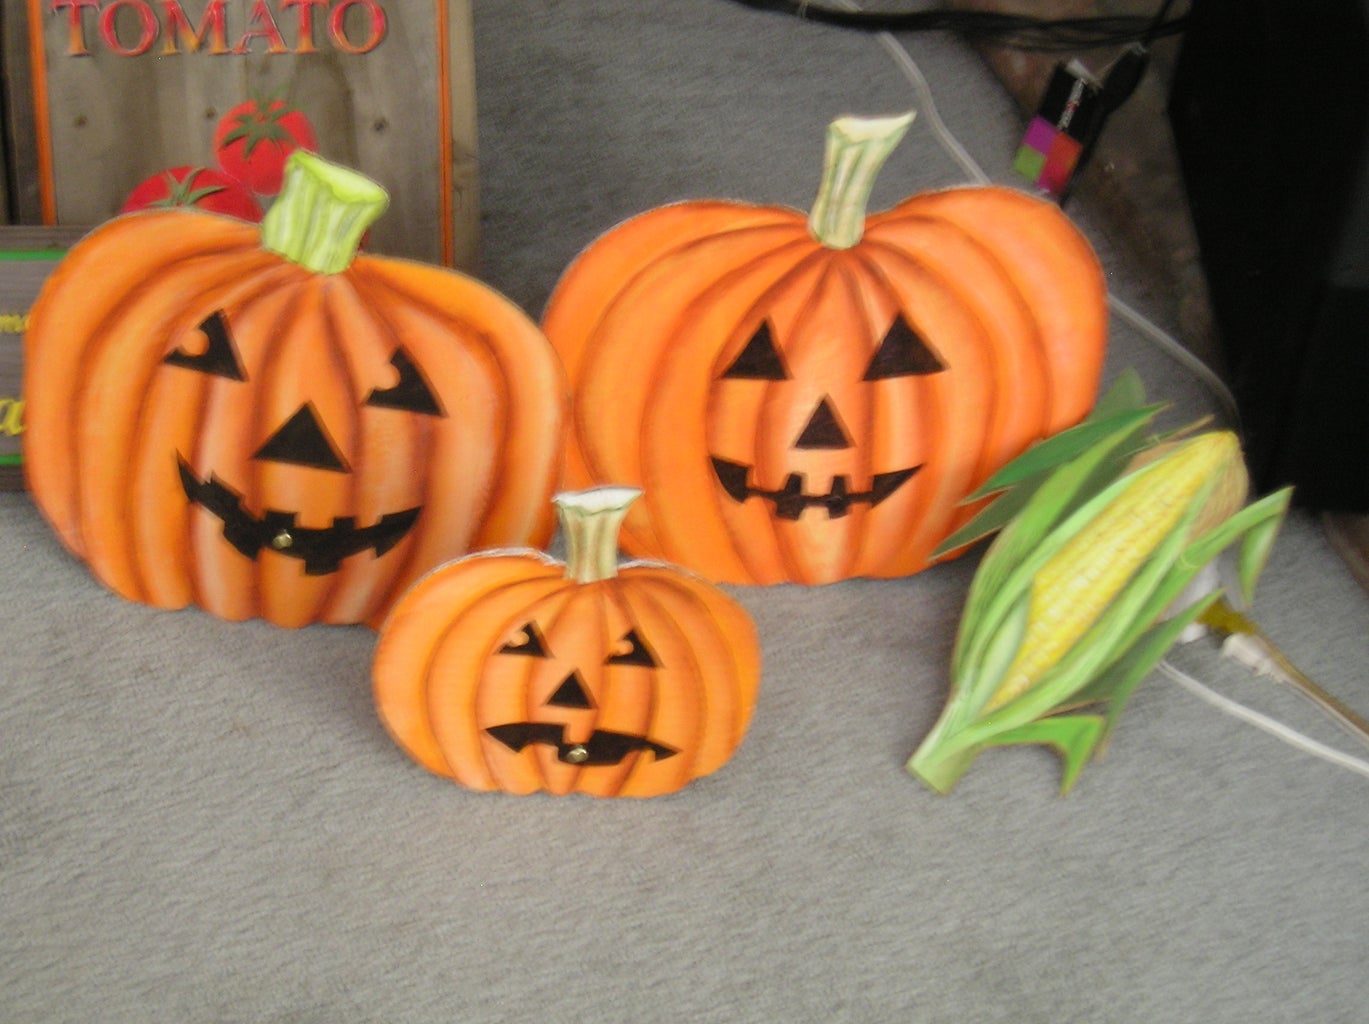

All pumpkins (and the corn) are cut from cardboard. I made three sizes: small medium, and large, the largest being about 18 inches across.
1. To make the pumpkins, simply draw pumpkin on suitable cardboard, and cut out with a bandsaw. Scissors can be used, just take longer.
2. Paint pumpkins as shown. I used acrylic paints, water cleanup, fast drying.
Step 7: Make a Tombstone Out of EPS Foam.

The first tombstone is made out of EPS foam, see image note for dimensions. A hotwire machine is used to cut this item, although you can use a serrated knife, but it makes a big mess!
Step 8: Making Tomstones With Cardboard


Tombstones of cardboard...what a concept. Not as difficult as the foam tombstones, and therefore not as time consuming, and can be cut out with a bandsaw or scissors. Since they are cardboard, naturally, they cannot be left out in the rain, as the foam items can.
Step 9: A Fun Clock/Tombstone!

Make this clock the same way you made the cardboard tombstones. An actual clock movement can be added, if desired. This one does not have that. Letters and numbers can be cut from foam or cardboard.
Step 10: Skeletons Made From Cardboard.


Skeletons are fun to make and are quite impressive when displayed, as they are life-sized. Since halloween has already come and gone, these can be made at any time for next year. I have patterns for this guy, and if you will private email me, we can arrange for you to get one. I used a bandsaw to cut them out, as it would be extremely difficult with scissors. Parts are joined with paper fasteners, available at any office supply store. Then the skeletons are either posed sitting as shown, or hung from a support made from a 1x2x6 board, anchored in a coffee can with poured concrete as a base.
Step 11: A Witch for the Wall.

This witch is cut from various pieces of construction paper. Simply draw your witch pieces on the paper and cut out with scissors. Glue as shown, and mount by gluing a paper hanger on the back, simple strong paper, with a hole punched in it and glued to the witches back.
Step 12: A Thanksgiving Wall Hanging

This wall hanging is cut from cardboard (the base), about 12 to 14 inches across. Letters are cut from foam,using the hotwire, and glued to the perimiter of the base. You can decorate by using fall arrangements of flowers, as shown. I made these of paper, but you can get silk flowers at the craft shop.
Choose your message(s), add a butterfly if desired, and glue it all up. Hang on wall or door.
Participated in the
Craftsman Workshop of the Future Contest
Participated in the
Homemade Holidays: Holiday Decorations
Participated in the
Halloween Contest


