

Introduction: How to Build a Cardboard Robot Hand


A simple activity to introduce design, building steps and tensors and movement. From a piece of cradboard we draw a big hand (free to draw, creativity). Build a part to introduce our hand and control the cardboard hand from our fingers with tensors.
Supplies
- Recicled cardboard.
- Cutter or scissors.
- Hotgun glue.
- Pencil.
- Straws.
- Fine rope.
Step 1: Pedagogical and Maker Objectives
Pedagogical:
- We can work on individual hands or make workteam with a several number of cardboard hands.
- Get or refine some cutting habilities and skills.
- Understand the logics of tensors and movements.
Maker:
- Design and cut a hand on cardboard.
- Complexity of tensors and movement (depend of the ages we can make more complex).
- Decorate.
- Creativity.
Step 2: Step by Step

1- Select a big piece of cardboard.
2- Design and draw a hand (free to draw, creativity, can be a robot hand, or other tool).
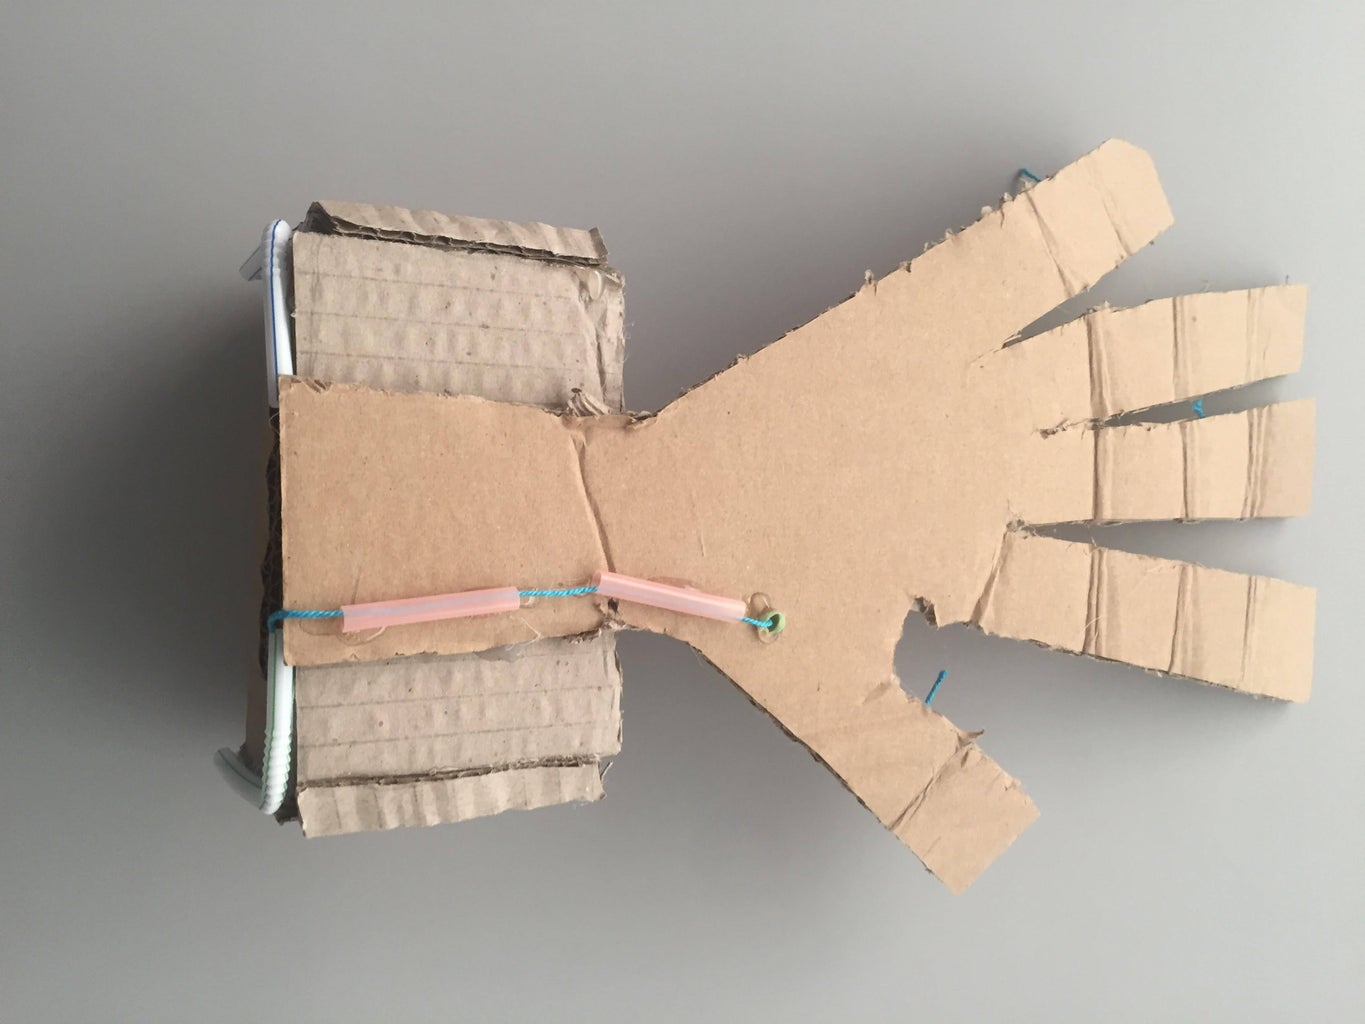
3- Cut the hand on the cardboard.
4- Make the folds of your fingers with a ruler.
5- Cut straws parts of 2cm 20 pieces.
6- 15 of pieces of straws can be pasted on the finger joints of the cardboard.
7- 5 of pieces of straws can be pasted to the wrist of the cardboard, side by side.
8- Cut 5 parts of the rope, as long as it can go from the tip of the cardboard finger to where you will place your hand.
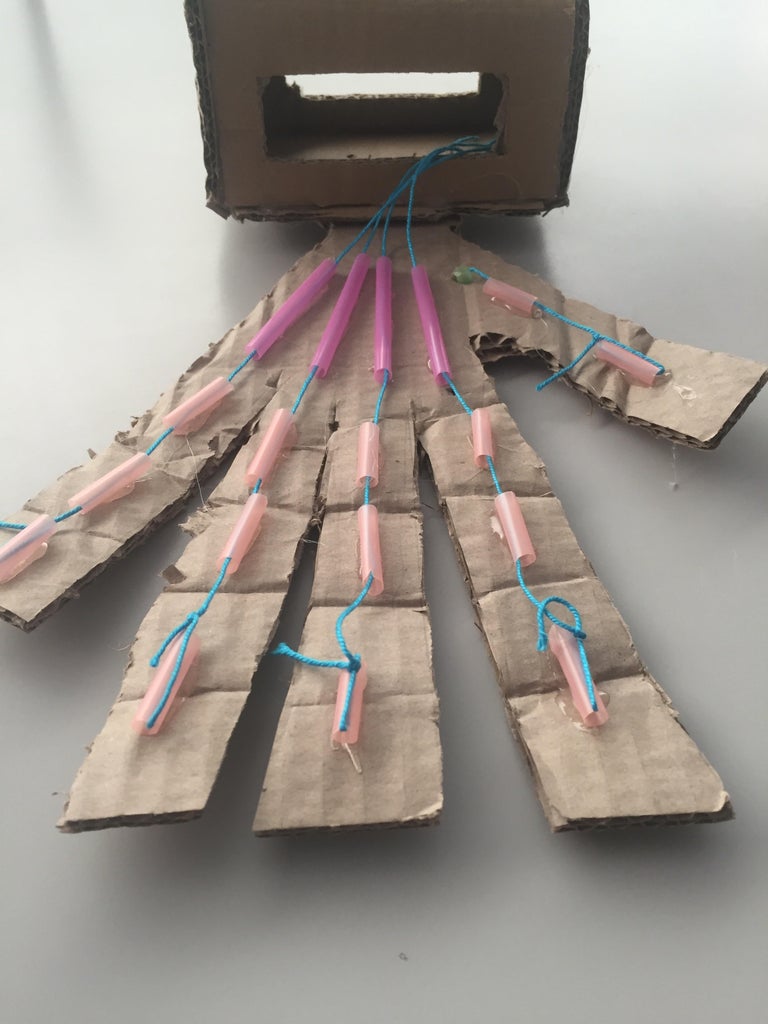
9- Build the piece in which you will place your hand. A cardboard bridge that we will use to pass the hand. We will glue it to the cardboard hand. The fingers must be free to tie the rope.
10- Connect the fingers with the rope passing the rope inside the straws. Make a simple bond to get your finger inside.
Step 3: Credits


