

Introduction: How to Install a Custom USB Charger in Your Motorcycle


This is "How to Install a USB Charging and 5 volts DC power circuit in your Motorcycle."
I wanted more power in my charger, and I wanted the flexibility to do more with it like hook up a Raspberry Pi... so, here is this instructable on how to get it started and installed.
Some highlights of my install:
- Custom cabling was made with CAT5 (white) and used the TIA-568B standard
- Allows charging at the triple clamp and in the trunk
[NOTE: 12/5/15 I've finally continued to document my work and share it on Instructables. My charging circuit is not home grown anymore. I currently run 3 of these http://www.batterytender.com/Chargers/USB-Charger-... on a BMW S1000RR. These chargers are plenty for a Raspberry Pi, a screen, an iPhone, etc... my work is focused on getting new technology to work on mobile, not creating something that I can find off the shelf for a reasonable price. I decided to save time and install these instead. I wired them up to the battery, put two in the trunk and one by the triple tree. I had to install an extension by soldering it and using heat shrink to protect the solder points.]
Step 1: Why Would You Want a USB Charger on Your Motorcycle?


1. To charge you Android or iOS Smartphone!
2. To charge your GoPro, but I would personally rather use a Raspberry Pi ;-)
3. To power your Raspberry Pi!
4. To power your Radar or GPS
In my setup we do not use an inverter or those small USB chargers that plug into a cigarette lighter socket. Instead, we use a DC-DC converter (DC to DC converter) that provides 5VDC + at up to 3A.
This allows us to more than enough power and allows us to efficiently, and reliably have a 5VDC charging circuit on our motorcycles.
In my experience the little adapters you buy at retail tend to fail after a while. This setup has proved more reliable and efficient.
Step 2: Tools Needed to Install USB Charging and 5vdc Power in Your Motorcycle Using the TIA-568B Standard With CAT5 Cabling and Connectors


If you want to do a nice job and want a quality finished product, then you must have the right tools. Learning about stripping and crimping CAT5/CAT6 is something that takes some practice. With the right tools, everything becomes much simpler.
Tools Required:
- CAT5 Crimper
- CAT5 Stripper (Orange)
- Shears (Scissor)
- Wire Strippers
- Small Screwdriver set
- Needle Nose Pliers, curved are advantageous but not necessary.
- Voltmeter
- Soldering iron
Step 3: Parts List for Mobile Charger...

(1) DC-DC Converter 12vdc - 5vdc (Meanwell SKE15A-05 accepts 9-18 volts in and outputs DC 5V 3A)
(1) Perf board
(2) CAT5 Female RJ45 Jacks
(1) Approx. 15ft CAT5 cable, white or whatever is your preference or within your budget...
(1) about 5 inches of solder
(2) Female USB Jacks (from Jameco)
(1) Mini Fuse Holder (from Jameco) make sure to get fuses at 3A or higher
NOTE: I tried the Meanwell SCW12A-05 (from Jameco as well) but it did not give me a solid 5 volts out so I upgraded my setup to the more reliable SKE15A-05.
Step 4: Prepare Your Circuit/idea/materials... for the Build of an Awesome Mobile Charger


It's best to be organized said the grasshopper...
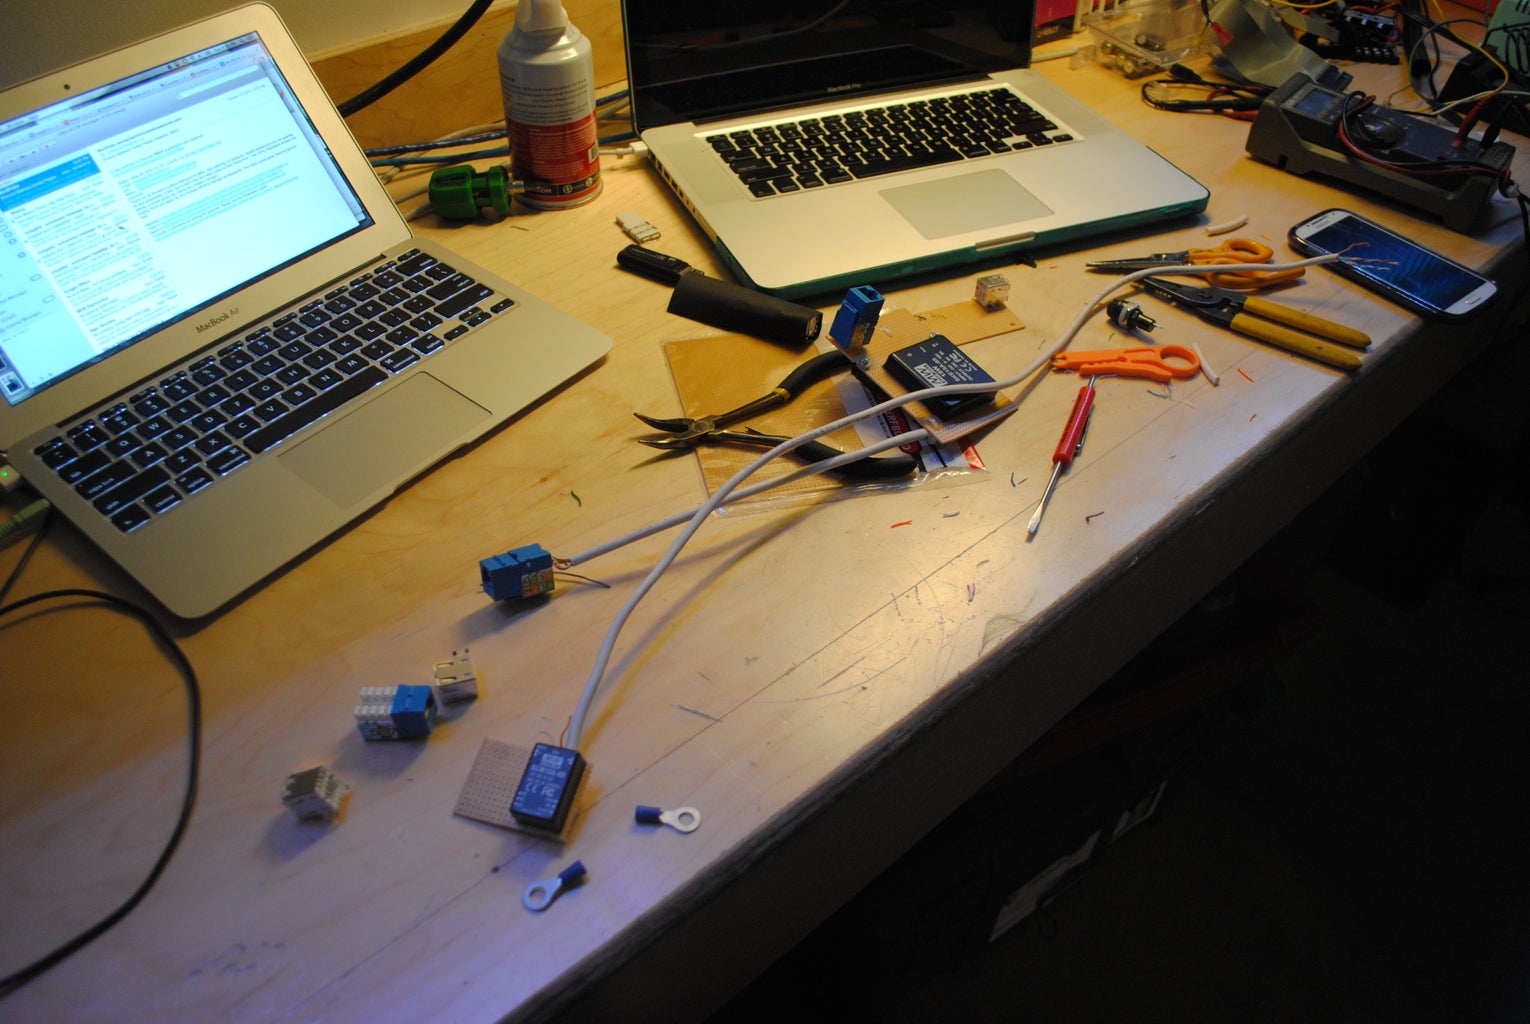
Start with laying your materials out in an organized fashion, this is important to get a nice circuit with minimal frustration.
I layed out everything on a table first:
- DC-DC Converter
- Perf Board
- USB Connectors
- CAT5 RJ45 Female Jacks
This allows me to get a visual of what my circuit will look like in the end. It also allows me to temporarily test the circuit (with tape if need be) or with jumper wires.
As I am going along prototyping I constantly take measurements to ensure I have a good fit, especially since we are doing this on a motorcycle with limited space.
I do this many times before I am done, even though it takes longer but it will be worth it said the grasshopper.
Step 5: Start Soldering, Stripping & Crimping... Solder Your 5v DC Circuit So You Can Have Some Fun on Your Motorcycle ;-)


Never mind the terrible picture of the TechShop soldering iron, this Weller is an awesome adjustable soldering iron and I turn it up to 700 degrees when I get ready to solder, it gives me a nice fast steady flow of solder.
Proper crimping is essential, and this requires proper stripping of the cable as well. I use two pair of CAT5 wires for each conductor (positive and negative.)
For the connectors I use standard automotive type crimp connectors to go to the battery. For the back of my circuit I solder everything by putting my DC-DC converter on a perf board and then attaching wires to the back.
For the USB connector I bought dual connectors from Jameco and only soldered the negative and positive leads (pins 1 and 4.) If you are charging an iPad or iPhone you may need to add some voltage at pins 2 & 3 (more on that later, iPhones require a voltage on the data pins to charge.)
Step 6: Install the Charger in the Trunk and Connect to Battery

Here you can note that I used the proper automotive type ring connectors that are crimped on. It's best to get the proper connections so that your circuit works right the first time and more importantly so that everything is safe.
In my circuit I wired the connectors straight thru with the TIA-568B standard for CAT5 cabling. This worked out nicely and I can easily cross connect power in my circuit with a normal store bought CAT5 cable (but I make my own so I can make custom lengths that are just right for the motorcycle.)
Step 7: Completed Custom Charger for Motorcycle or Mobile


When you are done you will have a custom charging circuit with 4 USB outlets, 2 in the front under the handlebars, and 2 in the trunk. You can decide how many USB ports you want for your setup, I just like having flexibility for expansion.
From here you can integrate the USB ports into any custom molding or enclosure. I simply heat shrank the USB connectors after I soldered the power leads from the CAT5 cable. The heat shrink for this had to be at least 5mm in diameter.
For the trunk I ended up cutting out a box on the laser cutter that would hold the DC to DC converter, and a fuse. I cut this out of clear acrylic and added the Suzuki GSX-R logo. It sits under the seat so you don't really get to see it, but that's just the way I like it.
Enjoy.
P.S. I will promise to improve this instructable with more detail, comments are encouraged as I hope some people are able to make these on your own. Good luck and remember, if you got tape on it it ain't done yet, or uhh maybe it's a prototype...
Step 8: Advanced Topics

Here are some ways to use CAT5
- for servos
- for Micro USB cable
- for Lightning Cable
- for LEDs

Participated in the
Manly Crafts Contest


