

Introduction: Cardboard Assault Rifle!


I hade some extra cardboard laying around, and thought this would make a cool project. It is an assault rifle with a removable clip, and interchangeable stock and barrel. Please try it out and comment on what you think and any questions that you have.
Step 1: Tools and Materials

Tools:
- Utility or craft knife
- Glue (I used and recommend hot glue if you have it)
- Pencil
Materials:
- Cardboard
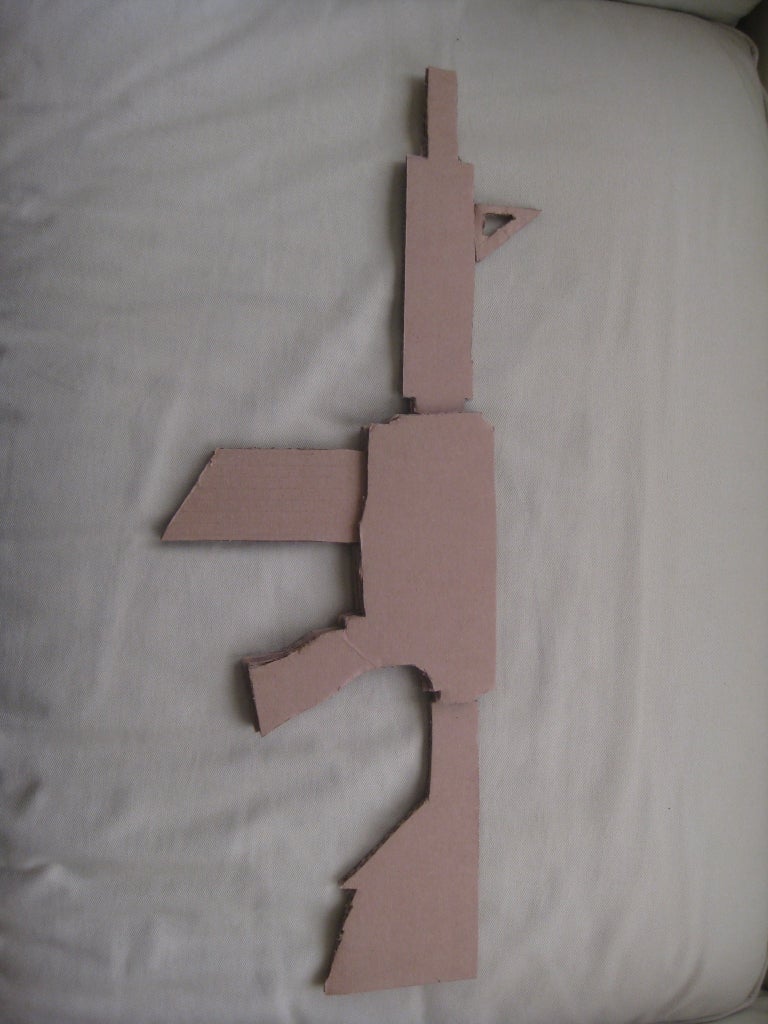
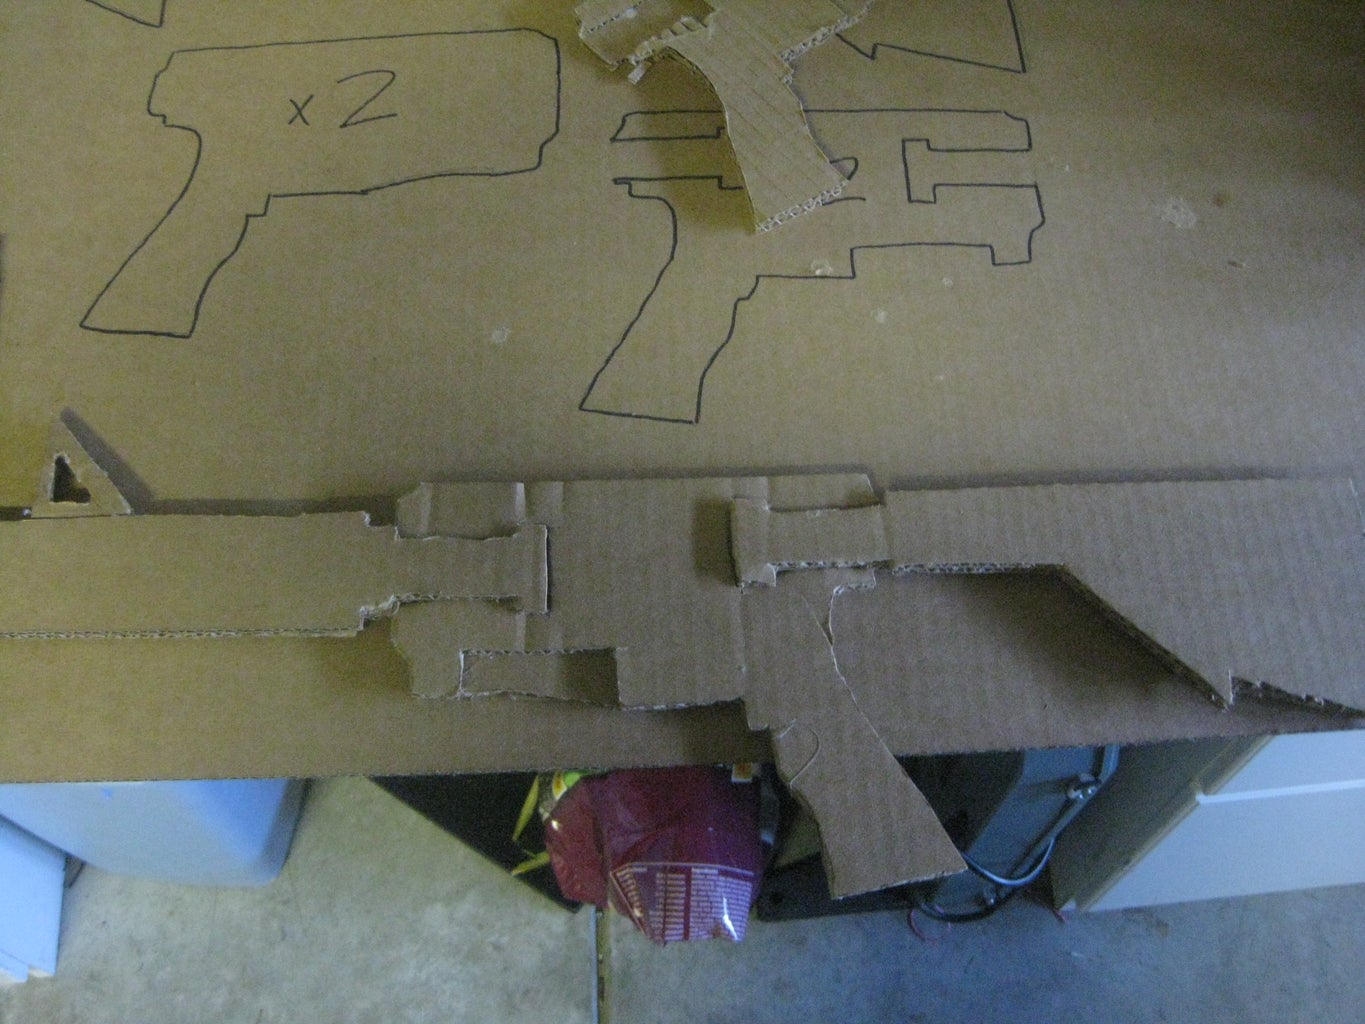
Step 2: Outlines!

Trace or draw an outline of what you what the different parts of your gun to look like. You will need to draw; a barrel, a stock, a clip, and the main section. On the main section, you will need to trace two that are the same. This can take some time, but it is worth it. On one of the main sections, you will need to trace in about 2 1/2 inches, and about 2 inches in, trace 1/4 in out.
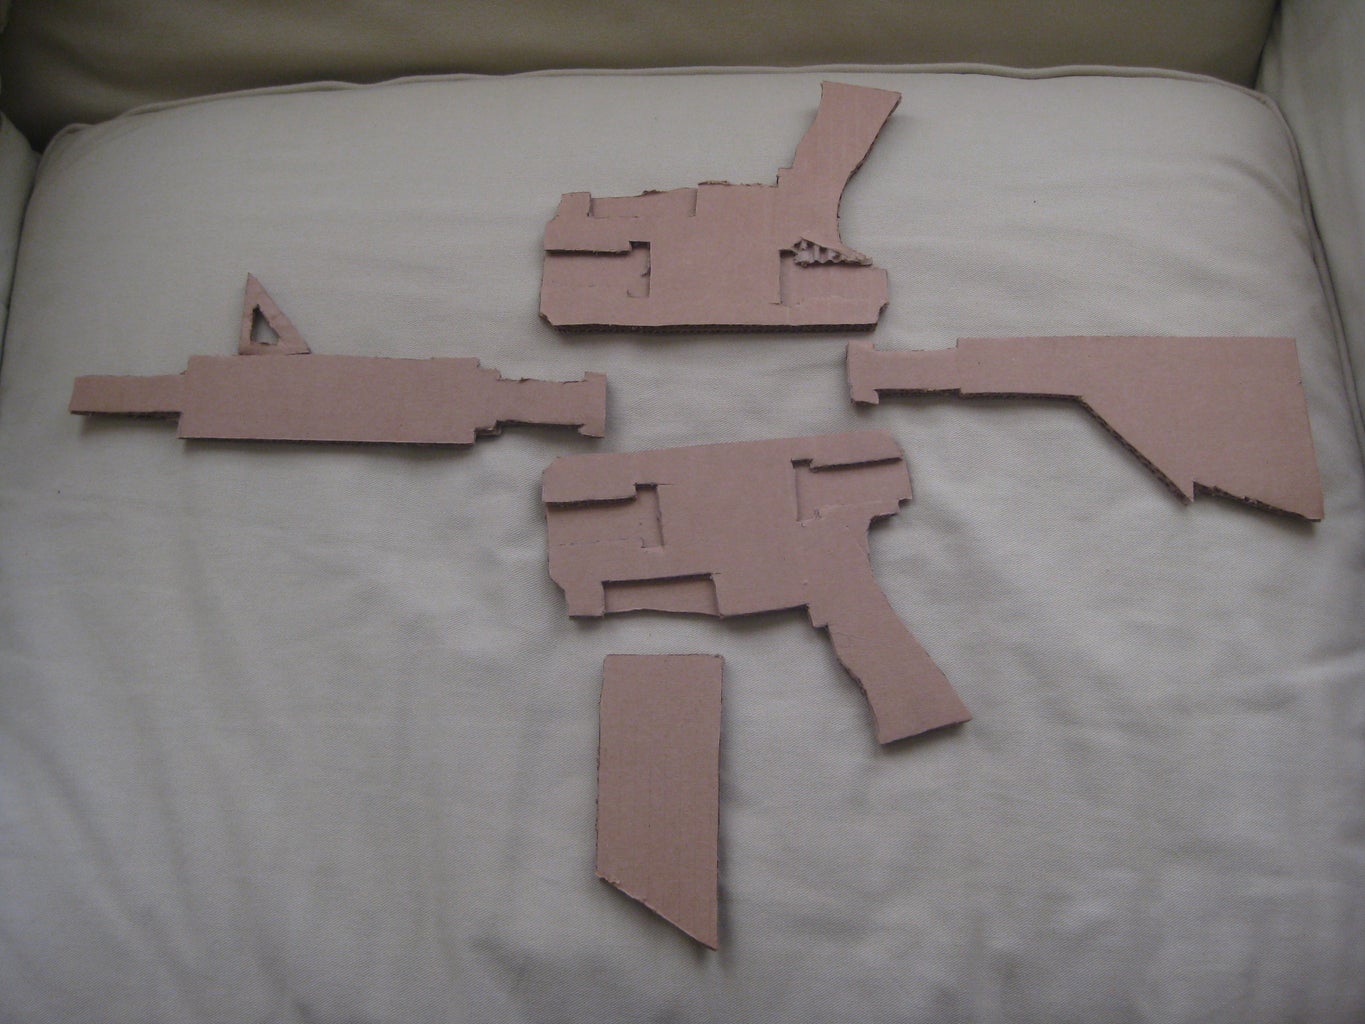
Step 3: Cut It Out!

For this step, you will need to cut them out, then trace each of them again, so that you have 2 of each piece.
Step 4: Glueing!


Glue the 2 pieces of each together, EXCEPT the main sections. On the main section pieces, mount one of the ones with slots cut out of it on top of one of the ones that is whole, as shown in picture.
Step 5: Putting It All Together!


This is the fun step. Put the barrel and stock end pieces in the slots made for them in the main section, as the picture shows. Next, carefully mount the other main section, so that its slots also fit on the end pieces. Lastly, slide in the clip, and you are ready to go! I didn't glue the 2 main sections together on mine, so that I can make different barrels and stocks for my gun, but you may decide to just glue it all together.


