

Introduction: How to Make a DIY Smartphone Controlled RC Car


Hello, Guys! In this tutorial, I'm going to make an Arduino based smartphone controlled RC car. This car could be controlled via Bluetooth using any Android phone or tablet. This is an awesome project. it's simple to make, easy to program and also a great project for a hobbyist like me. So don't waste your time and let's make this cool project with me.
Here's The Full Tutorial And Demonstration video
Step 1: The Parts List


Here's The Parts List:
- Arduino Nano
- L298N Motor Driver
- HC05 Bluetooth Module
- 18650 Li-ion Battery(2ps)
- Old RC Car
- Male To Female And Female To Female Jumper.
Step 2: Upload the Code


First, connect the Arduino to your pc, then upload the code.
Attachments

Step 3: Download the App

Download the car controller app from google play store.
Step 4: Wiring Diagram/Circuit Diagram

Here's the entire circuit diagram
Step 5: Connect All the Modules
First, we'll start off by making the connection among all the modules. At first, connect jumpers between motor driver and Arduino as follows.
*Arduino--Motor Driver


- D5>IN1
- D6>IN2
- D10>IN3
- D11>IN4
- Vin>5V OUT
- GND>GND
Now Connect Bluetooth Module TO Arduino And Motor Driver
*Arduino--Bluetooth Module

- TX>RX
- RX>TX
*Motor Driver--Bluetooth Module

Step 6: Mounting All the Modules


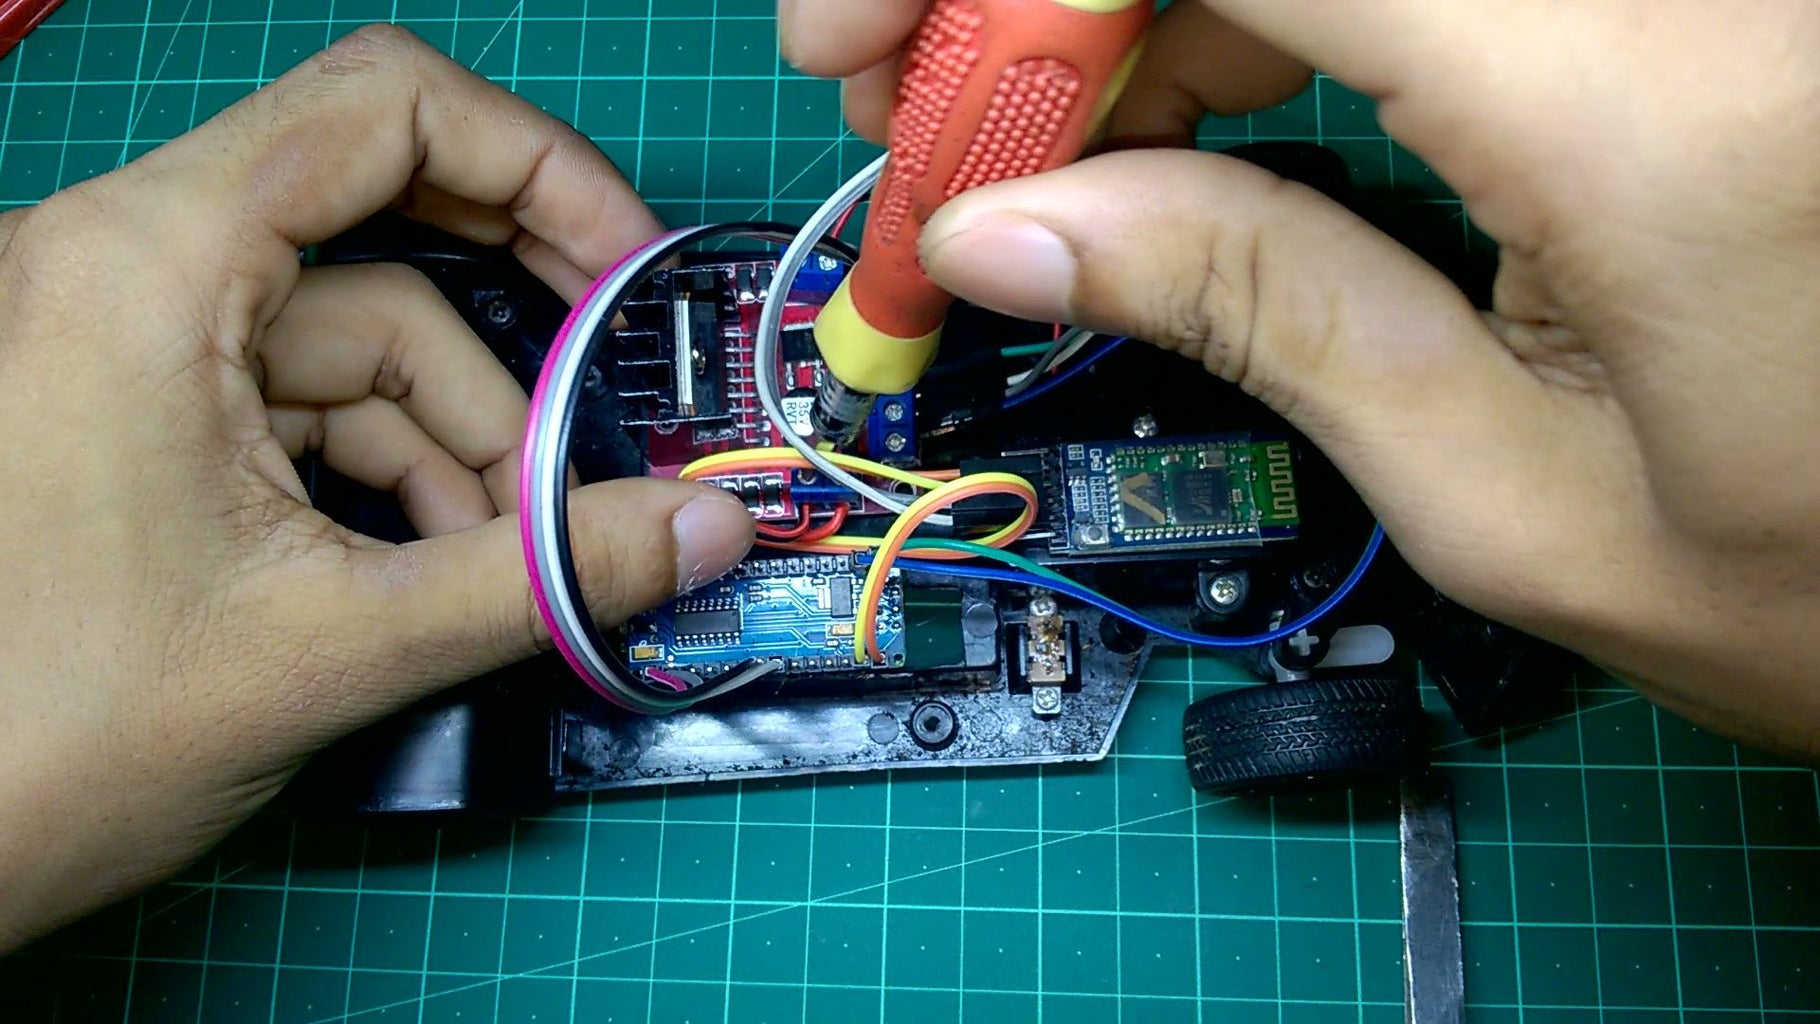
Now it's time to mount all the modules. First, apply some hot glue on battery cover then mount motor driver. Next, we'll mount Arduino and BT module. Then mount the battery. After mounting all the modules connect front and rear motor wires to the motor driver according to the circuit diagram.
Step 7: Soldering Wires


Now solder battery's positive wire to switch, then connect it to the motor driver and connect negative wire of the battery to GND of the motor driver.
Step 8: We're Done Now


Finally, we're done now. Connect the upper case of the car. Have fun with this fast smartphone controlled car. I hope you'll like it. Don't forget to follow me for my upcoming awesome projects.


