

Introduction: How to Make a Lynny - a DIY Lensbaby!


IF YOU LIKE THIS, PLEASE SUPPORT IT BY GOING TO THIS LINK, PLEASE!
http://kck.st/uGivd8
This DIY project is made after a Lensbaby, but is built completely different. It’s made of only parts of an extension tube and macro filters. It is similar to the Lensbaby Muse, but more similar to the original Lensbaby, because of the images having a blue glow around bright whites and silvers in the photos, and the fact that the images aren’t that sharp and have a “dreamy” soft focus look to them.
The build is pretty simple. You just have to have the right parts to do this project, which if you are into macro photography, you should have the parts.
Parts you'll need:
Extension tube for your SLR camera
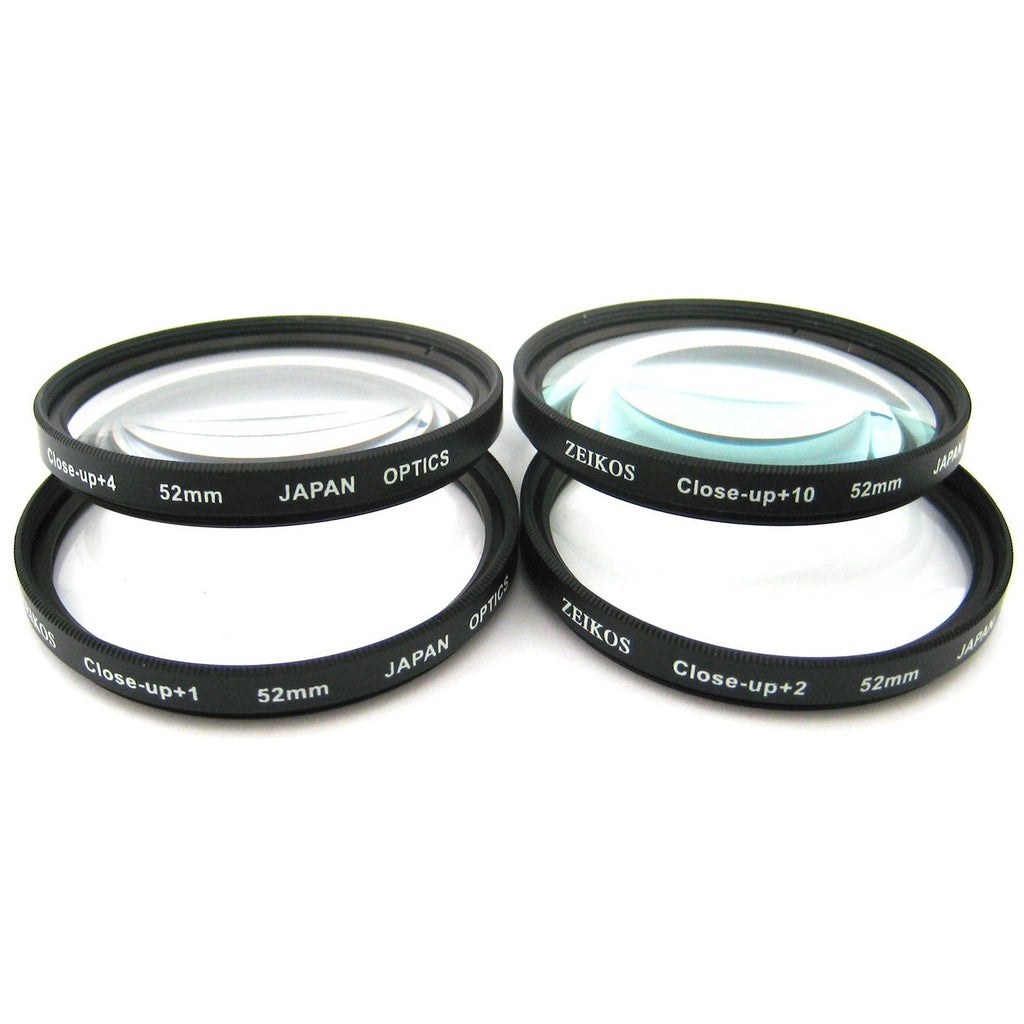
Macro filter set (+1, +2, +4, and +10)
A UV filter with same threads as the macro filters
Adjustable pipe clamps
Electric tape or any other strong flexible tape
An SLR body
Step 1: Starting Off

To build this, you want to take your extension tube and use the smallest (shortest) extension tube piece, and the camera mount and the lens mount pieces, and you want to screw all three of them together (mine comes in different pieces, a camera mount piece, a lens mount piece, and different size parts, 1, 2, and 3, going from smallest to biggest.)
Then you want to use electric tape (or any other tape that will do a good enough job) and you want to make 1 1/2 inch pieces of tape, just keep cutting them until you get about 8-12 (educated guess), and you want to use those to point vertically (pointing up) around the extension tube pieces.
See picture for how it should look.
Step 2: Using the Macro Filters
Then you want to use your macro filters. You should have a +1, a +2, a +4, and a +10. You want to use everyone but the +4. Take your +2 and put the tape that you have around the extension tube, on the edges of the +2 filter, but make sure it doesn’t extend over the top of the filter, you should have a good amount of space between the extension tube and the macro filter. So once you get the filter taped to the extension tube, set it down, and get some more tape, then wrap it around the filter along the tape pieces you just attached, and then wrap the tape around the extension tube around the tape pieces. Then take the tape and wrap it around the space between the two, but not too much, you want to be able to move the macro filter around, also to and from the tube. So make sure you can do that.
Step 3: More Using the Filters
Once you have your +2 filter and the extension tube together with the tape and you can move the filter around like a Lensbaby Muse, you need to take your +10 and +1 filter and screw those on the +2 (after making sure you clean the lenses because you won’t be able to do it after you make this lens unless you take the whole thing apart). Once you screw those on, you’ll want to take an extra UV filter that can thread into your macro filter, and you’ll want to make an aperture circle with tape on the UV filter, otherwise your pictures will Always be overexposed, if not all white.
Step 4: Final Steps
Then take your electric tape and wrap 2 layers around the filters, and then take 2 adjustable pipe clamps and tighten them around the filters, so you have the bulgy part (see picture) on both sides so you can use them to push and pull the lens toward you. Then just wrap tape around the clamps, and you’re done. Try it out. To focus, you just push and pull the lens to and from the camera, and to move the blur on the edges around, you just tilt the lens around.
PLEASE POST A COMMENT TELLING ME HOW YOU MADE THIS WORK FOR YOU/WHAT YOU DID/HOW YOU DID IT AND WHAT CAMERA MAKE AND MODEL YOU GOT THIS TO WORK WITH. THANK YOU
Step 5: A (bad) How to Video.
Step 6: Test Shots
Here are some test shots
PLEASE POST A COMMENT TELLING ME HOW YOU MADE THIS WORK FOR YOU/WHAT YOU DID/HOW YOU DID IT AND WHAT CAMERA MAKE AND MODEL YOU GOT THIS TO WORK WITH. THANK YOU

Participated in the
Pocket-Sized Contest

Participated in the
Hack It! Challenge

Participated in the
Halloween Props Challenge


