

Introduction: How to Make a Robot With a Sensor/DC Motor (Including Arduino)
Follow the steps below to build a robot using DC motors, a sensor, and an Arduino. You will have to wire and program this robot by coding with Arduino.
Step 1: Gather All Materials

You need to gather all materials first to build the robot which includes;
- Board
- Two DC motors
- Set of wheels
- Power Switch
- Bread Board
- Arduino
- Battery Pack
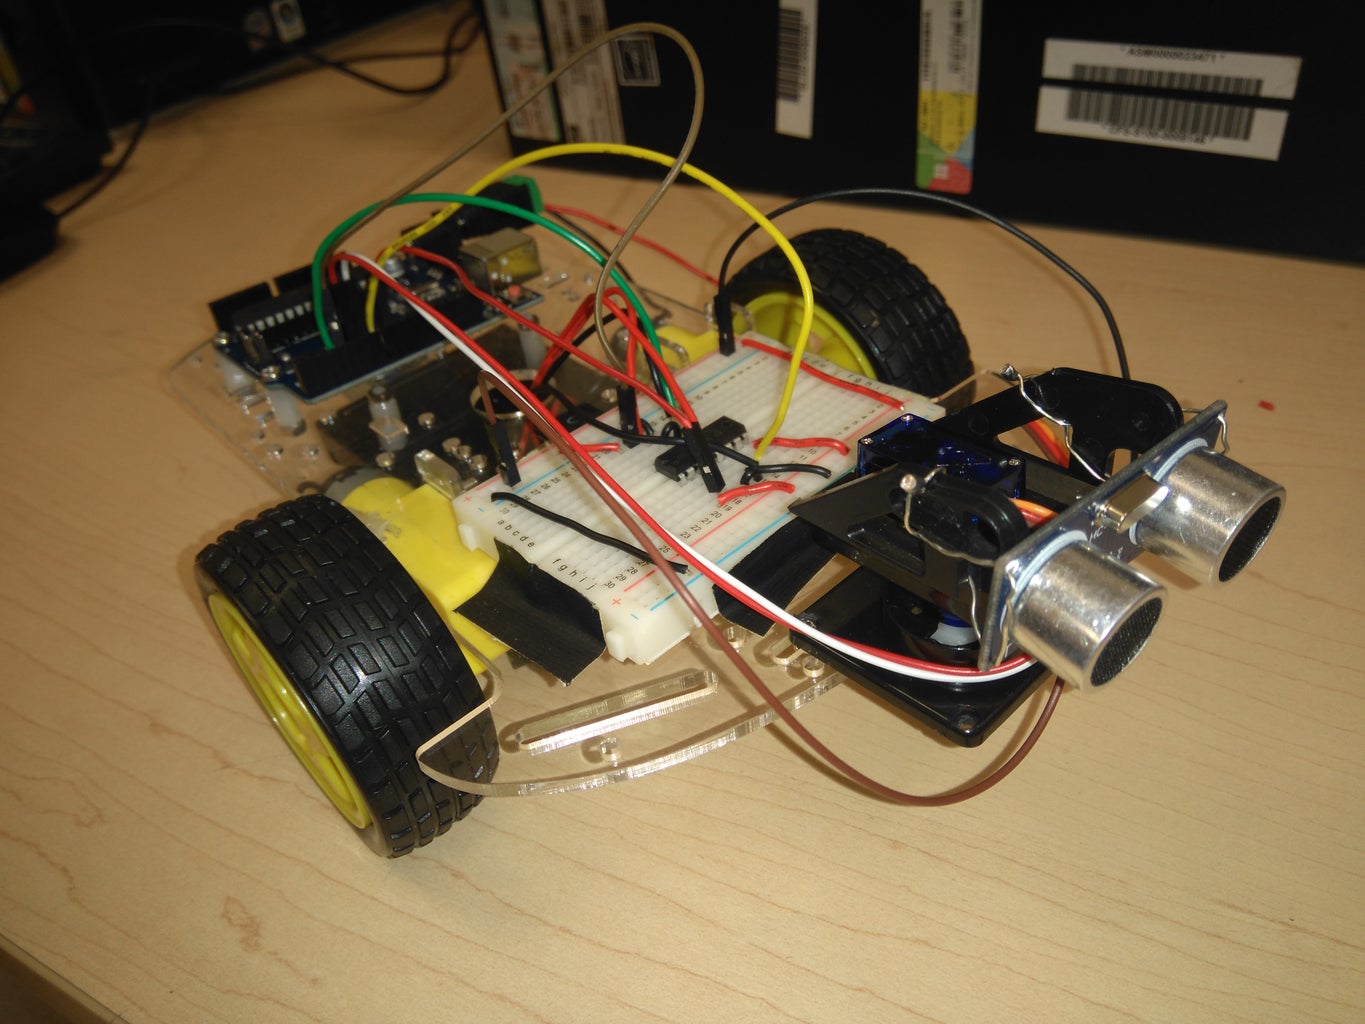
Once you have gathered all the materials and build the body, as shown above, you are now ready for wiring.
Step 2: Wiring


Follow along the photos above to complete the wiring for the robot. Once you have finished and checked over your wiring, it is time to move on to the last step which is coding.
Step 3: Coding
Now that you have completed building and wiring the robot, all that is left is to program (code) the robot to your liking. Here is an example of a code to help you understand how it looks like.
const int trig = 5;
const int echo = 6;
const int leftForward = 8;
const int leftBackward = 7;
const int rightForward = 4;
const int rightBackward = 3;
int duration = 0;
int distance = 0;
void setup()
{
pinMode(trig , OUTPUT);
pinMode(echo , INPUT);
pinMode(leftForward , OUTPUT);
pinMode(leftBackward , OUTPUT);
pinMode(rightForward , OUTPUT);
pinMode(rightBackward , OUTPUT);
Serial.begin(9600);
}
void loop()
{
digitalWrite(trig , HIGH);
delayMicroseconds(1000);
digitalWrite(trig , LOW);
duration = pulseIn(echo , HIGH);
distance = (duration/2) / 28.5 ;
Serial.println(distance);
if ( distance < 20 )
{
digitalWrite(leftForward , LOW);
digitalWrite(leftBackward , HIGH);
digitalWrite(rightForward , HIGH);
digitalWrite(rightBackward , LOW);
delay(100);
}
else
{
digitalWrite(leftForward , HIGH);
digitalWrite(leftBackward , LOW);
digitalWrite(rightForward , HIGH);
digitalWrite(rightBackward , LOW);
}
}


