

Introduction: How to Make a Snowboard


I am a senior at North Kitsap High School and I was enrolled in the Engineering 4 Class. I decided to make a snowboard since I’ve always wanted to snowboard. Our shop has all the tools and equipment to make one, including a snowboard press. It is a very long and difficult process but with some hard work and a little bit of help it can be done with ease.
Step 1: Gather Tools and Materials


Materials:
- Maple wood (Birch and other types of wood work)
- Black P-tex plastic as sidewall
- Epoxy with hardener P-Tex a polyethylene plastic (base)
- Fiberglass
- 7mm Inserts
- Snowboard bindings
- Steel Edge
Tools:
- CNC Router Planar machine (if needed)
- Table Saw
- Chop Saw (if needed)
- Drill Press
- Titebond Glue
- Clamps
- Caliper
- Snowboard press
- Heat blankets
- Metal sheets
- Top mold and bottom mold
- Wrench
- Belt Sander
- CAD Software and Computer
- Angle Grinder
- Jigsaw
Step 2: Design Board

Research online the size of the board needed for your height, weight, and skill. I used the CAD program Rhinoceros-5. My snowboard is 60 inches long and 9.5 inches wide.
Step 3: Cutting Wood Strips


Using the table saw, cut a maple board larger than the length of the snowboard. The maple board should be about ¾ to an inch thick. Each strip was half an inch in width. That is the thickness of the core once the strips are laid on its side shown in the picture to the right.
Step 4: Gluing and Clamping


Next, glue the wooden strips together using TiteBond wood glue. I had about 12 strips in total which was just past the amount I needed for the width of my snowboard. Then, use a large make-shift clamp shown. The bonding strips would go in between each wooden block which were tightened with nuts and bolts. This clamp ensured that the strips were evenly glued together. Once the strips are dry, scrape the remaining dry glue off the board.
Step 5: Sidewall Design


Using Rhino again, create the shape of sidewall along the outside of the board. Later, the sidewall would be bonded to the side of the snowboard with epoxy. Measure the dimensions of the sidewall using a caliper. The thickness of the sidewall should be about .34 inches or 8 millimeters.
Step 6: Cutting Sidewall


After creating the shape in Rhino, save the file as a .dxf file which can be opened with the router program V-Carve. Then, use the program and map the toolpath. Once the toolpath is made, save it on a flash drive and plug it into the router. Screw the snowboard onto the scrap board covering the CNC router. Put the toolpath into the router and make the zero, zero (the point where the bit is) at the left corner of the board. Start the toolpath above the part to make sure everything is correct. Afterwards, cut the sidewall shape out.
Step 7: Test Core Profile Cut
Using Rhino, create a profile for the core to the right dimensions. Find a wooden board with the same dimensions as the snowboard. Then upload the Rhino file to the program Cut 3D. After, mapping the toolpath use the same process when setting up to cut on the CNC Router (step 6). Begin the toolpath and watch until it’s finished. See if your core profile is what you want.
Step 8: Cut Real Core Profile
If the test was correct, use the same toolpath file to cut out the core profile of your actual snowboard. Set up is the same as step 7. (Sidenote: The test profile cut was incorrect for my core. I fixed it by adding thin layers of wood to the core and then using a belt sander I created the profile.)
Step 9: Cut Out Base Material

P-Tex polyethylene plastic is the base material of the snowboard. Cut out using scissors or a razor blade. Trace out the core with a marker. Cut the shape of the snowboard but add into account the steel edges. Place tape on the bottom of the base material to prevent dirt and other things from getting it on it. It also prevents epoxy from getting on the board during the actual pressing of the materials together.
Step 10: Steel Edges


Next, bend the steel edges onto the base material. I used a tool specifically used to bend the steel to the curvature of the base (pliers and other tools can also be used). The curvature should match as closely as possible. After, cut the steel edges using the angle grinder (if needed). The ends should meet at the middle of the tip and tail of the snowboard. Then glue the tabs onto the base material using superglue as seen to the right. Use clamps to hold them in place and let it dry.
Step 11: Drill Holes for Inserts


The binding hole patterns vary on preference. Choose the one you'd like to have on your snowboard. Using a forstner bit drill a hole that is the diameter and the thickness (depth) of the base of the insert. Then drill another hole that is the diameter of the insert all the way through. The thickness of the board should match the height of the inserts. All these measurements vary based on the type of insert. The one I used was a 7mm insert. Afterwards, cover the top of the inserts with tape (the magnetic part) and epoxy them into the board.
Step 12: Cut Fiberglass Layers
Cut the 2 fiberglass layers just a little bit more than the length and width of your board. Make sure to wear gloves so that you won't get fiberglass splinters. Bag them until you do the next step.
Step 13: Create Layup


Place the fiberglass layer on top of the the base and using a sort of squeegee type of tool to spread epoxy on top of the fiberglass. Then make sure the core fits into the base and is not on top of the steel edges. Use a belt sander to sand it down if needed so that it may fit. Then spread some epoxy on both sides of the core and place the next fiber glass sheet on top of the core. Make sure the core fits right into the base and the sidewall. Then once that is done we vacuumed sealed the layers together to keep it still during being pressed.
Step 14: Use the Snowboard Press


Using stands (that match the height of the bottom of the center of the press) place the layup for the snowboard in this order: Bottom mold, metal sheet, heat blanket, metal sheet, vacuum sealed snowboard, heat blanket, metal sheet, and wooden sheet and then the top mold. Afterwards we pushed it all into the press and tightened down all the bolts and clamps. Then we turned on the heat blankets to 180 degrees and let the whole thing cure for about a couple of hours.
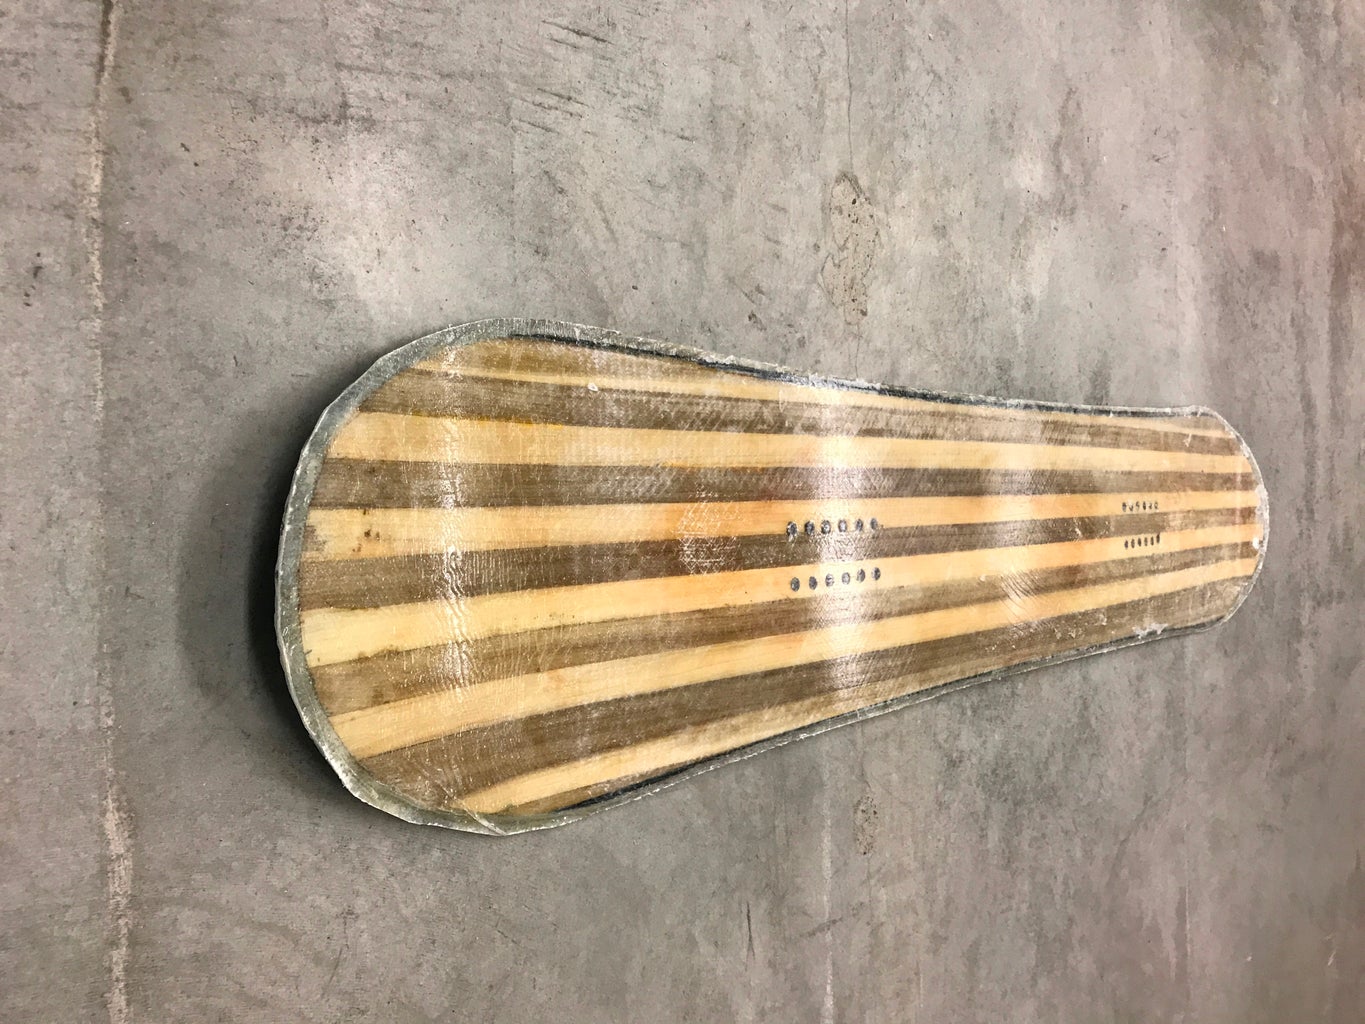
Step 15: Cut Excess


Cut the excess fiberglass material with a jig saw and cut to the steel edges. You should have a finished snowboard as the final product.
Step 16: Drill Out Inserts


Next drill out the inserts using a 1/2 inch forstner bit and a drill press. The magnetic top should come out as you are drilling.
Step 17: Attach Bindings


Lastly, attach your bindings. Find what your preferred stance is and follow the instructions on how to attach snowboard bindings. After that try it out and take it for a ride.


