

Introduction: How to Make an Express Web-Server With a Raspberry Pi

This guide will tell you how to get your Raspberry Pi to host a web-server, which can be used for hosting websites, and even slightly modified to host many other online services such as game servers, or video streaming servers. We will only be covering how to host a basic web-server without editing the default package.
Materials Required:
- Raspberry Pi (We Recommend the Raspberry Pi 3 Model B+ as that has a built in wireless adapter)
- Internet access
- SD Card (Recommended 32GB, Minimum 8GB)
- USB Keyboard
- USB Mouse
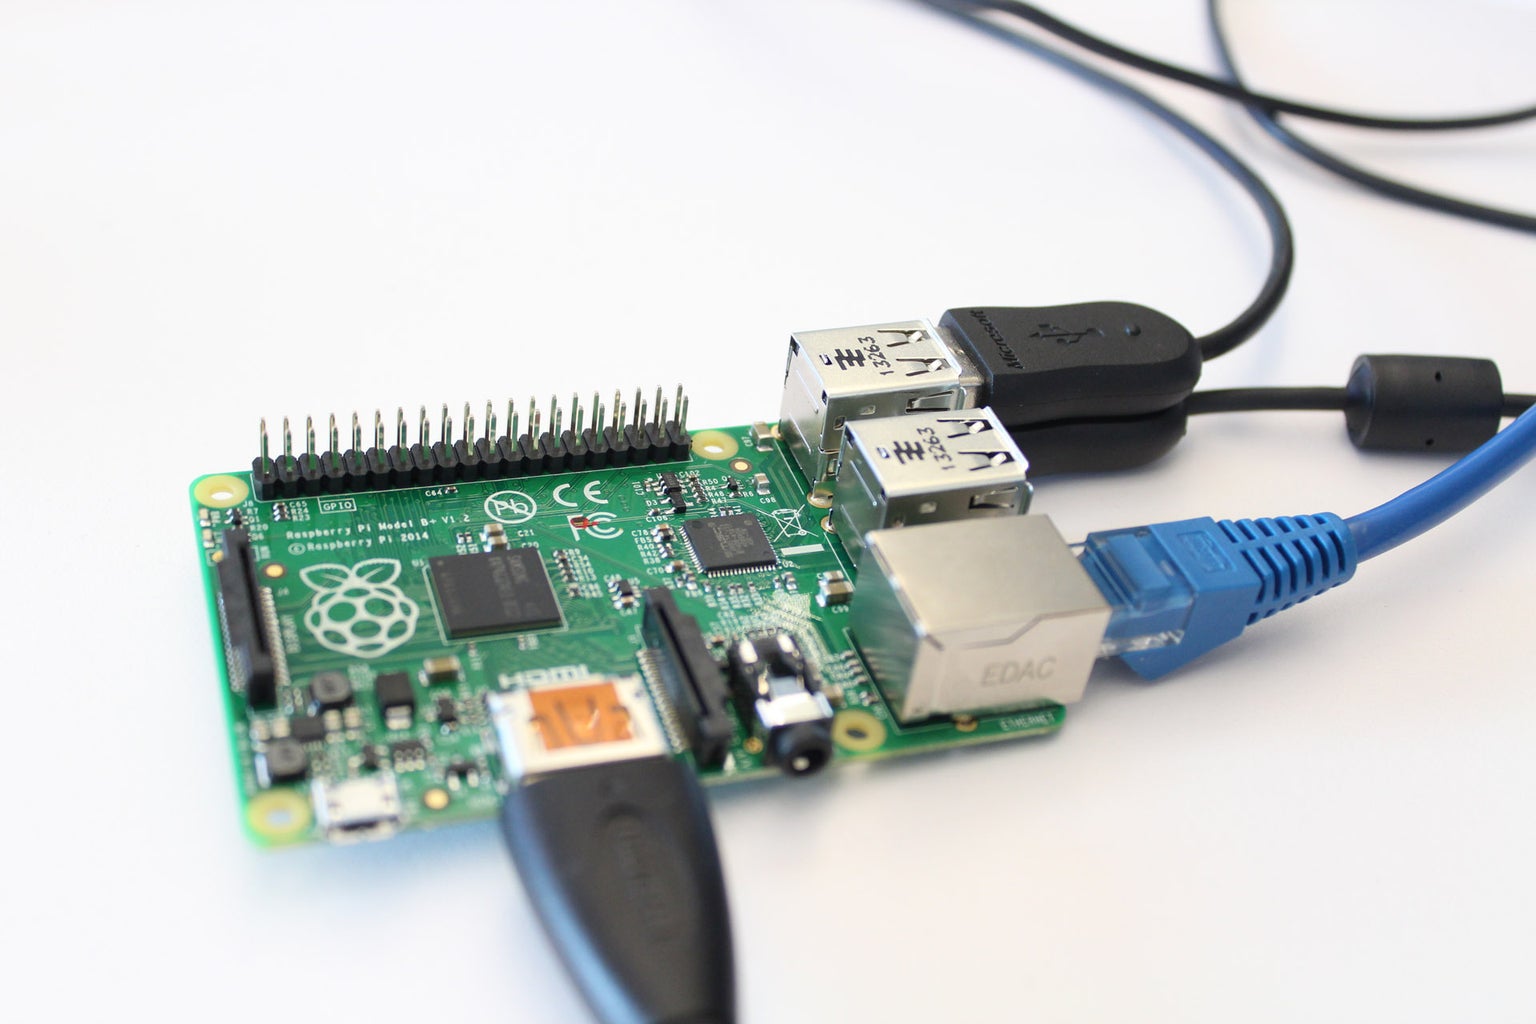
- HDMI Cable
- HDMI capable Monitor
- Access to your Router's configuration panel (This is for port forwarding)
Step 1: Initialize Your Raspberry Pi

Insert the Micro SD card into another machine, and Install the Raspbian OS onto it using the guide found at https://www.raspberrypi.org if you are starting with a fresh one. Otherwise, ensure your Micro SD card is inserted into your Raspberry Pi.
Step 2: Hook Up Your Peripherals and Log In
Plug in the monitor using the HDMI cable, plug in your USB keyboard, plug in your USB mouse and power source to the Raspberry Pi.
Log into the Pi once it has booted up using the default username and password if requested. The initial username is "pi" and the initial password is "raspberry".
Step 3: Connect the Raspberry Pi to the Internet
If you have access to an Ethernet cable simply plug it in and you are good to go.
If you are using Wifi, there are a couple of different ways to accomplish this. This guide will follow a terminal window approach to ensure, even if you are not utilizing Raspbian's GUI, you can still connect.
- Open a Terminal Window if you are utilizing a GUI.
- along the bar at the top of the page, the terminal is there.
- Ensure your Raspberry Pi detects the Wifi
- Enter command `sudo iwlist wlan0 scan`
- Look for your access point
- ESSID is the name of the access point
- IE is the authentication used.
- Enter command `wpa_cli` to configure the access point.
- Enter `add_network`
- This adds a new network to your configuration list.
- This returns a single number value in the terminal window. The first network is numbered '0', and this guide assumes that you are setting up the first network. If this is not the case, replace the number that is in the commands with the one this command returned.
- Configure the new network
- Enter `set_network 0 ssid "ESSID"`
- Replace ESSID with the name of the access point. Ensure that the access point's name is in quotations.
- Remember, if your add_network command returned a number other than 0, replace the 0 in the command with whatever number that was returned
- Enter `set_network 0 psk "PASSWORD"`
- Replace PASSWORD with the password of the access point. Ensure that the access point's password is in quotations.
Remember, if your add_network command returned a number other than 0, replace the 0 in the command with whatever number was returned.
- Enter `set_network 0 ssid "ESSID"`
- Connect to the network by entering the command `select_network 0`
- Remember, if your add_network command returned a number other than 0, replace the 0 in the command with whatever number was returned.
- Exit the application by typing `quit`
Step 4: Ensure Your Pi Is Up to Date
Within your terminal window, update your system package list by typing `sudo apt-get update -y`.
Next update all installed packages by typing `sudo apt-get dist-upgrade -y`.
Step 5: Install NodeJS Onto the Pi
Within the terminal window, we need to install NodeJS which is a server-side implementation of JavaScript. Express utilizes NodeJS to run. To install NodeJS we need to apt-get it onto the Pi. Enter `sudo apt-get install nodejs -y`. Ensure NodeJS is installed by entering `nodejs -v` to get the current version number installed.
After NodeJS is installed, we need to install the Node Package Manager. This is the package manager that works with NodeJS to install modules, such as ExpressJS. Enter `sudo apt-get install npm -y`. Ensure NPM is installed by typing `npm -v` to get the current version number installed.
Step 6: Install Express and the Express Generator
Once npm in installed, Type "sudo npm install express -g". This downloads ExpressJS in the package manager's global directory, so you can run Express in any folder.
Next, type "sudo npm install express-generator -g". This is a default Express server generator, which is fantastic for quickly setting up a web server.
Step 7: Run the Express Generator
Type `sudo express myapp`. You can replace "myapp" with anything you wish to name your web server.
This creates a folder with the necessary files needed for express to run.
The default view engine will be Pug.
It's highly suggested to look into other options, and what you can do with Express.
Once the Express generator is finished, you can test to see if the web server works. Type `cd myapp` run `npm to enter the folder that was generated, then type `npm start` which will run the application.
Utilizing the default port, open a web browser and navigate to localhost:3000. You should see 'Express, Welcome to Express'. You have successfully created an Express web server.
Step 8: Set the Server Up to Run on Boot-up
Edit the rc.local file. This file runs every time the Pi boots up
Do this by typing "sudo nano /etc/rc.local"
Before the line "exit 0" add the following line: "su pi -c ‘node /home/pi/myapp/server.js < /dev/null $’"
Replace the 'myapp' portion of the folder structure with whatever you named your web server to be.
Save the file by hitting CTRL + x.
Step 9: (OPTIONAL) Portforwarding

This is a key step if you want your web server to be view able from outside your home or school network. This process will be different depending on the router, but the idea stays the same. You can find a specific guide for your router here https://portforward.com/router.htm using your routers model number. The picture above shows an example of what the web-page may look like, taken from portforward.com
- Gain access to your routers control panel
- Gather 2 pieces of information, your the raspberry pi's internal IP address, and the external IP address of the router
- The internal IP address of the pi can be found by typing "sudo ip addr show" in the terminal
- The external IP address can be found by typing in "What's my IP address" on google.
- Inside of your routers configuration panel you want to set up a rule using the internal IP address of the raspberry pi
- choose TCP and for the port you can use whatever port you set on your node server in the express app, we used 1337
Step 10: Access the Webserver
You can now access your web-server from a remote location, to try it out just type http://INTERNAL_IP_ADDRESS:1337, making sure to replace "INTERNAL_IP_ADDRESS" with the external IP if you are accessing the web-server from an outside network, or using the Internal IP if you are accessing it from within the same network.


