

Introduction: How to Print on a Post It Note


I am one of those guys that has terrible handwriting. I can read it but mostly it looks like hieroglyphics to other people. So I wanted a way to print on a post-it note so that not only I could read it, but I could also add pictures and such for when I drop a love note in to my wifes lunch box. This also works well for teachers that want to stick a special well done to a students homework. So armed with MS paint I created a way to print 6 post it notes at the same time. I have tested this with both a dell ink jet printer and a HP laser jet so I am pretty sure it works well on most printers.
Step 1: Open Up Ms Paint on Your PC or Equivalent in Mac
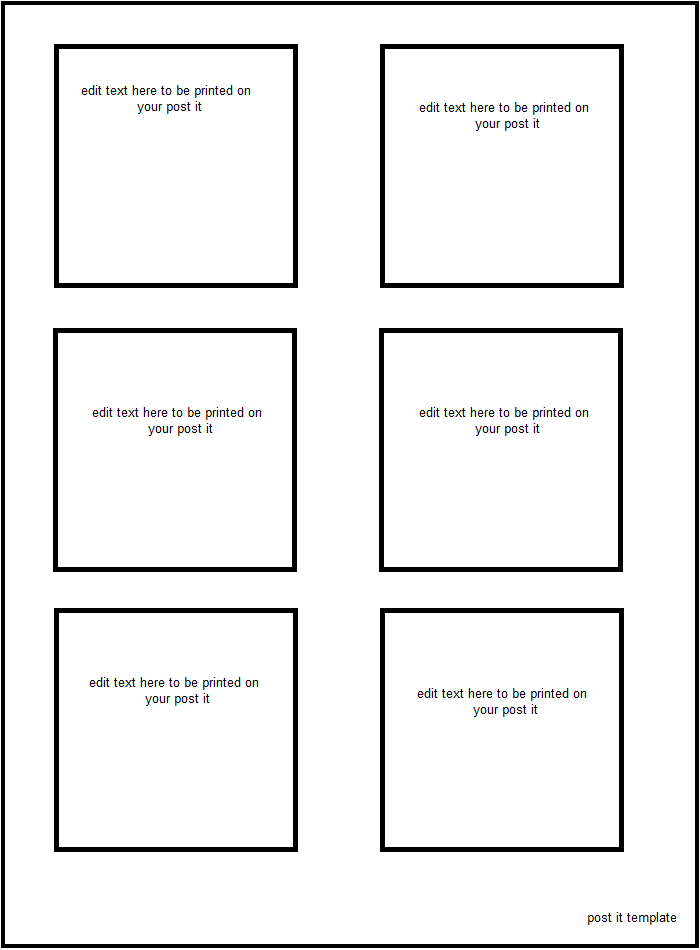


First you will need to make a template. I created one that works great from MS paint. You do have to do a page setup to make it print correctly though. Download the template and open it. (first image) On windows 8 version of paint, mouse to file- then mouse over the little arrow just to the right of print. A menu will drop down. Click on page setup. Set the orientation to portrait, click both vertical and horizontal centering, and set scaling to 100%. click OK. Click file, mouse over print again and click print preview. This will give you a view of what the template will look like when it is printed. This version should fit perfectly on letter sized paper. Click print.
Step 2: Attach Your Post-its to the Template...


Take the template that you just printed and hold it up to the light. The black squares will be visible through a post-it so you can center them over the square when sticking them to the template. Place the sticky side to the top of the template. If you use all 6 spaces the post-its will overlap each other just a little bit.This is OK since the squares are slightly smaller than a standard square post-it. Feed the template into your printer so that the top of the template enters the printer first. This keeps the post-its from being folded backward as they are traveling through the printer.
Step 3: Edit the Template for Content...


Delete the "edit here" from the center of the squares and put whatever you want in its place. Repeat for each square if desired. You don't have to use all the squares every time, the printer will just print another square over the top of the first one on the template. click file, print and viola! printed post-its. Here are some other examples.
A machine tech


