

Introduction: How to Program Arduino Pro Mini Using Arduino Uno and ArduShield - Without the Cables


The main aim of this instruction is to show you how to program in most easy way Arduino Mini or Arduino Pro Mini with Arduino UNO and ArduShield – without the cables.
Step by step tutorial, with no steps to skip by Awesome PCB.
Step 1 - What do we need?
Step 2 – Preparing Arduino UNO
Step 3 - Connecting Arduino boards with ArduShield
Step 4 – Setup Arduino IDE
Step 5 – Programming and veryfiacation
Step 6 – Extra feature ArduShield
We know that Arduino Mini and Pro Mini do not provide us USB interface on board. Therefore programming require additional USB/RS232 interface which is connected to TX(1) and RX(0) line of the Arduino board.
But what if we do not have this type of converter, but we have most popular Arduino UNO board or their derivative.
Usualy we can connect Arduino UNO and Mini or Pro Mini with cables, but there is an easier way to do it without any cables.
For this propose you can use ArduShield.
Universal shield that allowed you to program Arduino Mini and Pro Mini with Arduino Uno on board.
ArduShield also allowed us to have instant access for pins Arduino UNO, Leonardo, Mini, Pro Mini, Nano, Micro, Galileo, Yun, Zero on bread board.
Enjoy this instructables, and thank you for vote on it.
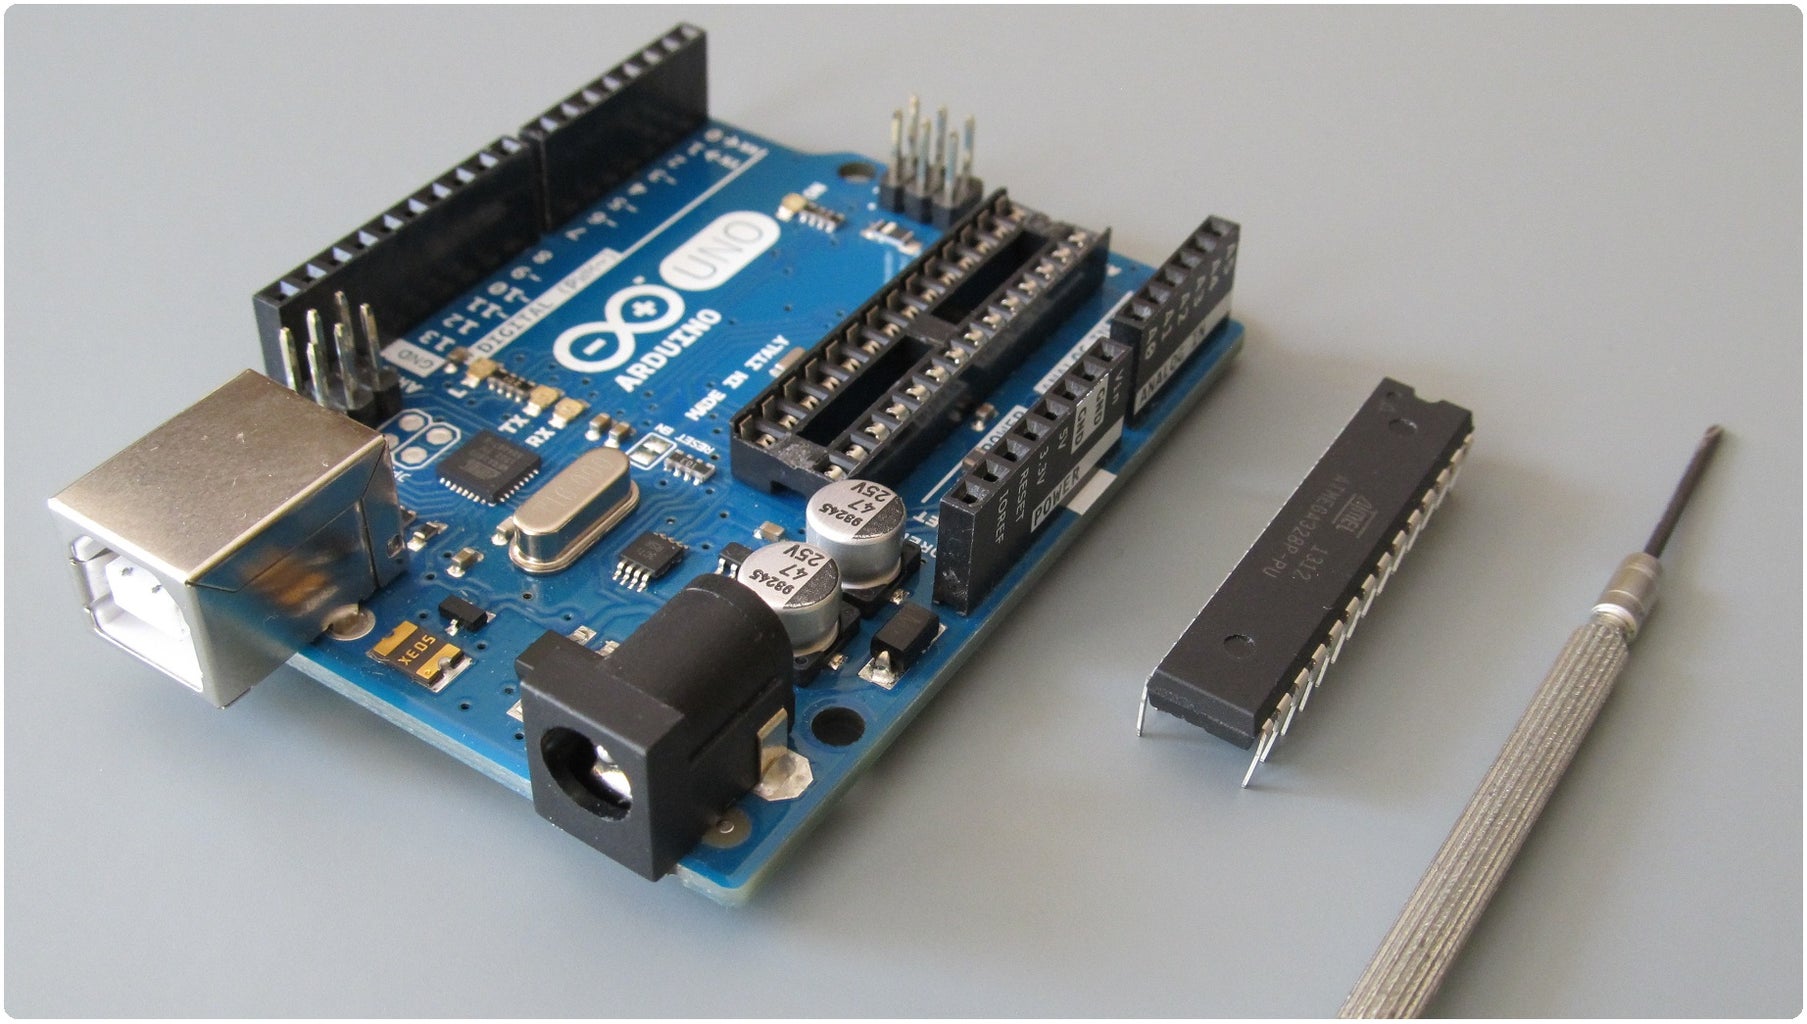
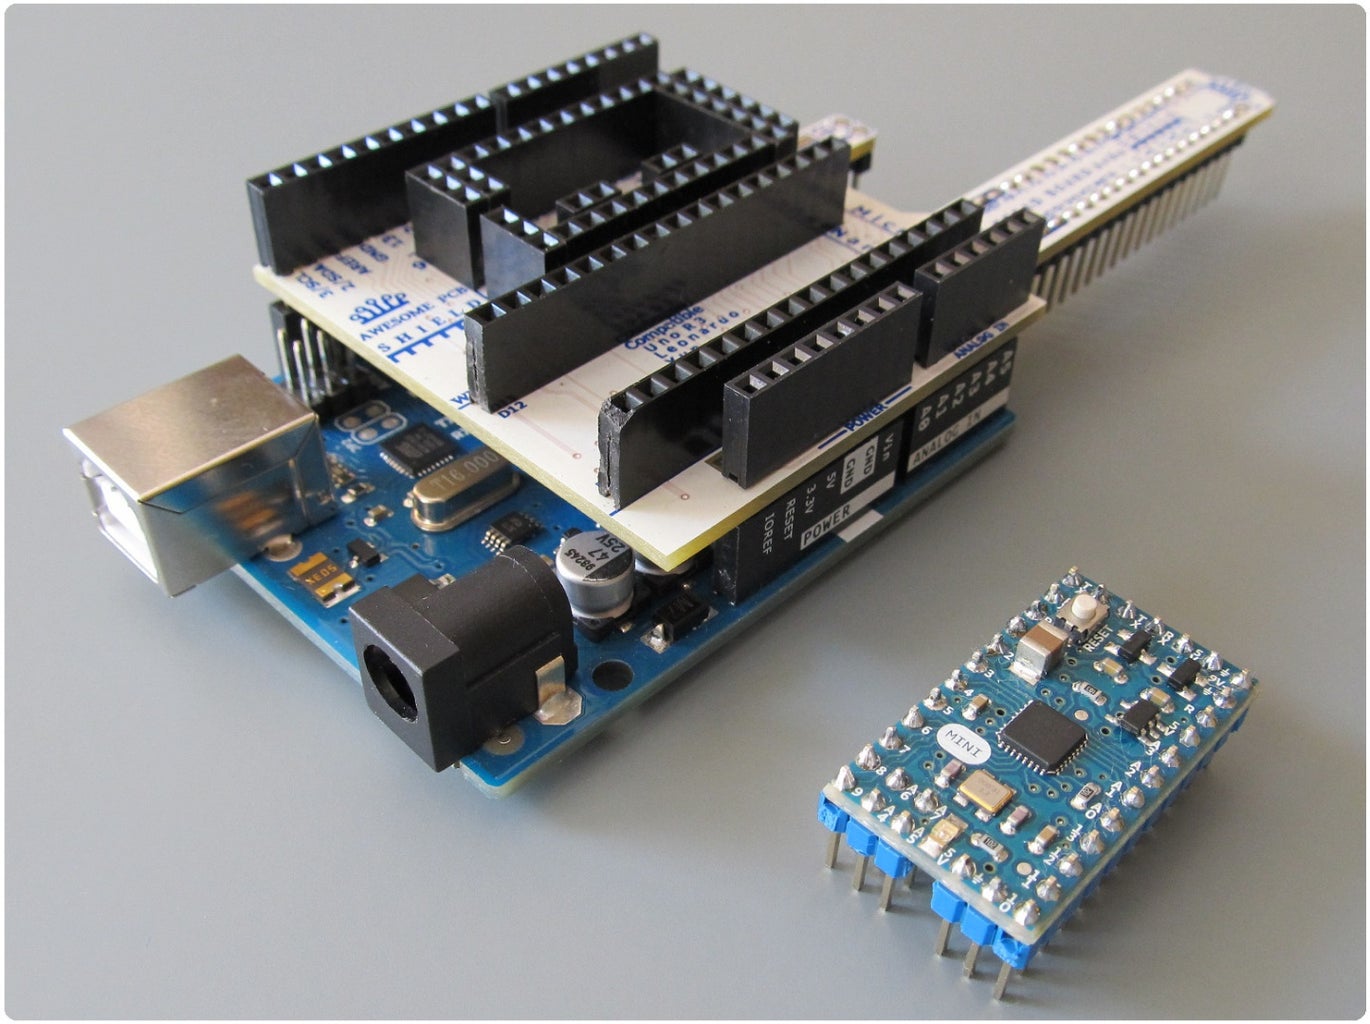
Step 1: What Do We Need?
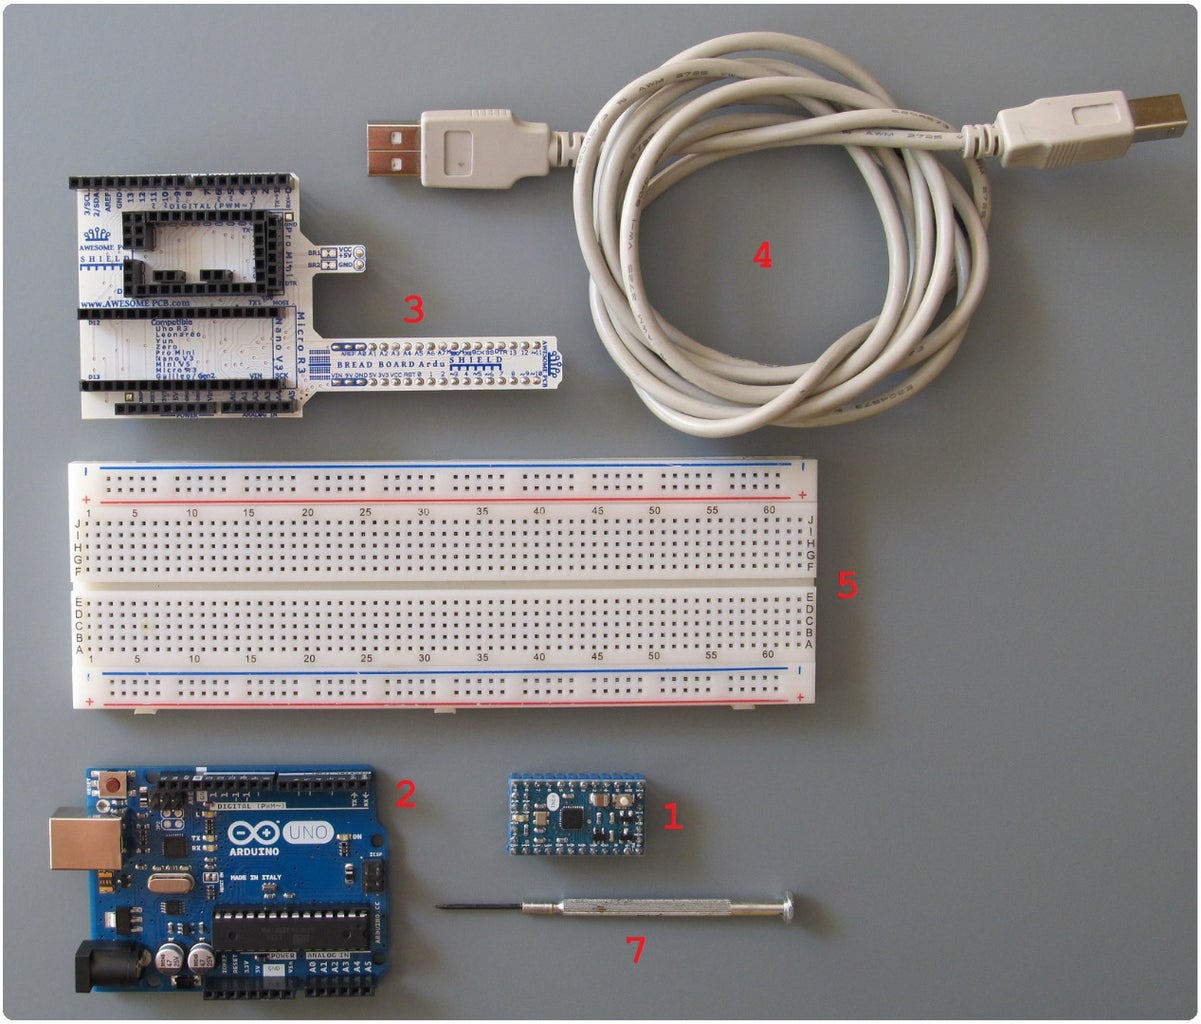
1. Arduino Mini or Pro Mini
2. Arduino UNO
3. ArduShield
4. USB connector (type B)
5. Bread board (optional)
6. Arduino IDE
7. Fine flat screwdriver
Step 2: Preparing Arduino UNO
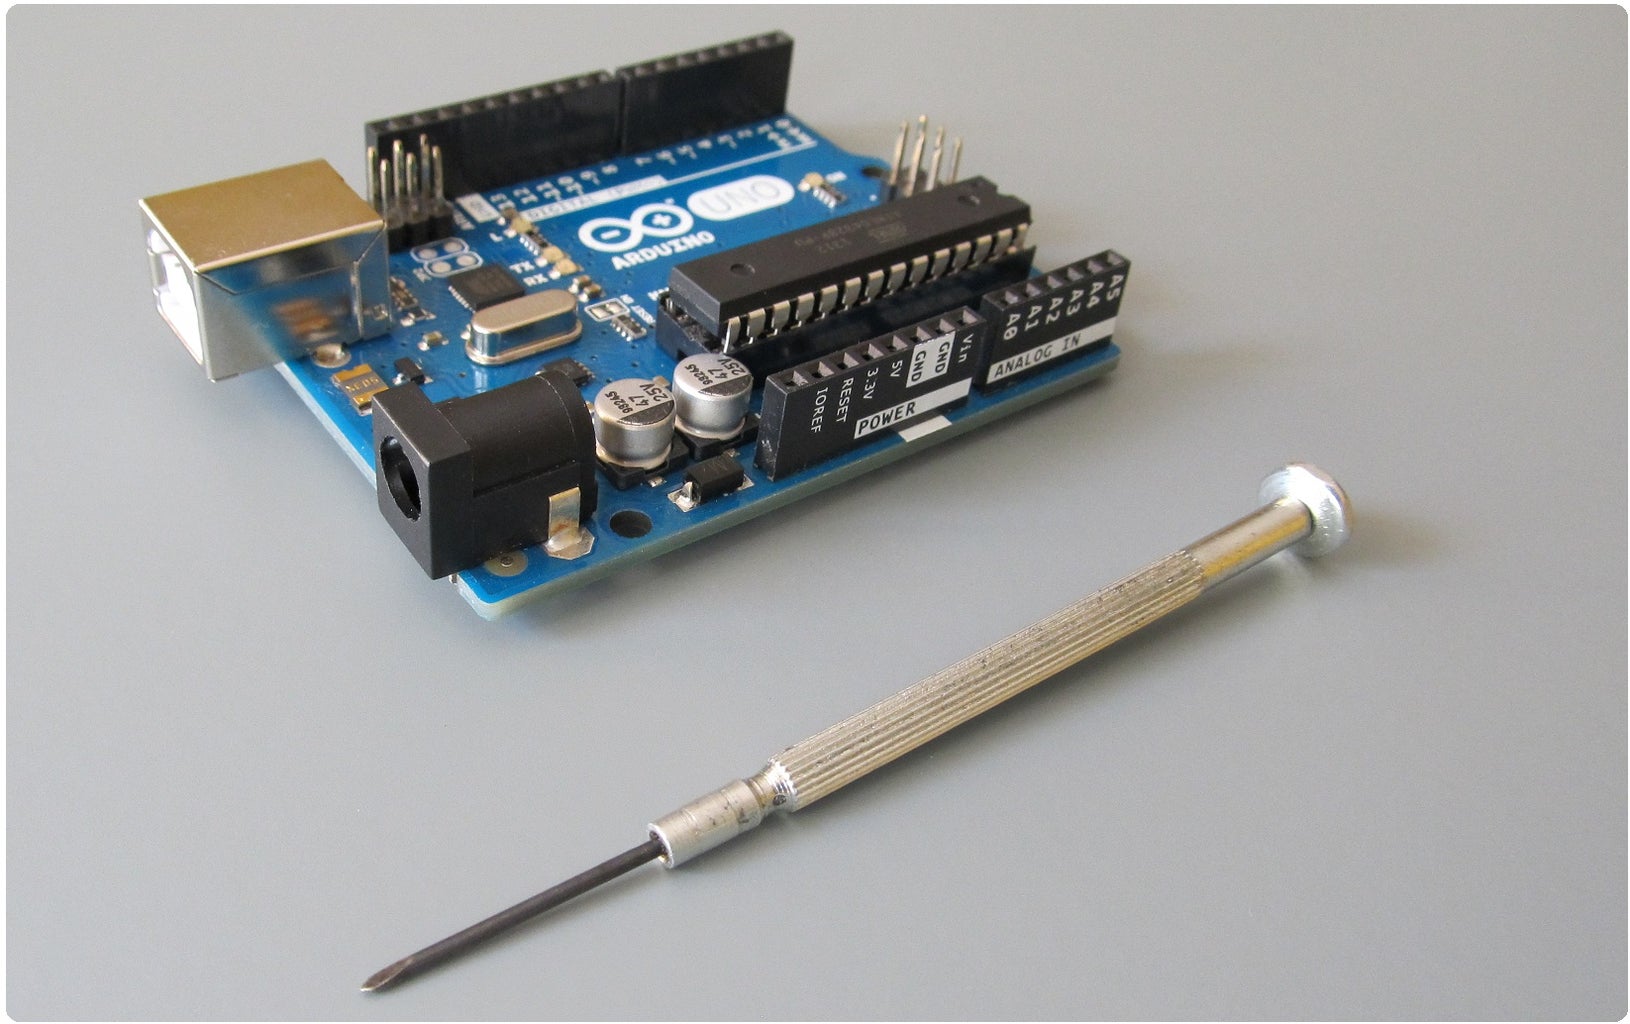
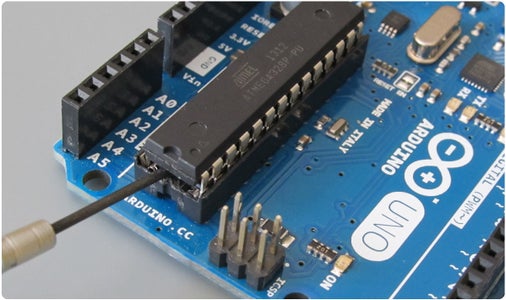
In order to aviod conflict betwean 2 atmega during programming stage, we need to remove Atmega328P-PU from the stand Arduino Uno.
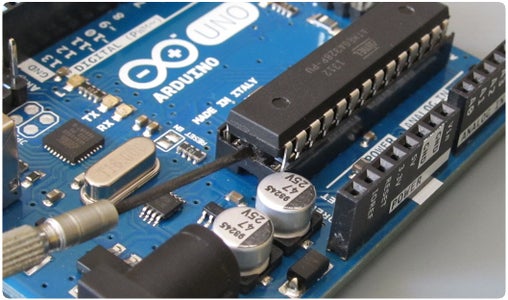
This can be done with help of fine flat screwdriver.
Insert a screwdriver between the microcontroller and the stand, and alternately lift once on the one hand, and once on the other.
Step 3: Connecting Arduino UNO Boards With ArduShield
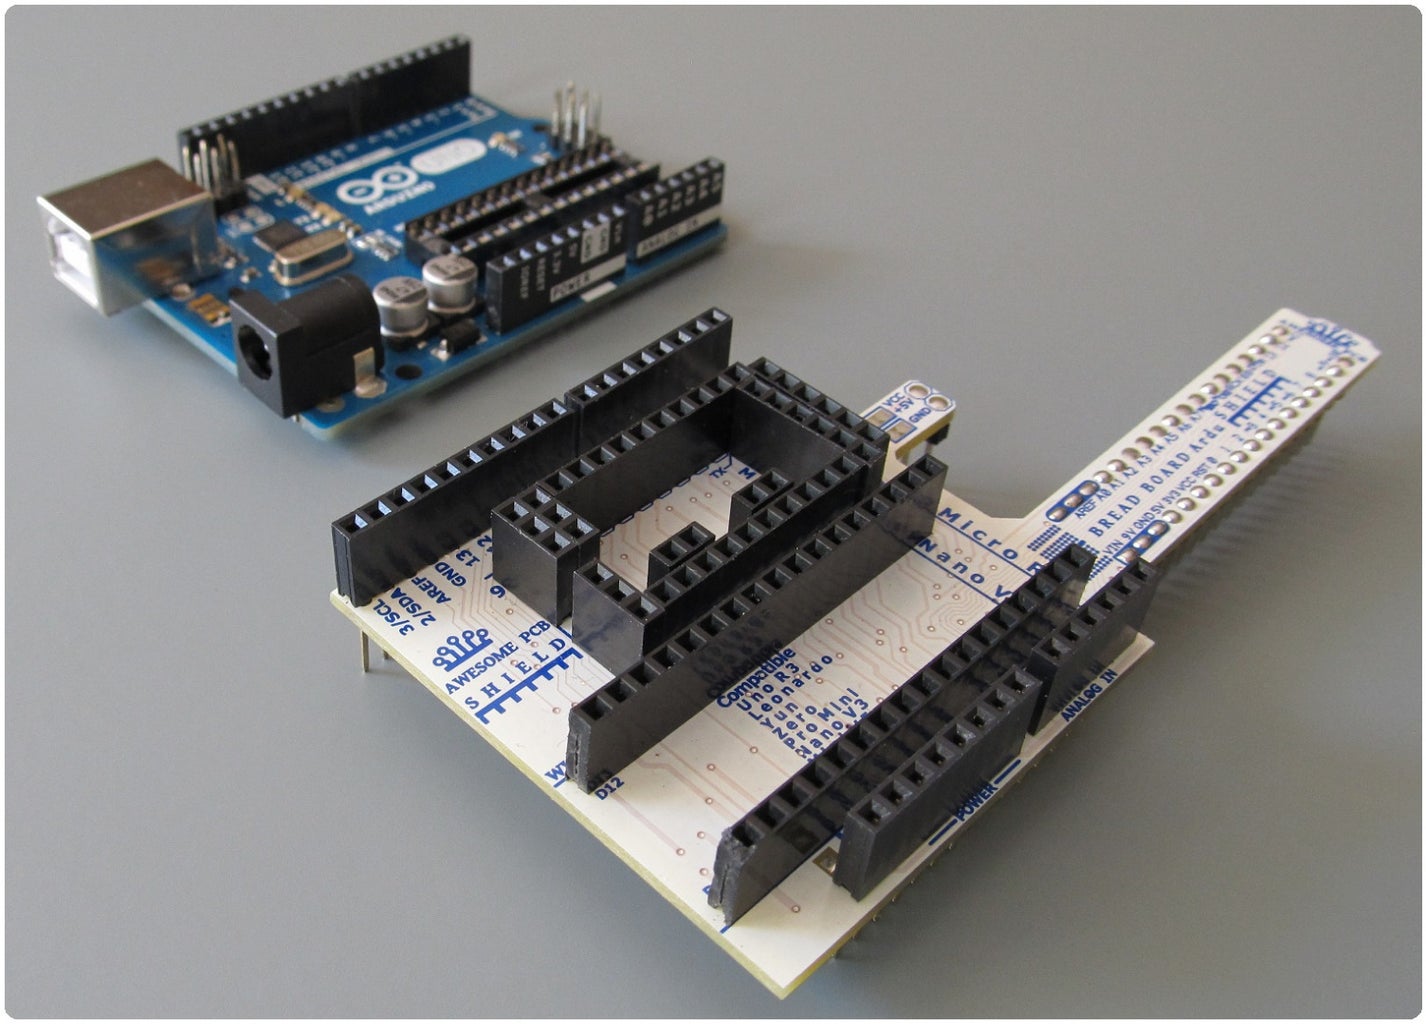
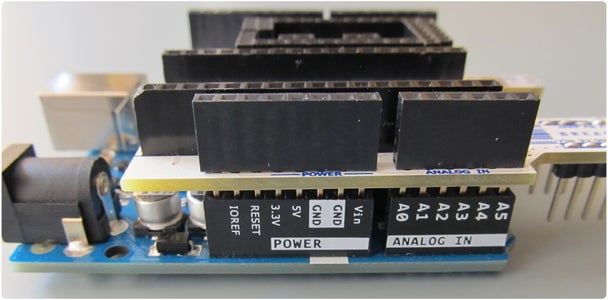
Connect ArduShield with Arduino Uno board.
Place the ArduShield on the Arduino Uno, and press down gently up to the point where it stops.
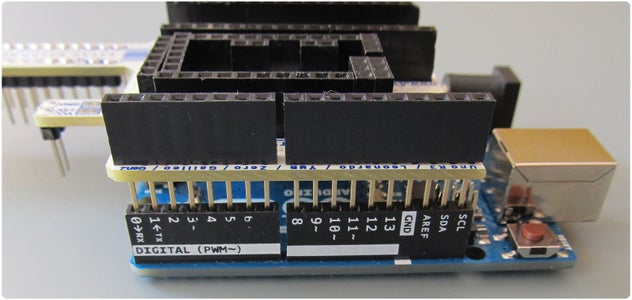
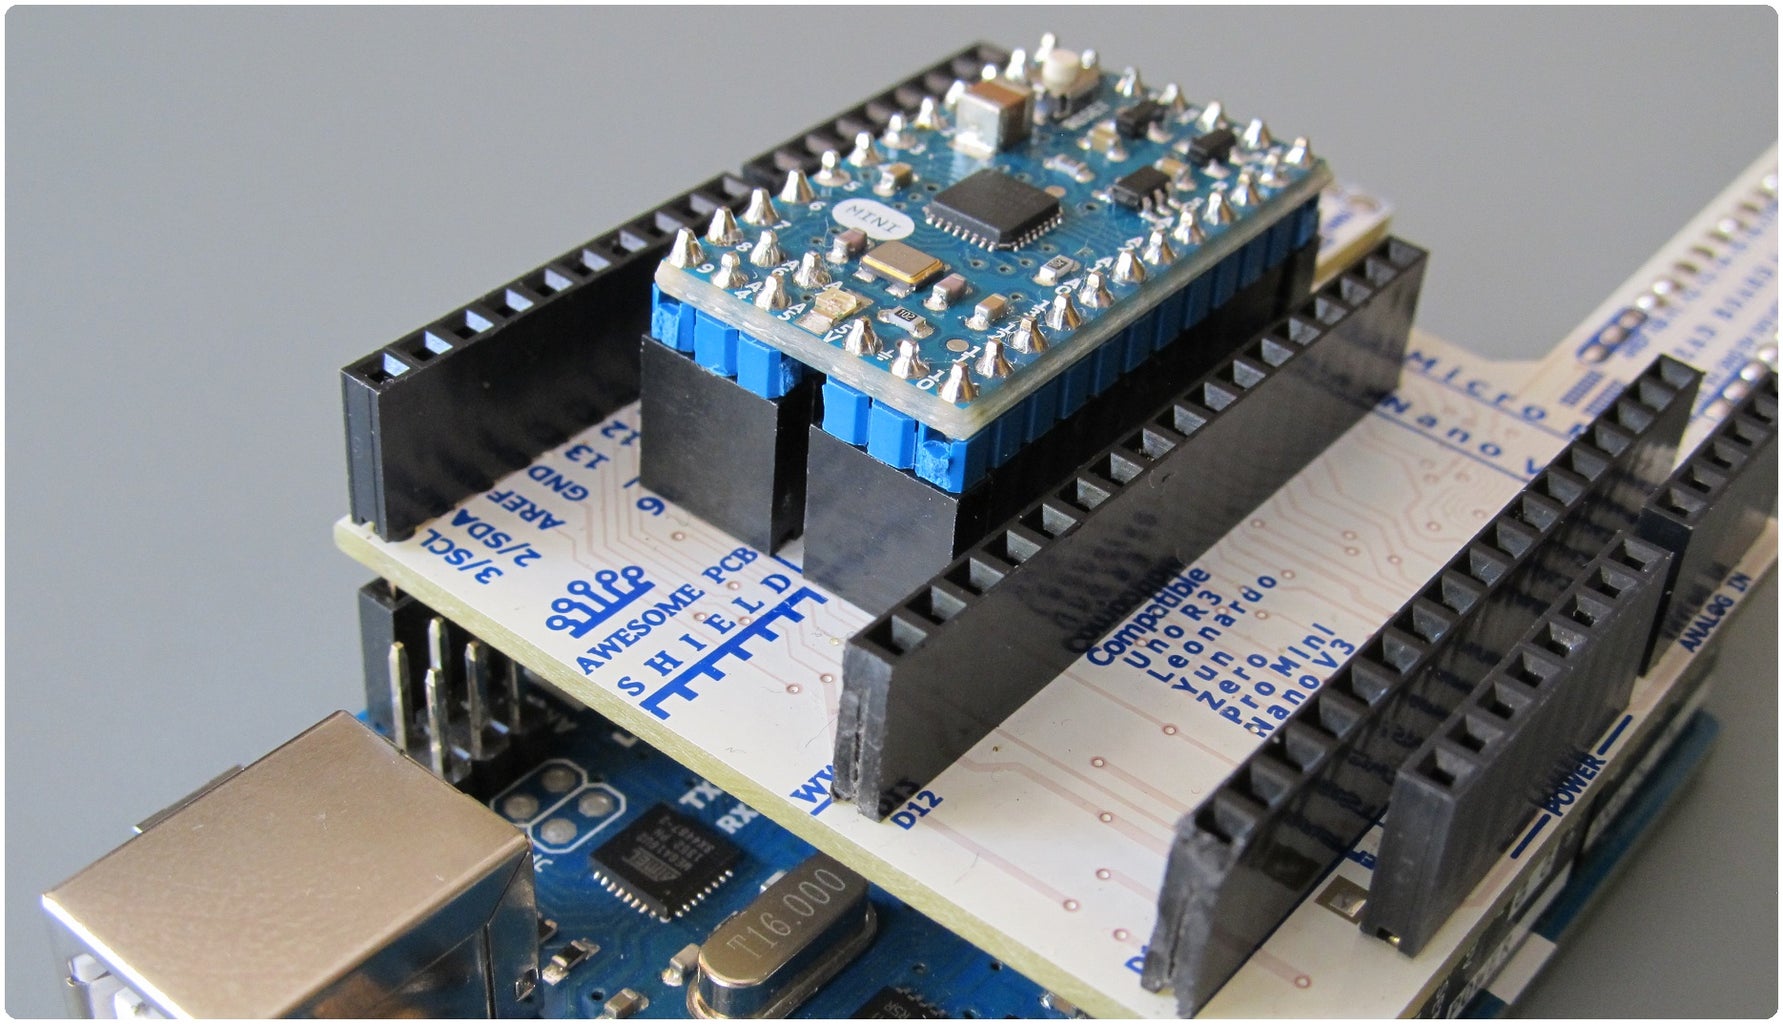
Prepare Arduino Mini or Arduino Pro Mini.
Put Arduino Mini on the top of the ArduShield and press down gently up to the point where it stops.
Step 4: Setup Arduino IDE


Now when you are ready with hardware, it's time to configure the Arduino IDE.
Open Arduino IDE.
Go to top toolbar and open File > Examples > 01.Basics > Blink
This example is classic Arduino sketch which blink LED on pin 13.
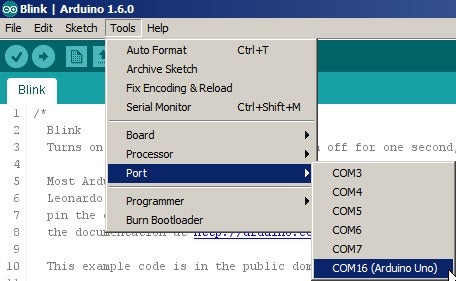
Now go to top toolbar Tools > Board > Arduino Mini
Go to top toolbar Tools > Port > COM16 (Arduino Uno)
Be aware that your serial port (COM16) can be different one then my. Please check this.
Step 5: Programming and Verification

Up load to (CTRL + U)
After successfully uploading a program to Arduino Mini level of digital pin 13 shoud change with frequency ~1sec. LED shoud blink on the Arduino Uno board, because it is connected via ArduShield. In case of that no need for additional hardware to check results.
(Arduino Mini has only power supply LED – no LED on pin 13).
Step 6: Additional Tips How to Improve Your Experience With Arduino and ArduShield


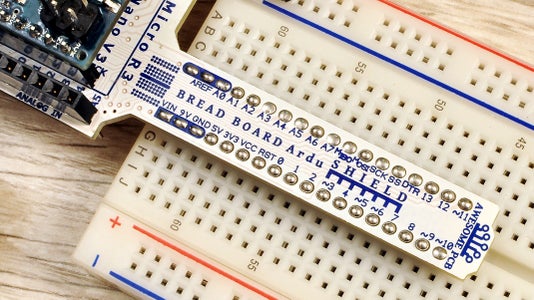


ArduShield it is most versatile development shield for most popular Arduino boards like a Arduino UNO R3, Mini, Pro Mini V5, Nano V3, MicroR3, Leonardo, Yun, Zero, Galileo Gen2 and many other derivative boards created by great community of people.
Tip 1
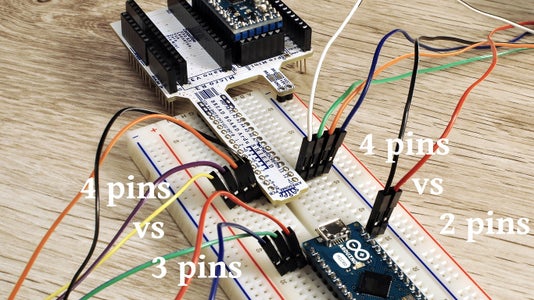
How to save space on bread board with ArduShield and get immediate access for pins Arduino UNO, Nano, Mini, Micro, Pro Mini and other derivative boards.
Tip 2
Use Arduino Micro and other Arduino with other shields
Tip 3
Move Arduino pins and power supply to bread board
Tip 4
Develope two prototype on one bread board with ArduShield Check rest of the great feature about ArduShield here.
Tip 5
Reduce amount cable on breadboard.
Tip 6
Use Arduino Pro Mini or other with your custom shield.
Check rest of the great feature about ArduShield here.

Participated in the
Arduino All The Things! Contest


