

Introduction: How to Use DHT11 Sensor Using Arduino


In this tutorial we will try the DHT11 sensor using Arduino.
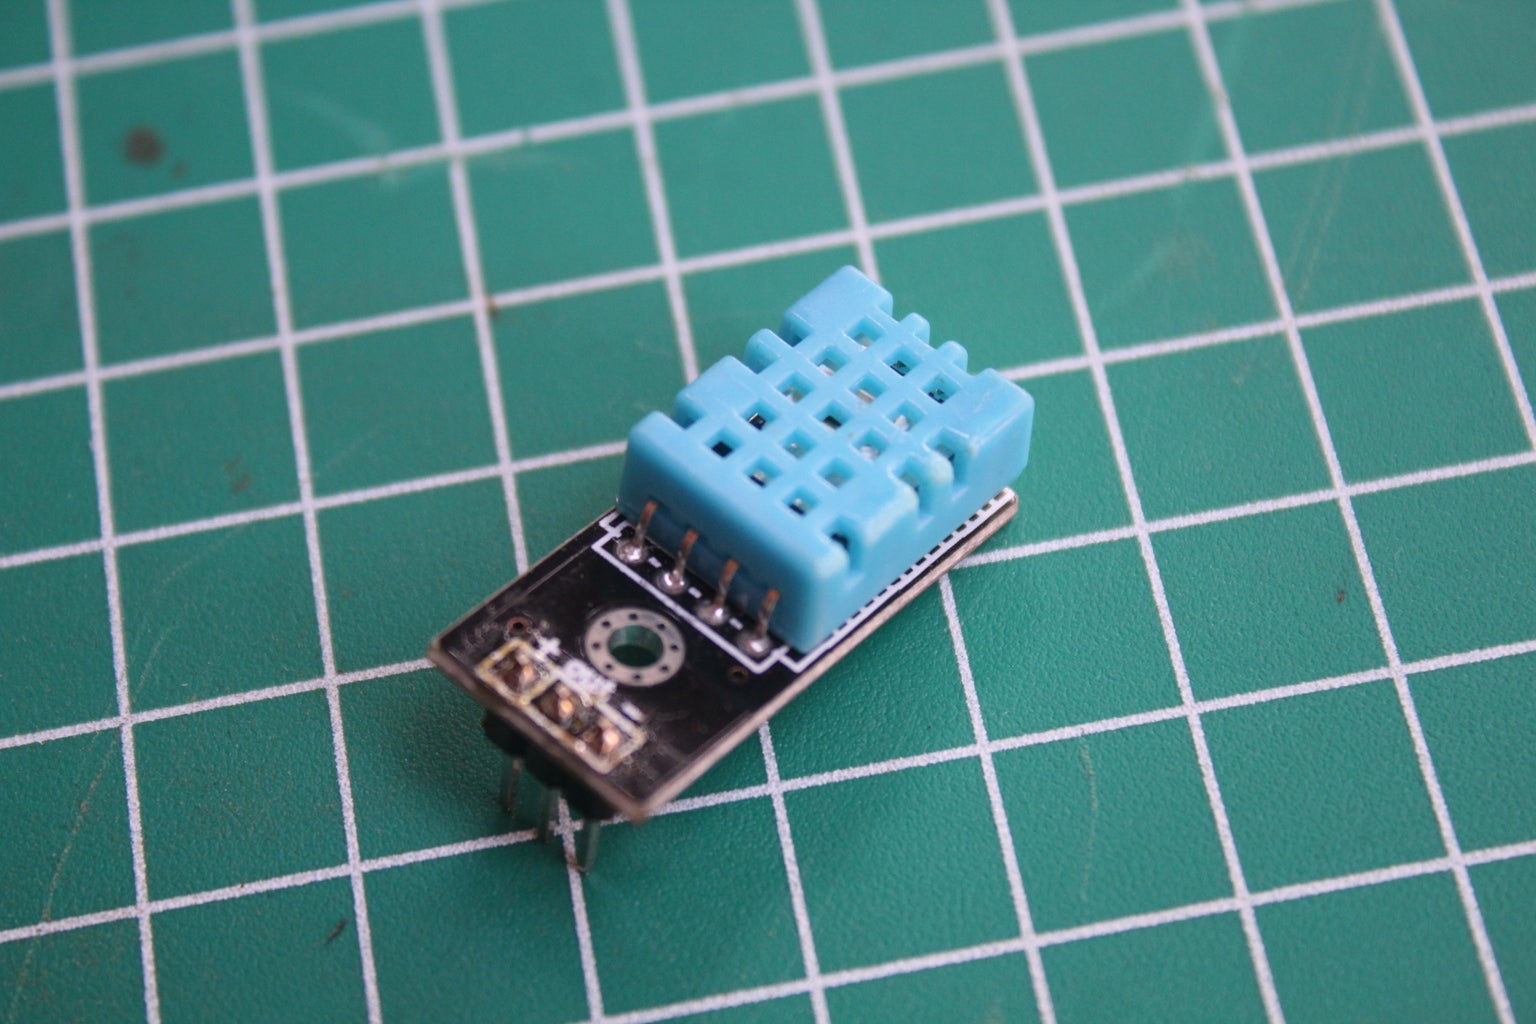
DHT11 can be used to measure temperature and humidity.
Required components:
Required Library:
- DHT Library
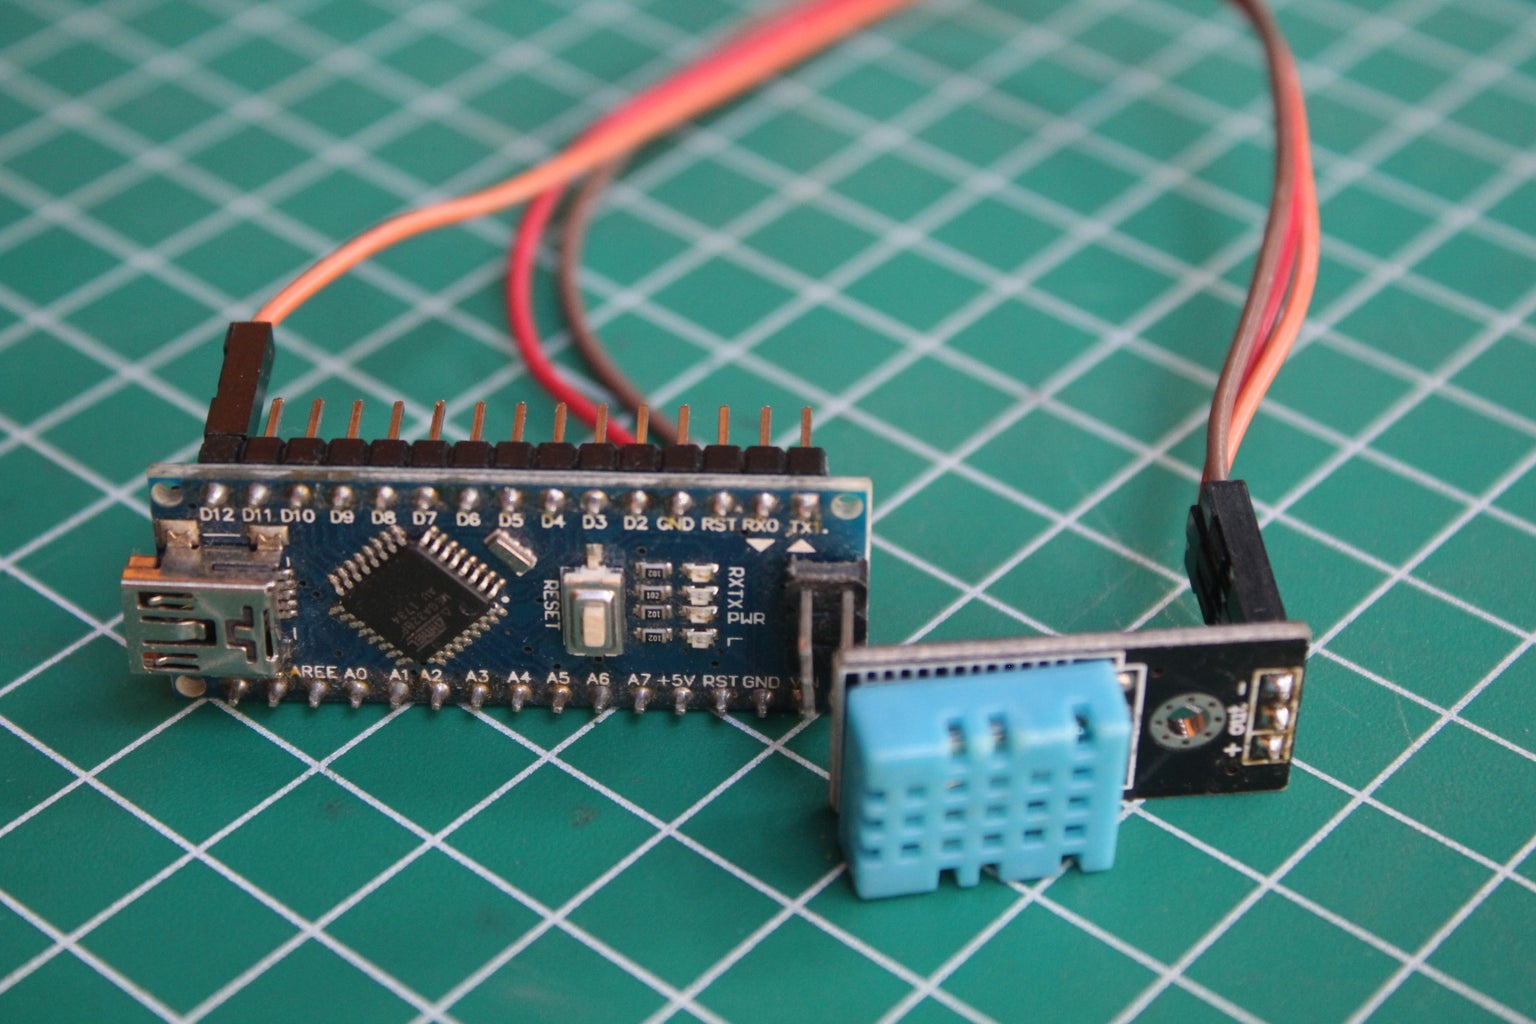
Step 1: Connect DHT11 to Arduino

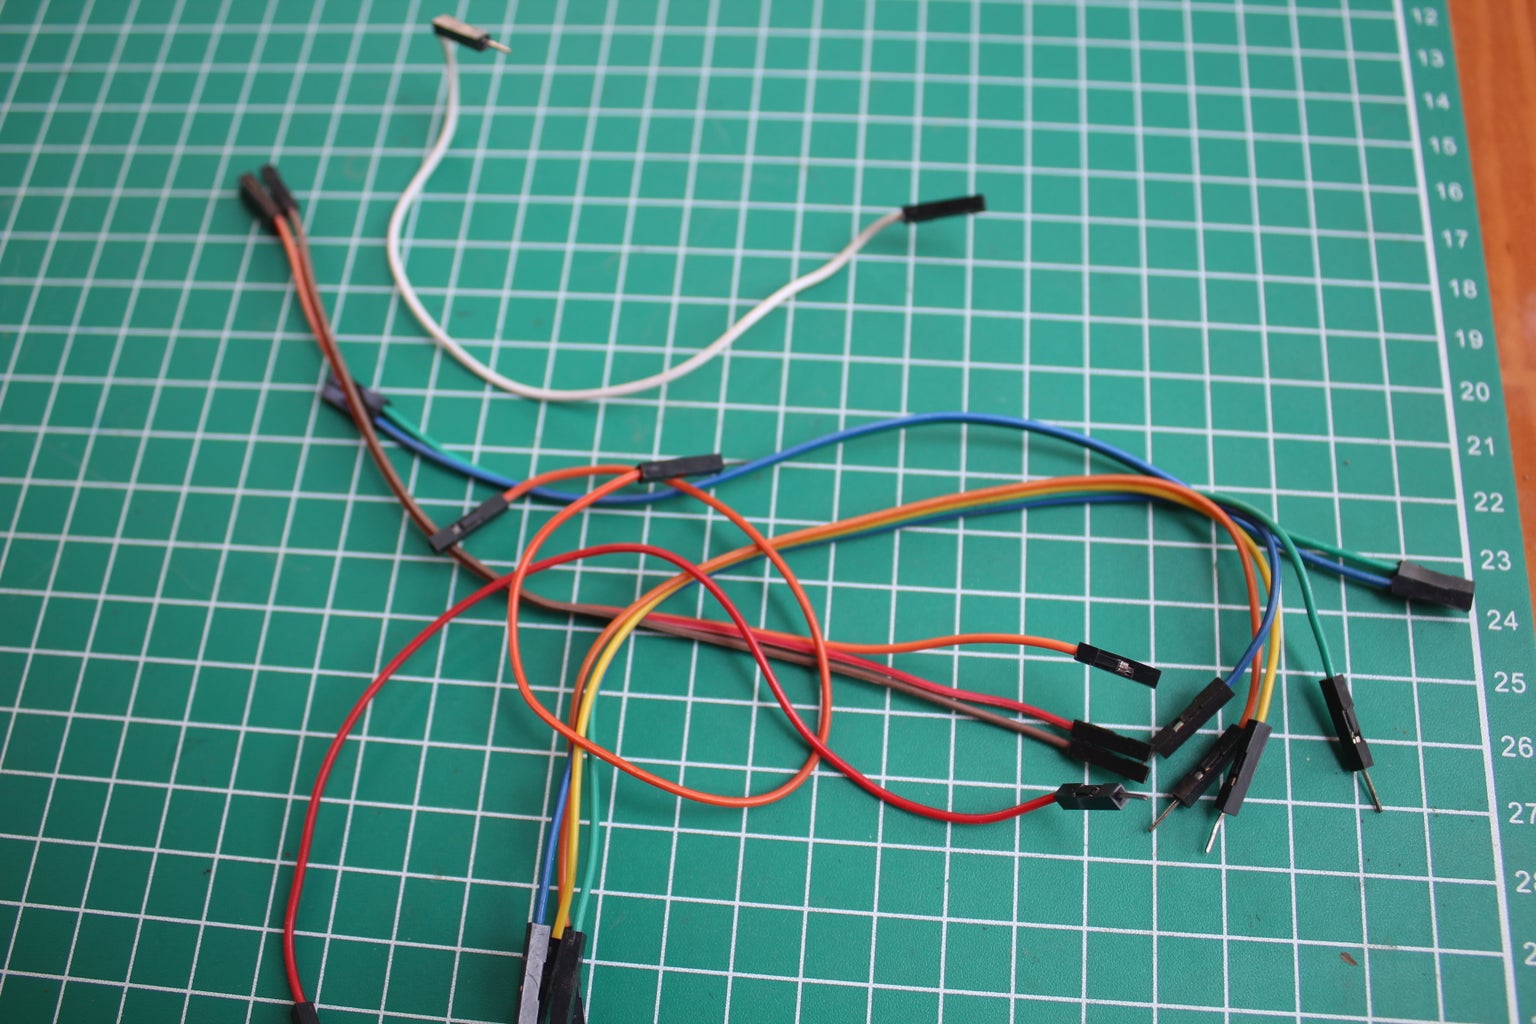
Connect DHT11 to Arduino using jumper cables.
See the picture or follow the instructions below.
DHT11 to Arduino
+ => +5V
out => D12
- => GND
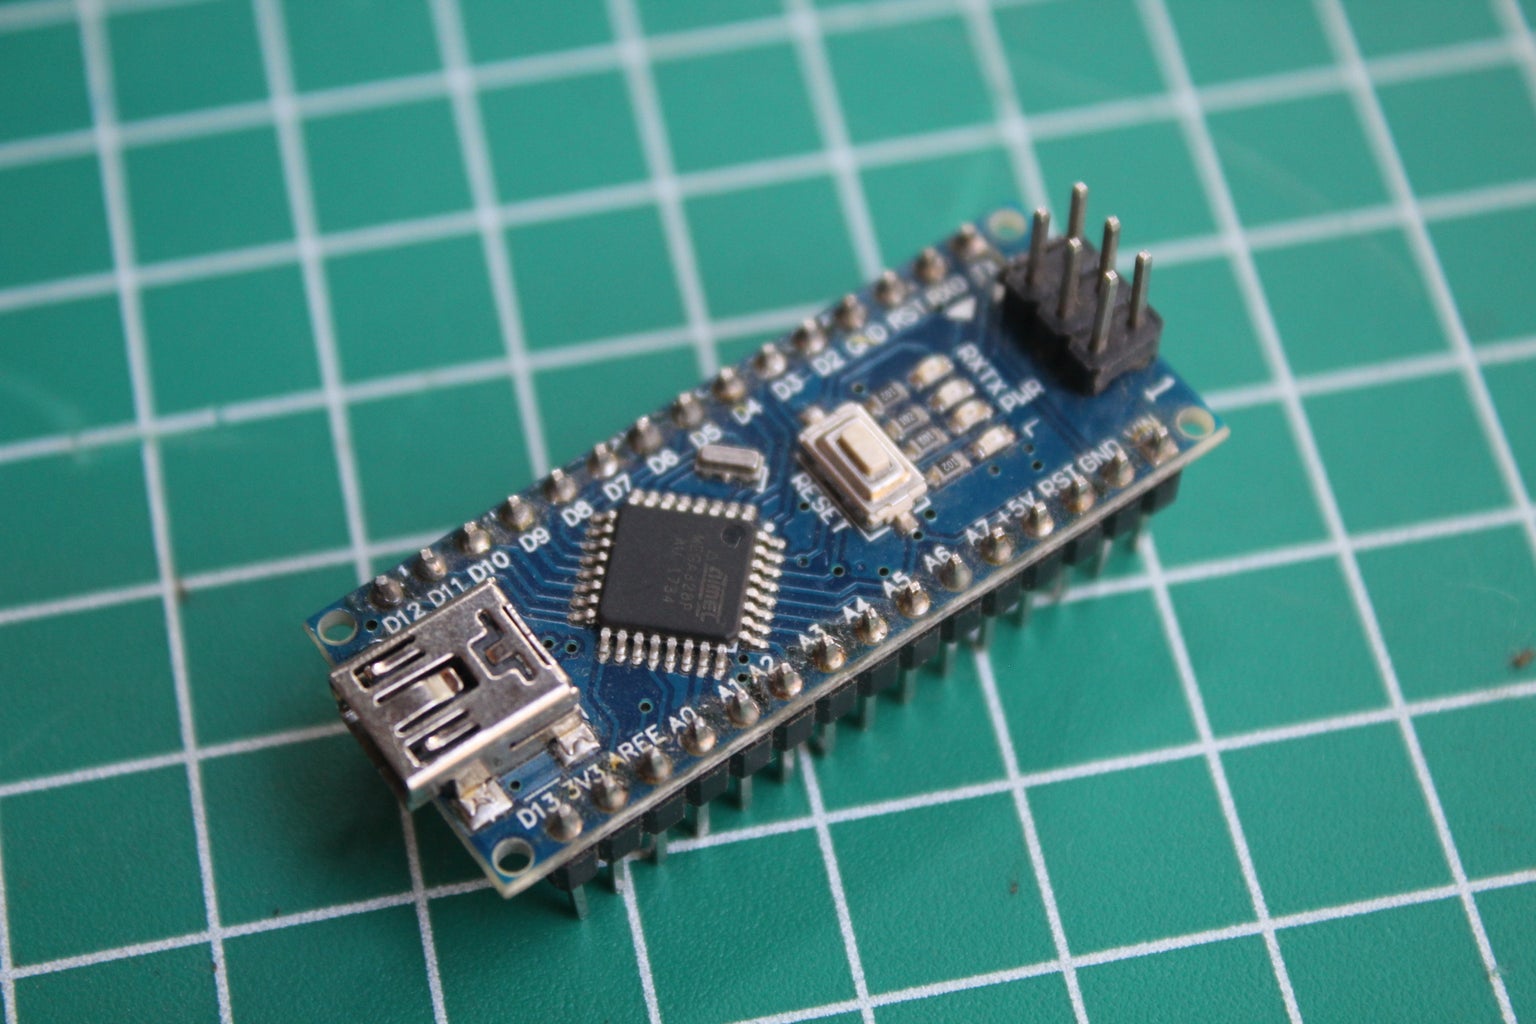
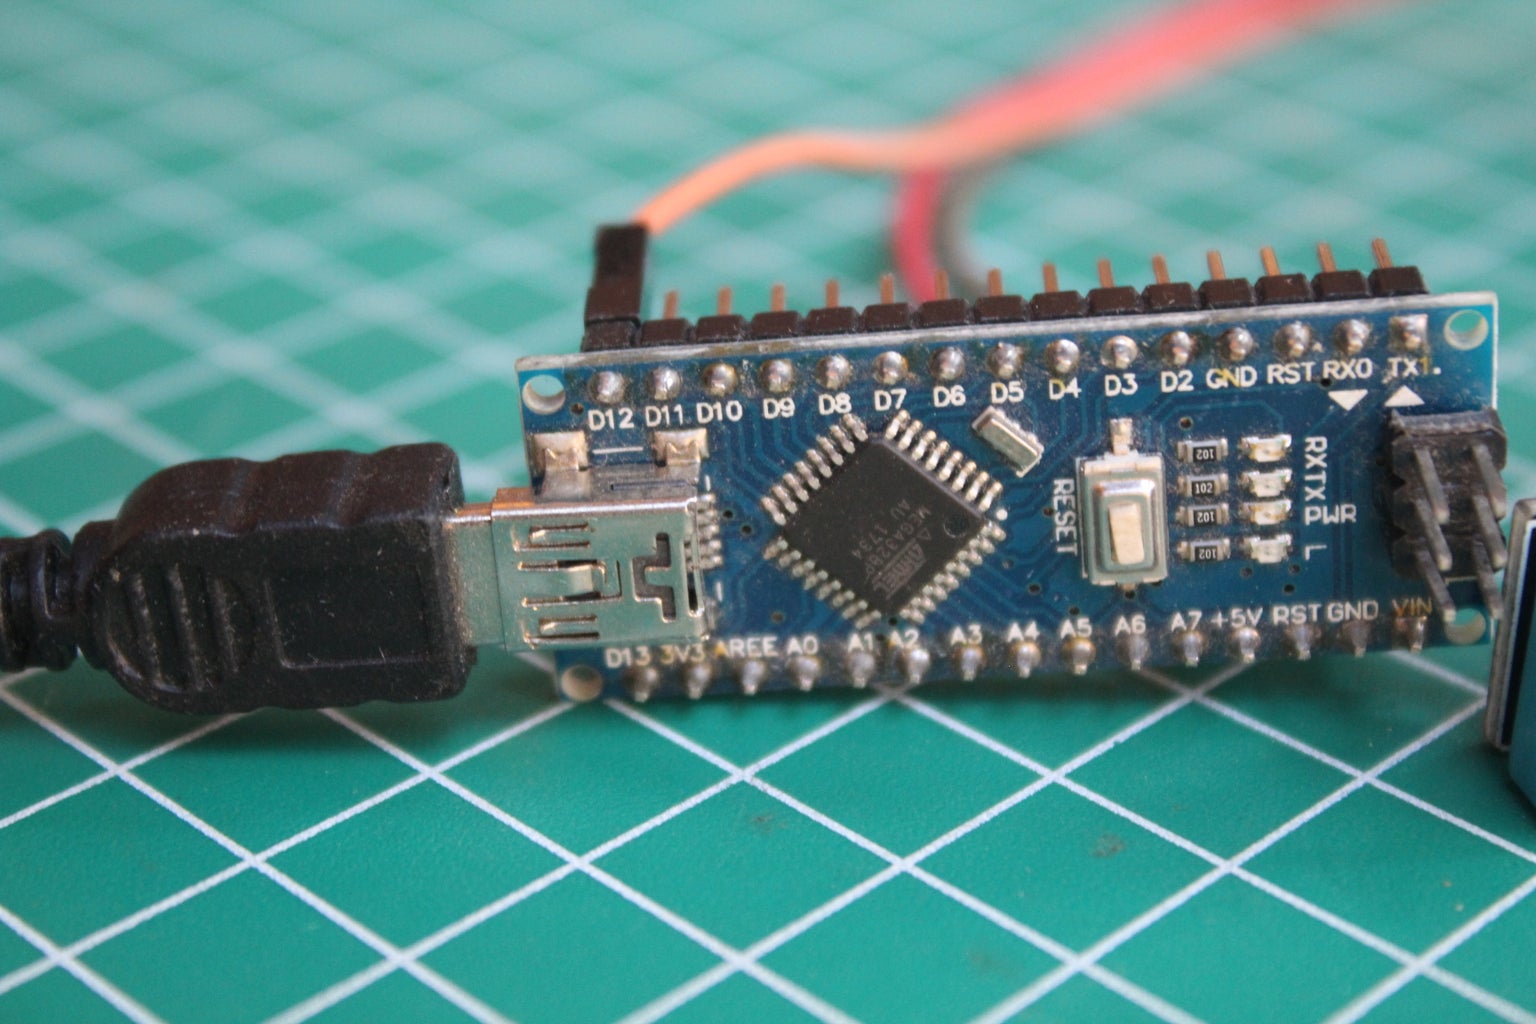
Then connect arduino to the computer using a mini USB
Step 2: Add the DHT Library

Library DHT can be download here:
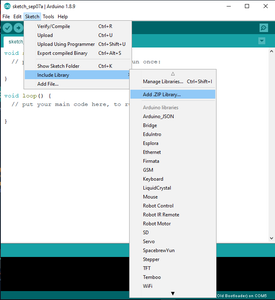
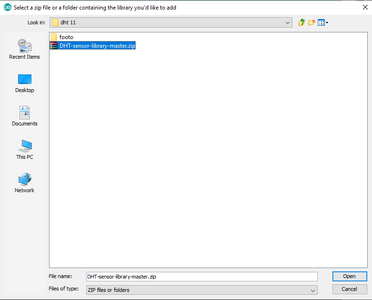
To add a library see thr image above or follow the instruction below:
Open Sketch ==> Include Library ==> add .Zip Library
Find the library file that you has been downloaded.
If it successful, close Arduino and open it again.
Step 3: Choose Arduino Board

Goto Tools and adjust the arduino board to the picture above.
Board "Arduino Nano"
Proccesor "ATmega328P (Old Bootloader)"
For a more complete article, you can read on "How to Use Arduino Nano v.3" that I made earlier.
Step 4: Program

Include this code to read the value from the DHT11 sensor
// DHT Temperature & Humidity Sensor
// Unified Sensor Library Example // Written by Tony DiCola for Adafruit Industries // Released under an MIT license.// REQUIRES the following Arduino libraries: // - DHT Sensor Library: https://github.com/adafruit/DHT-sensor-library // - Adafruit Unified Sensor Lib: https://github.com/adafruit/Adafruit_Sensor
#include #include #include
#define DHTPIN 2 // Digital pin connected to the DHT sensor // Feather HUZZAH ESP8266 note: use pins 3, 4, 5, 12, 13 or 14 -- // Pin 15 can work but DHT must be disconnected during program upload.
// Uncomment the type of sensor in use: //#define DHTTYPE DHT11 // DHT 11 #define DHTTYPE DHT22 // DHT 22 (AM2302) //#define DHTTYPE DHT21 // DHT 21 (AM2301)
// See guide for details on sensor wiring and usage: // https://learn.adafruit.com/dht/overview
DHT_Unified dht(DHTPIN, DHTTYPE);
uint32_t delayMS;
void setup() { Serial.begin(9600); // Initialize device. dht.begin(); Serial.println(F("DHTxx Unified Sensor Example")); // Print temperature sensor details. sensor_t sensor; dht.temperature().getSensor(&sensor); Serial.println(F("------------------------------------")); Serial.println(F("Temperature Sensor")); Serial.print (F("Sensor Type: ")); Serial.println(sensor.name); Serial.print (F("Driver Ver: ")); Serial.println(sensor.version); Serial.print (F("Unique ID: ")); Serial.println(sensor.sensor_id); Serial.print (F("Max Value: ")); Serial.print(sensor.max_value); Serial.println(F("°C")); Serial.print (F("Min Value: ")); Serial.print(sensor.min_value); Serial.println(F("°C")); Serial.print (F("Resolution: ")); Serial.print(sensor.resolution); Serial.println(F("°C")); Serial.println(F("------------------------------------")); // Print humidity sensor details. dht.humidity().getSensor(&sensor); Serial.println(F("Humidity Sensor")); Serial.print (F("Sensor Type: ")); Serial.println(sensor.name); Serial.print (F("Driver Ver: ")); Serial.println(sensor.version); Serial.print (F("Unique ID: ")); Serial.println(sensor.sensor_id); Serial.print (F("Max Value: ")); Serial.print(sensor.max_value); Serial.println(F("%")); Serial.print (F("Min Value: ")); Serial.print(sensor.min_value); Serial.println(F("%")); Serial.print (F("Resolution: ")); Serial.print(sensor.resolution); Serial.println(F("%")); Serial.println(F("------------------------------------")); // Set delay between sensor readings based on sensor details. delayMS = sensor.min_delay / 1000; }
void loop() { // Delay between measurements. delay(delayMS); // Get temperature event and print its value. sensors_event_t event; dht.temperature().getEvent(&event); if (isnan(event.temperature)) { Serial.println(F("Error reading temperature!")); } else { Serial.print(F("Temperature: ")); Serial.print(event.temperature); Serial.println(F("°C")); } // Get humidity event and print its value. dht.humidity().getEvent(&event); if (isnan(event.relative_humidity)) { Serial.println(F("Error reading humidity!")); } else { Serial.print(F("Humidity: ")); Serial.print(event.relative_humidity); Serial.println(F("%")); } }
Or download the file below the Sketch that I have provided below.
Then click upload and wait for it to finish.
Attachments

Step 5: Result

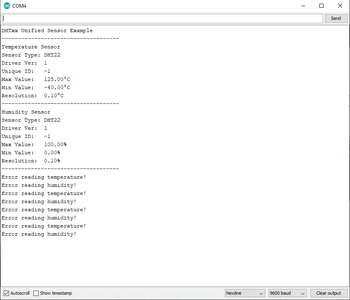
To see the results of temperature and humidity measurements, click Serial Monitor.
The results will be displayed there.
If successful the results will look like Figure 1
if the sensor is not installed it will look like image 2
thank you for reading, if there are questions just write it in the comments column


