

Introduction: Prototype and Configure Your Own Real Time Clock Module for the Raspberry Pi ( Open Source Hardware and Software Configuration) )


To keep the price of the raspberry pi down the developers left out some of the essentials one of those is the real time clock. At the moment the raspberry pi gets it time over the Ethernet from updating the time automatically from the global ntp (nework time protocol) server, but this means that when the Ethernet is unplugged and the Raspberry Pi Powered Down the raspberry pi has no way to keep the time or retrieve the correct time when powered back up again, for some applications this is unacceptable, but don't stress it is simple to add a real time clock to keep the time i will show you how in this simple tutorial with open source hardware that you can use for yourself.
Step 1: Components


Parts List
* Raspberry Pi
* DS1307 DIP8
* Raspberry Pi connector Spark fun part # 11765 or equivalent
* Battery 1220 3v
* 1220 Battery holder
* Crystal 32.768kHz
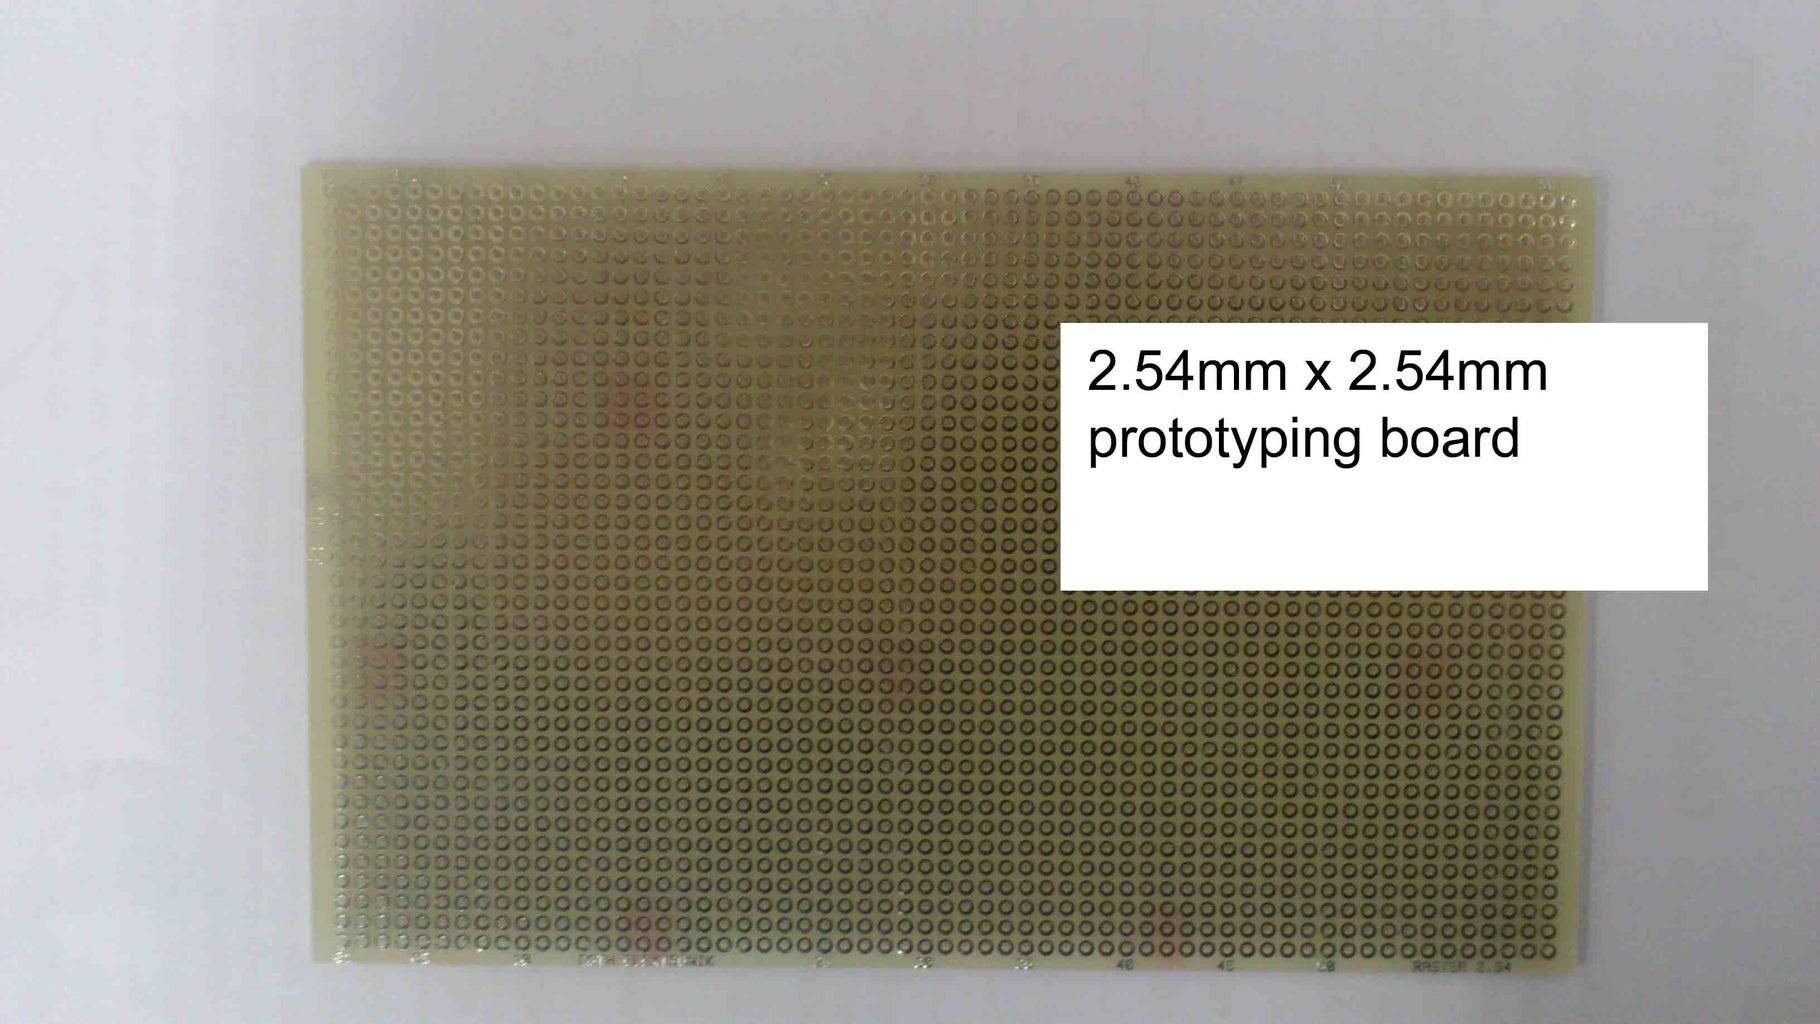
* Prototyping Board
* 11mm spacer
* 2 screws
* Solder
* Multicolored flexible wires
Tools
* Wire cutters
* Soldering iron
* Drill
* Grinder ( optional )
Attachments

Step 2: Schematic
When looking to add new hard ware it always pays to read the datasheet carefully, let me take you thought the wiring X1 is a common crystal that is readily available it is not polarized and wire it to x1, and x2, B1 is a 3V battery and wired to Vbat and GND This is so that when the power goes out to the pic the Real time clock still has power and keeps the time so that on the next power up you will still have the correct time. SCL is the serial clock for the I2c bus and connects to pin5 on the raspberry pi connector as shown in picture 2, SDA is the the serial data for the i2c bus and connects to pin 3 n the raspberry pi connector, You can also wire pin 2 form the raspberry pi to 5V and GND to pin 6
Attachments

Step 3: Make the Circuit Board
* Pictorial steps to wiring up an RTC module prototype are shown in the PDF below
Attachments
Step 4: Set Up the I2C Bus for the Raspberry Pi


I2c on the Raspberry Pi is disabled by default to enable it
Open the raspi-blacklist.conf file by running the command
sudo nano /etc/modprobe.d/raspi-blacklist.conf
Find the I2C line where the I2c is black listed
blacklist i2c-bcm2708
Comment it out by replacing it with the line below
#blacklist i2c-bcm2708
2. Load the required modules at startup.
The Raspberry Pi also needs the following I2c module to be loaded on start up
Open the modules file by running the command
sudo nano /etc/modules
Add the following line at the end
i2c-bcm2708
i2c-dev
rtc-ds1307
Install i2c-tools using the command below
sudo apt-get install i2c-tools
Reboot your Raspberry Pi
sudo reboot
Step 5: Check Your Hardware Is Working

Attach your RTC Module to the Raspberry Pi and
if you have revision 1 of the raspberry pi run the command
sudo i2cdetect -y 0
if you have revision 2 of the raspberry pi run the command
sudo i2cdetect -y 1
if your hardware is working it should come up with 0x68 where the UU is
Step 6: Enabling the RTC in the Kernal

To enable support for the RTC in Raspbian 'Wheezy' (2012-10-28 or later), the following lines need to be added to
/etc/rc.local above the exit0 line:
open the file using the command
sudo nano /etc/rc.local
note if you have revision 1 of the Raspberry
modprobe i2c-bcm2708
echo ds1307 0x68 > /sys/class/i2c-adapter/i2c-0/new_device
modprobe rtc-ds1307
hwclock -s
if you have revision 2 of the raspberry pi enter the commands
modprobe i2c-bcm2708
echo ds1307 0x68 > /sys/class/i2c-adapter/i2c-1/new_device
modprobe rtc-ds1307
hwclock -s
Step 7: Set the Time in the Real Time Clock

To check the time in the DS1307 module run the command
sudo hwclock -r
because it is the first time this module has been used it will report back Jan 1 2000,
To fix this we have to write the time to the real time clock, Make sure your Ethernet cable is plugged in and check that you have the right time in your system using the date command
Now to write the time to the Real time Clock module use the command
sudo hwclock -w
Step 8: See Your Real Time Clock in Action

Add the battery to the real time clock.
Remove the Ethernet cable, Power down the Raspberry pi for 5 minutes, the real time clock is keeping the time now, and when you power the Rpi back up again with out the Ethernnet cable pulled in the Rpi gets the right time as kept by the RTC Module
Because the DS1307 is a special dedicated RTC Chip and designed to draw very little current it can keep the time for years
Power down your Raspberry PI, the real time clock is powered by the battery and now taking the time power back up your raspberry pi and you can see the Real Time clock has kept the time
This is a module attached to the PIC PI which is an affordable open source software and hardware expansion board suited to home automation if you are interested visit our website
you can purchase the PIC PI expansion board from our website


