

Introduction: How to Do Stop Motion With IMovie


This tutorial shows you how to do lego stop motion
Step 1: Equipment

1. lego guy
2. base plate
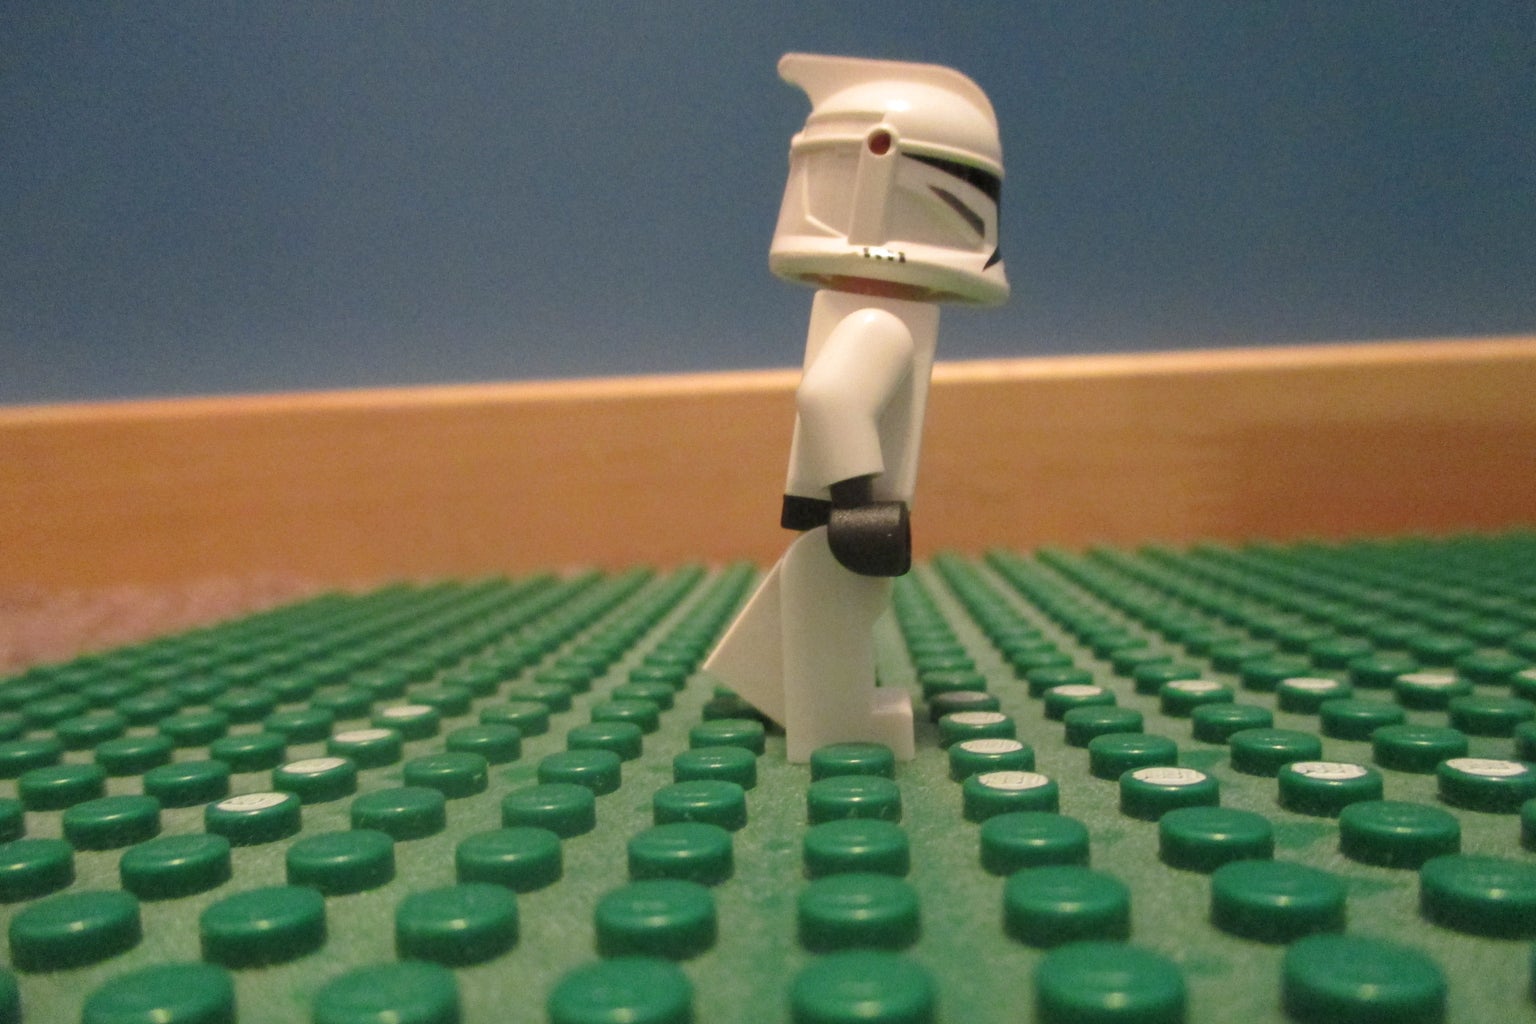
Step 2: Lets Get Started!

Place you're lego guy on the edge of the screen of your camera
Step 3: Walk

Move his front leg up 1 stud or bump( whatever you'd like to call it)
Step 4: Walk
Place his front foot down
Step 5: Walk

Place his back foot down so he stands up straight
Step 6: Walk

Move his back foot up 1 stud or bump( whatever you call it)
Step 7: Walk

Move his back foot down
Step 8: Walk

Place his front foot down so he's standing up straight
Step 9: Import

Put your SD card in your mac
Step 10: Import

Go to finder and find your SD card button and click on it
Step 11: Import

Open up your pics and click on 1 pic
Step 12: Import


Hold down sift and click on the rest of the photos, then release the shift button
Step 13: Import

Drag your photos to the iPhoto app
Step 14: Import
Wait for photos to import
Step 15: Import

Open up iMovie
Step 16: Import
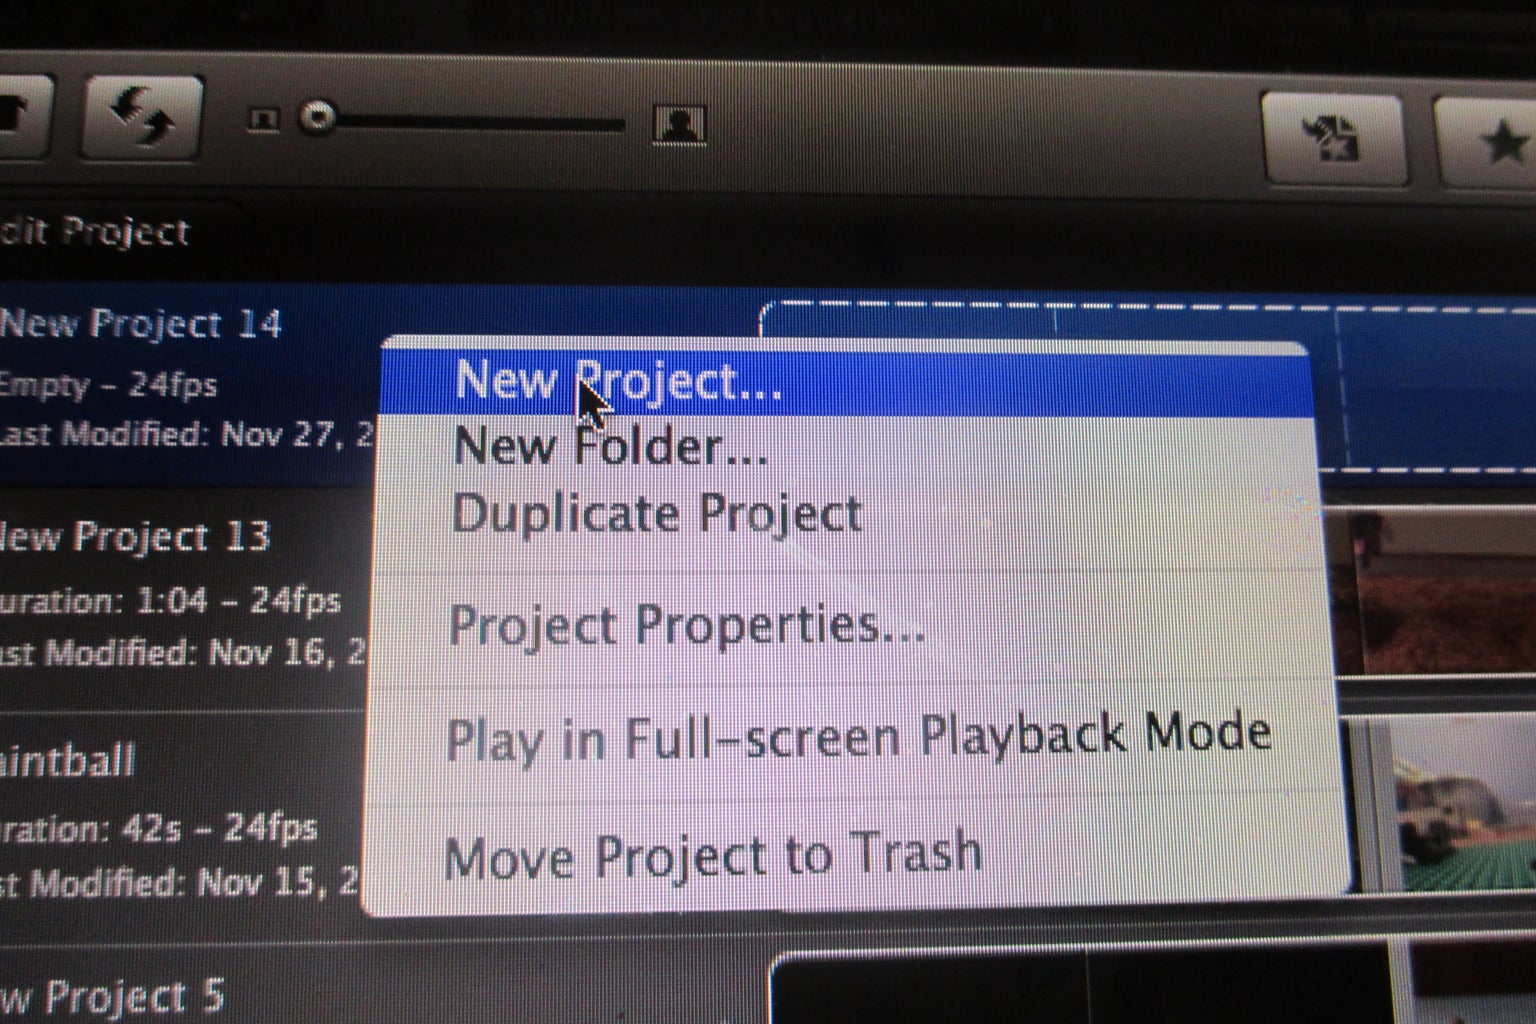

Create new project by, two finger click on the project half
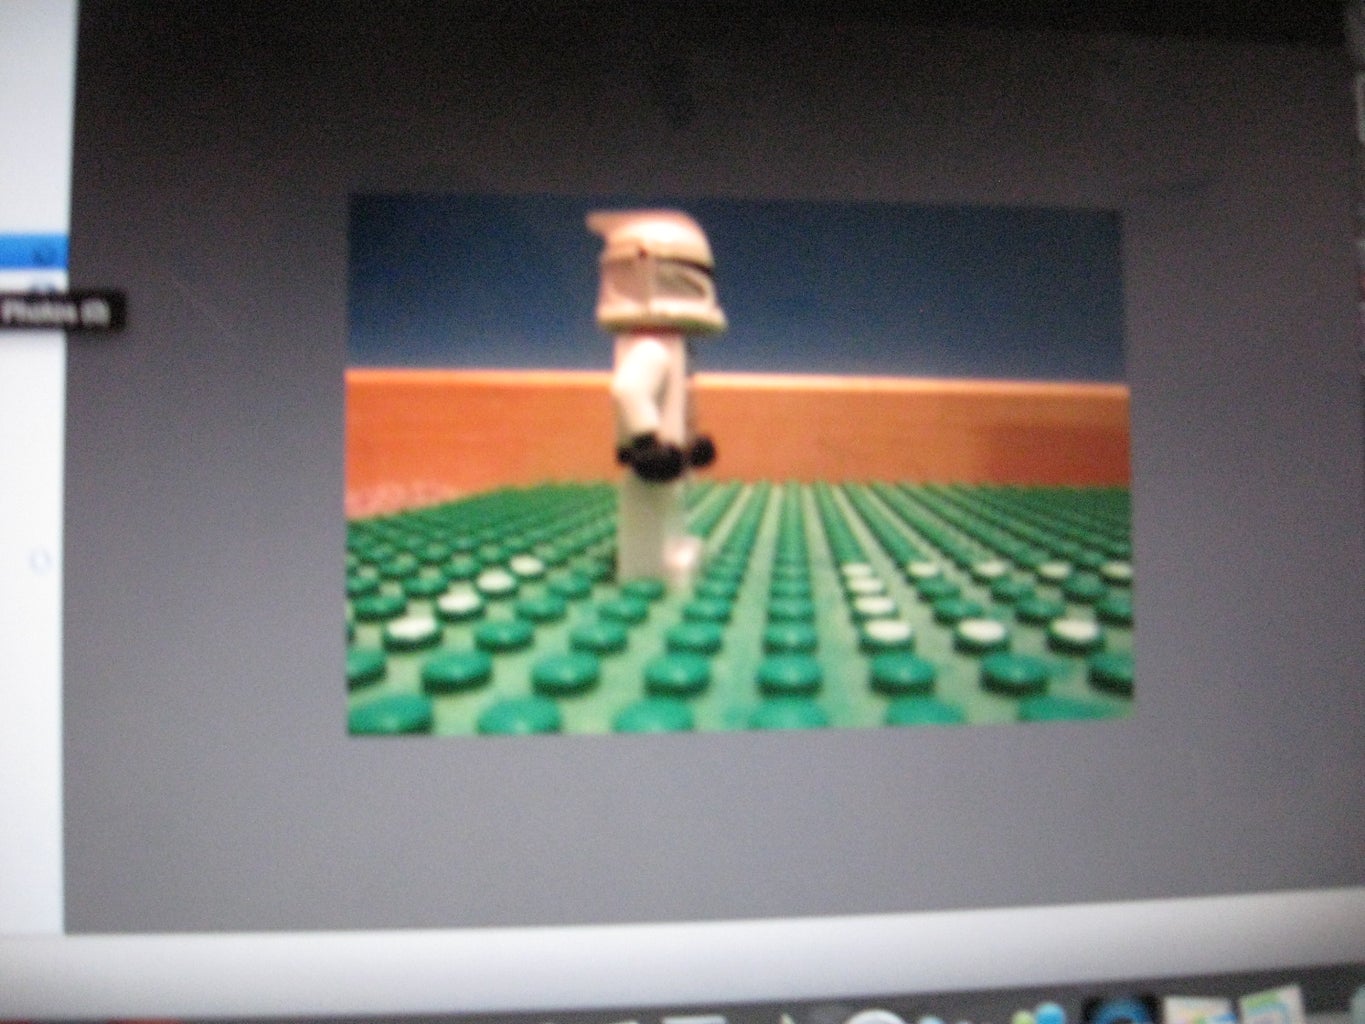
Step 17: Import

It should look like this when you create a new project
Step 18: Import

Click on the camera button
Step 19: Import

Scroll to the bottom
Step 20: Import


Click the first photo of your stop motion, Hold down shift, then click the last picture of your stop motion vid
Step 21: Import
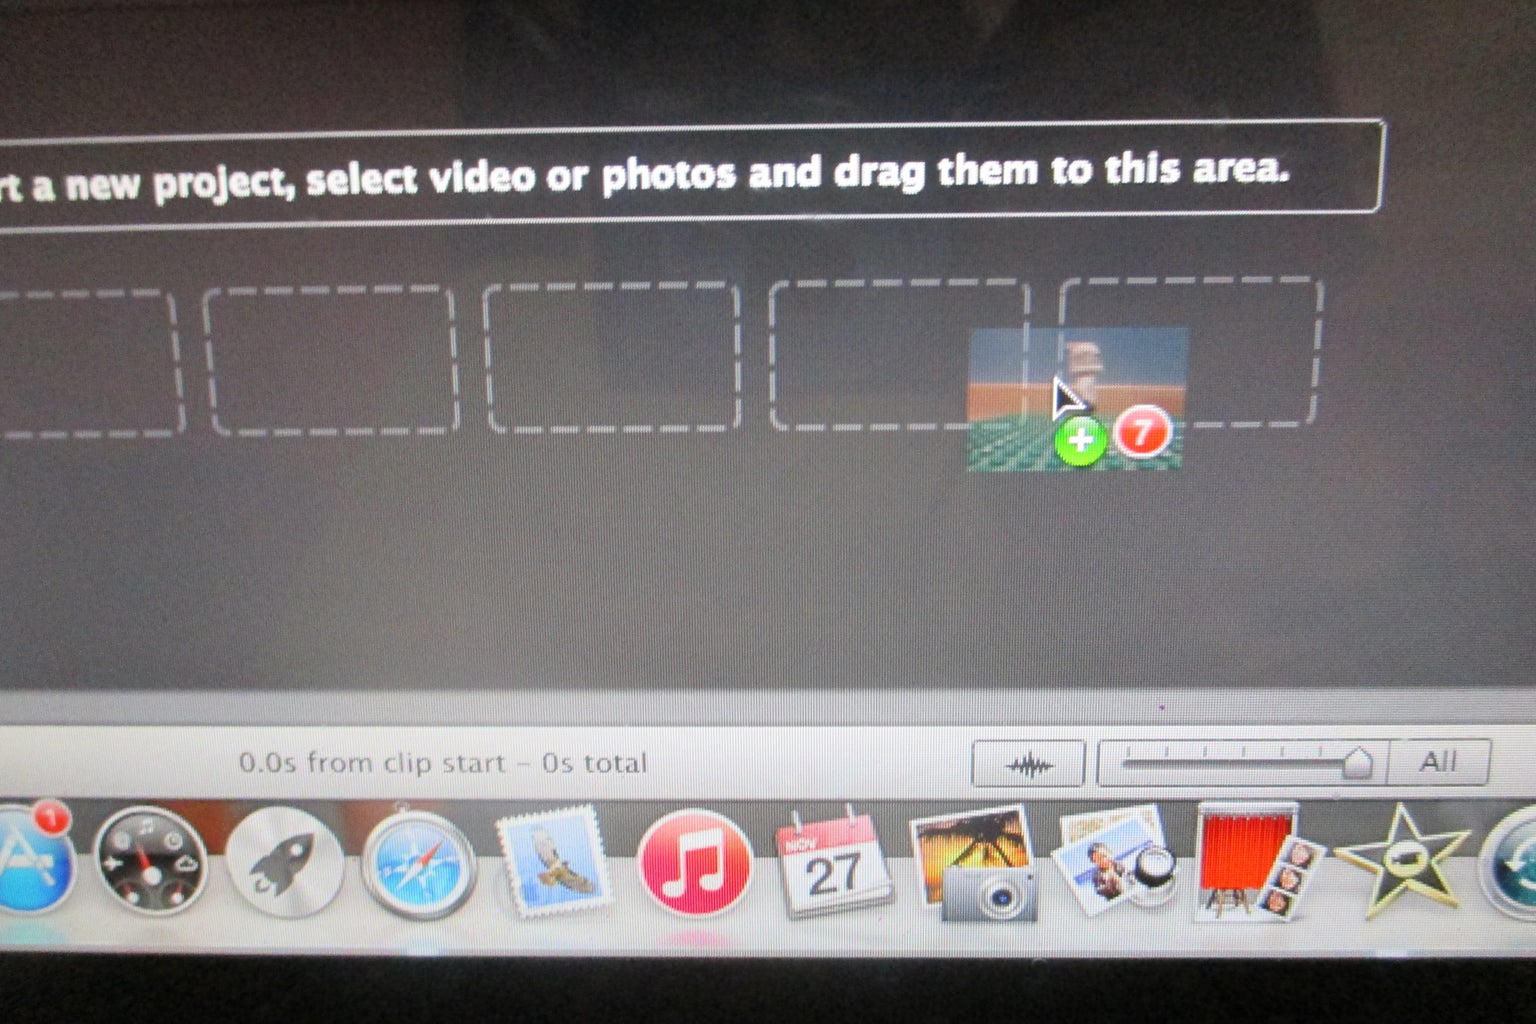
Drag your photos to the project
Step 22: Import


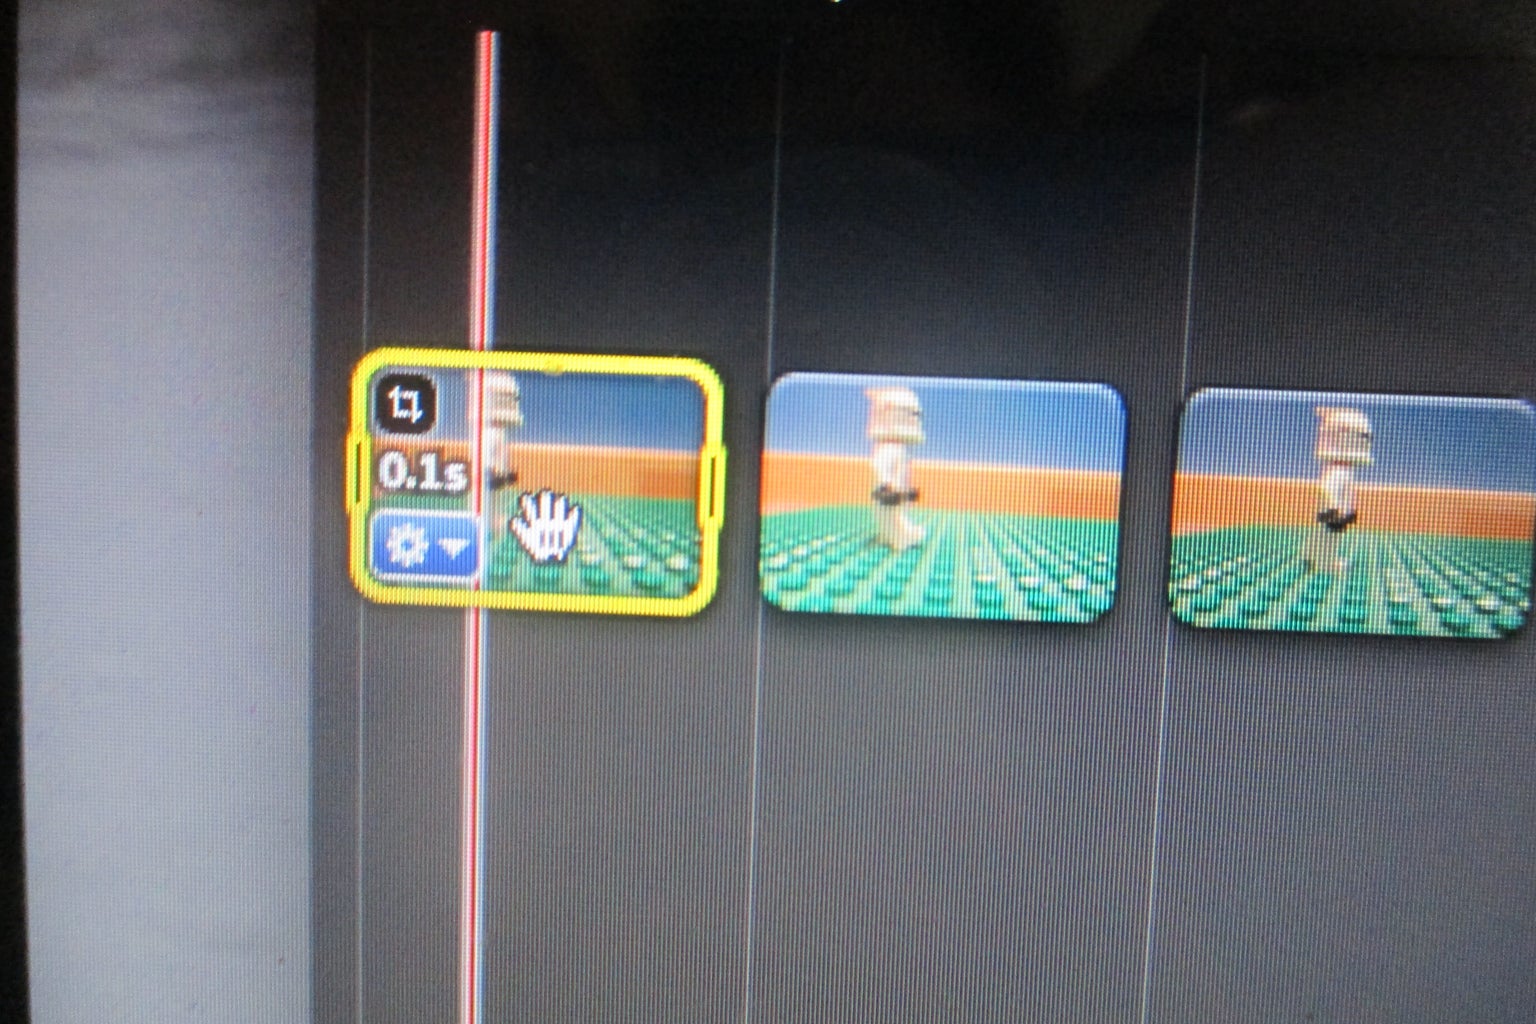
Highlight the first photo, click the blue gear button, click the applies to all stills button, and make the duration 0.1 seconds, and click done
Step 23: Done!


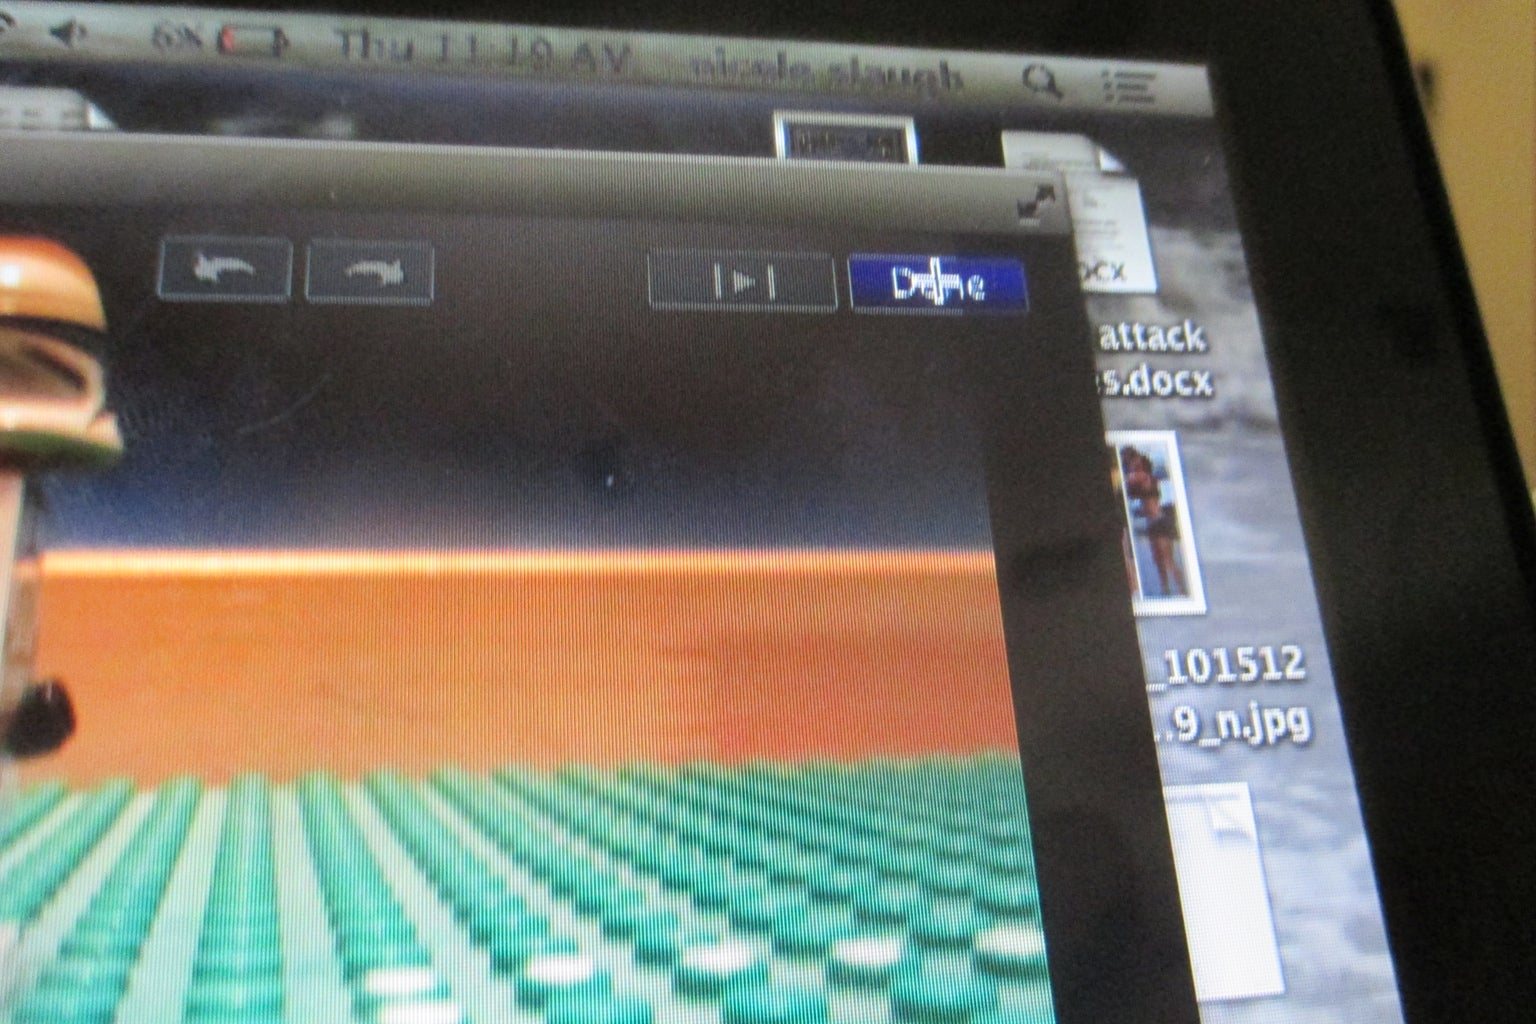
Click the first photo, Hold shift, then click the last photo, release shift, click the square crop button, click fit, then click done
Step 24:

Participated in the
Enchanted Objects


