

Introduction: How to Etch a Circuit Board.


Ok,I am making this instructable to hopefully win the Epilog laser challenge, if I win I would use it to make my own PCB's and to tinker with.
Ok,so making your own PCB's is not that hard actually,if you have the luxury of a laser cutter,then it is a simple matter. But for people like me,we use,drum role please....a LASER PRINTER!!
There are some great websites that can enplane the whole process very well this one dose a good job though the site is kind of clutterd,http://fullnet.com/~tomg/gooteepc.htm .The good people at Hack a Day made a good one that I loved,the guy used a microscope slide as a PCB.http://hackaday.com/2011/09/12/glass-pcbs/ .this will be one of my projects actually!
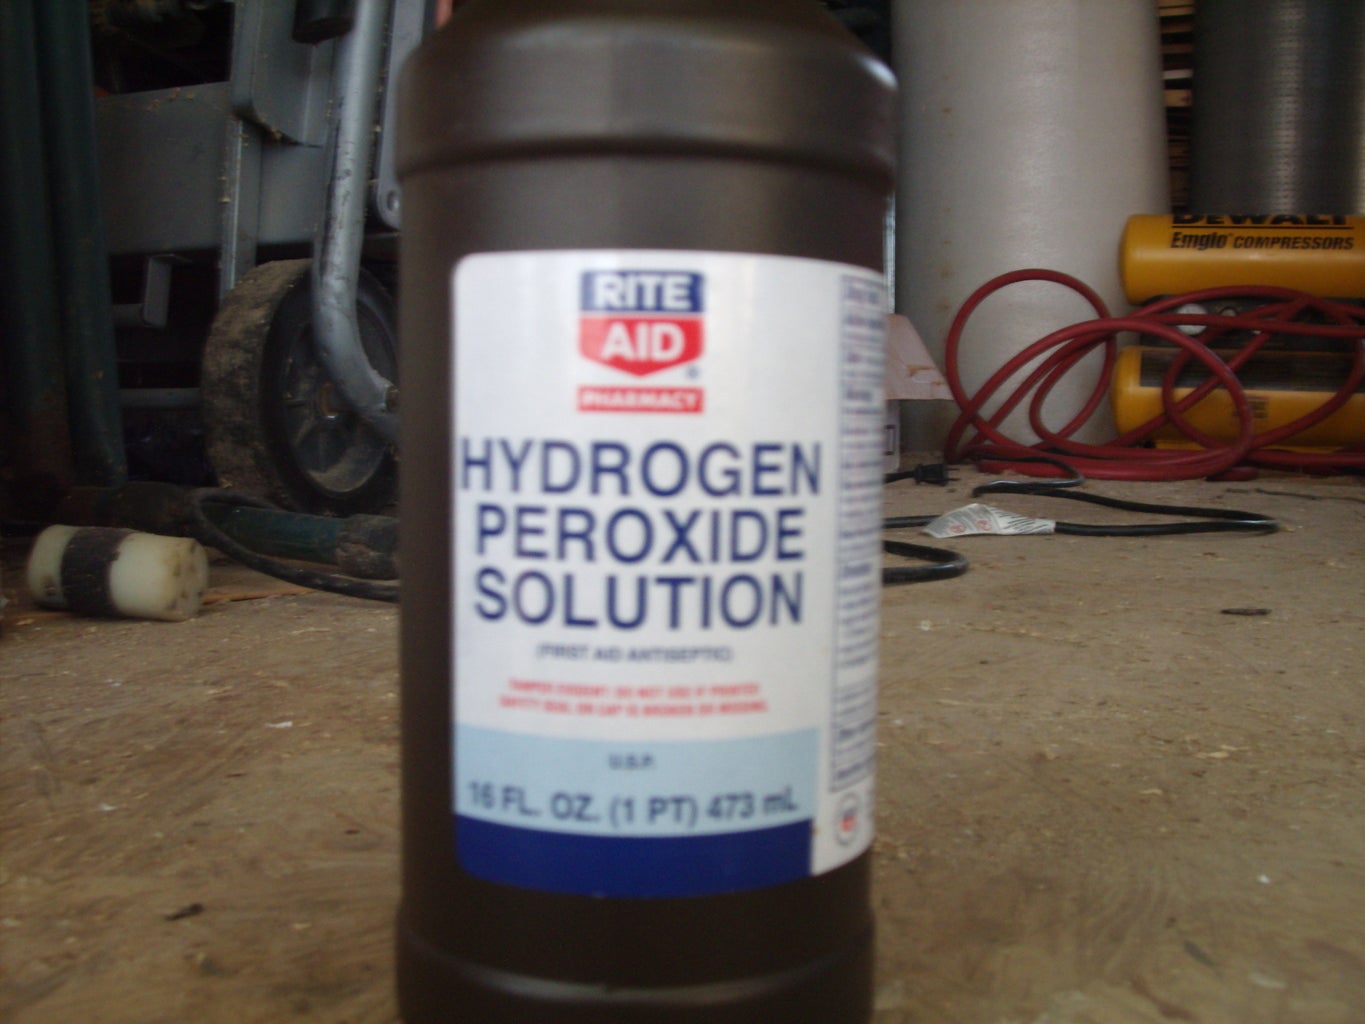
in this Inscrutable,there are some chemicals that can hurt you,if you get them on yourself,such as Muriatic Acid and Hydrogen Peroxide,please use the proper safety gear,such as safety goggles and gloves,and read the instructions on the back of the cans.
Ok,so the basic concept is to take a laser printer,print a design onto some paper,iron the paper to the PCB,remove the paper,and etch in the etching solution. Seams simple right? Yes it is!!
When you use the printer,toner(the black stuff)is put on the paper,then when you iron the paper to the PCB,you heat up the toner and it sticks to the board! Then when you etch the board,the toner acts as a barrier agents the etching solution,and you get your design,yup,that simple!
Step 1: Stuff You Will Need.


- Access to a Laser printer.
- A sheet of photo gloss paper.
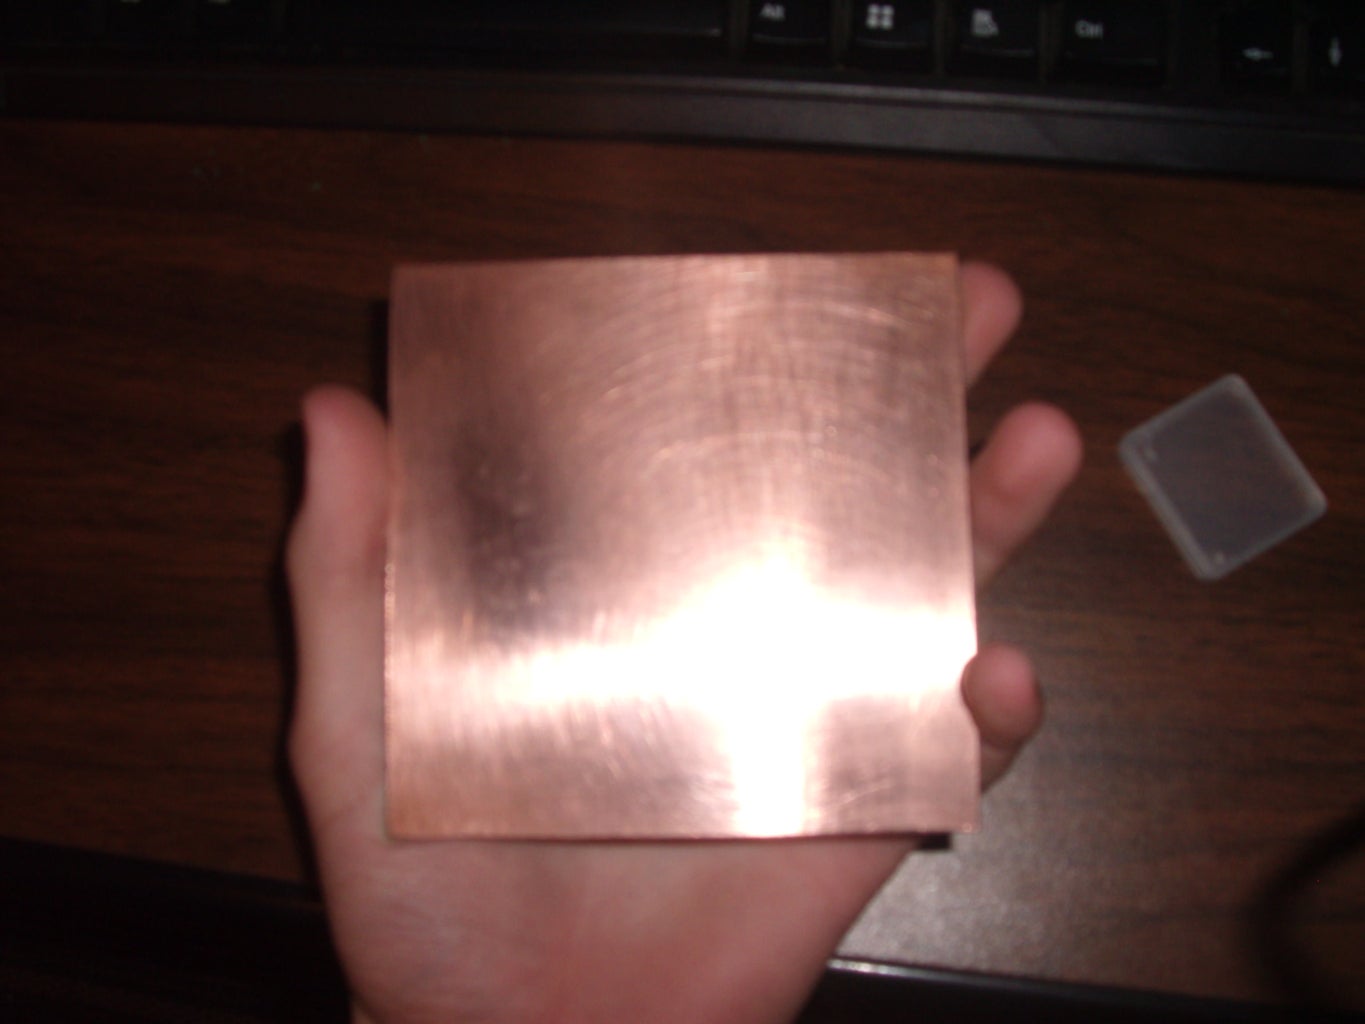
- PCB.(single sided).
- Muriatic Acid.
- 2% Hydrogen Peroxide.
- A cloths iron.
- Plastic containers.
- 0.8mm 1.0mm and 1.2mm drill bits and a drill.
- A paintbrush.
- A one gallon bucket.
- A hacksaw(if needed).
- A drill(if needed,see step 8).
- Acetone or methylated spirits.
- Some Fine grit sandpaper or a Scotchbrite pad.
Step 2: Design.
Ok,so you now need a design to put on your PCB, it could be anything you want,I have seen a person put a whole drawing on one. So have fun.
Step 3: Print.

When you are done with your design,then,just print it! The paper I used is photo gloss paper. Now remember you have to use a laser printer,I had to go to the store and get it printed.
Step 4: Iron on the Toner.

Ok,so you have your paper with the toner, your board, and your hot iron, take your board and your scotchbrite pad or sandpaper,and start going over the board,what you are doing is taking the oxidization off. Once you have done that,then you have to put your paper on and take your iron and press down HARD,you have to keep up the pressure to make sure that all the toner gets on to the board,move the iron around the board so that all the spots are hot,after about three minutes then you are done.
Sorry about the lack of photos,it is hard to hold a camera and do this at the same time.
Step 5: Take the Paper Off and Prepare the Etching Solution.


Ok,so now you have your board,take it and put it in the sink and turn the water on,let it soak for a while,then start to take the paper off,you do not want to lift the toner off the board so be careful,the first try,I messed up and had to do it over,so,don't be discouraged if you mess up.
Step 6: Etch.


Now you have just placed your PCB in your etching solution,you want to take your paintbrush and brush the surface of the board really softly every two minutes. when it looks like all the unwanted copper is gone,then you can pull it out. But be careful,if you leave it in there then it could start to eat away at fine traces.
What is happening in the solution is that the Hydrogen peroxide is oxidizing the copper and the Muriatic acid is eating away at the copper. I have herd that you can re-use this solution,it is used up all the oxygen when it turns a brownish color,but you can add oxygen by way of bubbles or by adding more hydrogen peroxide,but that is diluting the solution some more because it is mostly water.
If I am wrong,please leave a comment and I will fix it.
Step 7: Clean the Board.


Now that you have a nice etched board just out of the chemicals,go get your bucket and fill it with water,put the board in the water and swish it around for a minute or to,then once you have dried the board off,then take your acetone and put it in a glass cup,then take some cotton balls and dip then in the acetone,then rub them one the traces and the board,once all the left over traces are gone,then you are done unless you are going to drill holes in it for through hole components.
Step 8: To Drill or Not to Drill.
You can decide for yourself if you want to drill your board,I decided not to,I went with surface mounted. Surface mounted parts can be hard to work with if you don't know how,but once you get the hang of it,then they can make a project so much smaller and easier!
If you do decide to use through hole components,then you want to make your component pads like O's rather then rectangles.

Participated in the
4th Epilog Challenge


